(Finished Image Gallery for Single-Player) Tag: Visual edit |
(Added links to all missions) |
||
| Line 5: | Line 5: | ||
== [[Tank Up]] == |
== [[Tank Up]] == |
||
<gallery> |
<gallery> |
||
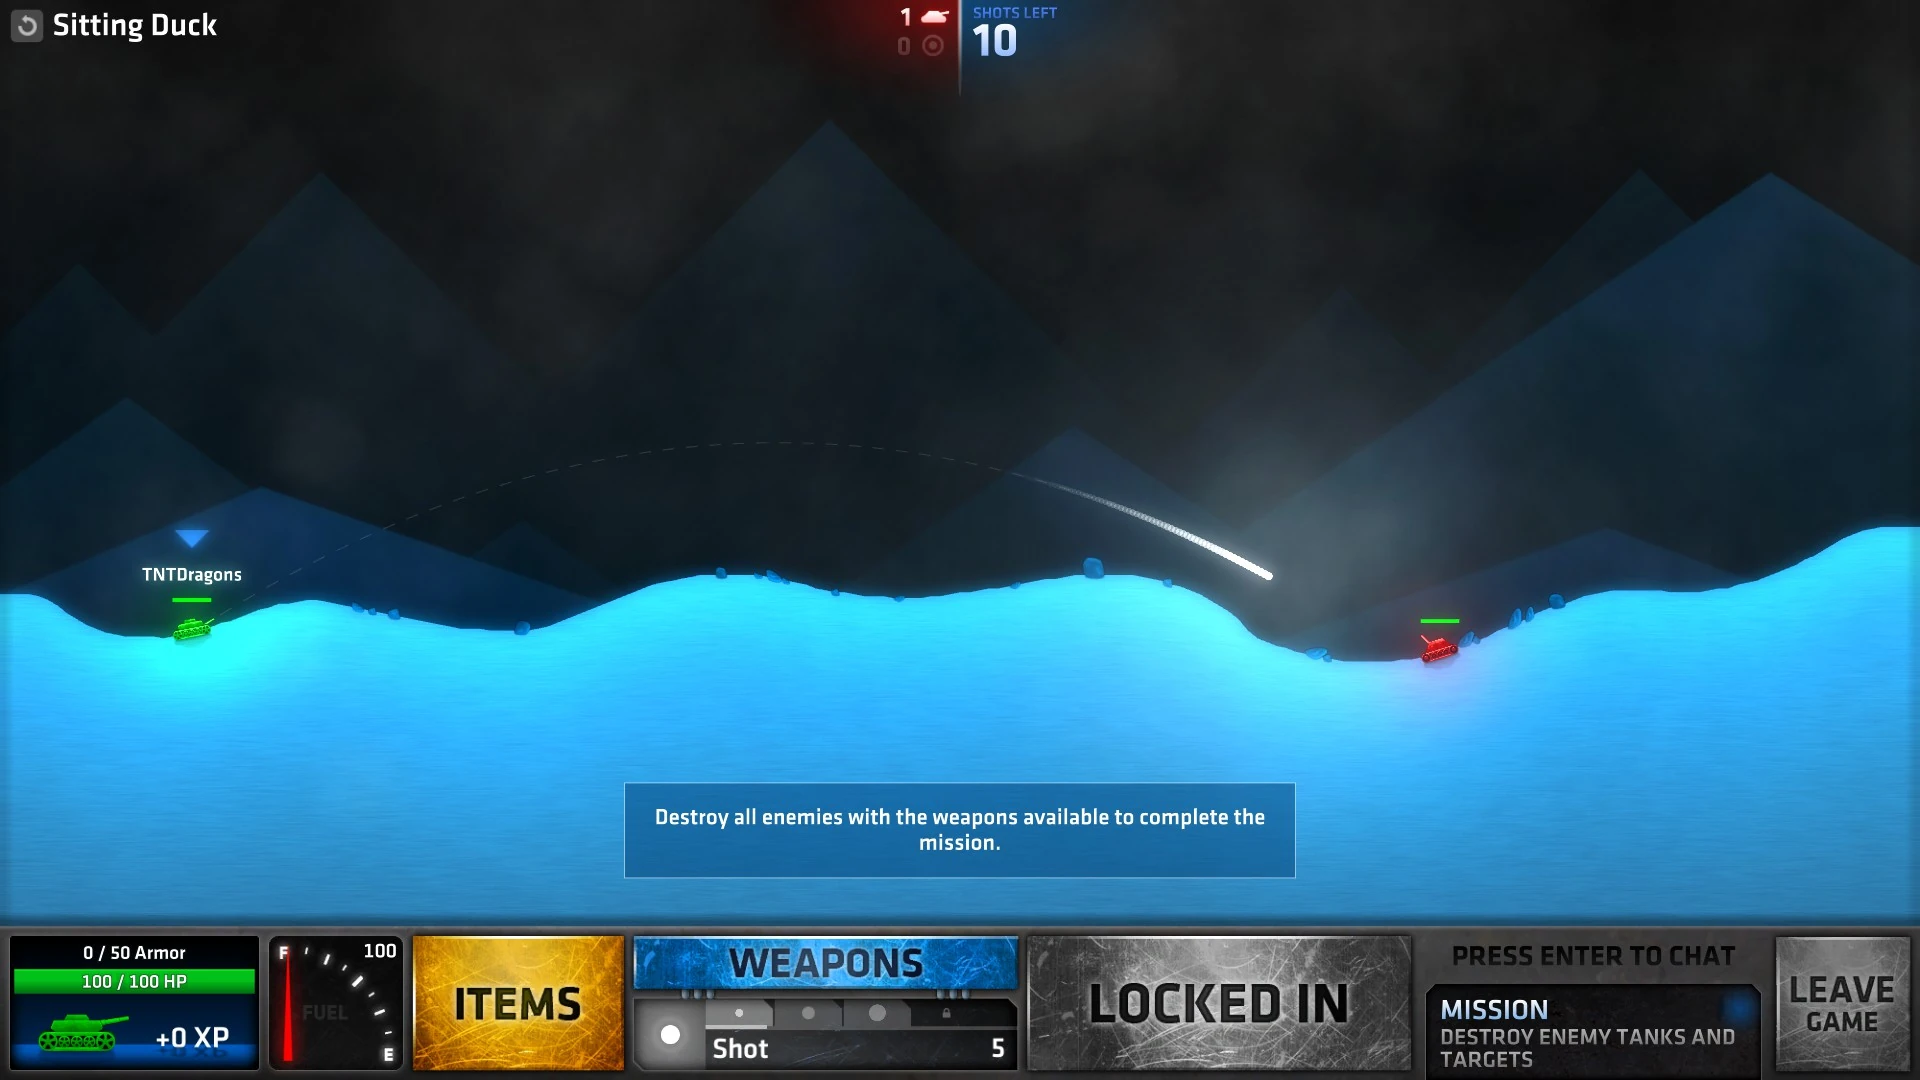
| − | Sitting Duck.jpg|Sitting Duck |
+ | Sitting Duck.jpg|[[Tank Up#Sitting Duck|Sitting Duck]] |
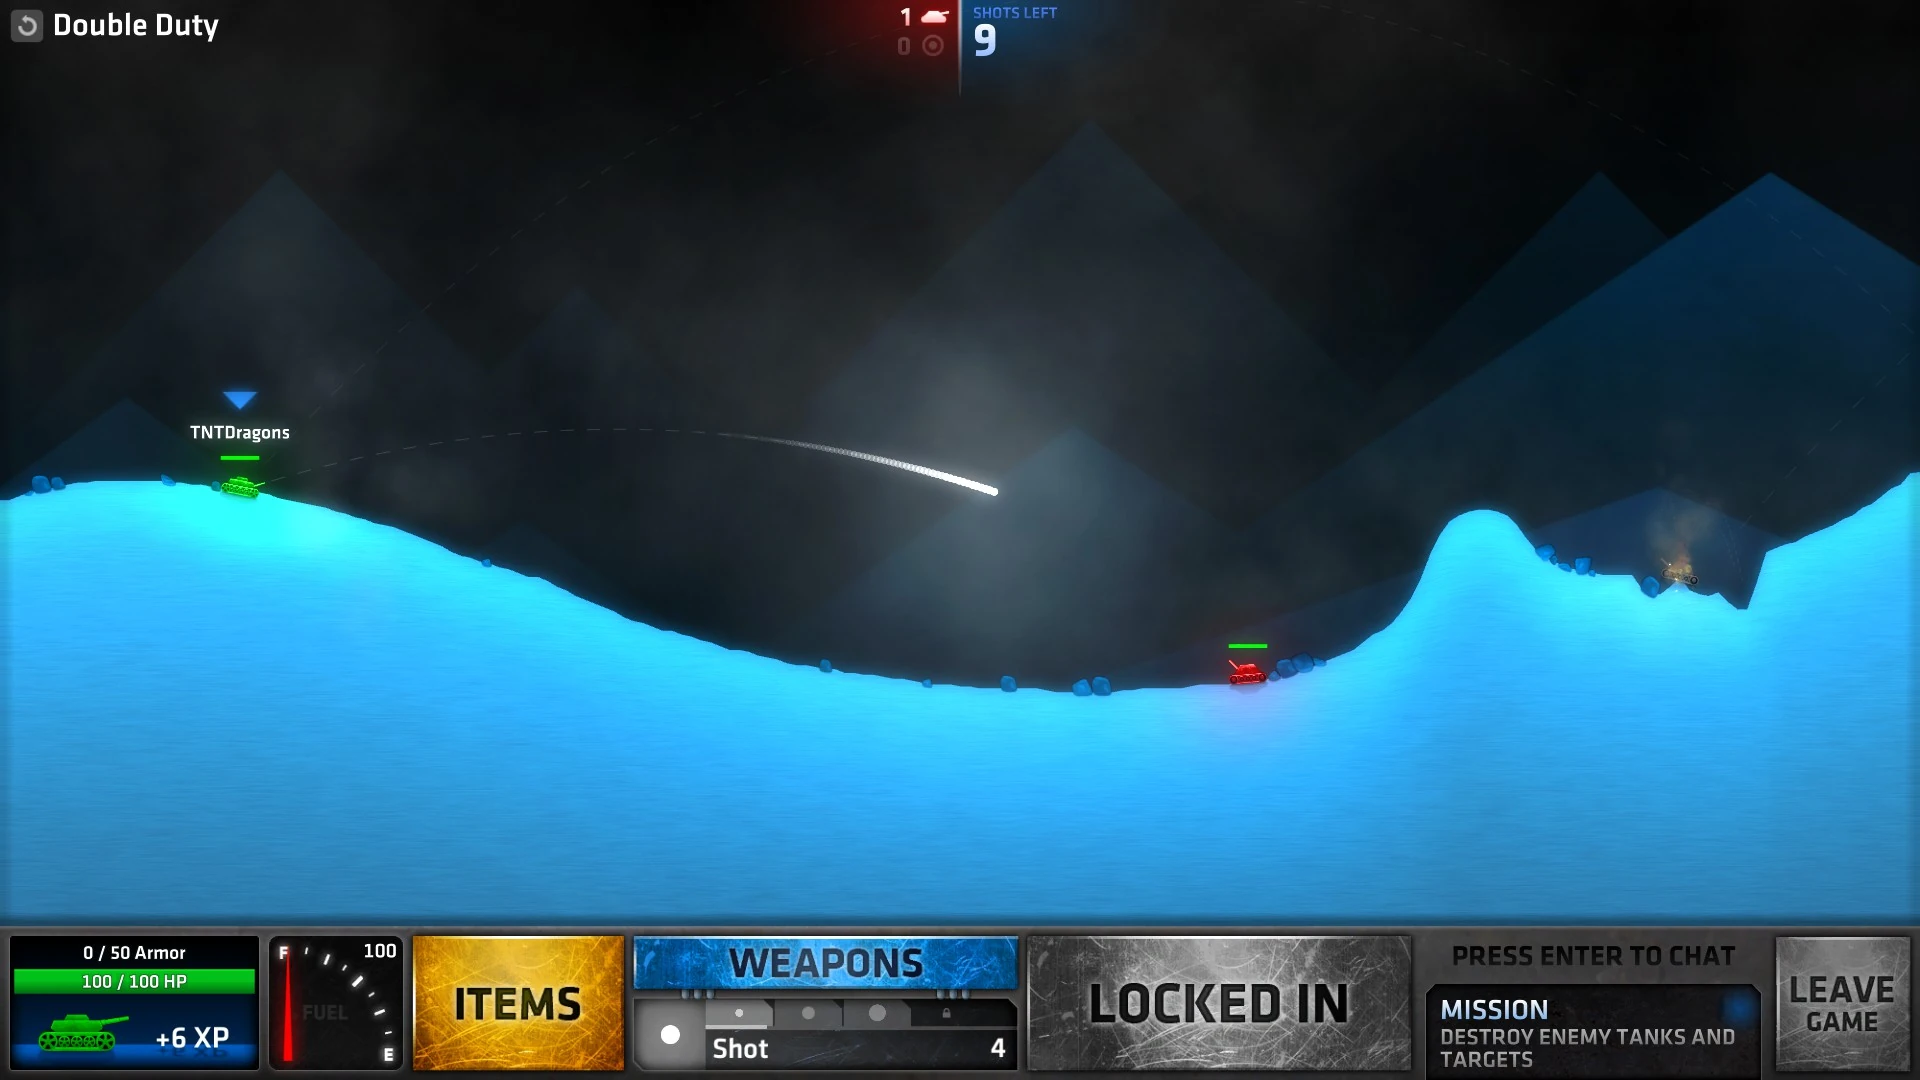
| − | Double Duty.jpg|Double Duty |
+ | Double Duty.jpg|[[Tank Up#Double Duty|Double Duty]] |
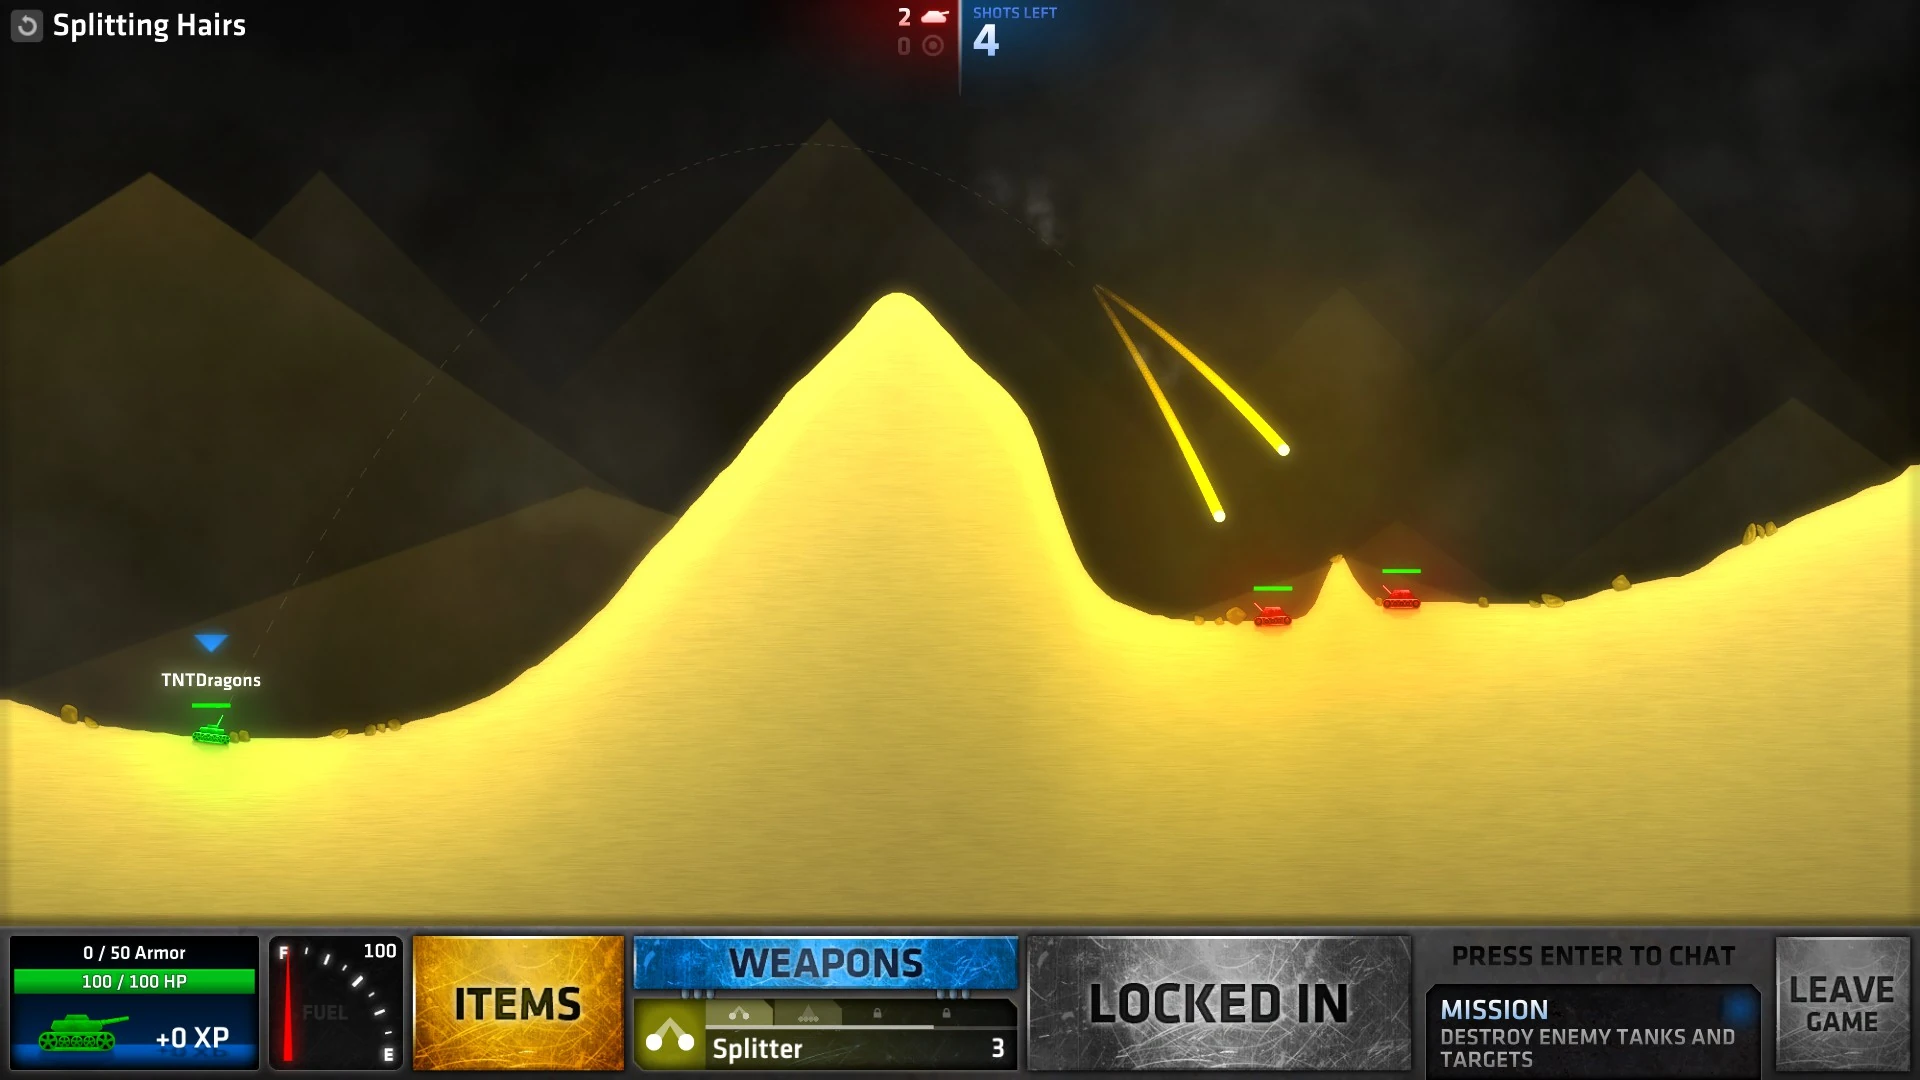
| − | Splitting Hairs.jpg|Splitting Hairs |
+ | Splitting Hairs.jpg|[[Tank Up#Splitting Hairs|Splitting Hairs]] |
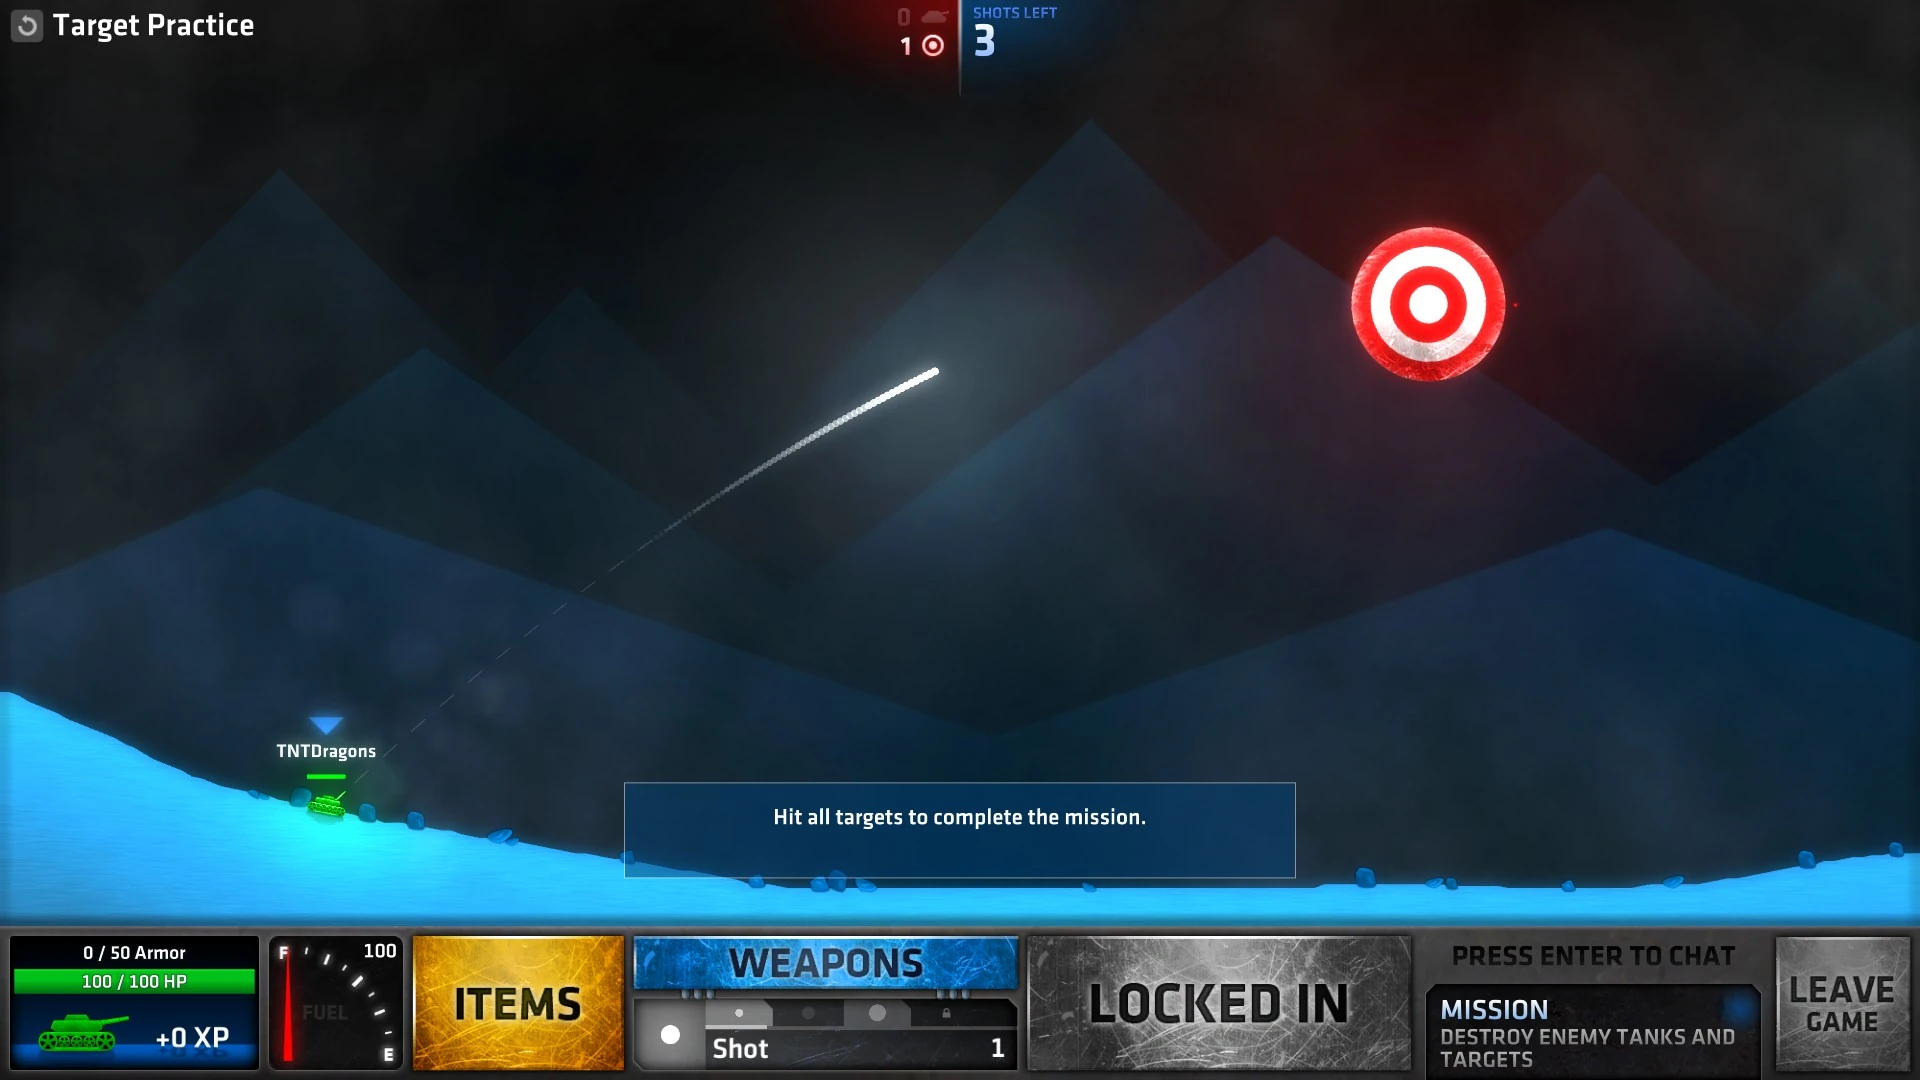
| − | Target Practice.jpg|Target Practice |
+ | Target Practice.jpg|[[Tank Up#Target Practice|Target Practice]] |
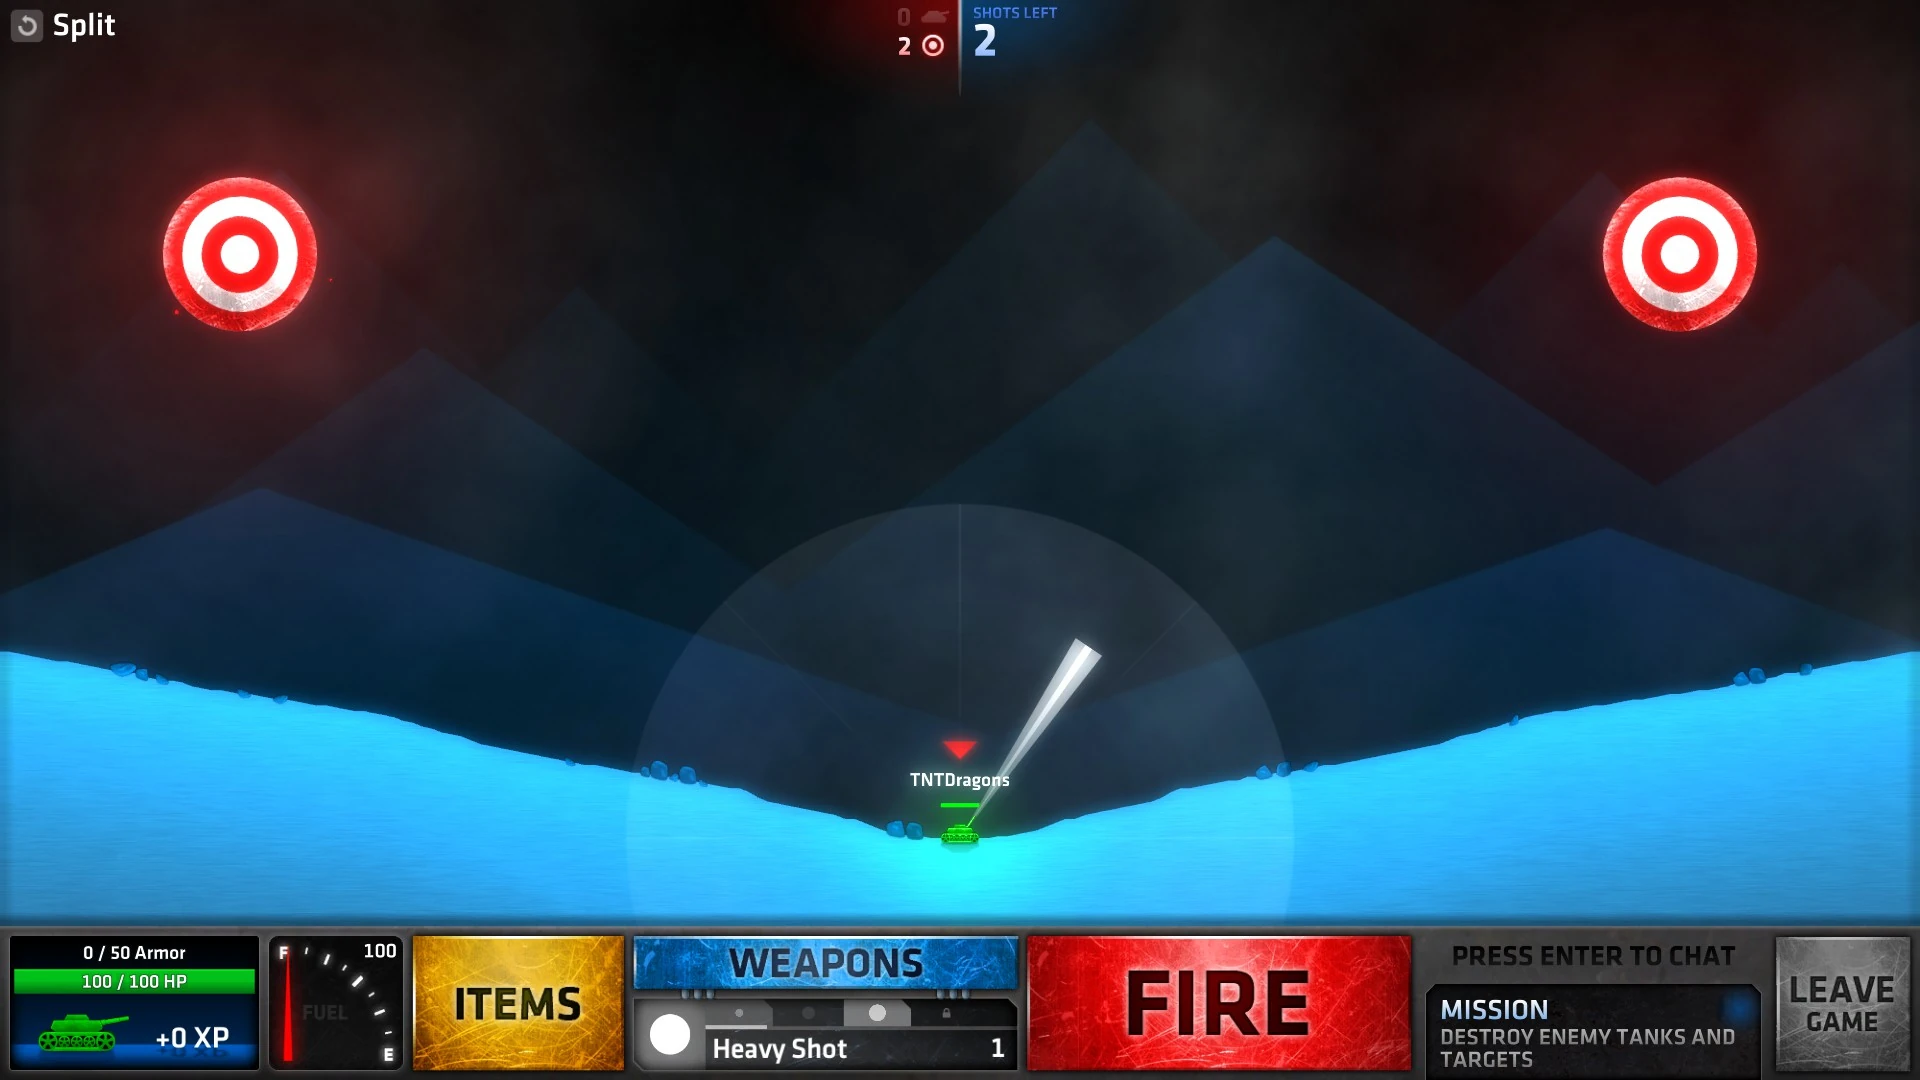
| − | Split.jpg|Split |
+ | Split.jpg|[[Tank Up#Split|Split]] |
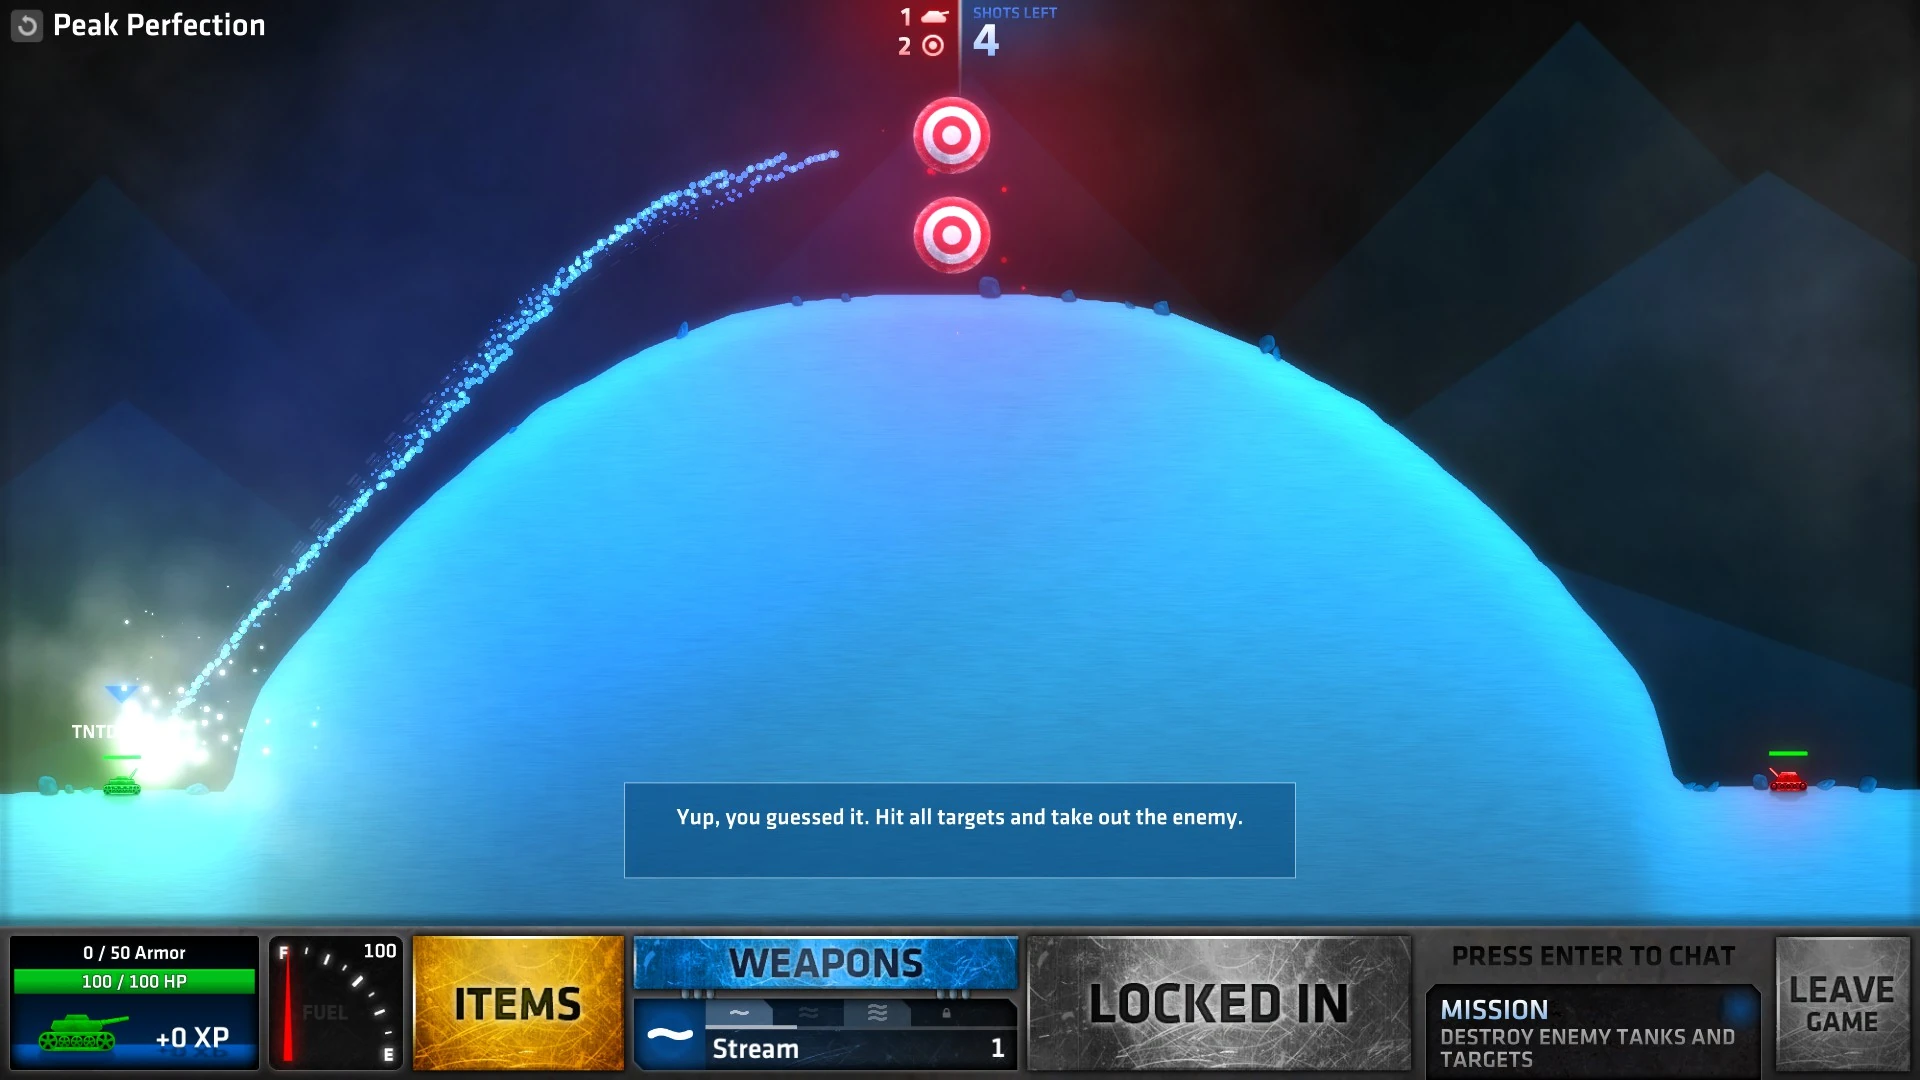
| − | Peak Perfection.jpg|Peak Perfection |
+ | Peak Perfection.jpg|[[Tank Up#Peak Perfection|Peak Perfection]] |
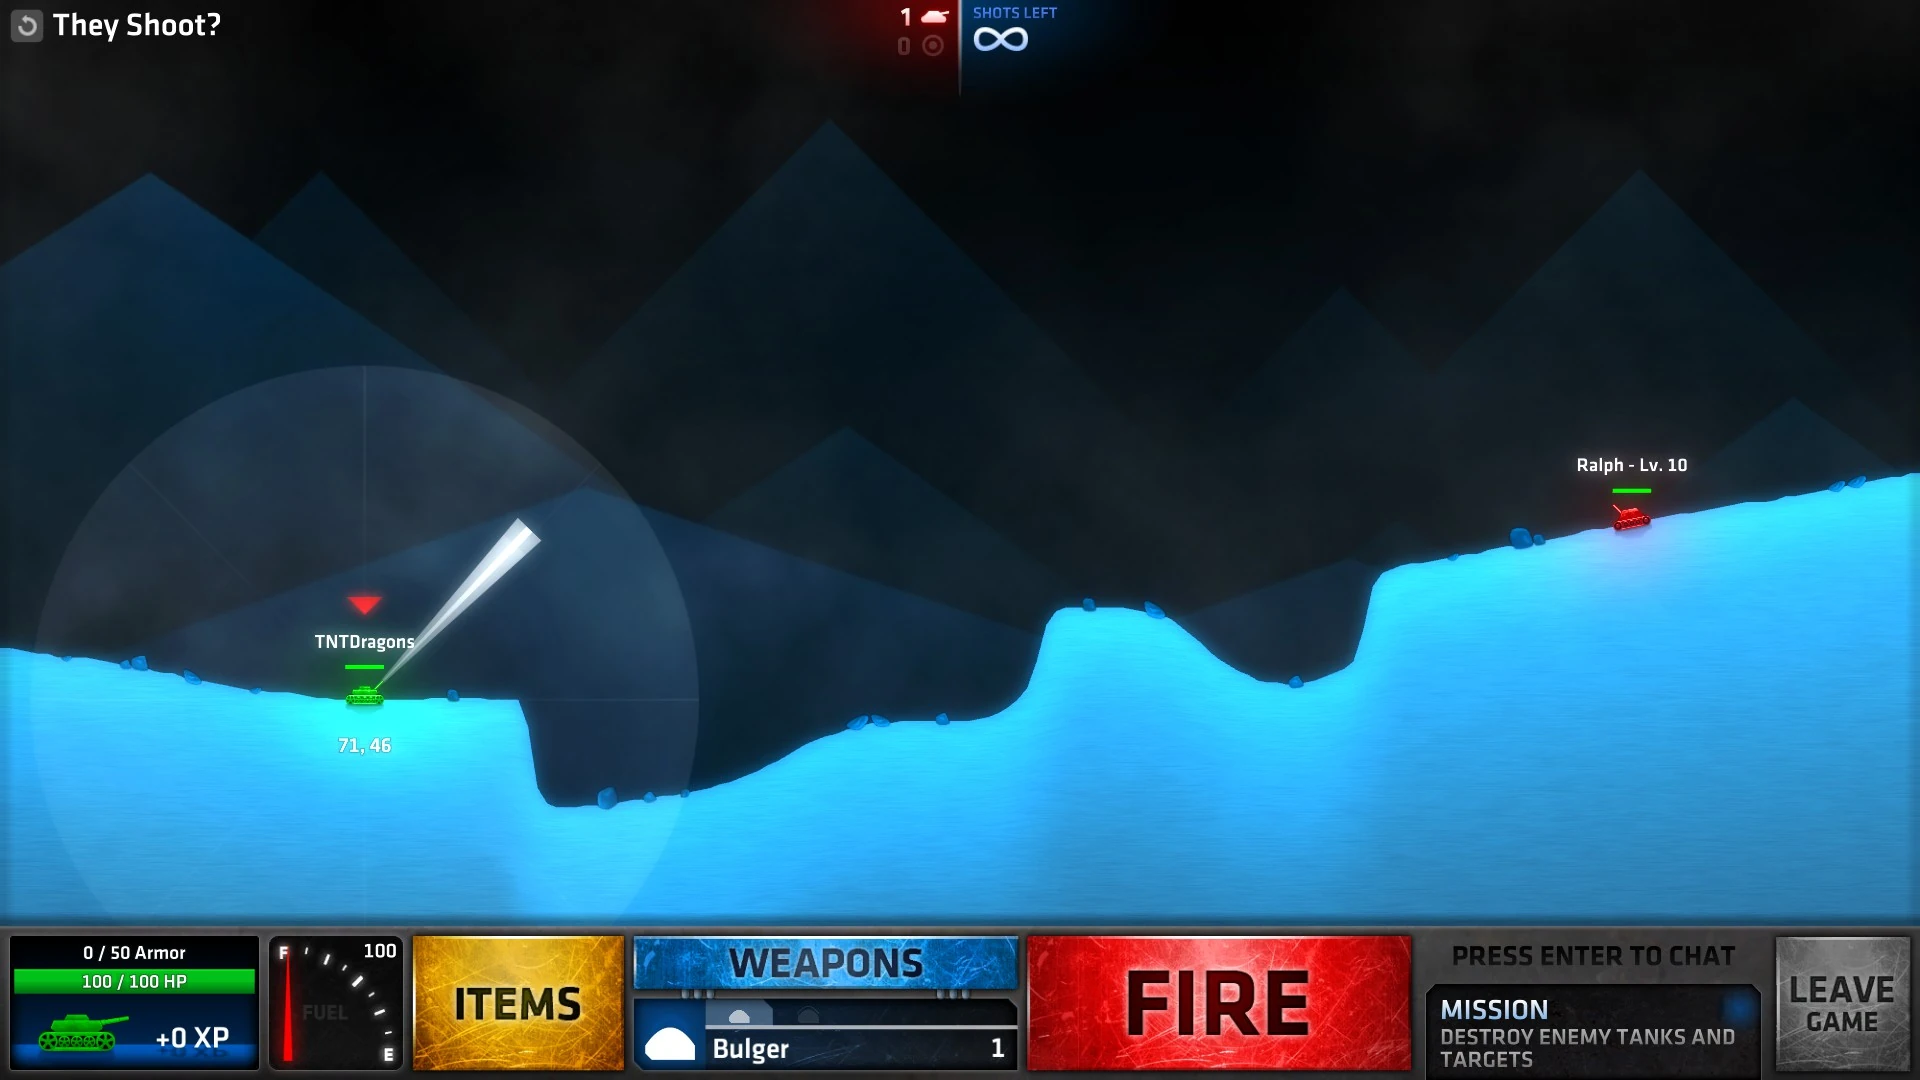
| − | They Shoot.jpg|They Shoot? |
+ | They Shoot.jpg|[[Tank Up#They Shoot?|They Shoot?]] |
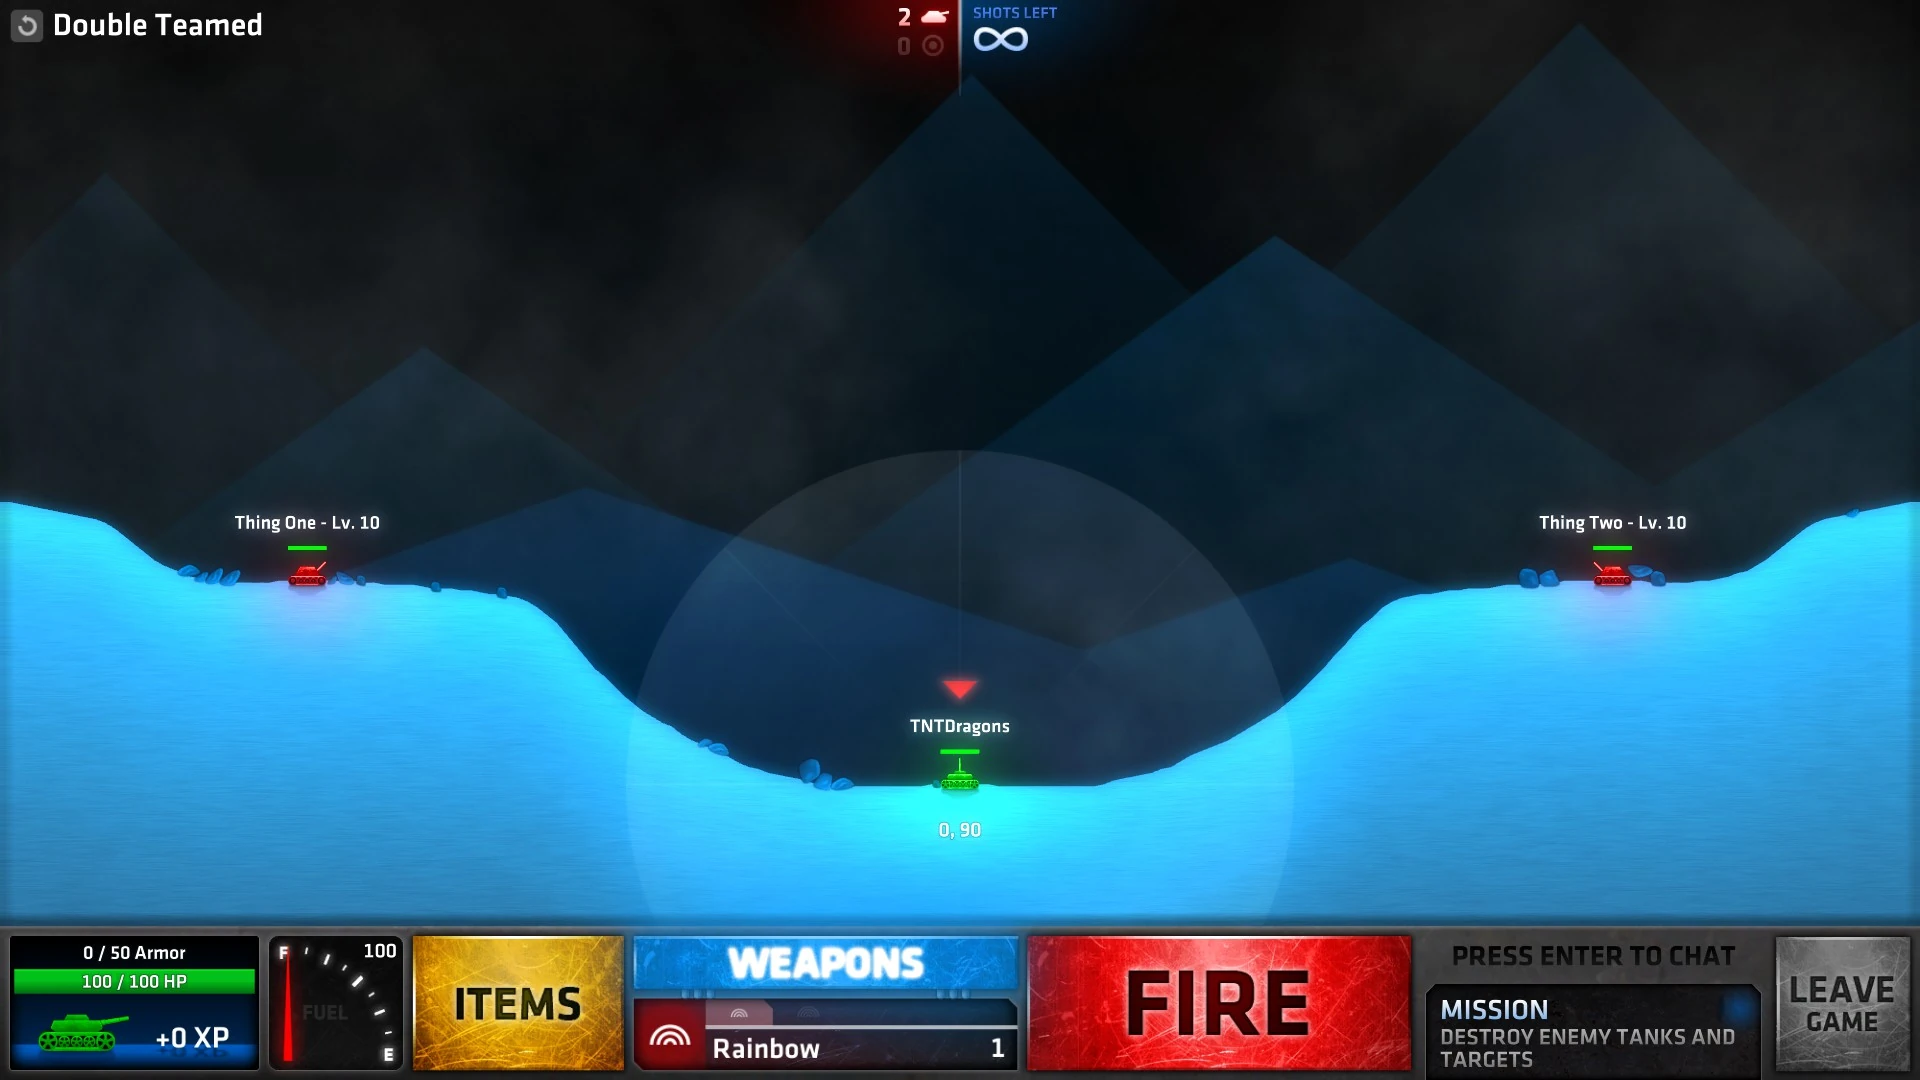
| − | Double Teamed.jpg|Double Teamed |
+ | Double Teamed.jpg|[[Tank Up#Double Teamed|Double Teamed]] |
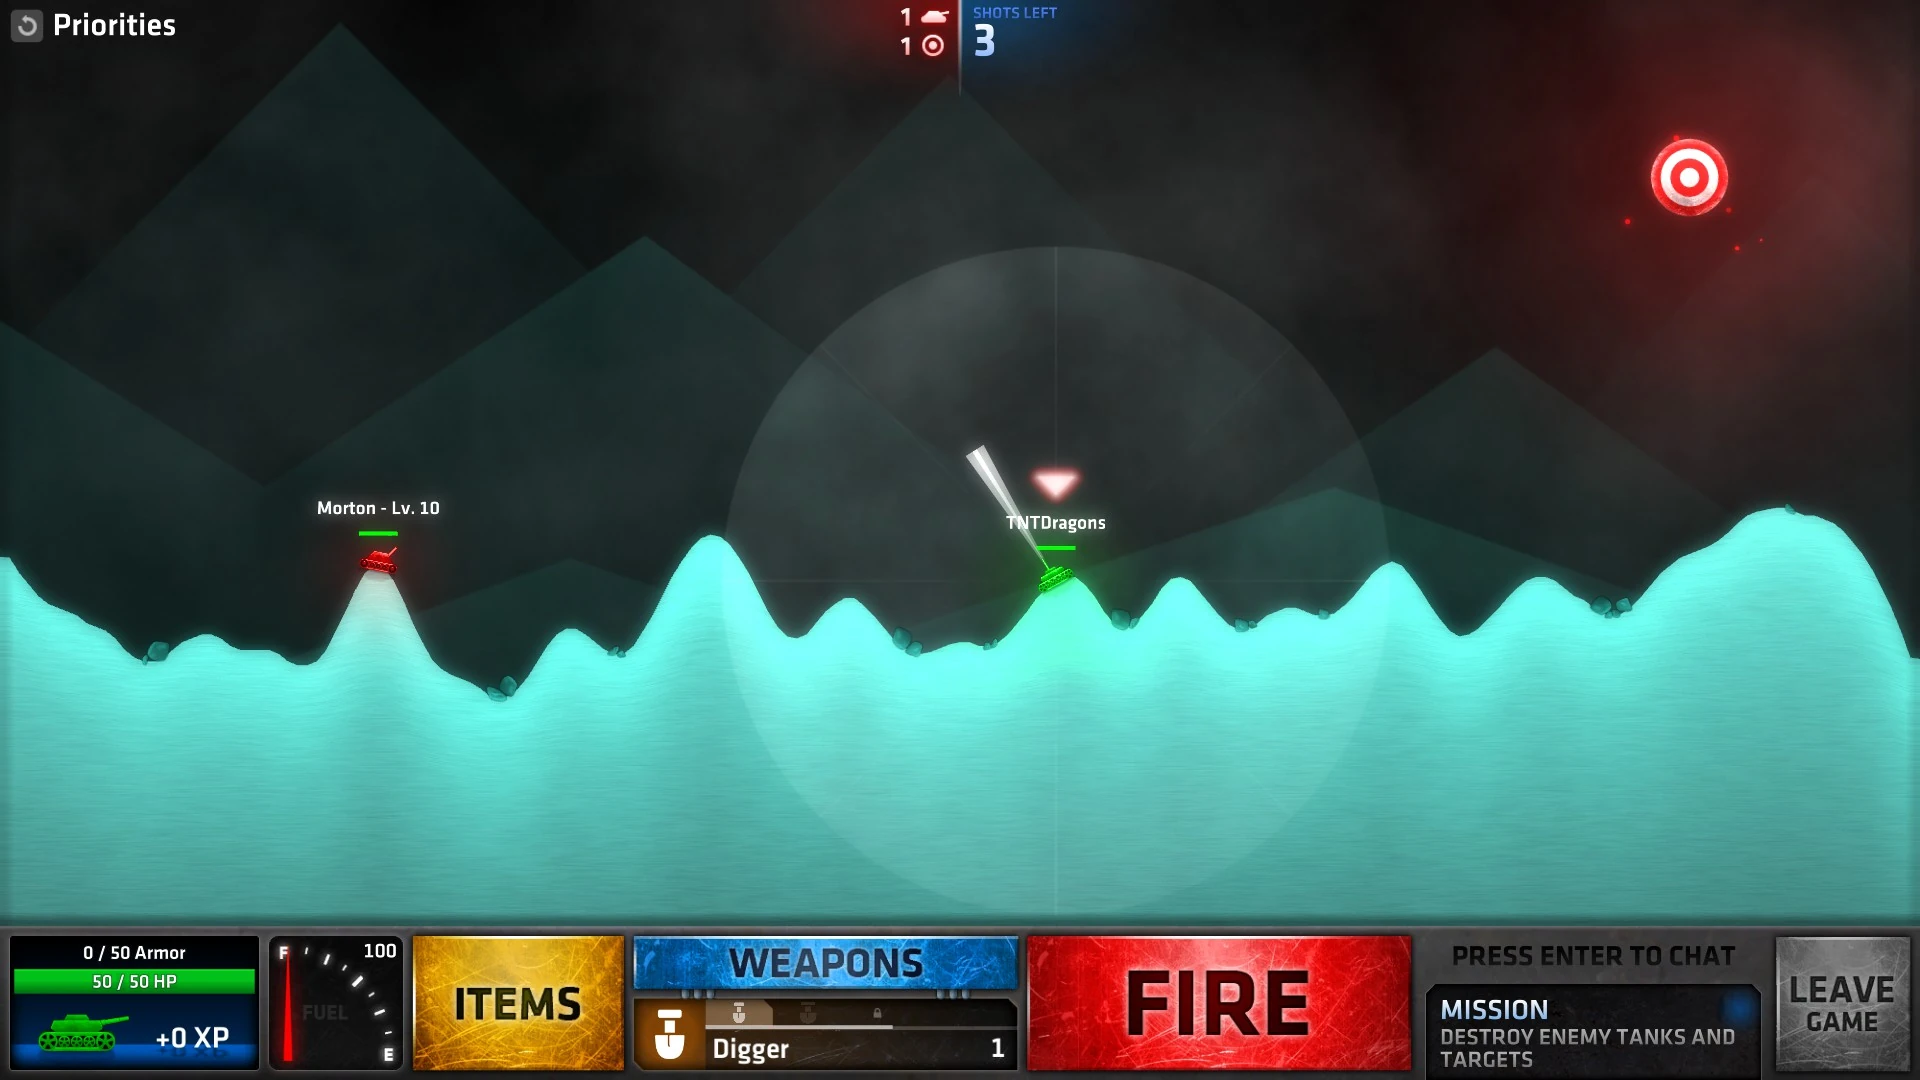
| − | Priorities.jpg|Priorities |
+ | Priorities.jpg|[[Tank Up#Priorities|Priorities]] |
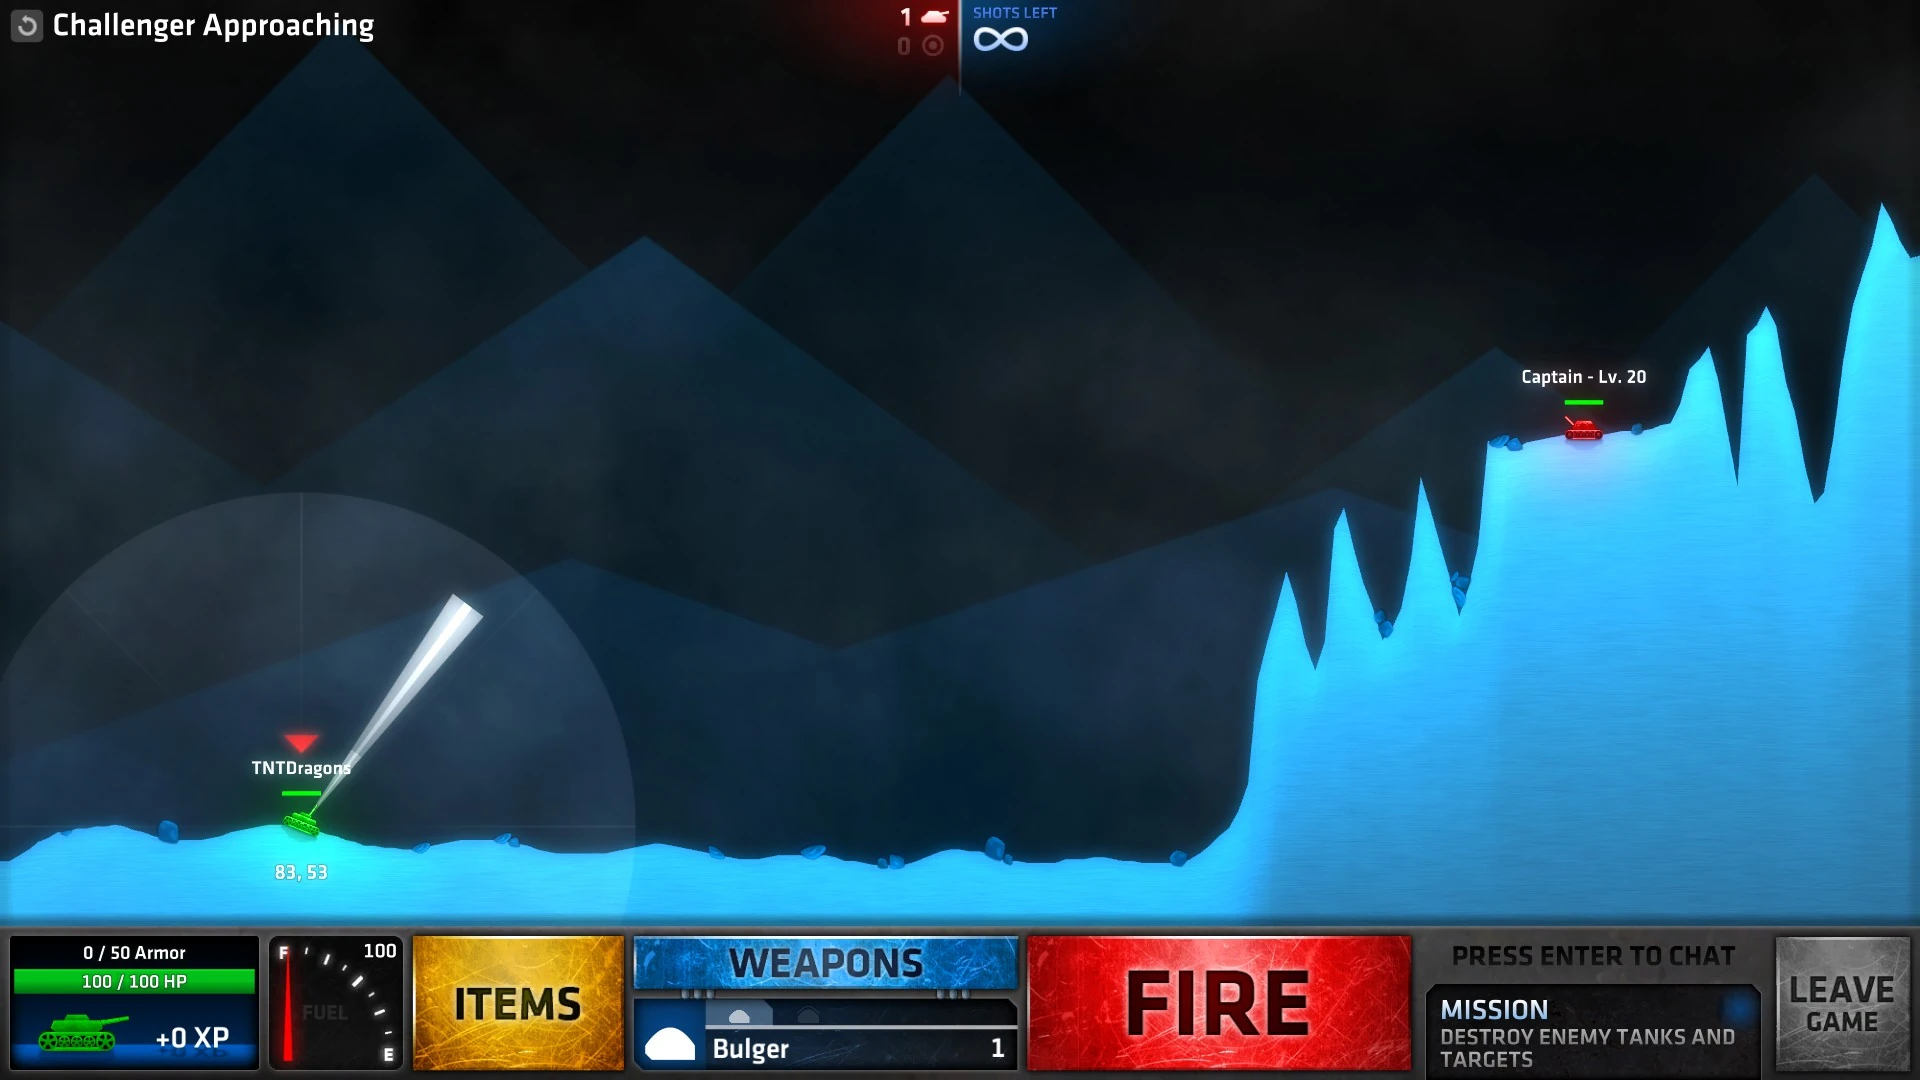
| − | Challenger Approaching.jpg|Challenger Approaching |
+ | Challenger Approaching.jpg|[[Tank Up#Challenger Approaching|Challenger Approaching]] |
</gallery> |
</gallery> |
||
== [[War Games]] == |
== [[War Games]] == |
||
<gallery> |
<gallery> |
||
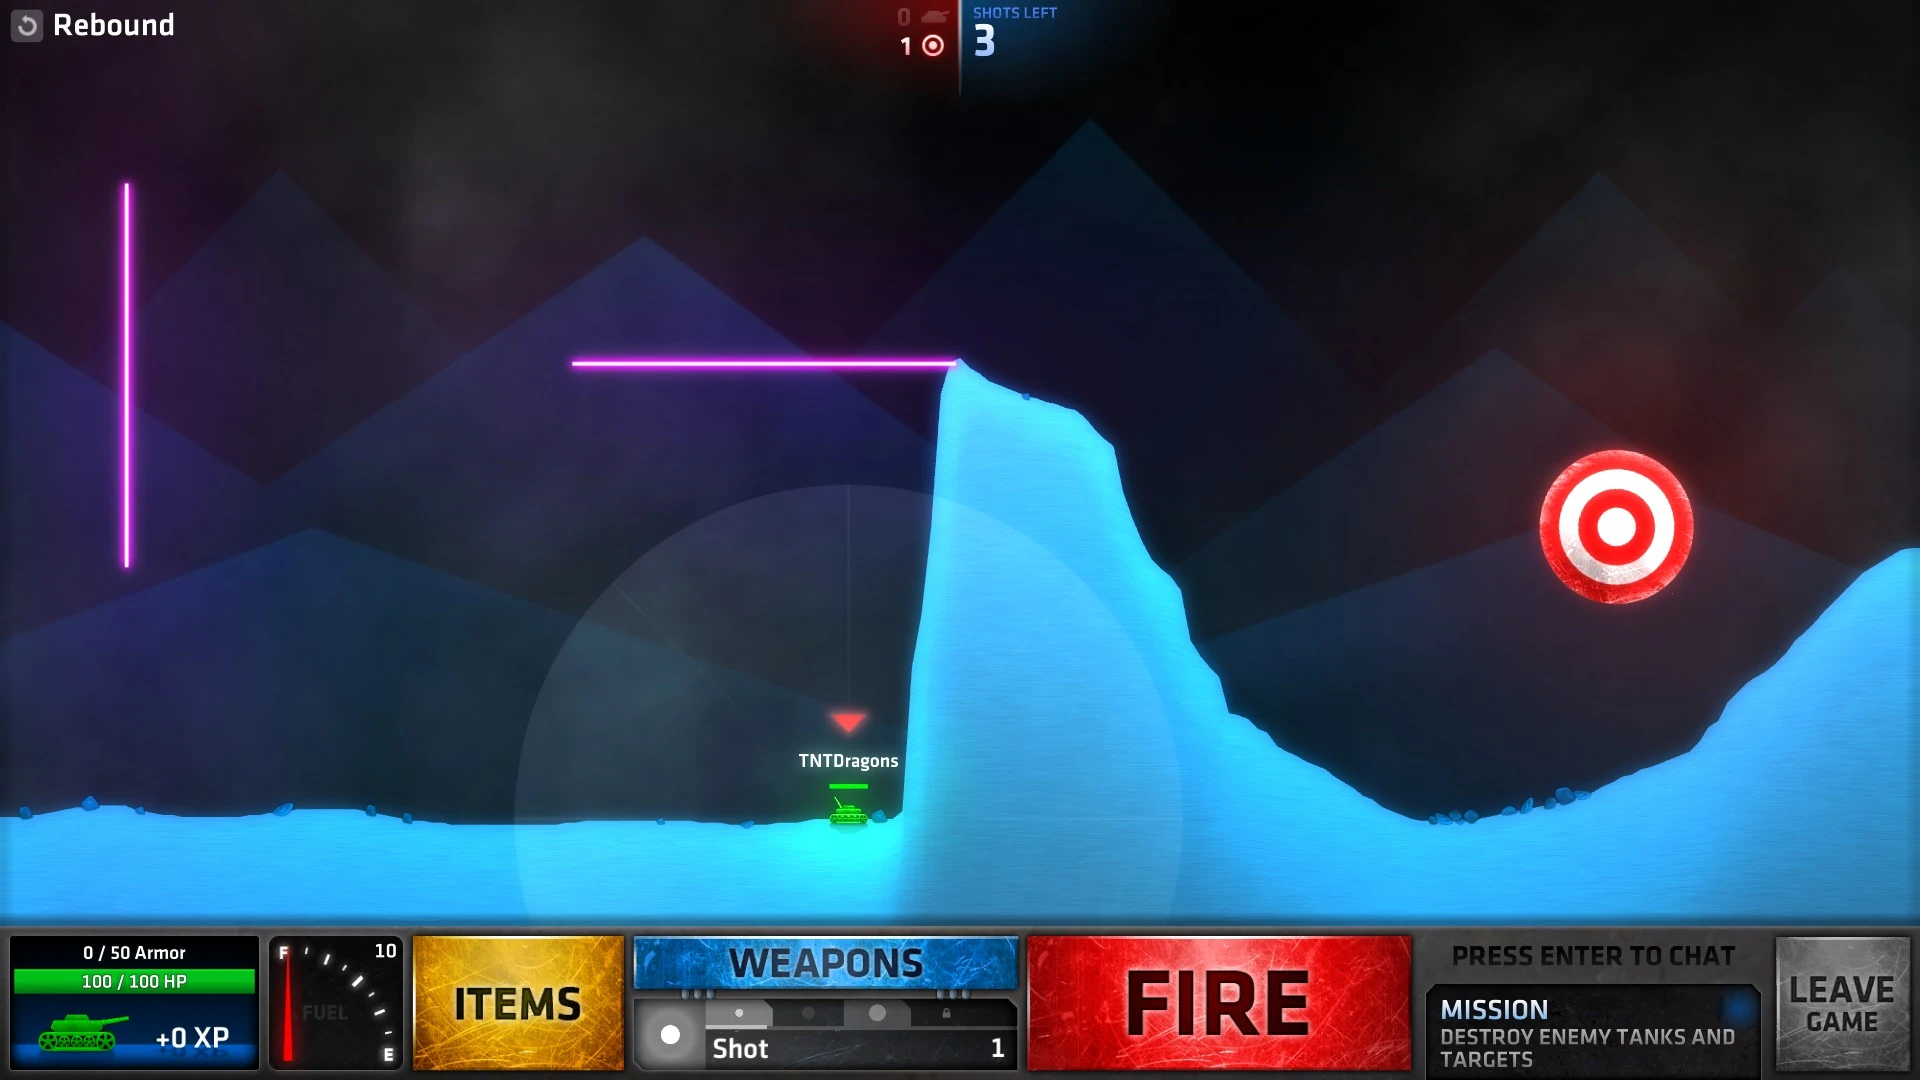
| − | Rebound.jpg|Rebound |
+ | Rebound.jpg|[[War Games#Rebound|Rebound]] |
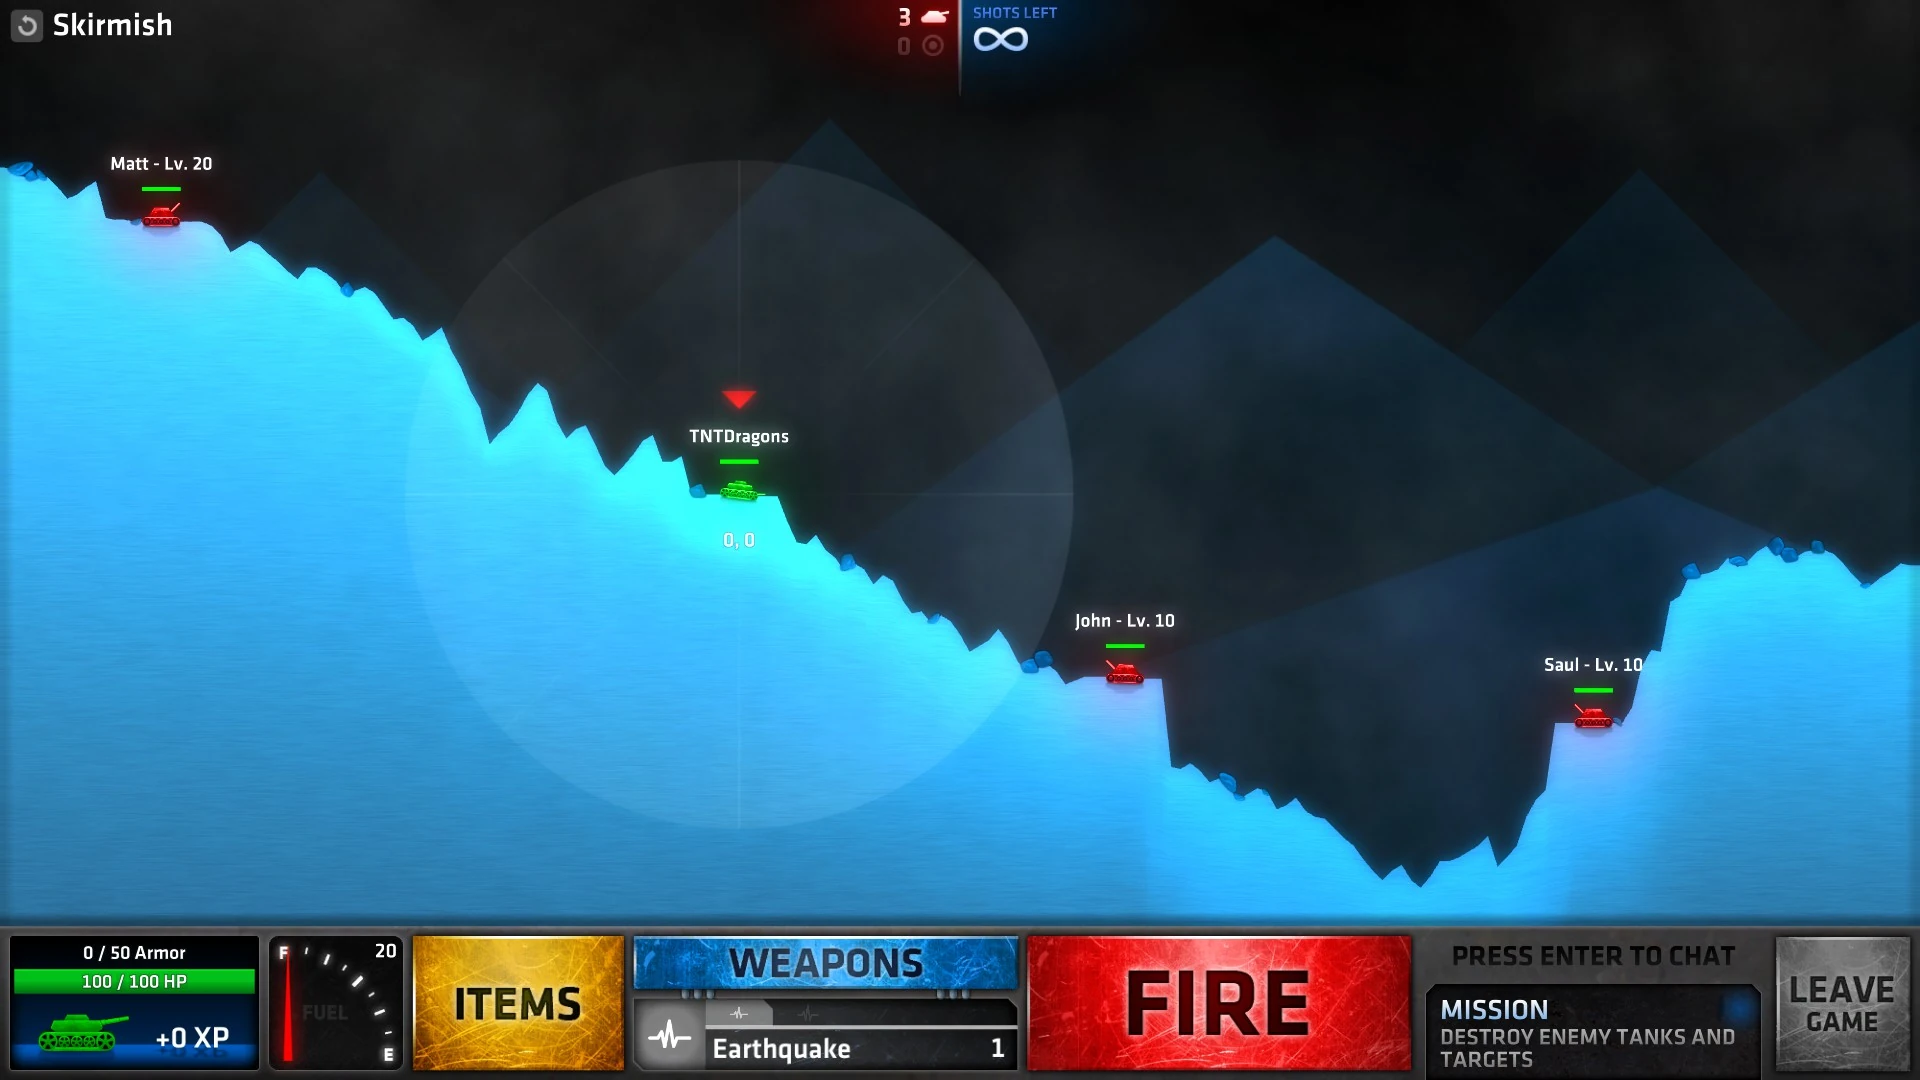
| − | Skirmish.jpg|Skirmish |
+ | Skirmish.jpg|[[War Games#Skirmish|Skirmish]] |
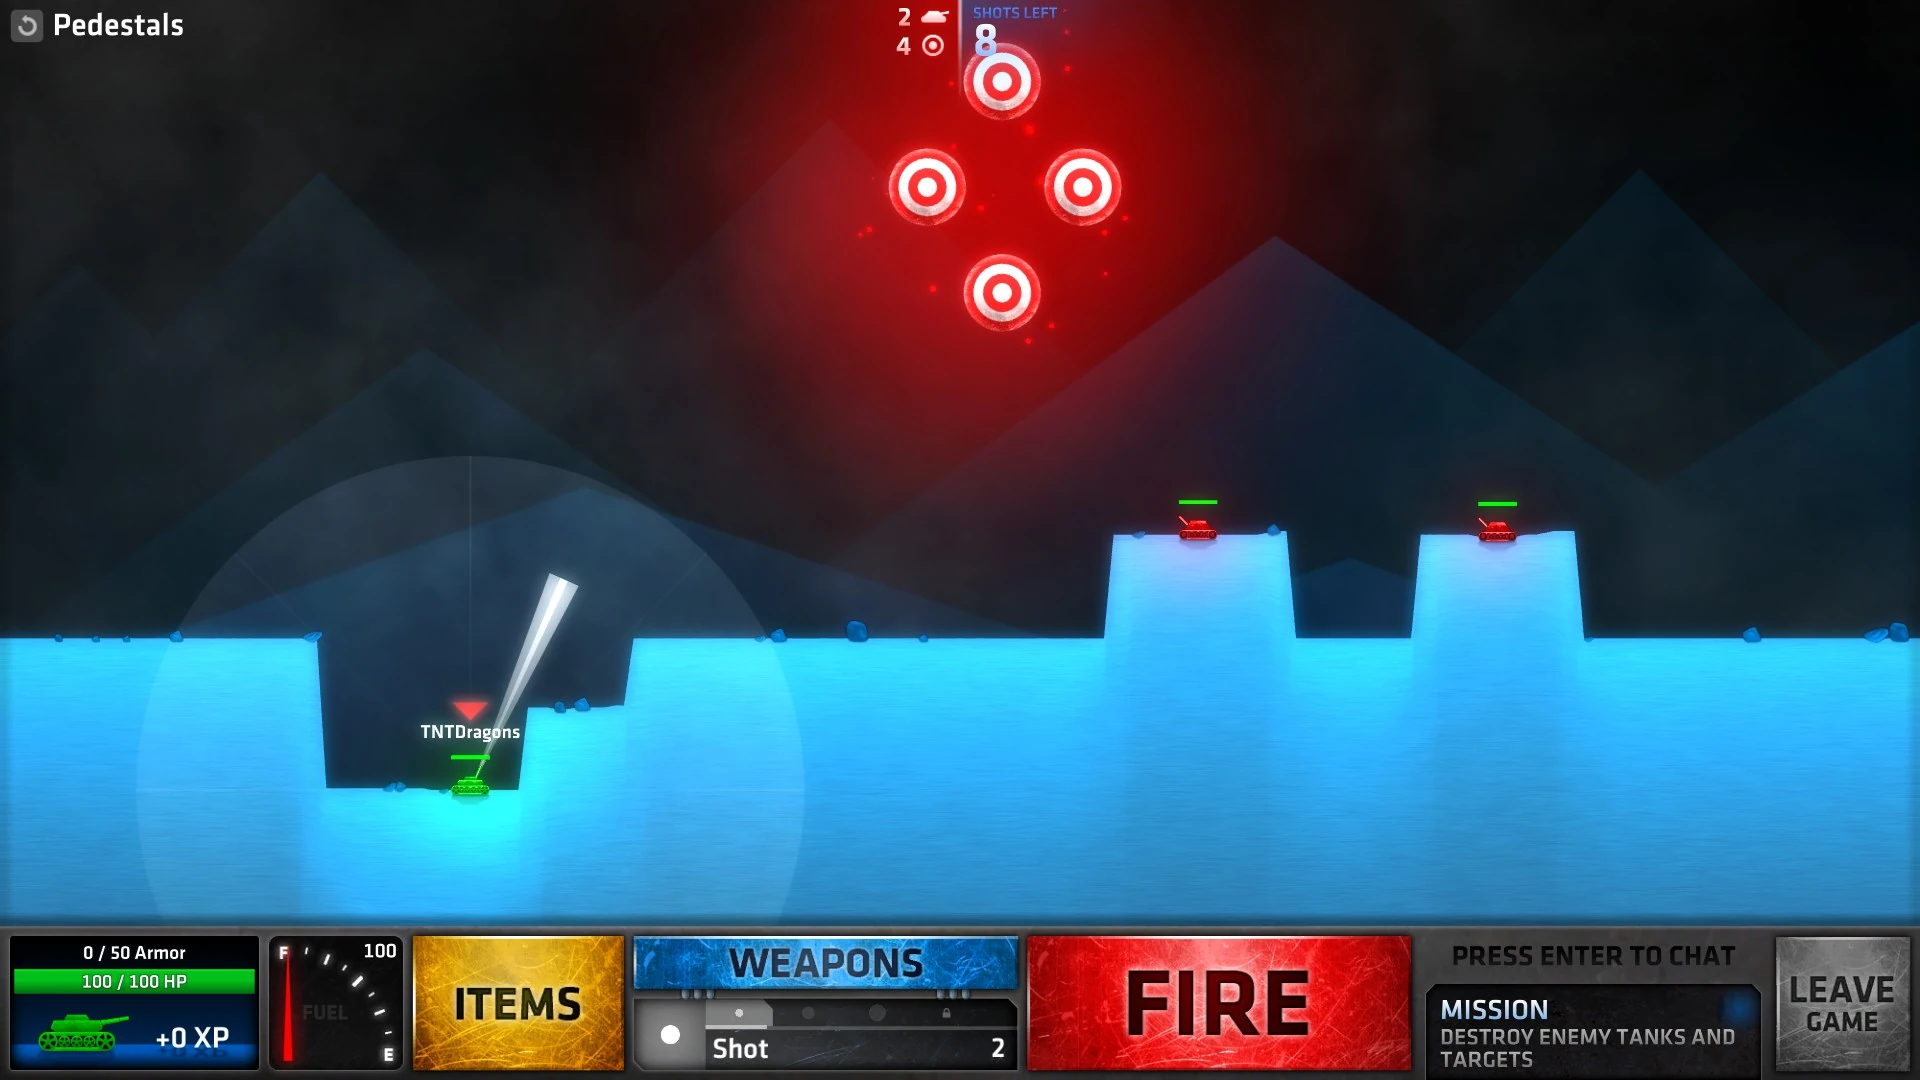
| − | Pedestals.jpg|Pedestals |
+ | Pedestals.jpg|[[War Games#Pedestals|Pedestals]] |
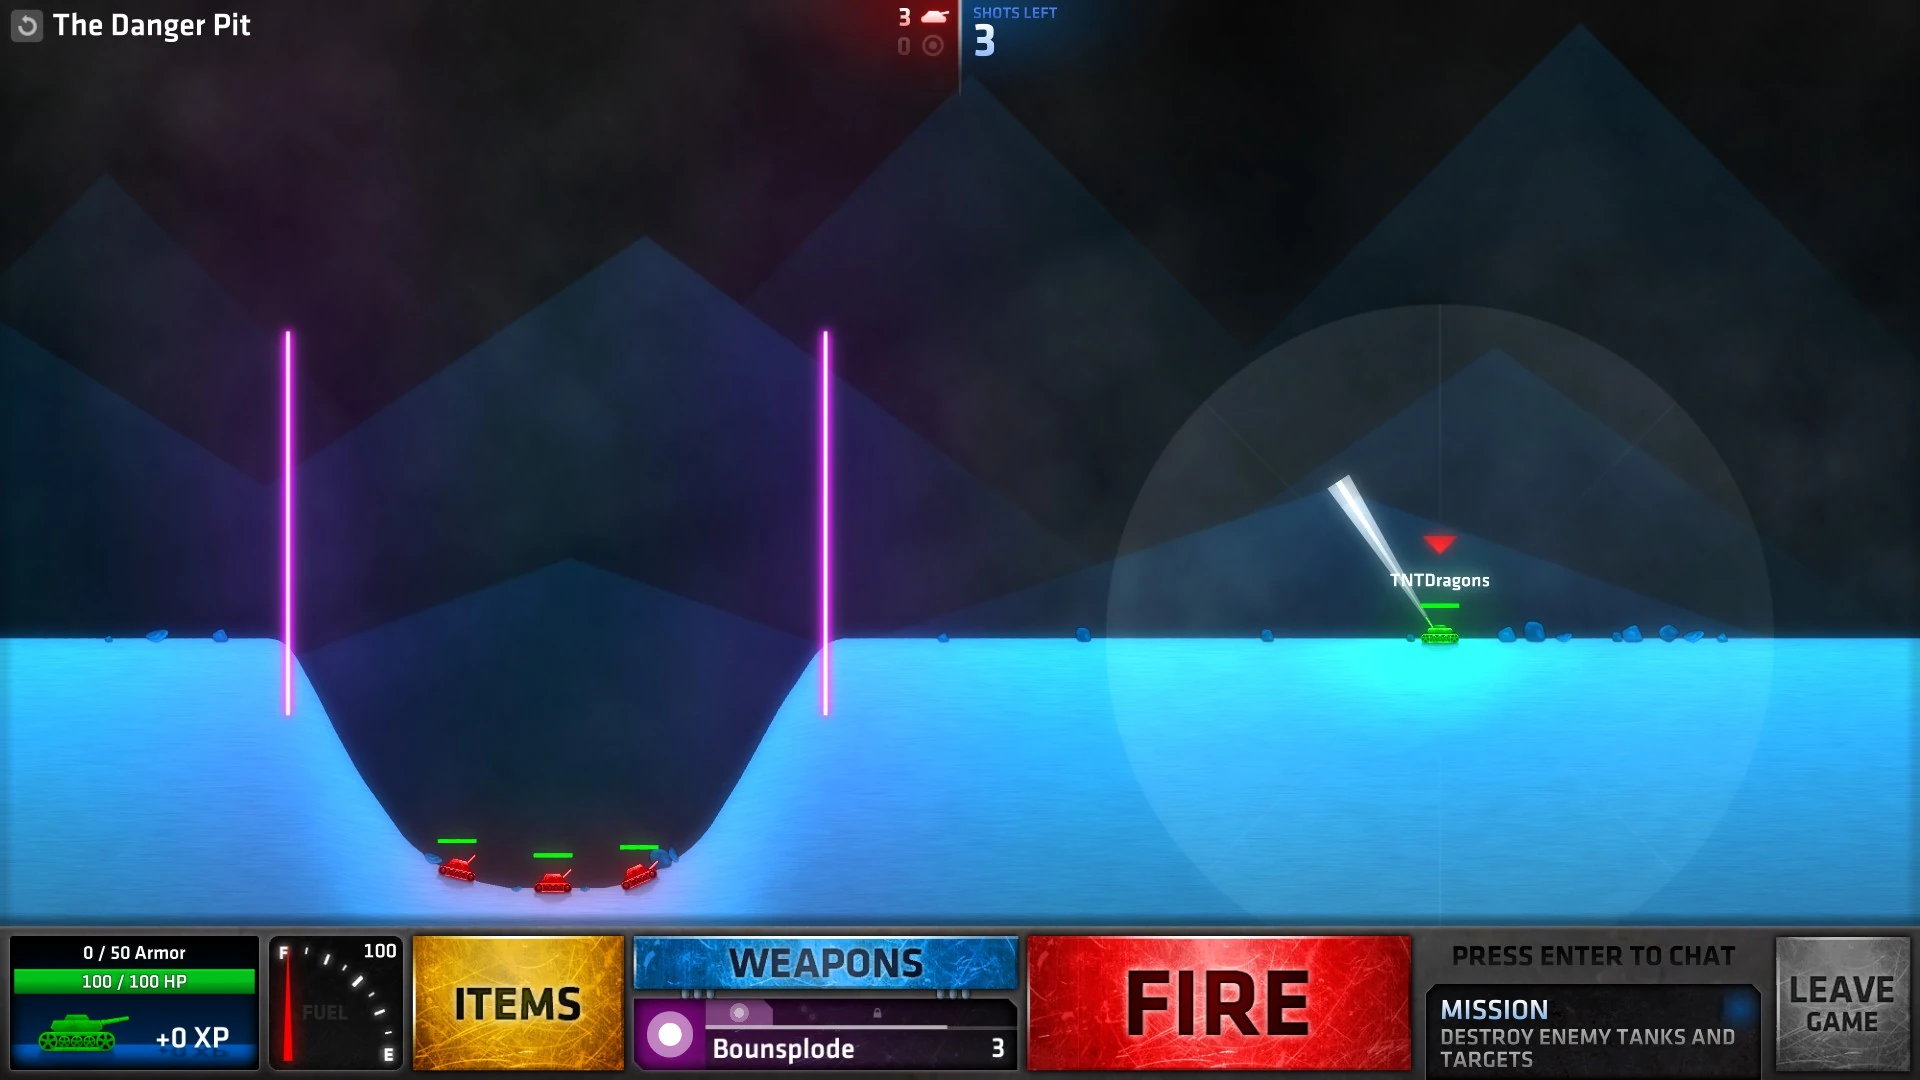
| − | The Danger Pit.jpg|The Danger Pit |
+ | The Danger Pit.jpg|[[War Games#The Danger Pit|The Danger Pit]] |
| − | New Heights.jpg|New Heights |
+ | New Heights.jpg|[[War Games#New Heights|New Heights]] |
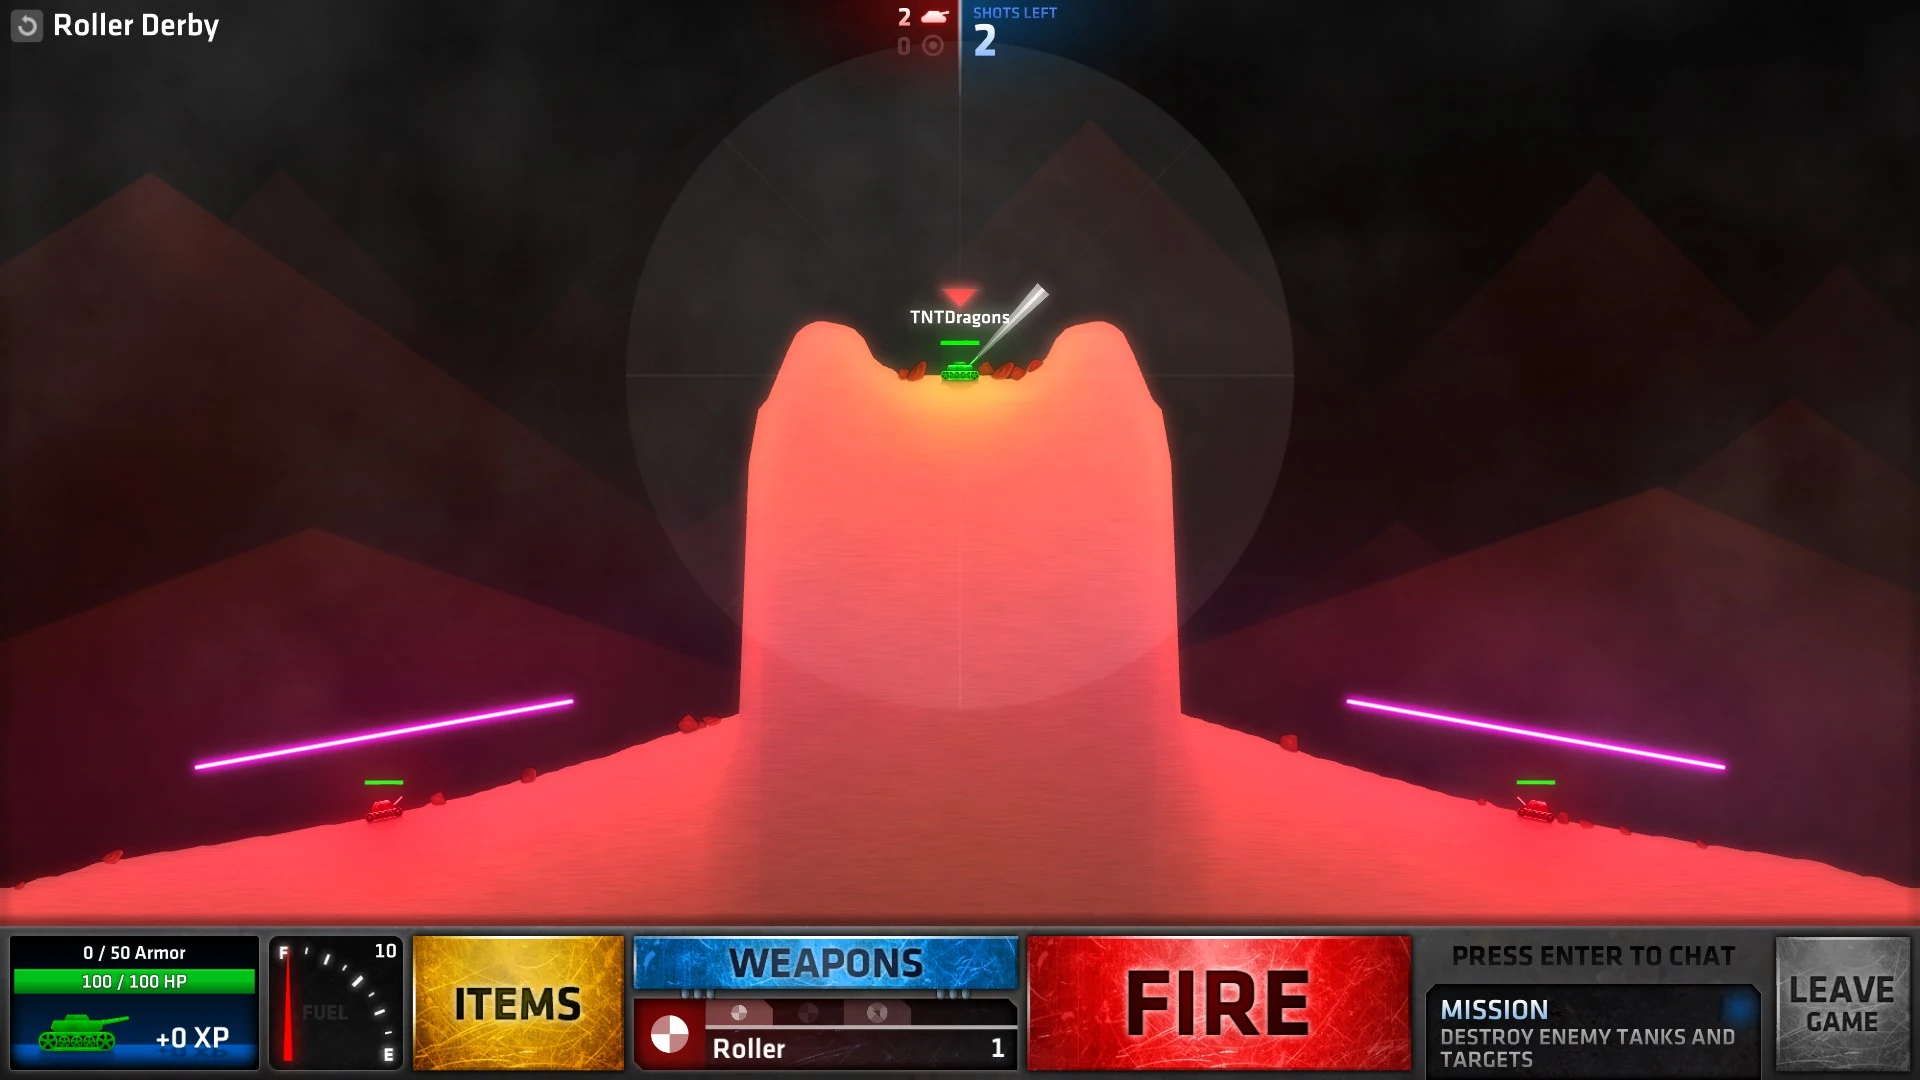
| − | Roller Derby.jpg|Roller Derby |
+ | Roller Derby.jpg|[[War Games#Roller Derby|Roller Derby]] |
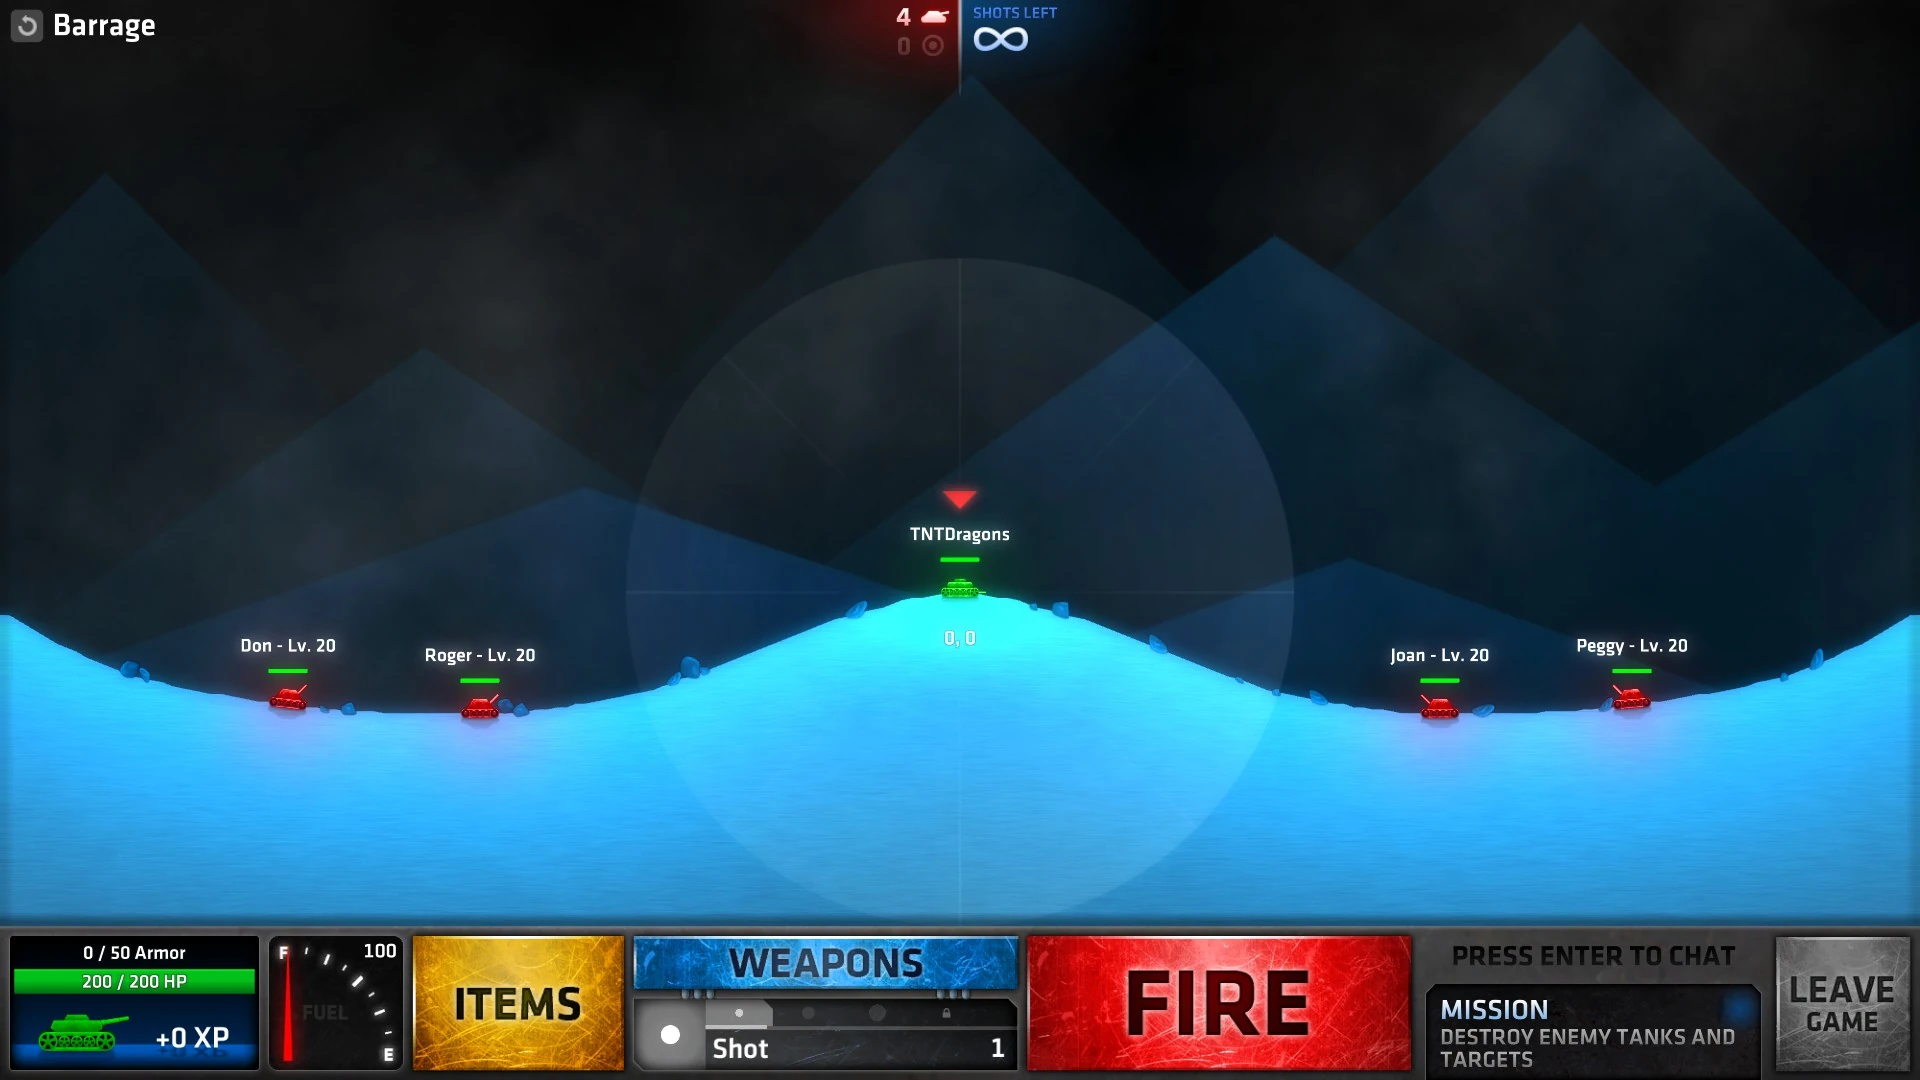
| − | Barrage.jpg|Barrage |
+ | Barrage.jpg|[[War Games#Barrage|Barrage]] |
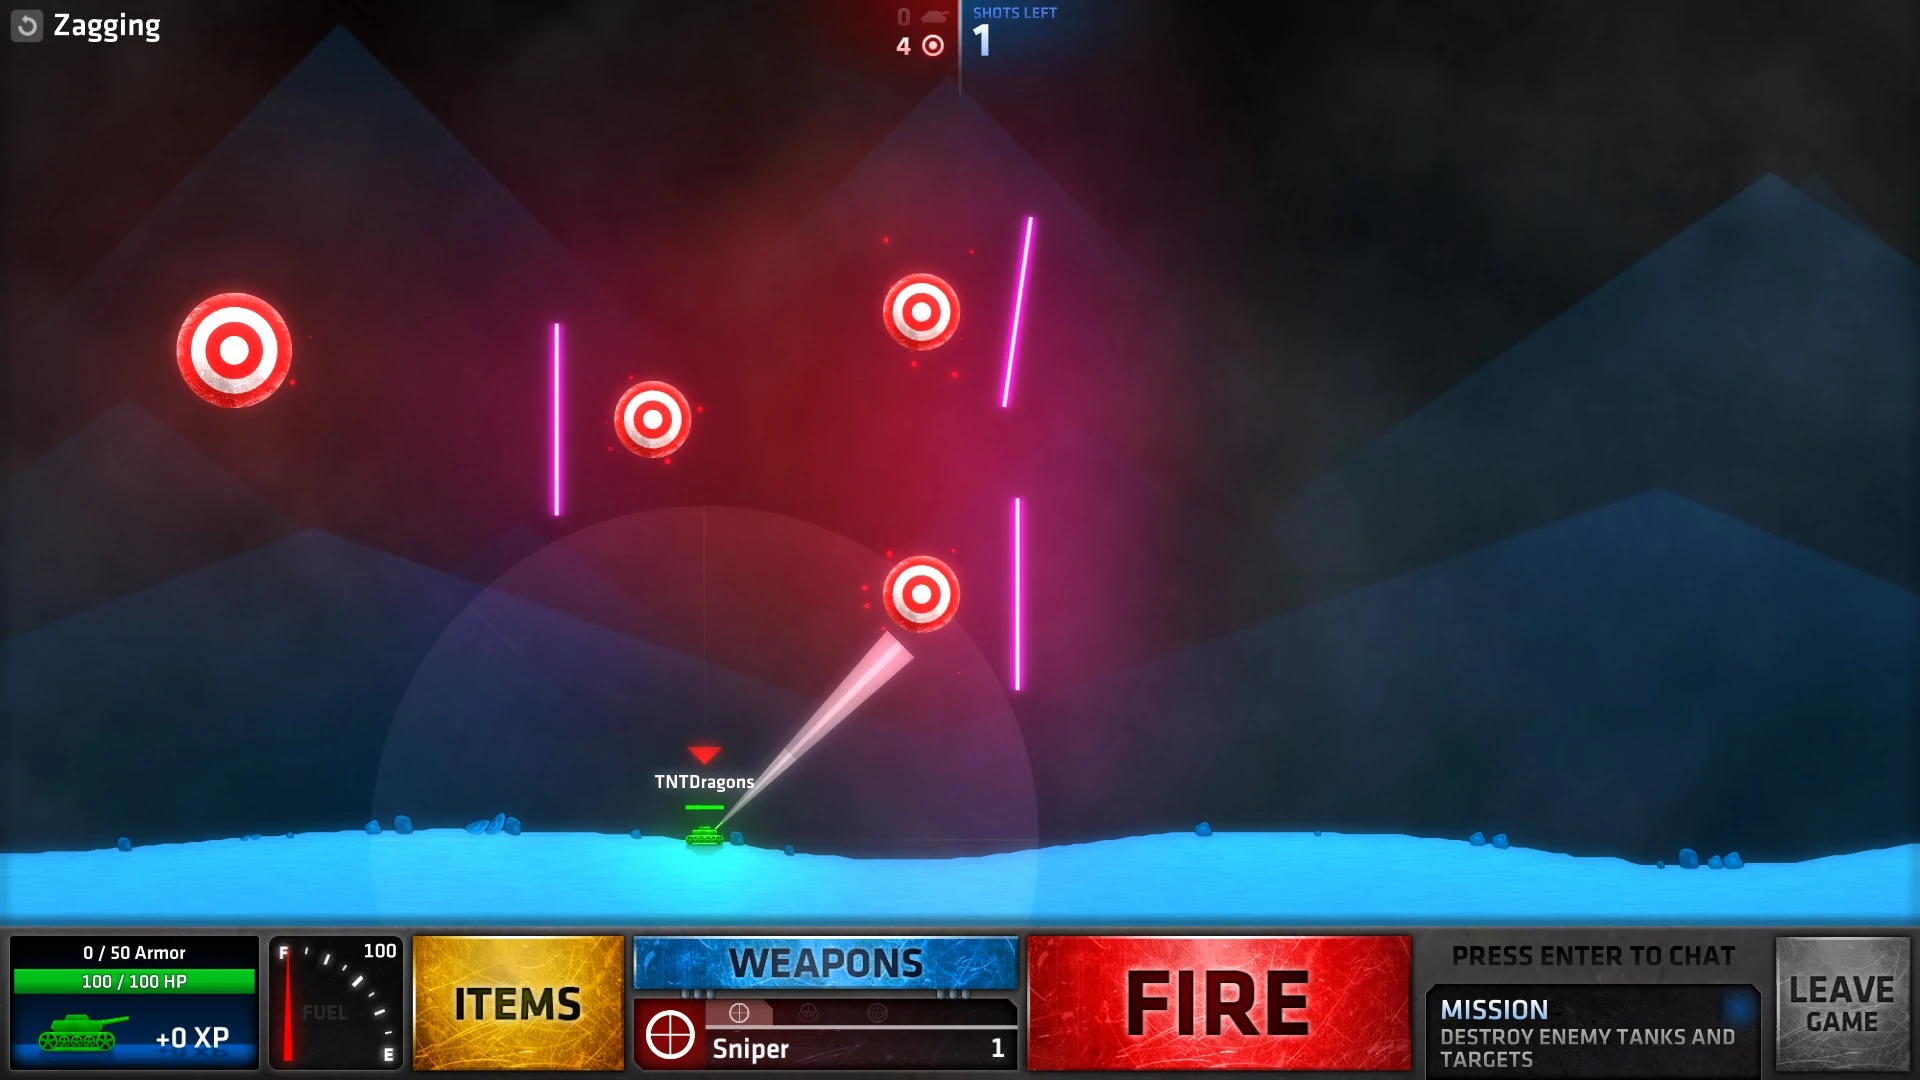
| − | Zagging.jpg|Zagging |
+ | Zagging.jpg|[[War Games#Zagging|Zagging]] |
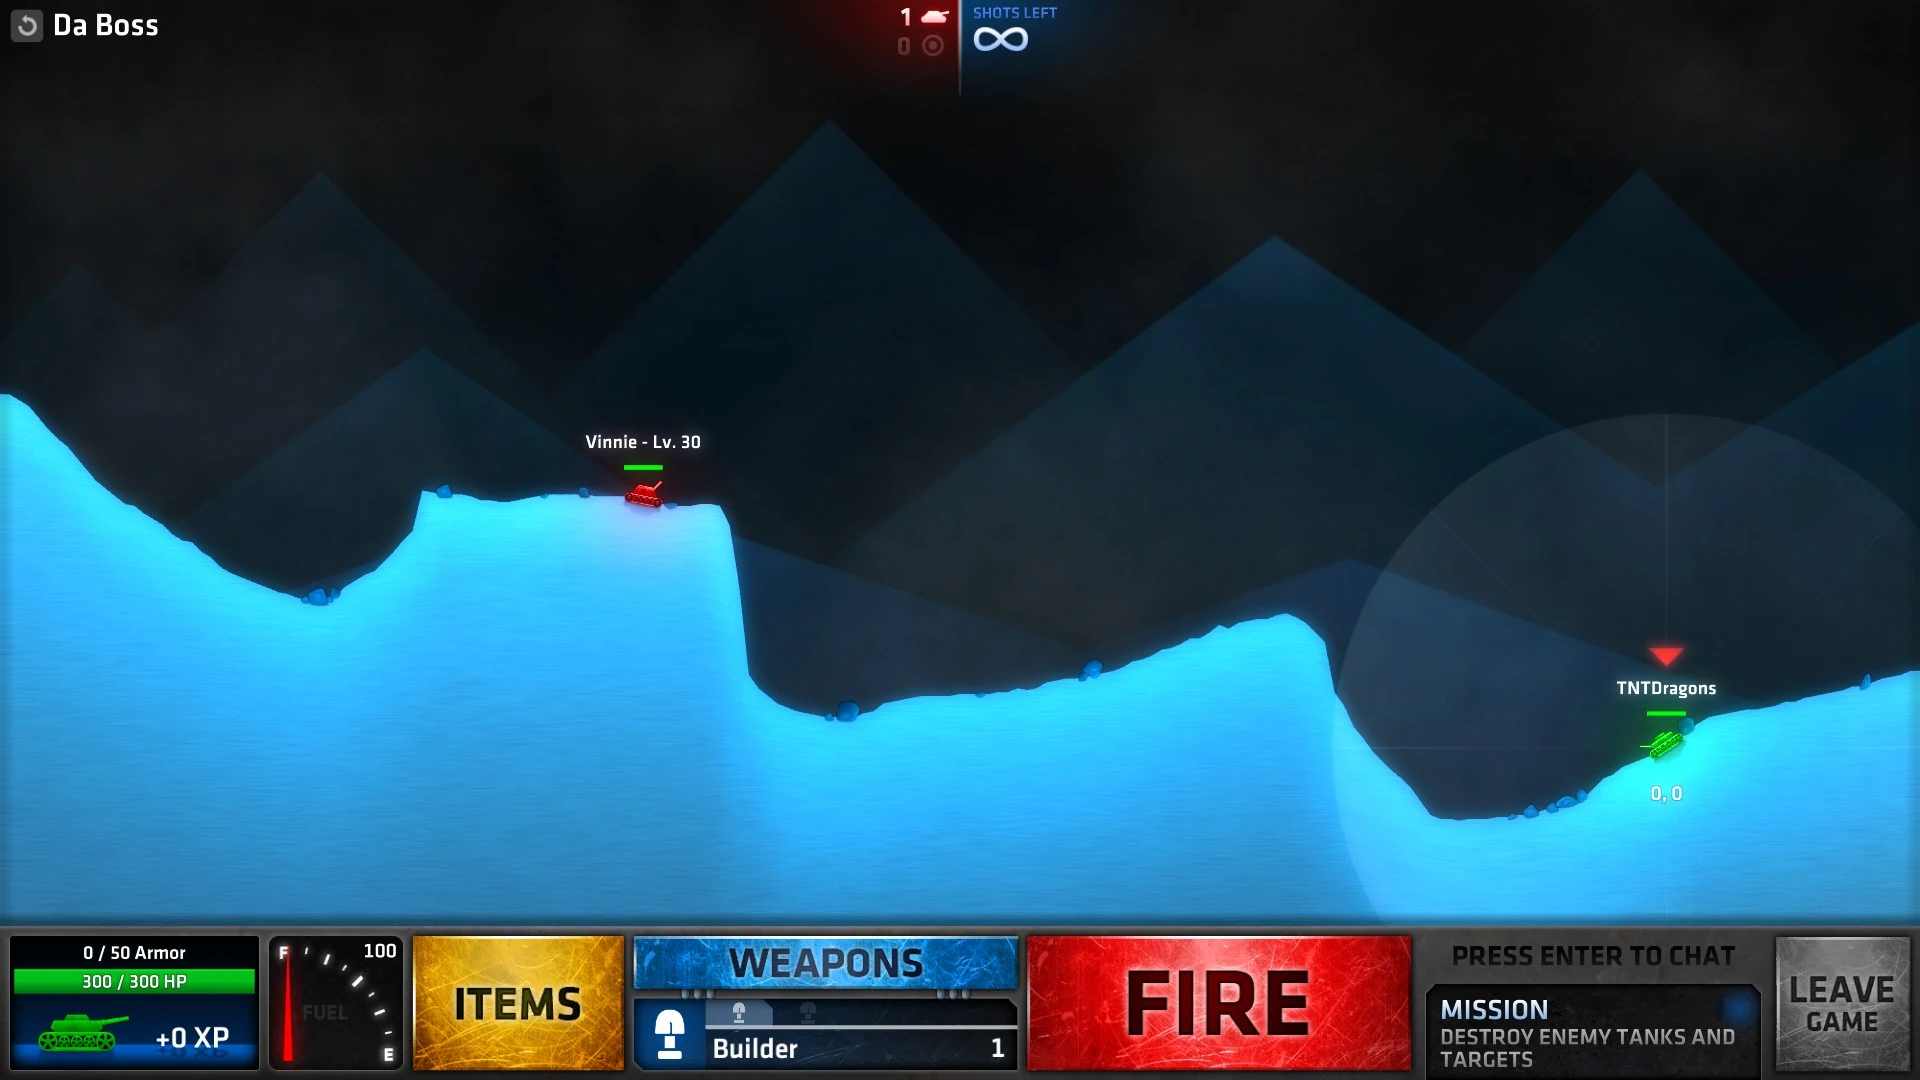
| − | Da Boss.jpg|Da Boss |
+ | Da Boss.jpg|[[War Games#Da Boss|Da Boss]] |
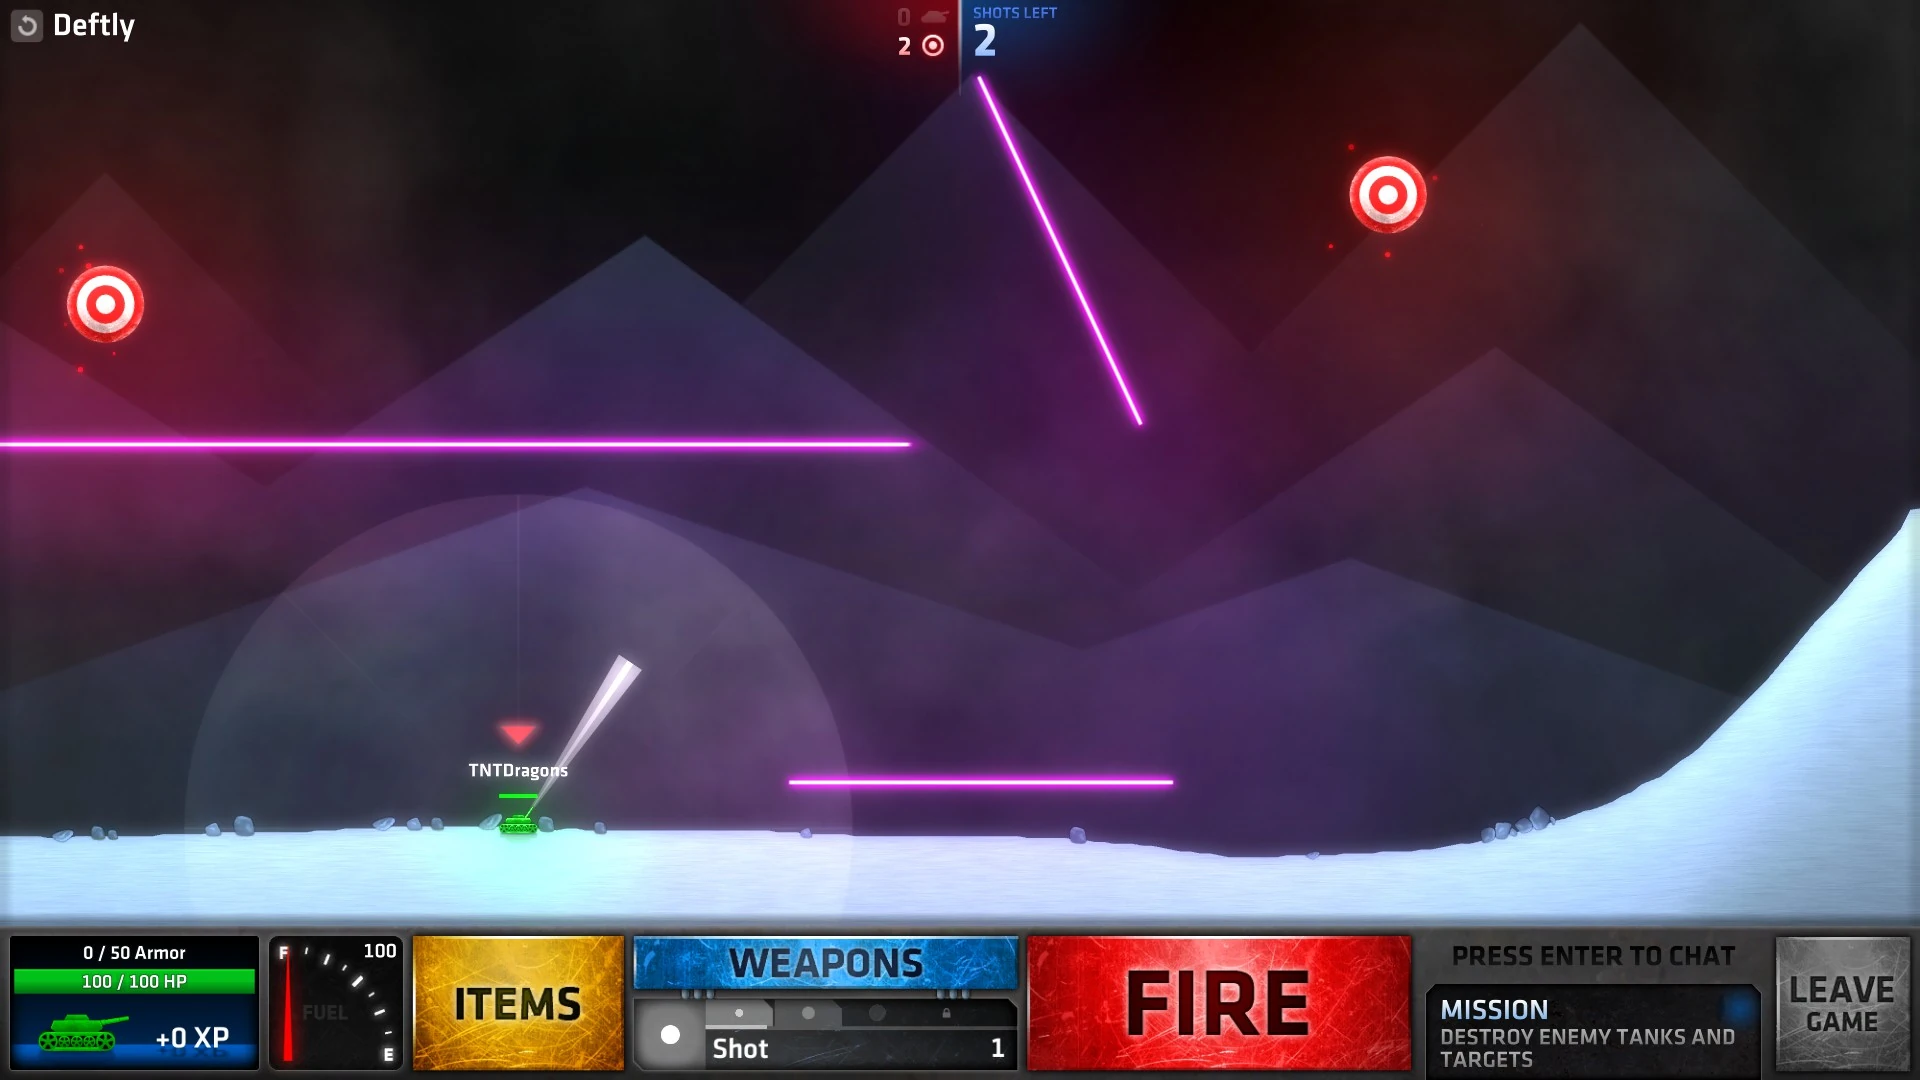
| − | Deftly.jpg|Deftly |
+ | Deftly.jpg|[[War Games#Deftly|Deftly]] |
</gallery> |
</gallery> |
||
== [[Shell or Be Shelled]] == |
== [[Shell or Be Shelled]] == |
||
<gallery> |
<gallery> |
||
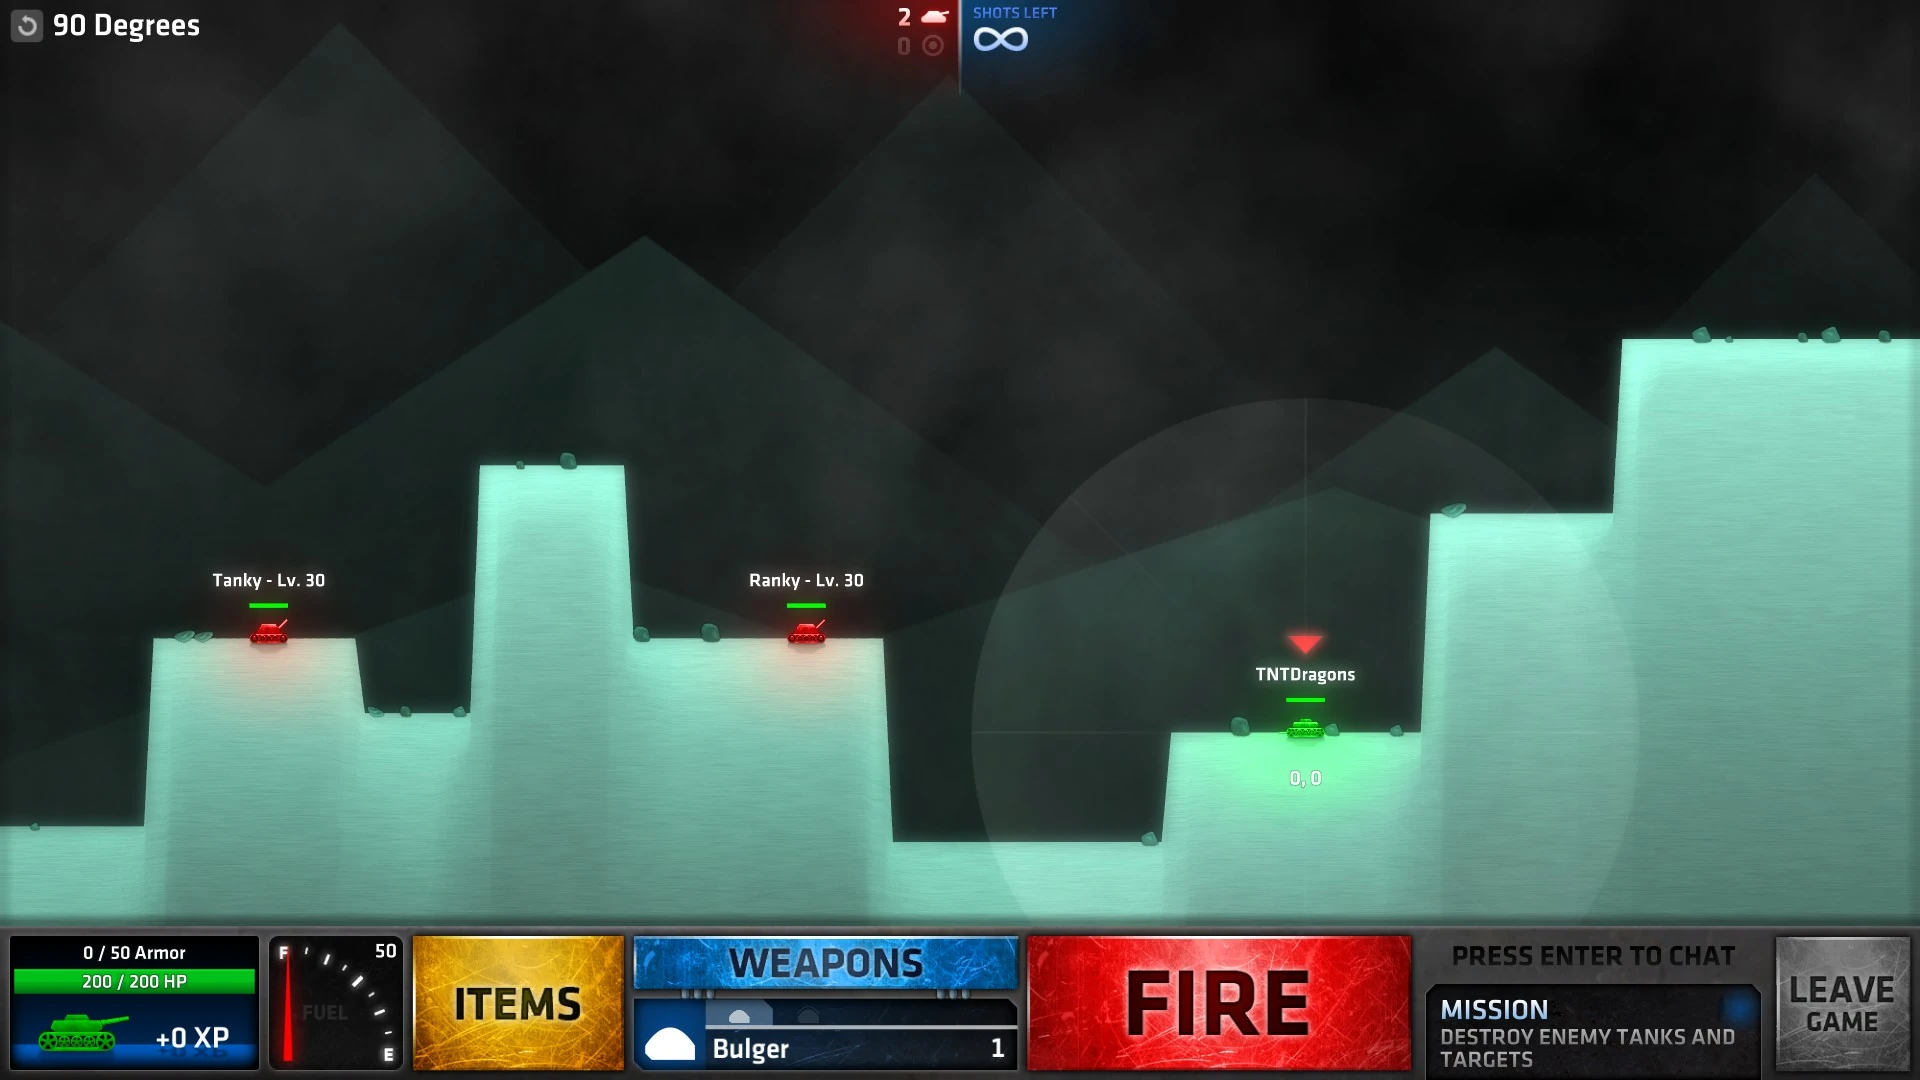
| − | 90 Degrees.jpg|90 Degrees |
+ | 90 Degrees.jpg|[[Shell or Be Shelled#90 Degrees|90 Degrees]] |
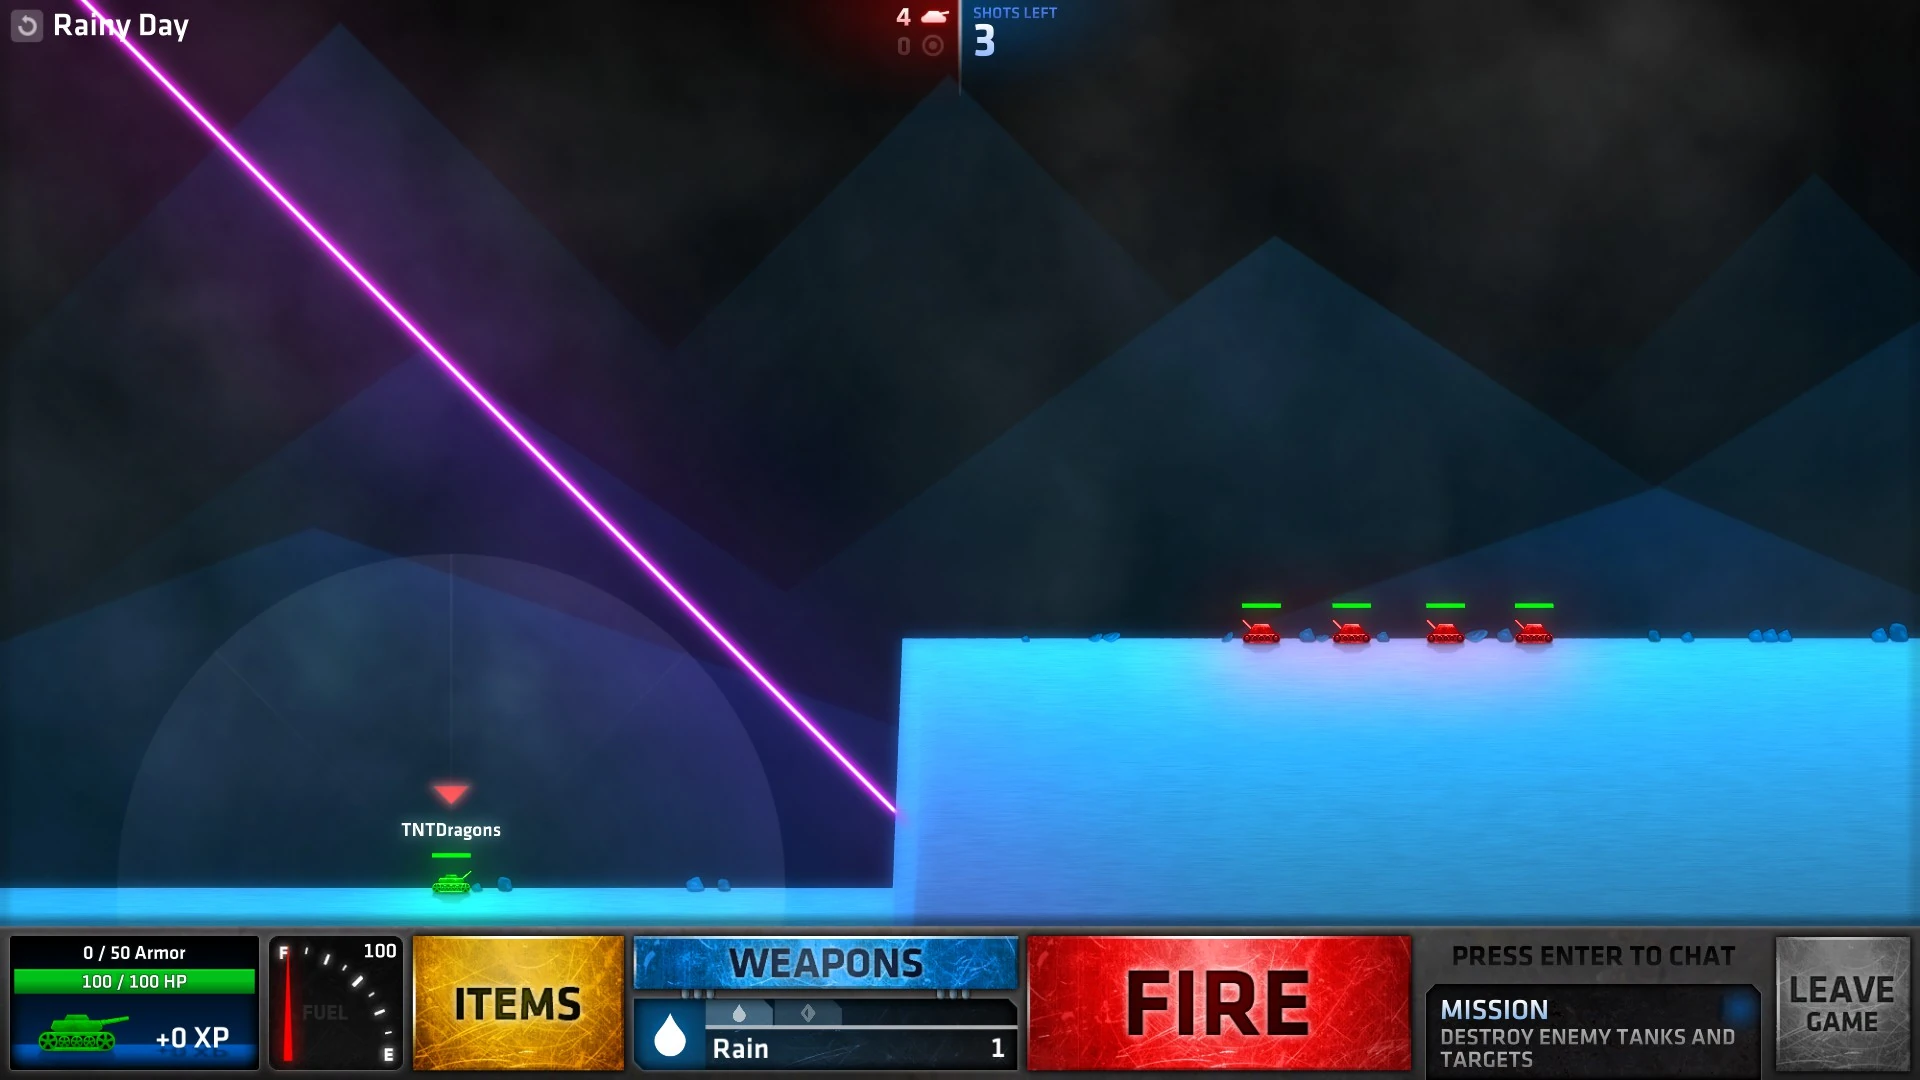
| − | Rainy Day.jpg| Rainy Day |
+ | Rainy Day.jpg|[[Shell or Be Shelled#Rainy Day|Rainy Day]] |
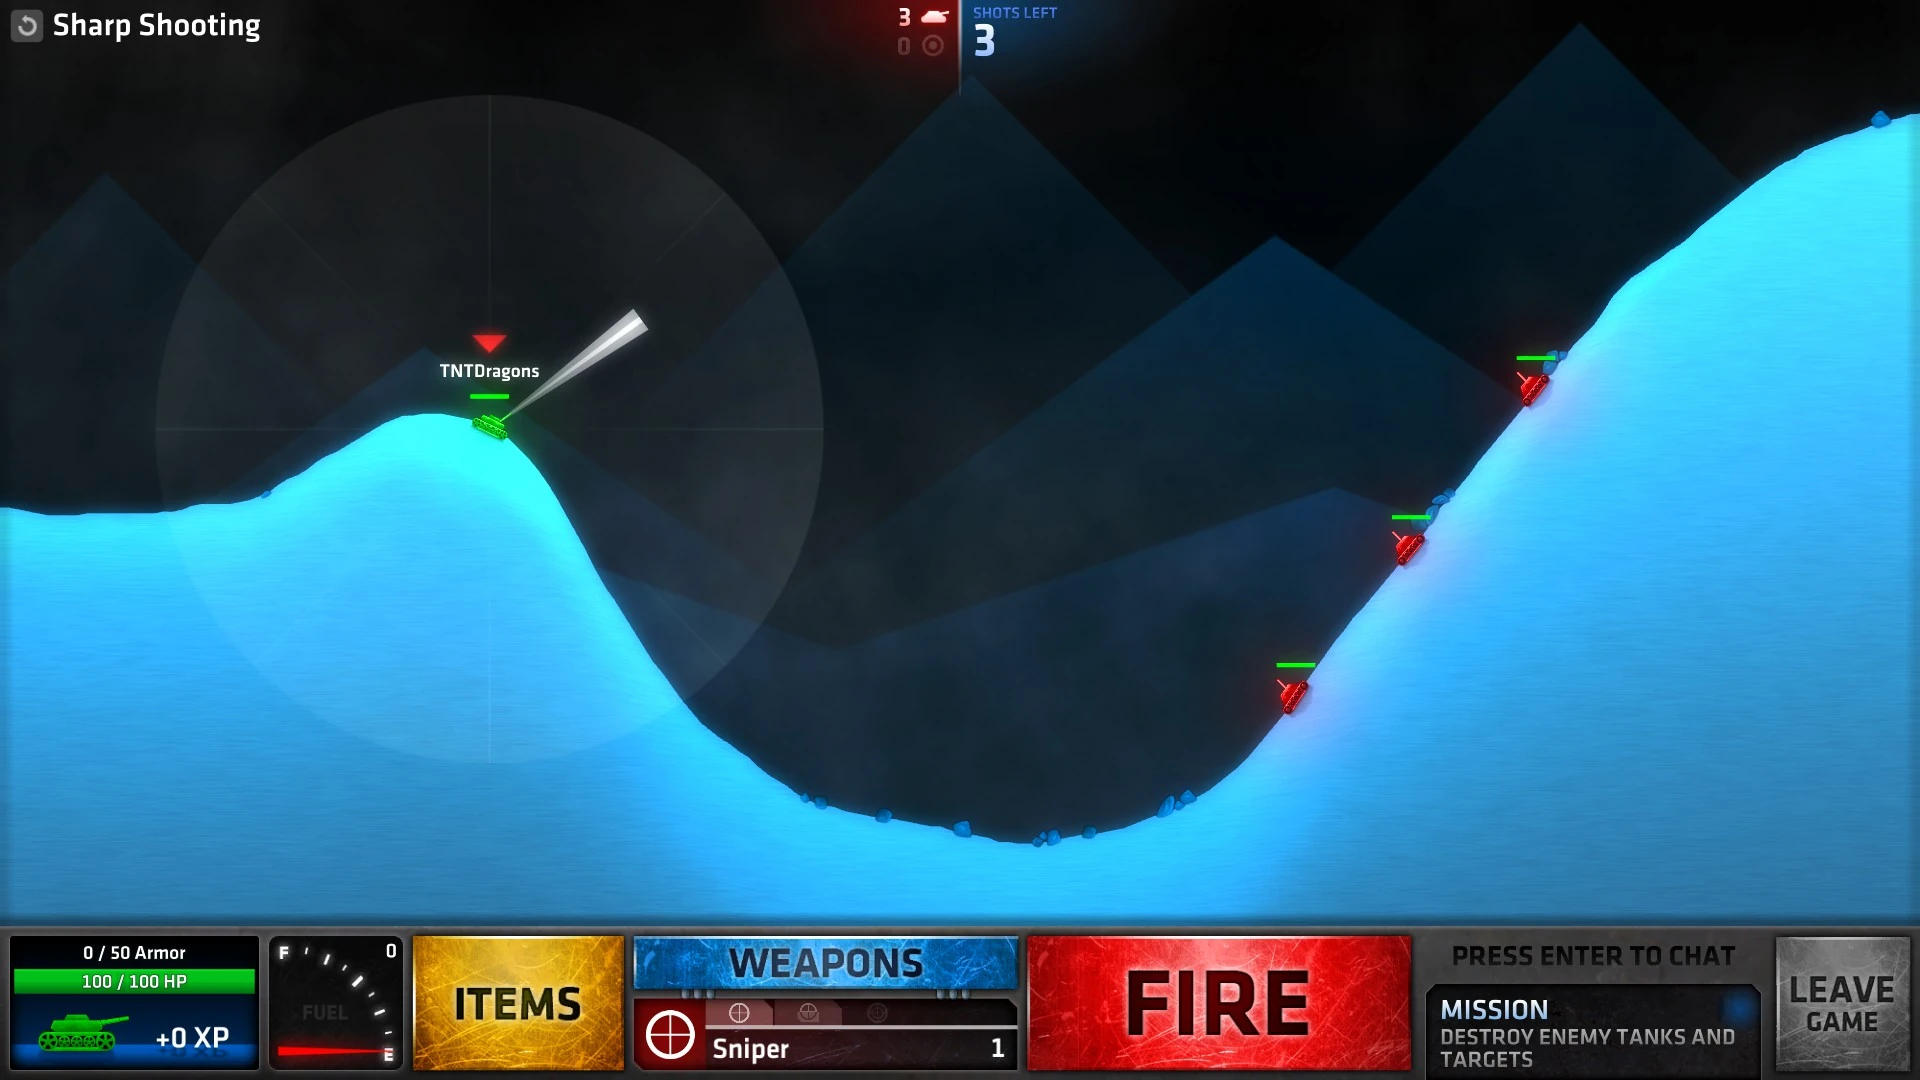
| − | Sharp Shooting.jpg|Sharp Shooting |
+ | Sharp Shooting.jpg|[[Shell or Be Shelled#Sharp Shooting|Sharp Shooting]] |
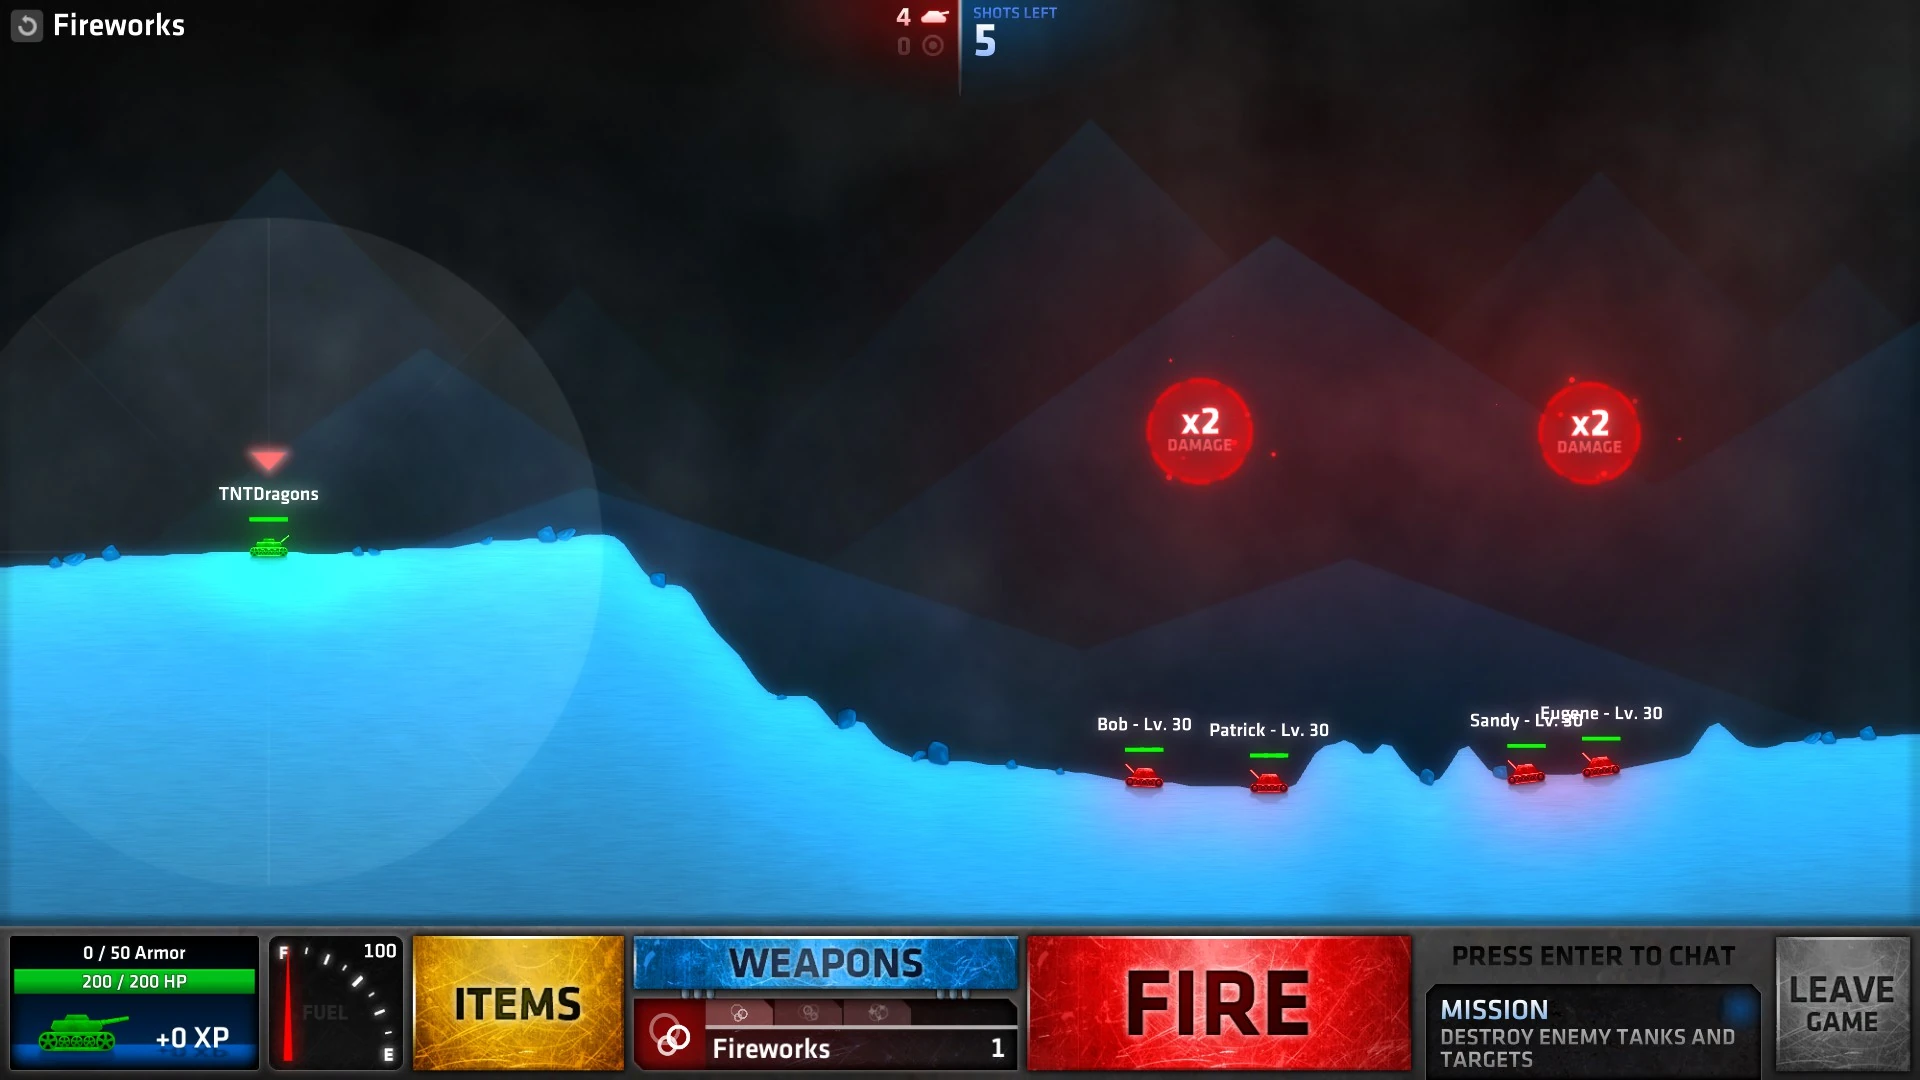
| − | Fireworks.jpg|Fireworks |
+ | Fireworks.jpg|[[Shell or Be Shelled#Fireworks|Fireworks]] |
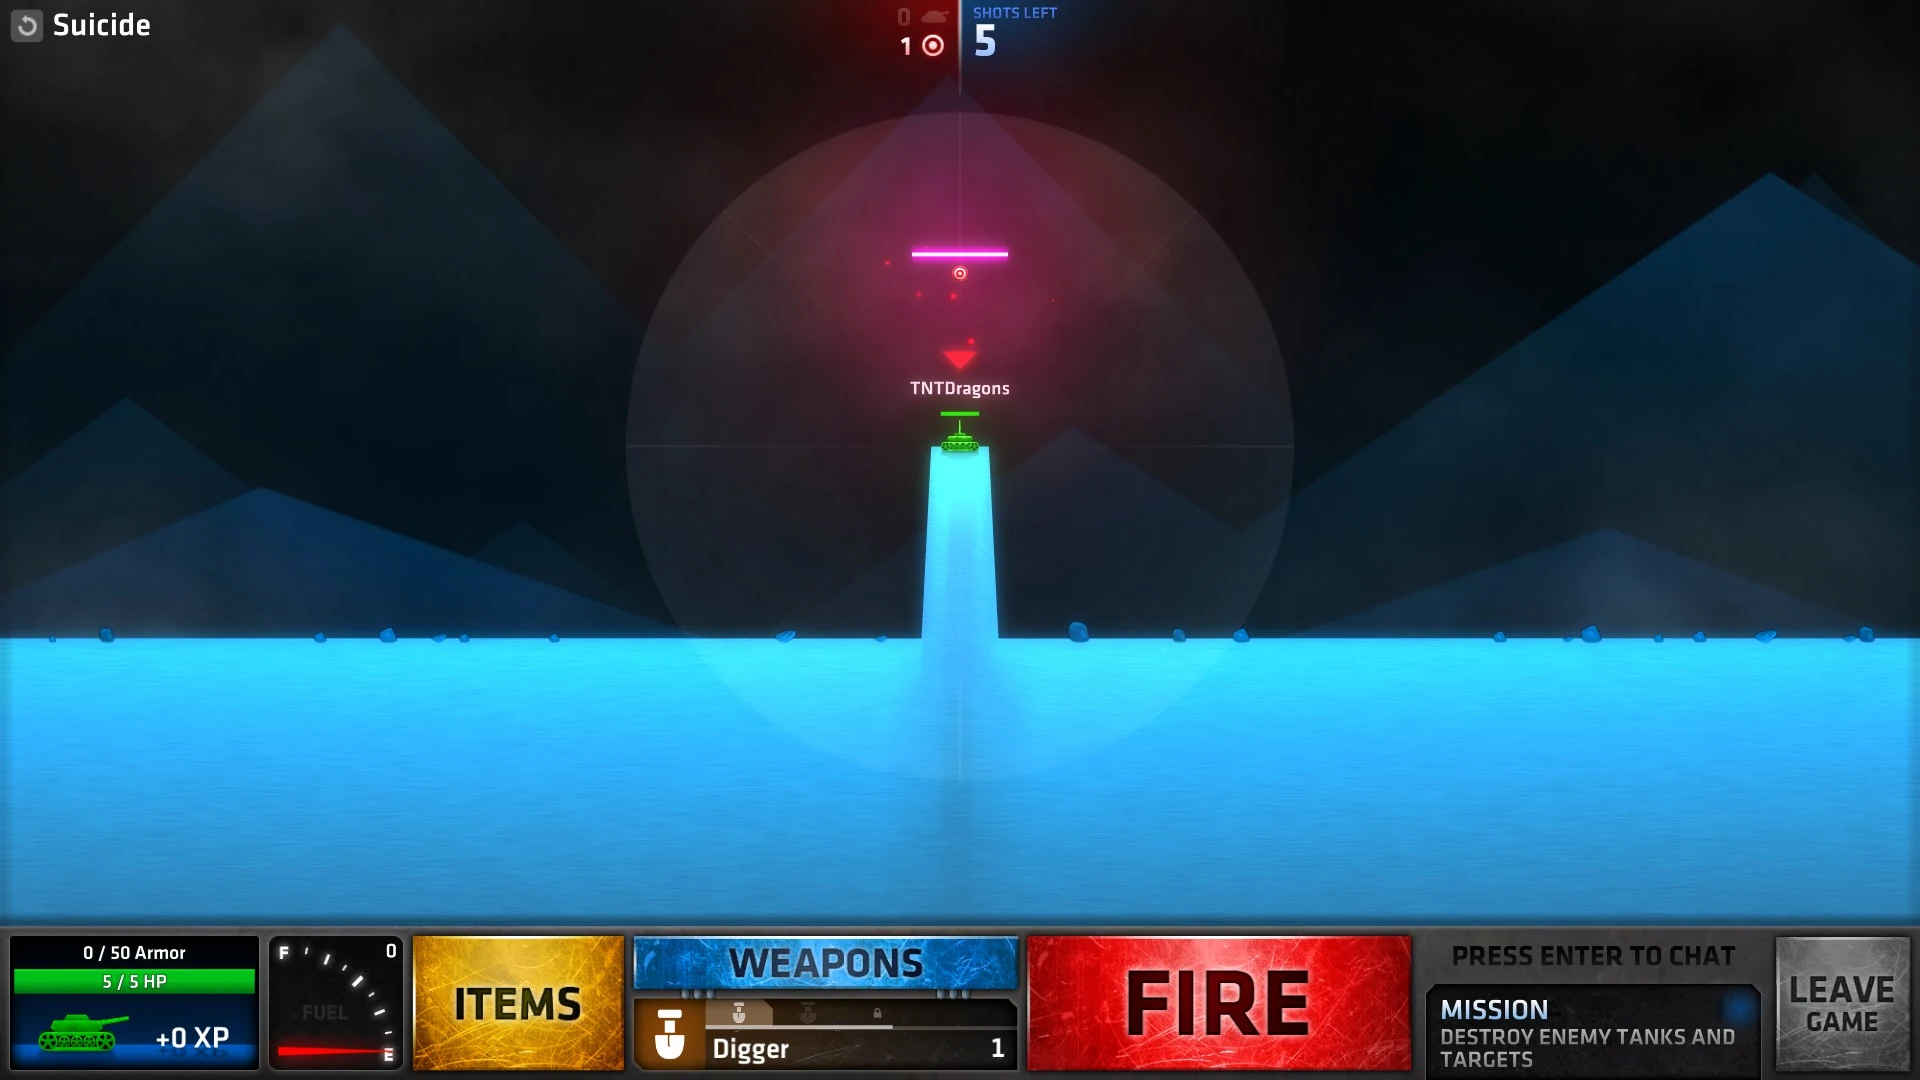
| − | Suicide.jpg|Suicide |
+ | Suicide.jpg|[[Shell or Be Shelled#Suicide|Suicide]] |
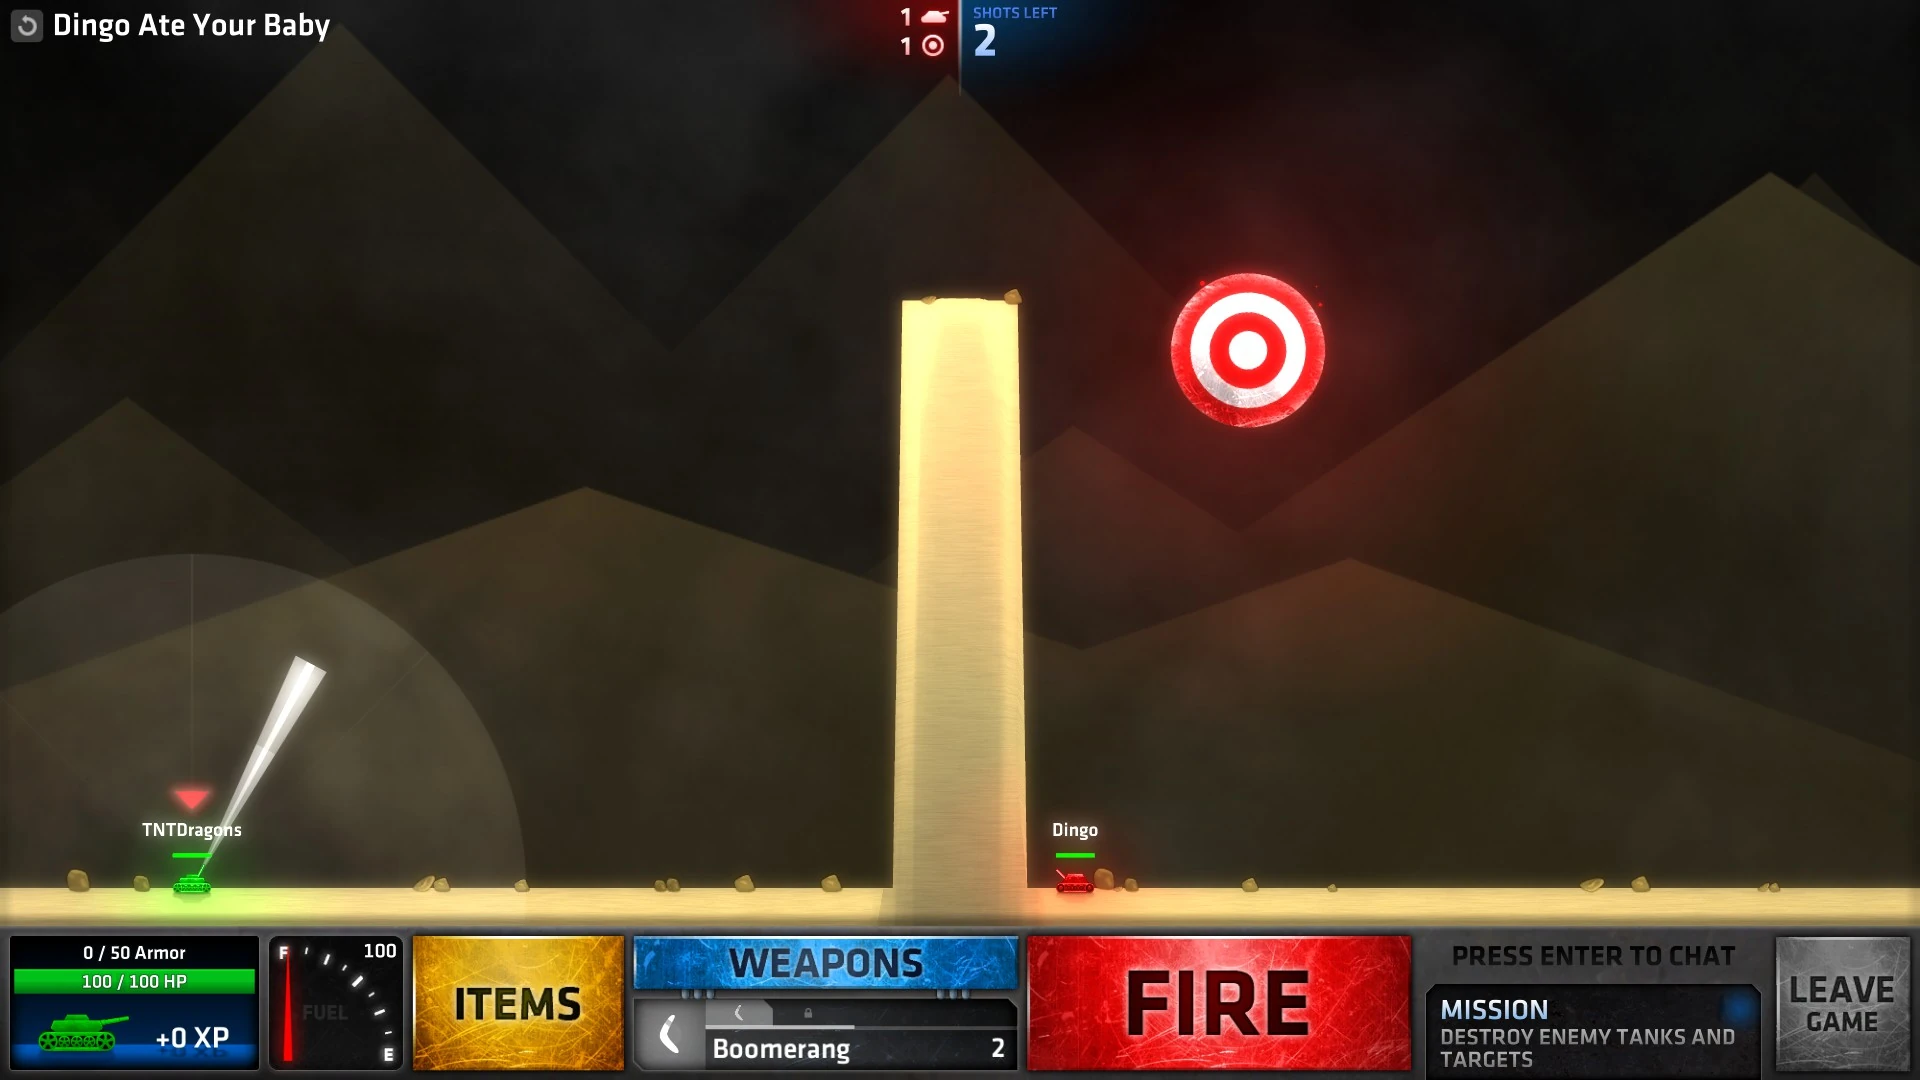
| − | Dingo Ate Your Baby.jpg|Dingo Ate Your Baby |
+ | Dingo Ate Your Baby.jpg|[[Shell or Be Shelled#Dingo Ate Your Baby|Dingo Ate Your Baby]] |
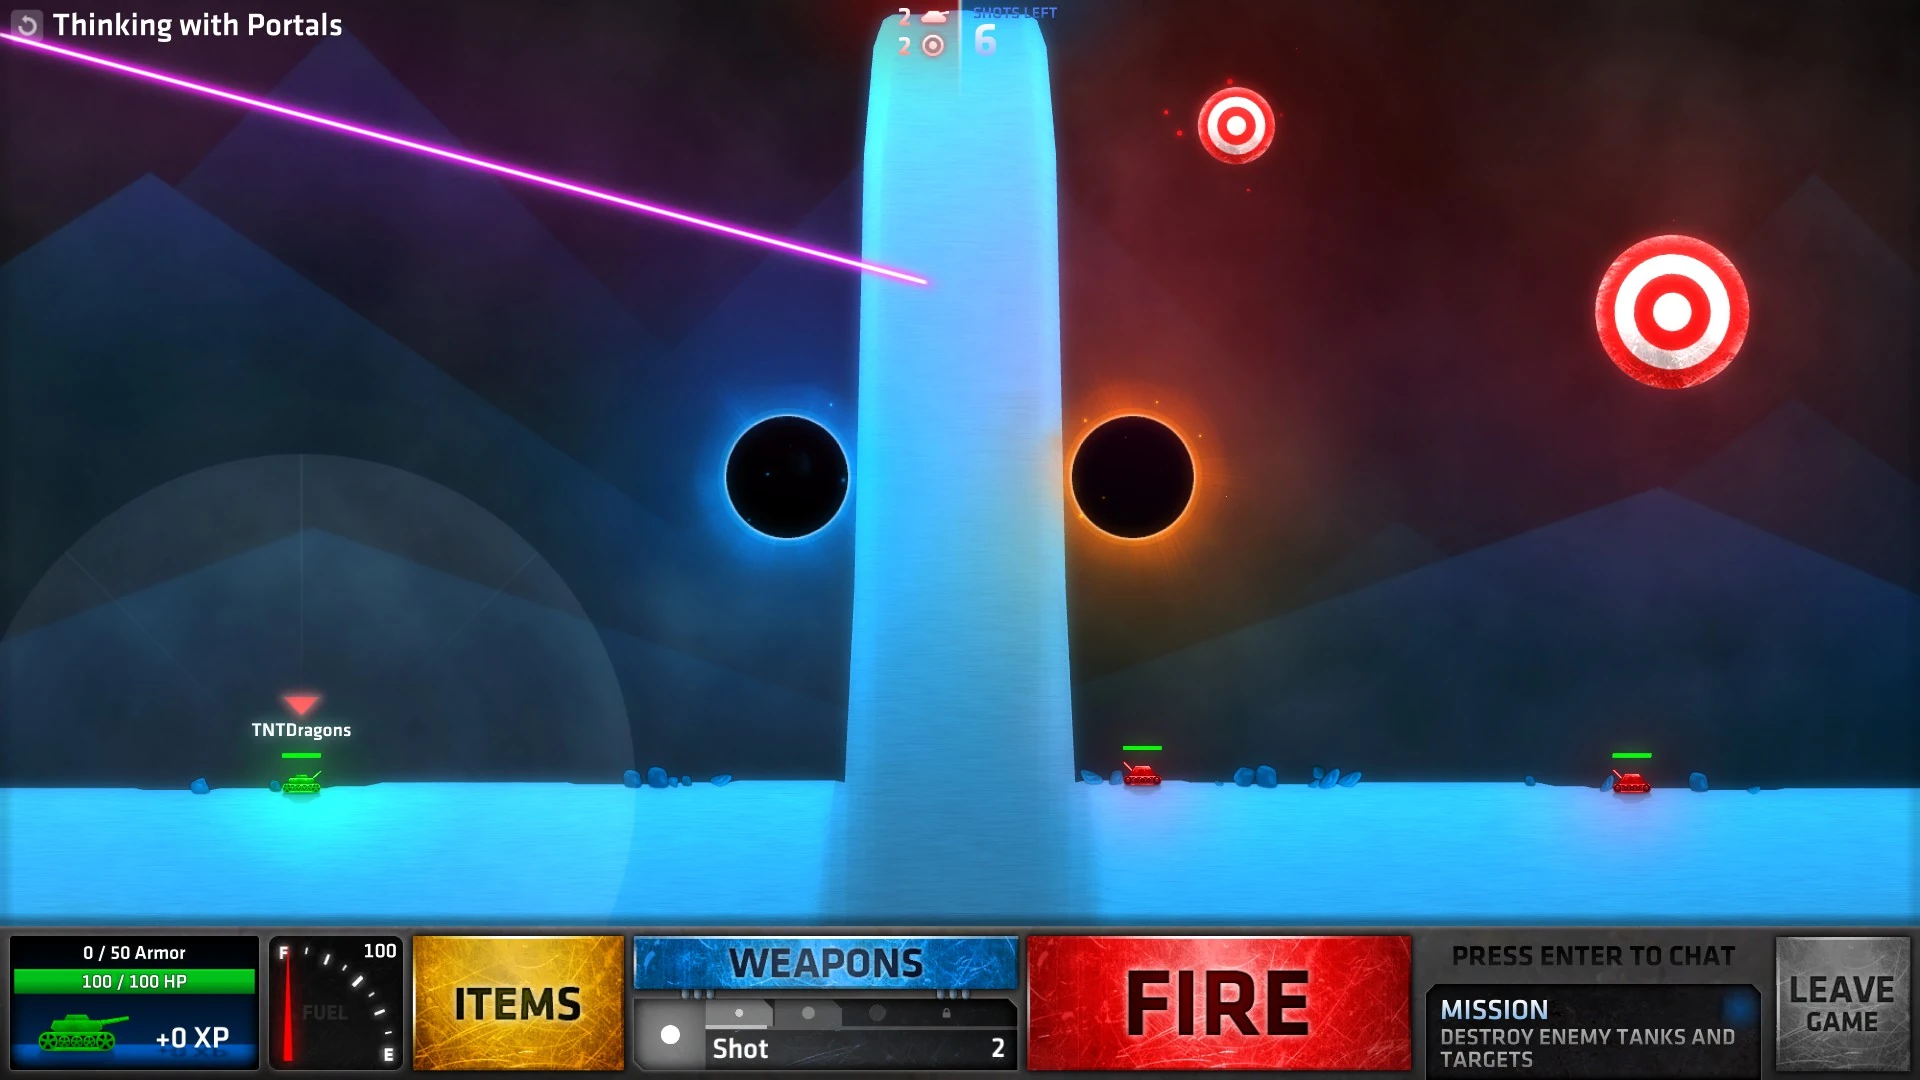
| − | Thinking With Portals.jpg|Thinking With Portals |
+ | Thinking With Portals.jpg|[[Shell or Be Shelled#Thinking With Portals|Thinking With Portals]] |
| − | Shifty.jpg|Shifty |
+ | Shifty.jpg|[[Shell or Be Shelled#Shifty|Shifty]] |
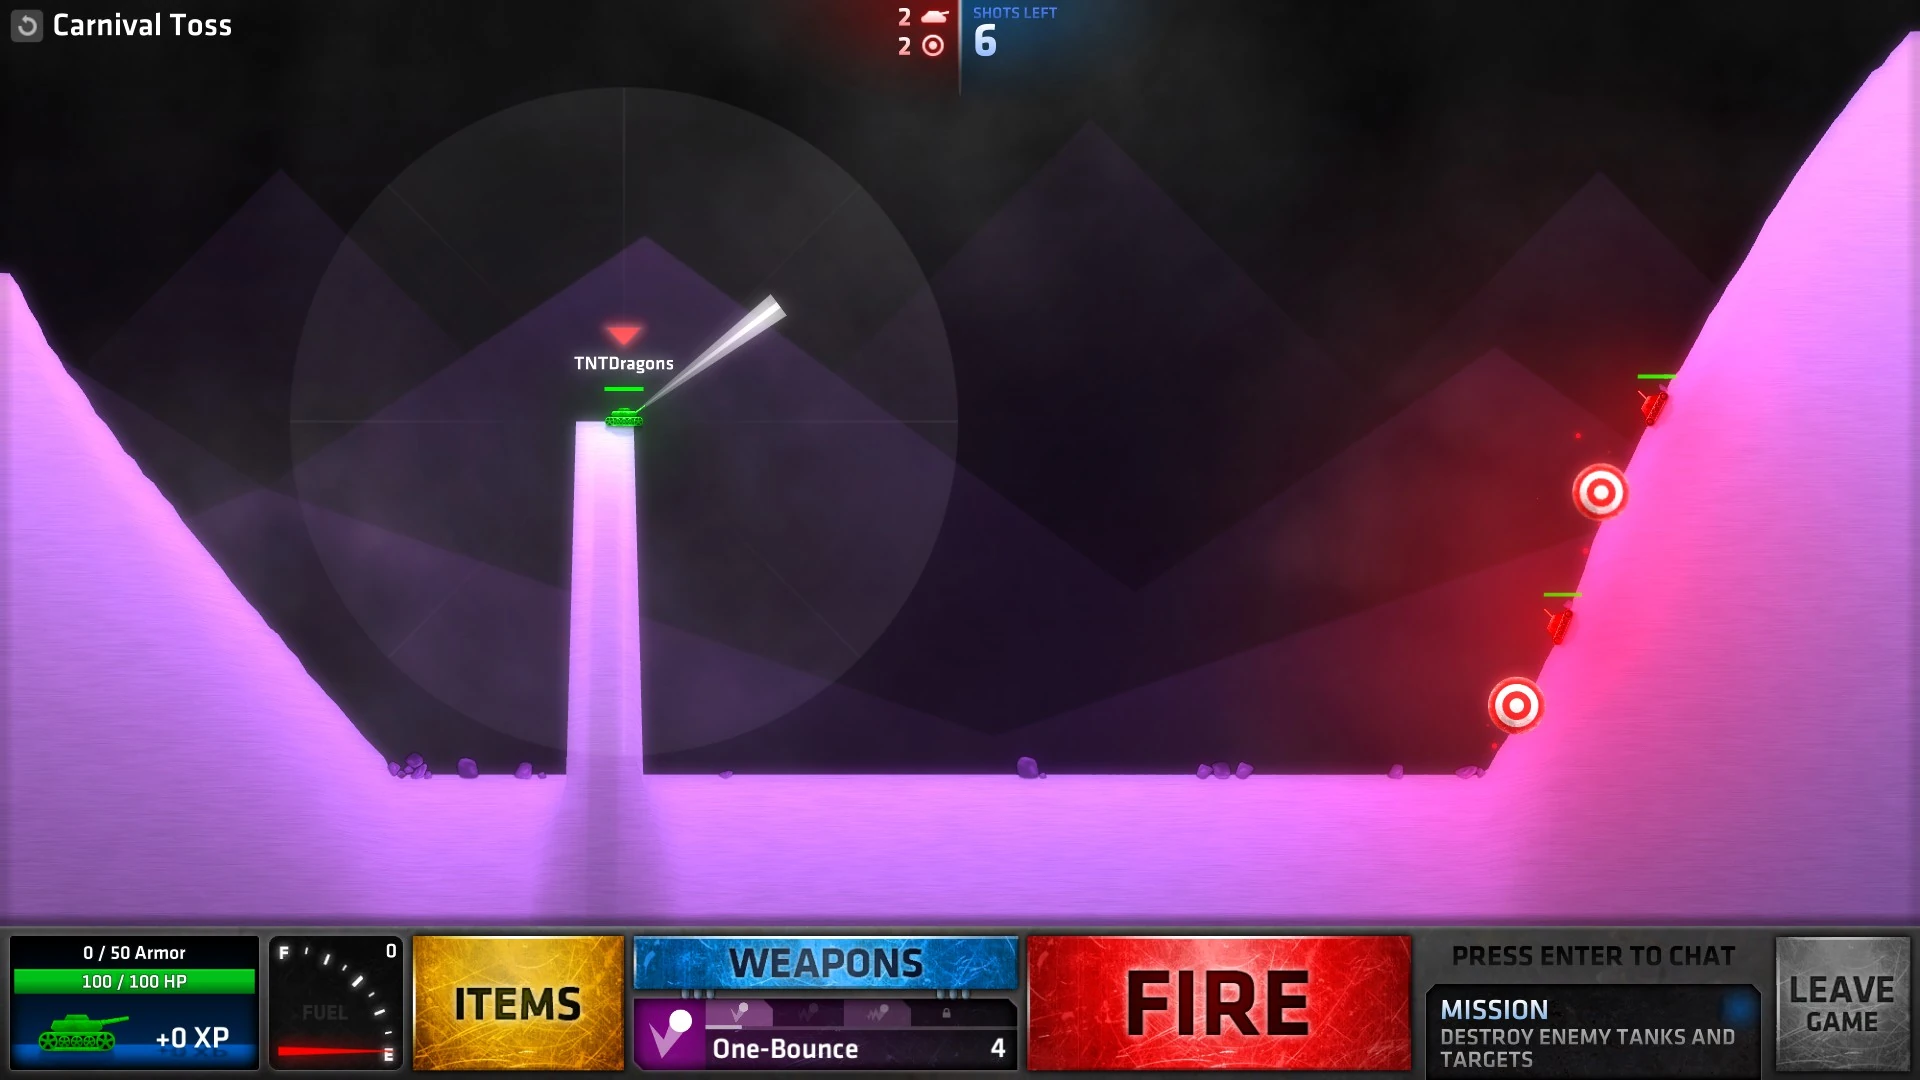
| − | Carnival Toss.jpg|Carnival Toss |
+ | Carnival Toss.jpg|[[Shell or Be Shelled#Carnival Toss|Carnival Toss]] |
| − | Heavy Hitters.jpg|Heavy Hitters |
+ | Heavy Hitters.jpg|[[Shell or Be Shelled#Heavy Hitters|Heavy Hitters]] |
</gallery> |
</gallery> |
||
== [[Battle Royale]] == |
== [[Battle Royale]] == |
||
<gallery> |
<gallery> |
||
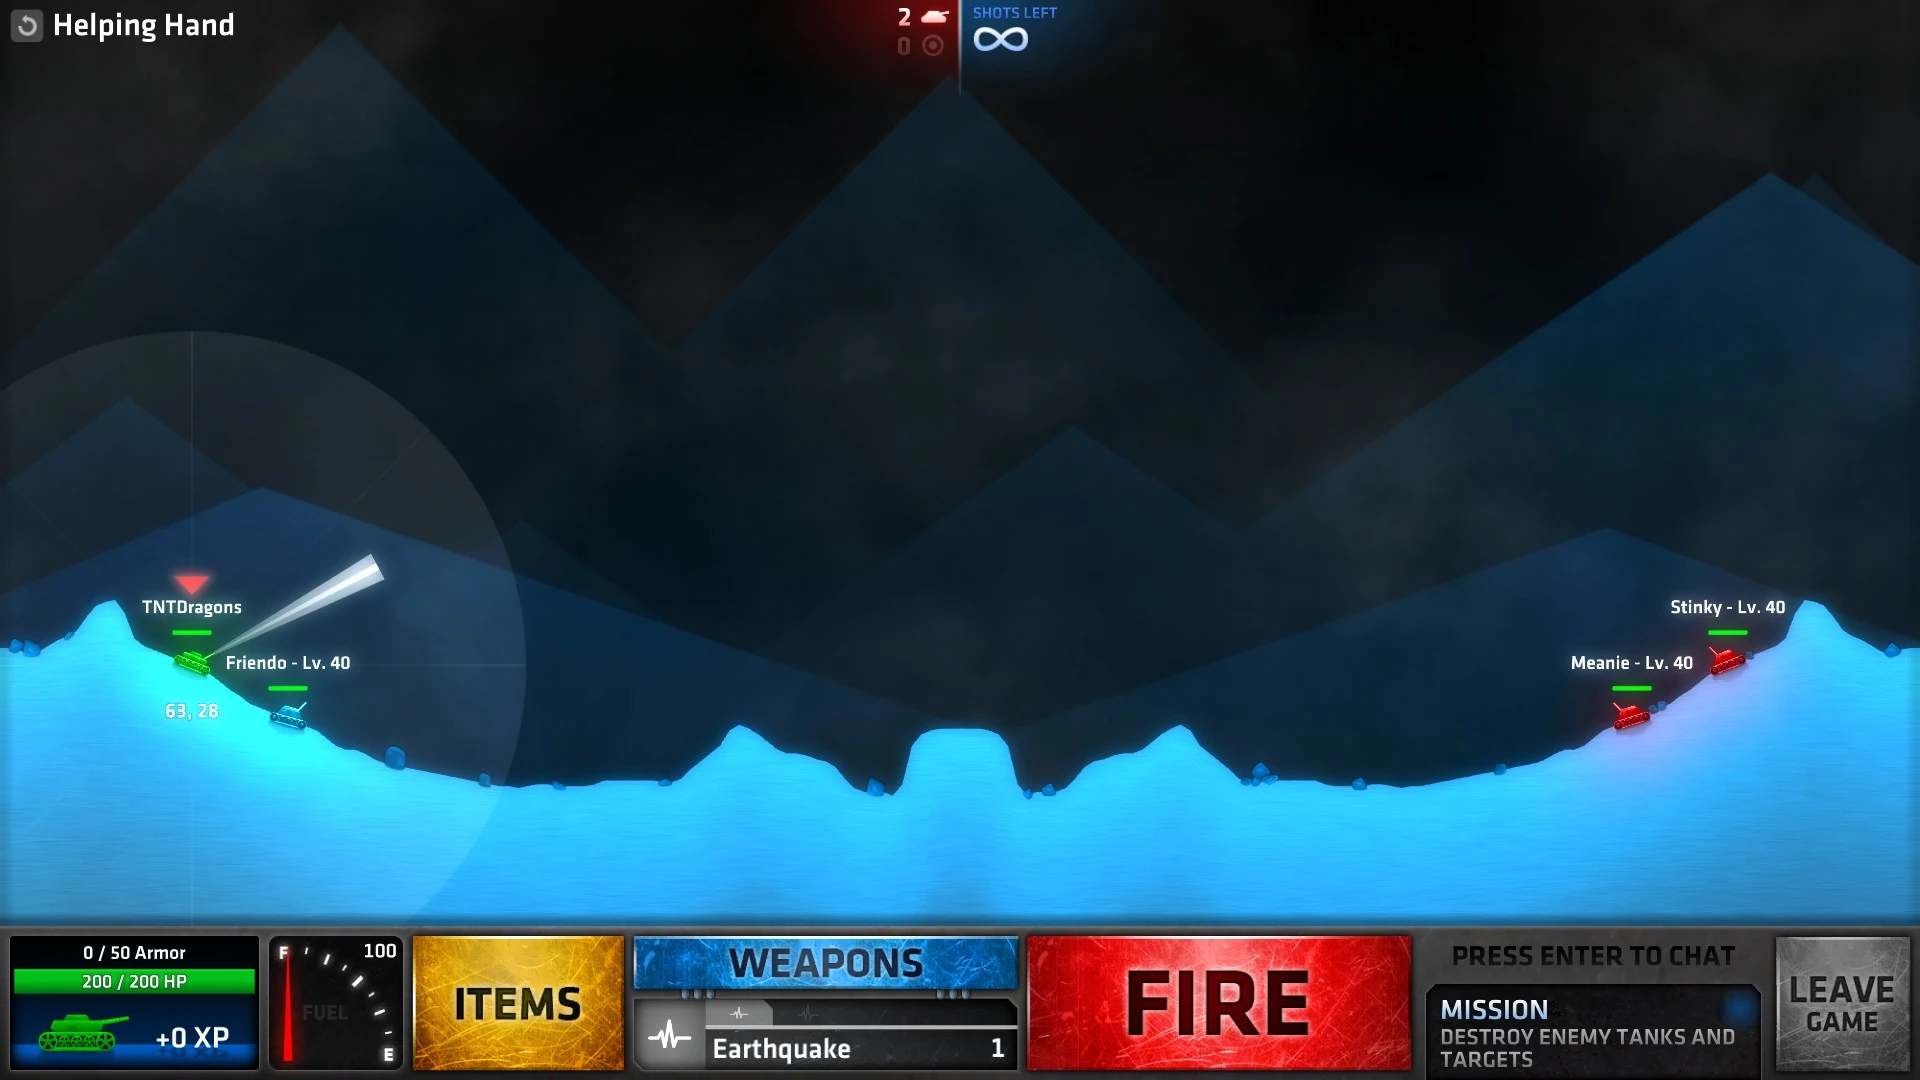
| − | Helping Hand.jpg|Helping Hand |
+ | Helping Hand.jpg|[[Battle Royale#Helping Hand|Helping Hand]] |
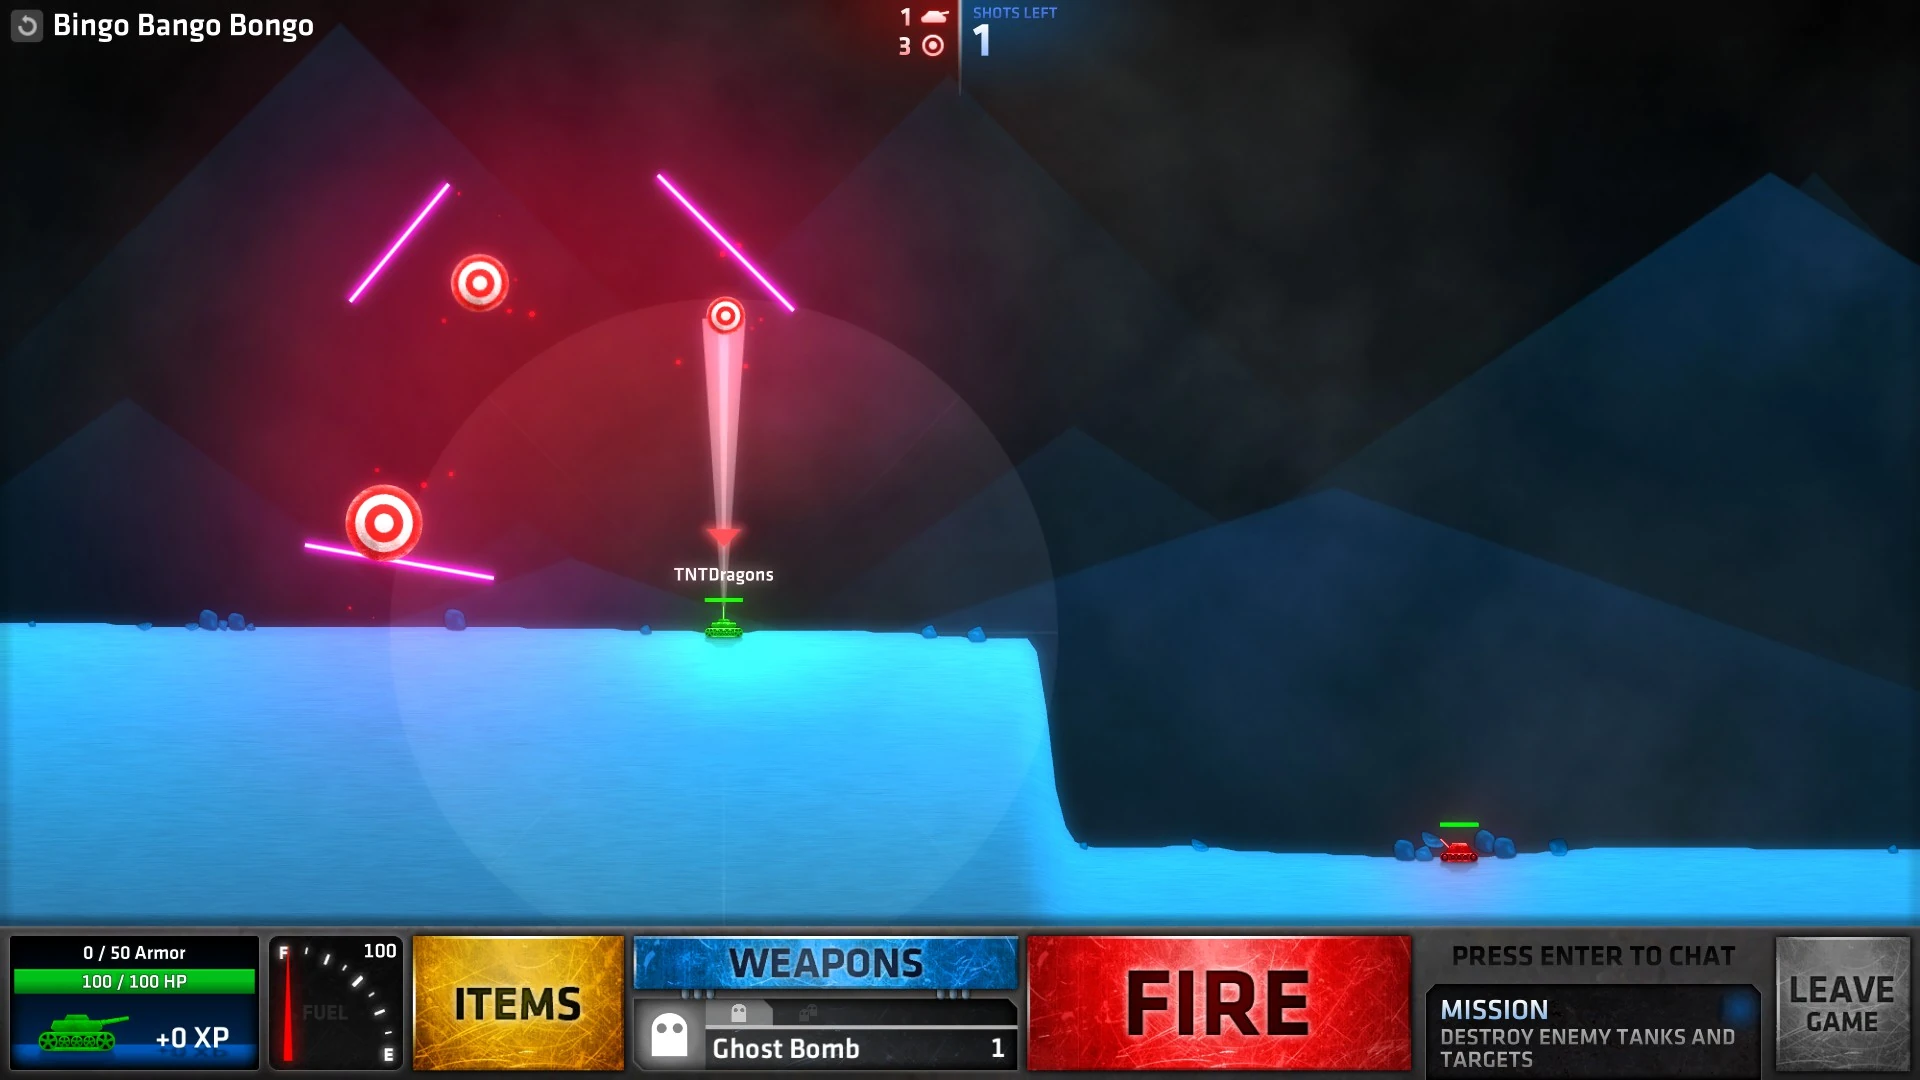
| − | Bingo Bango Bongo.jpg|Bingo Bango Bongo |
+ | Bingo Bango Bongo.jpg|[[Battle Royale#Bingo Bango Bongo|Bingo Bango Bongo]] |
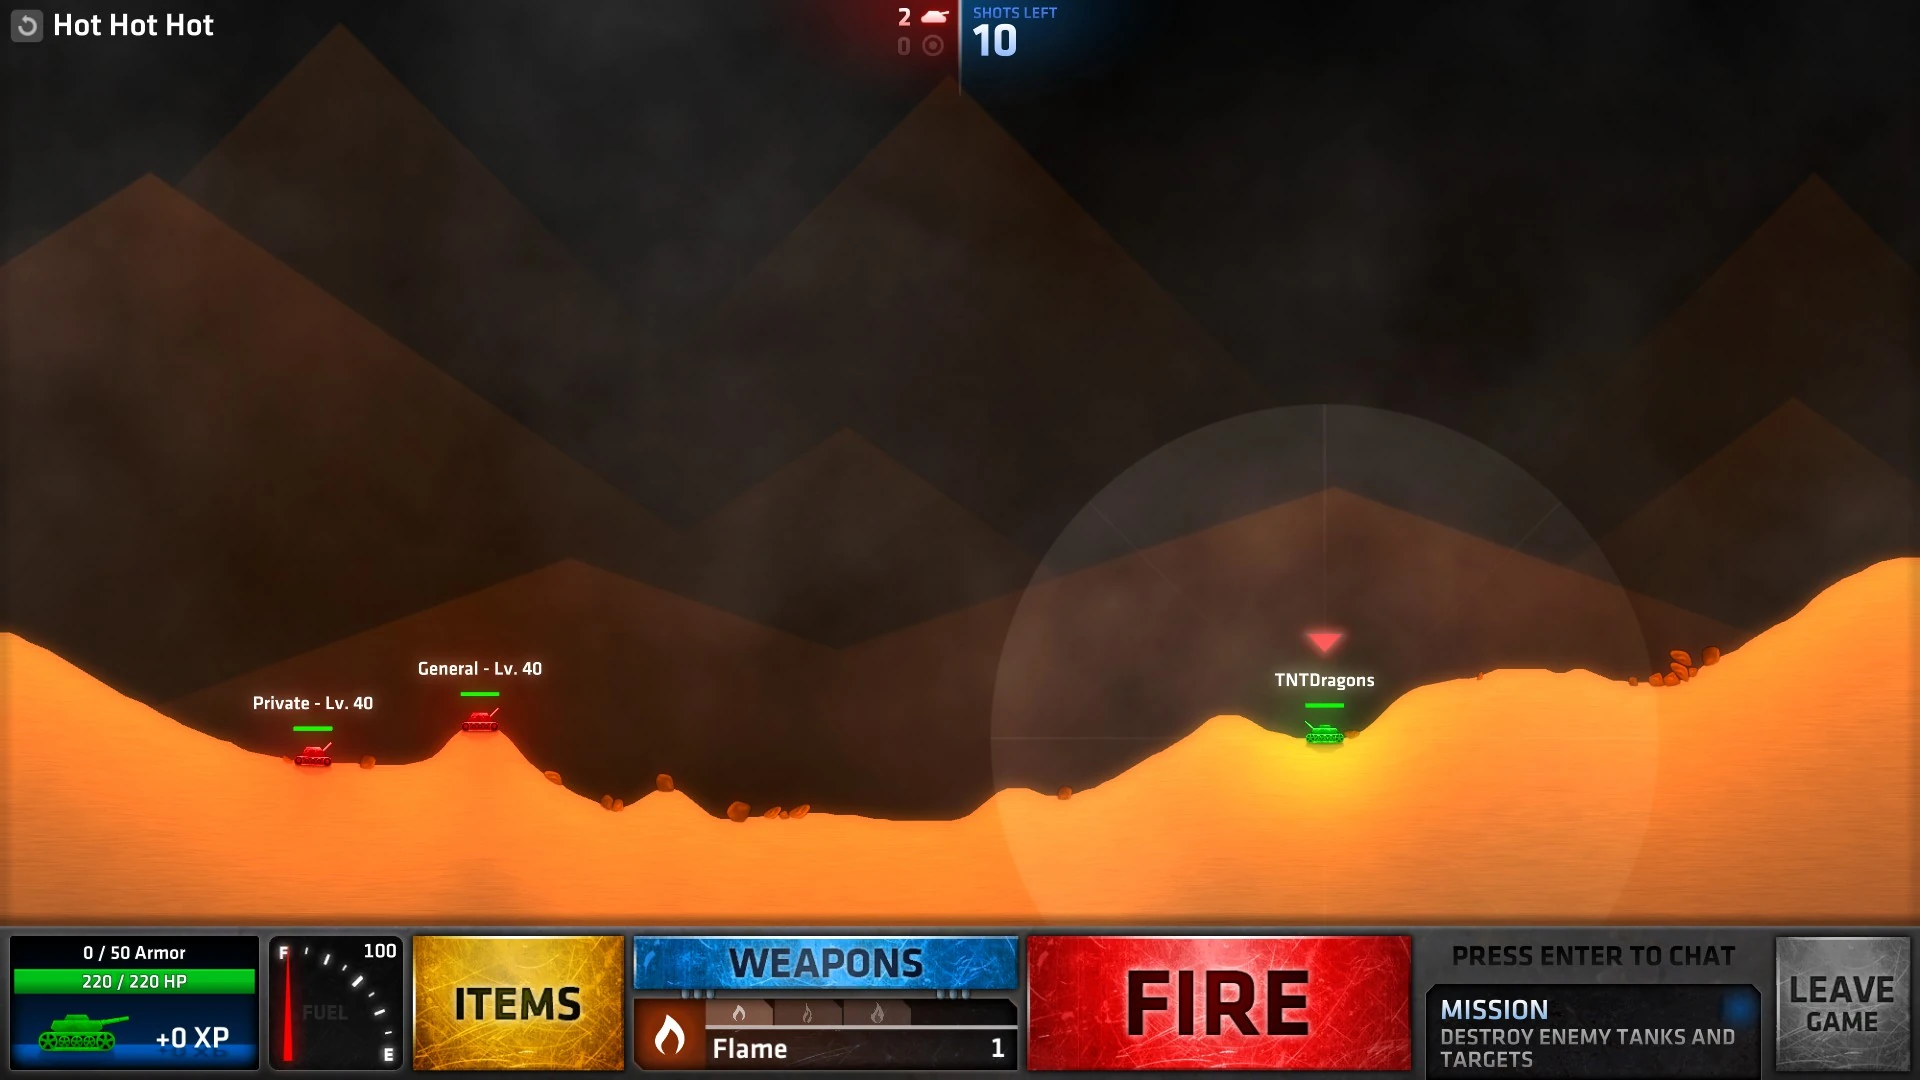
| − | Hot Hot Hot.jpg|Hot Hot Hot |
+ | Hot Hot Hot.jpg|[[Battle Royale#Hot Hot Hot|Hot Hot Hot]] |
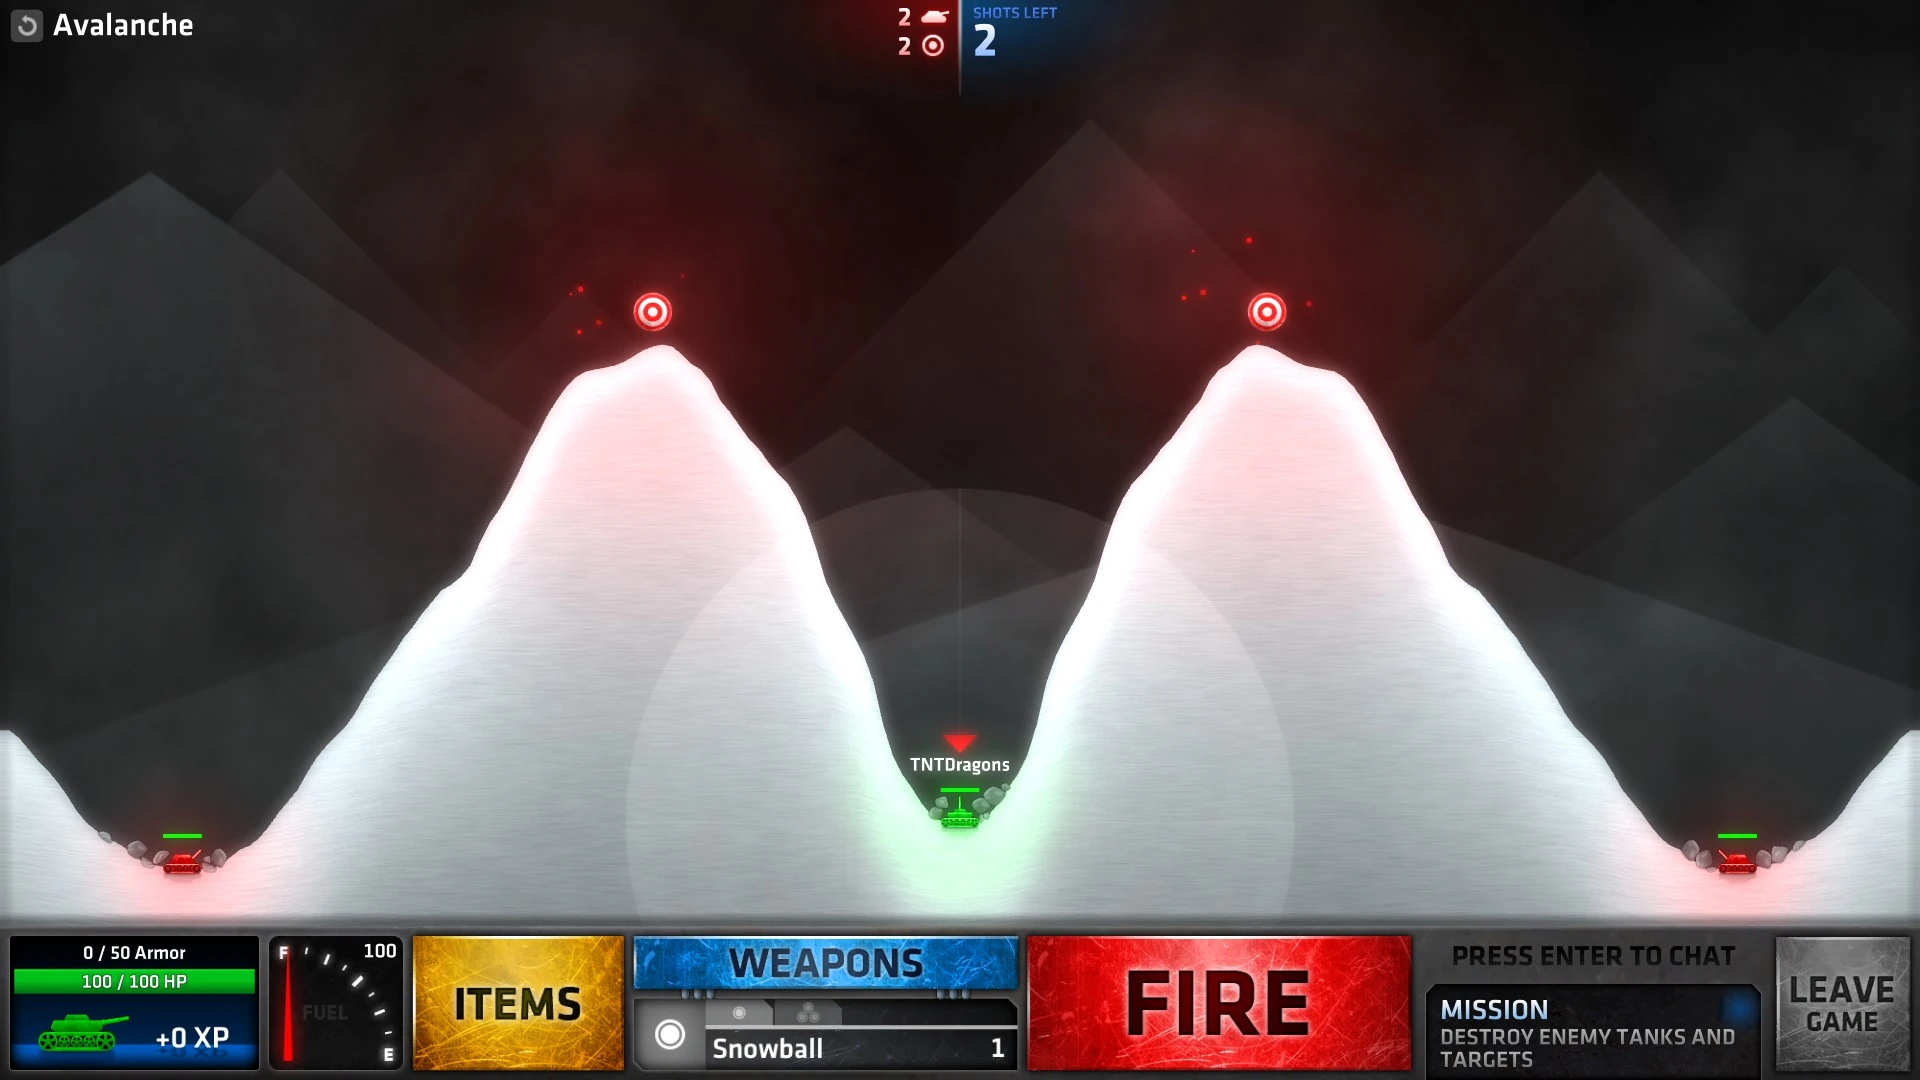
| − | Avalanche.jpg|Avalanche |
+ | Avalanche.jpg|[[Battle Royale#Avalanche|Avalanche]] |
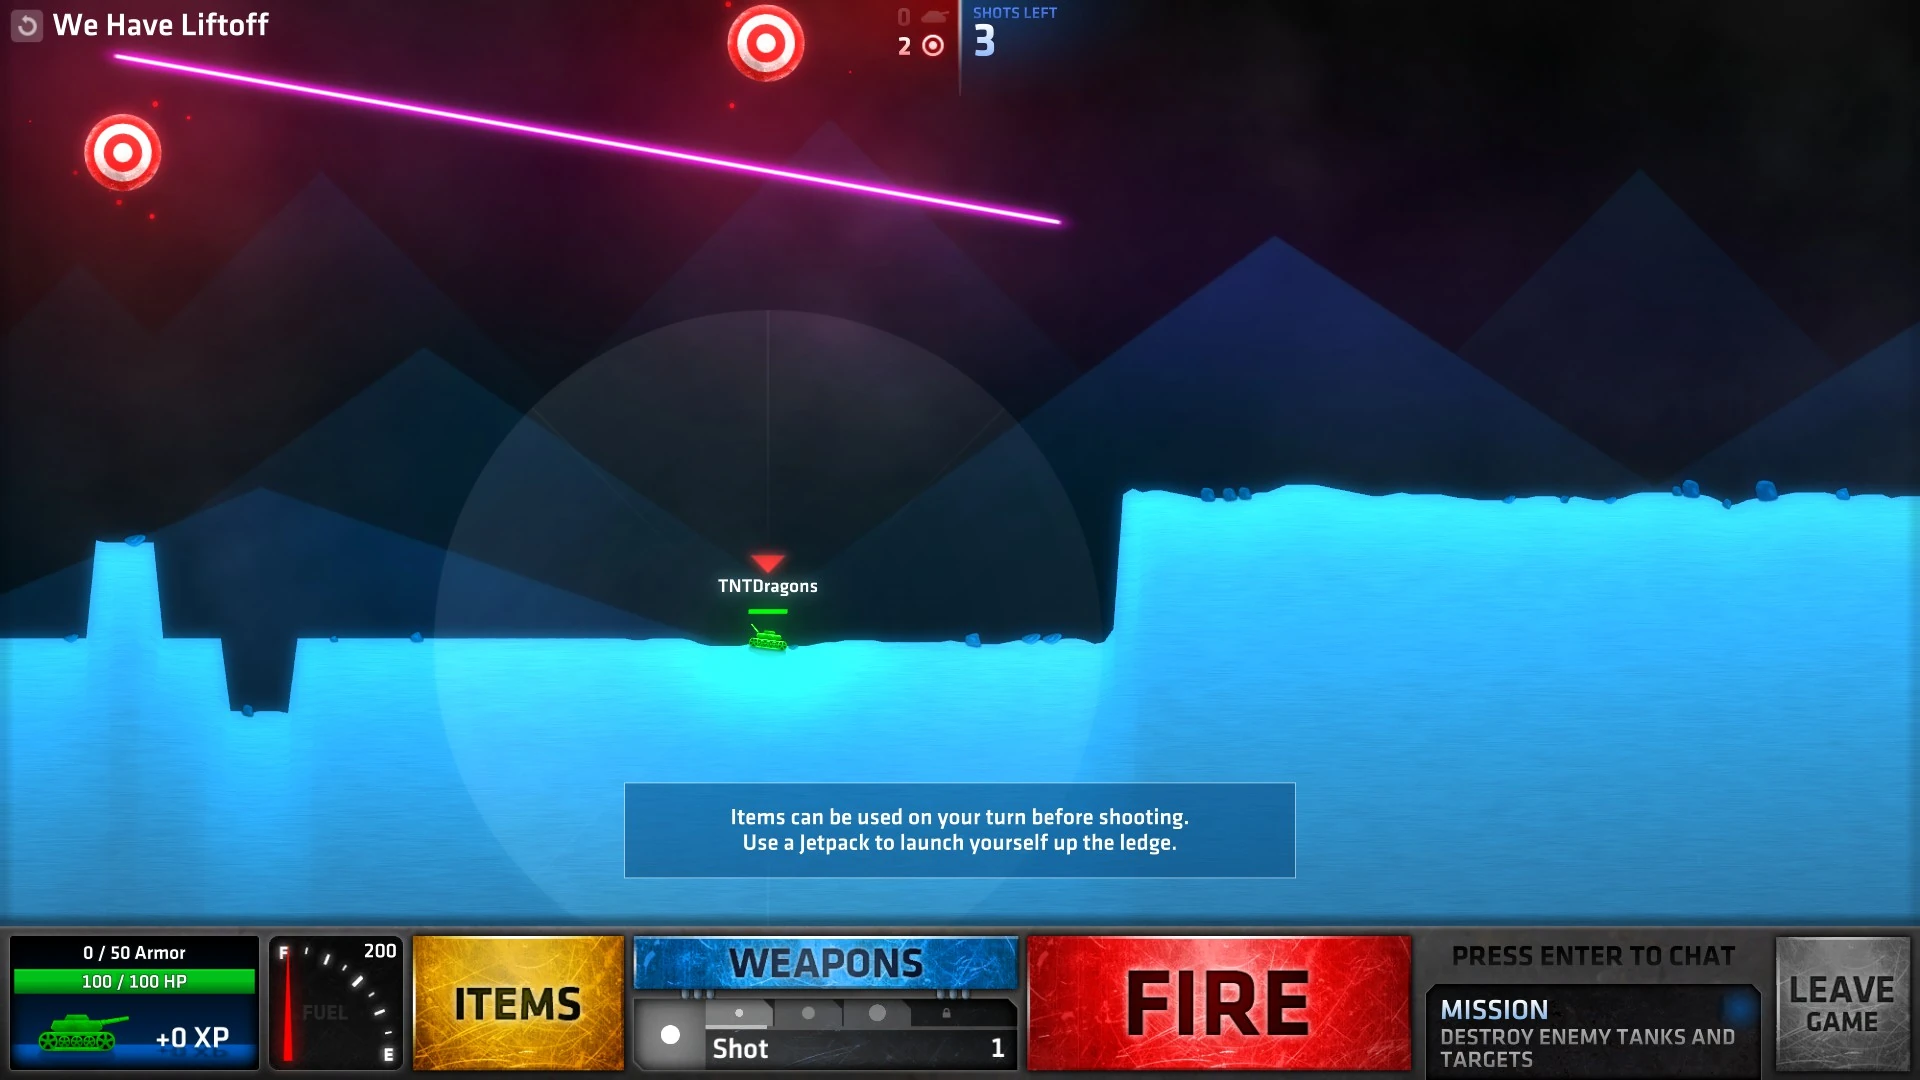
| − | We Have Liftoff.jpg|We Have Liftoff |
+ | We Have Liftoff.jpg|[[Battle Royale#We Have Liftoff|We Have Liftoff]] |
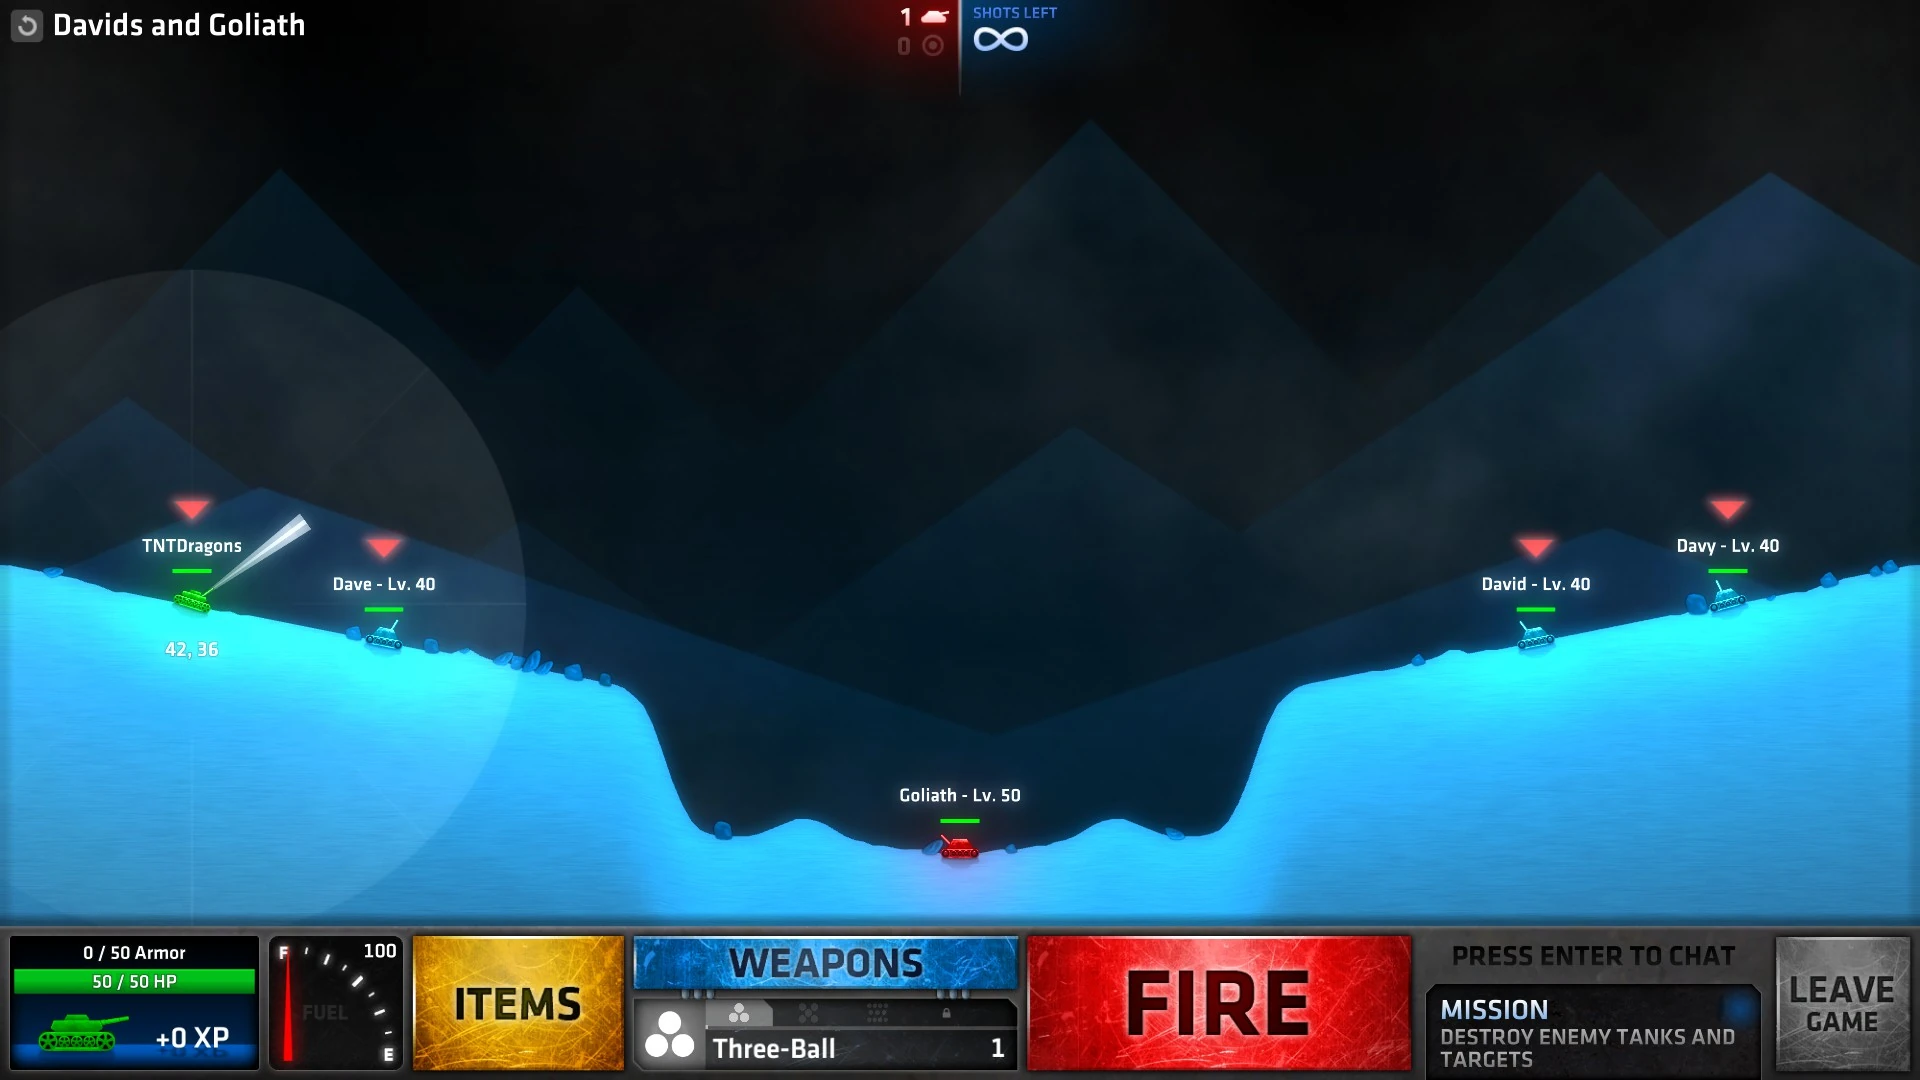
| − | Davids and Goliath.jpg|Davids and Goliath |
+ | Davids and Goliath.jpg|[[Battle Royale#Davids and Goliath|Davids and Goliath]] |
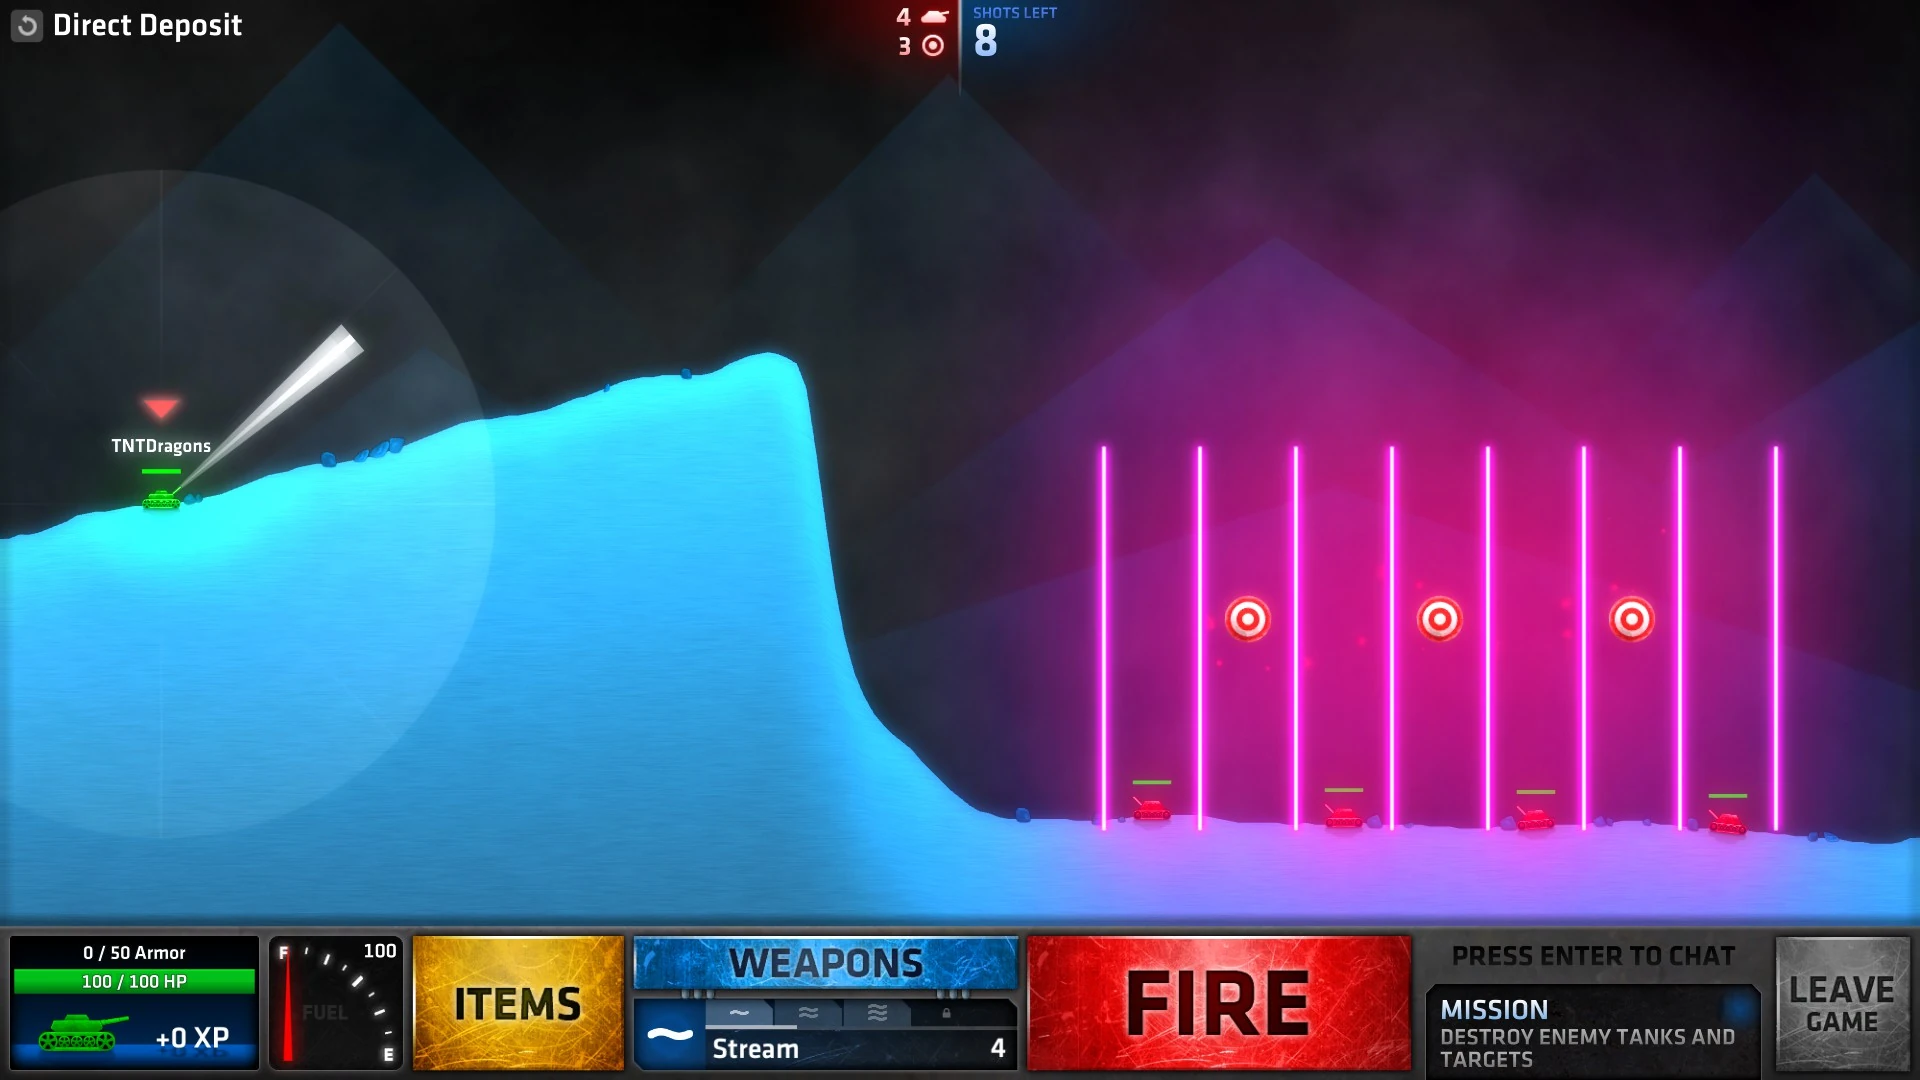
| − | Direct Deposit.jpg|Direct Deposit |
+ | Direct Deposit.jpg|[[Battle Royale#Direct Deposit|Direct Deposit]] |
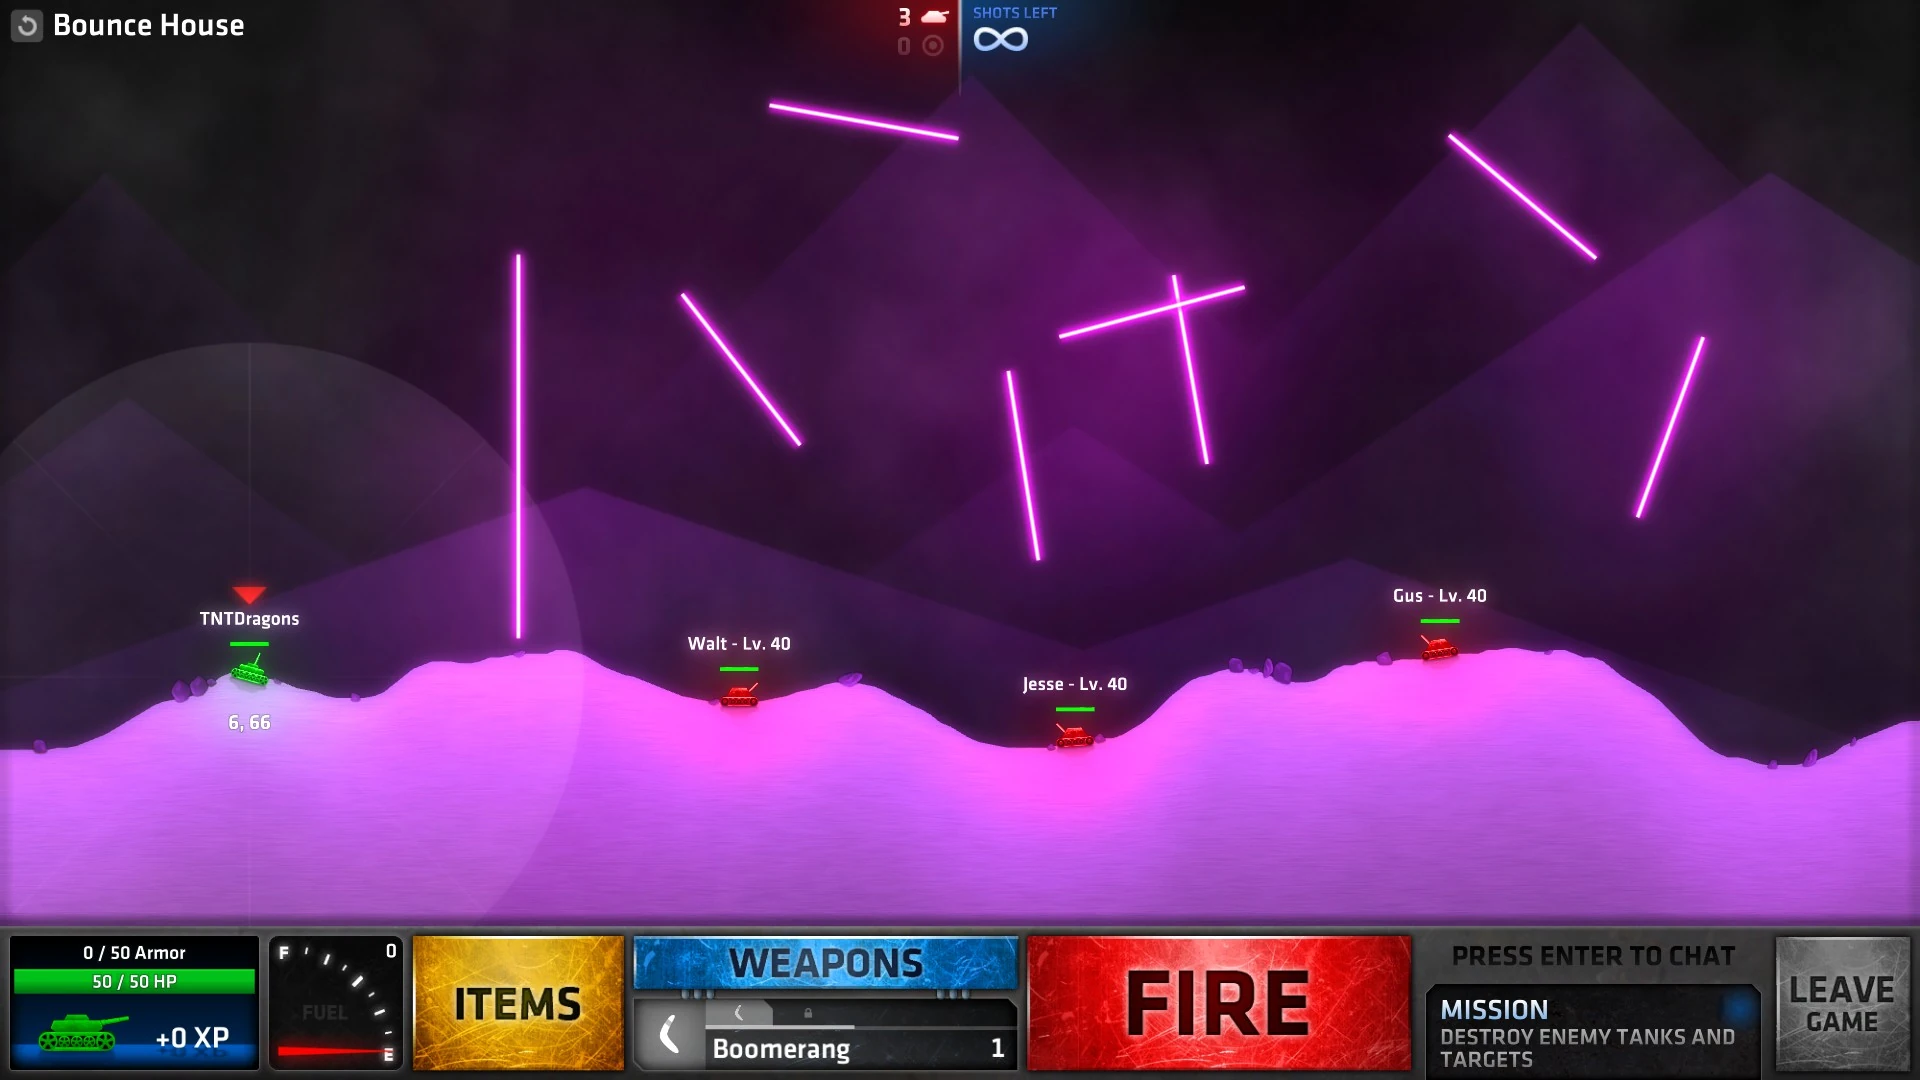
| − | Bounce House.jpg|Bounce House |
+ | Bounce House.jpg|[[Battle Royale#Bounce House|Bounce House]] |
| − | Tear Down This Wall.jpg|Tear Down This Wall |
+ | Tear Down This Wall.jpg|[[Battle Royale#Tear Down This Wall|Tear Down This Wall]] |
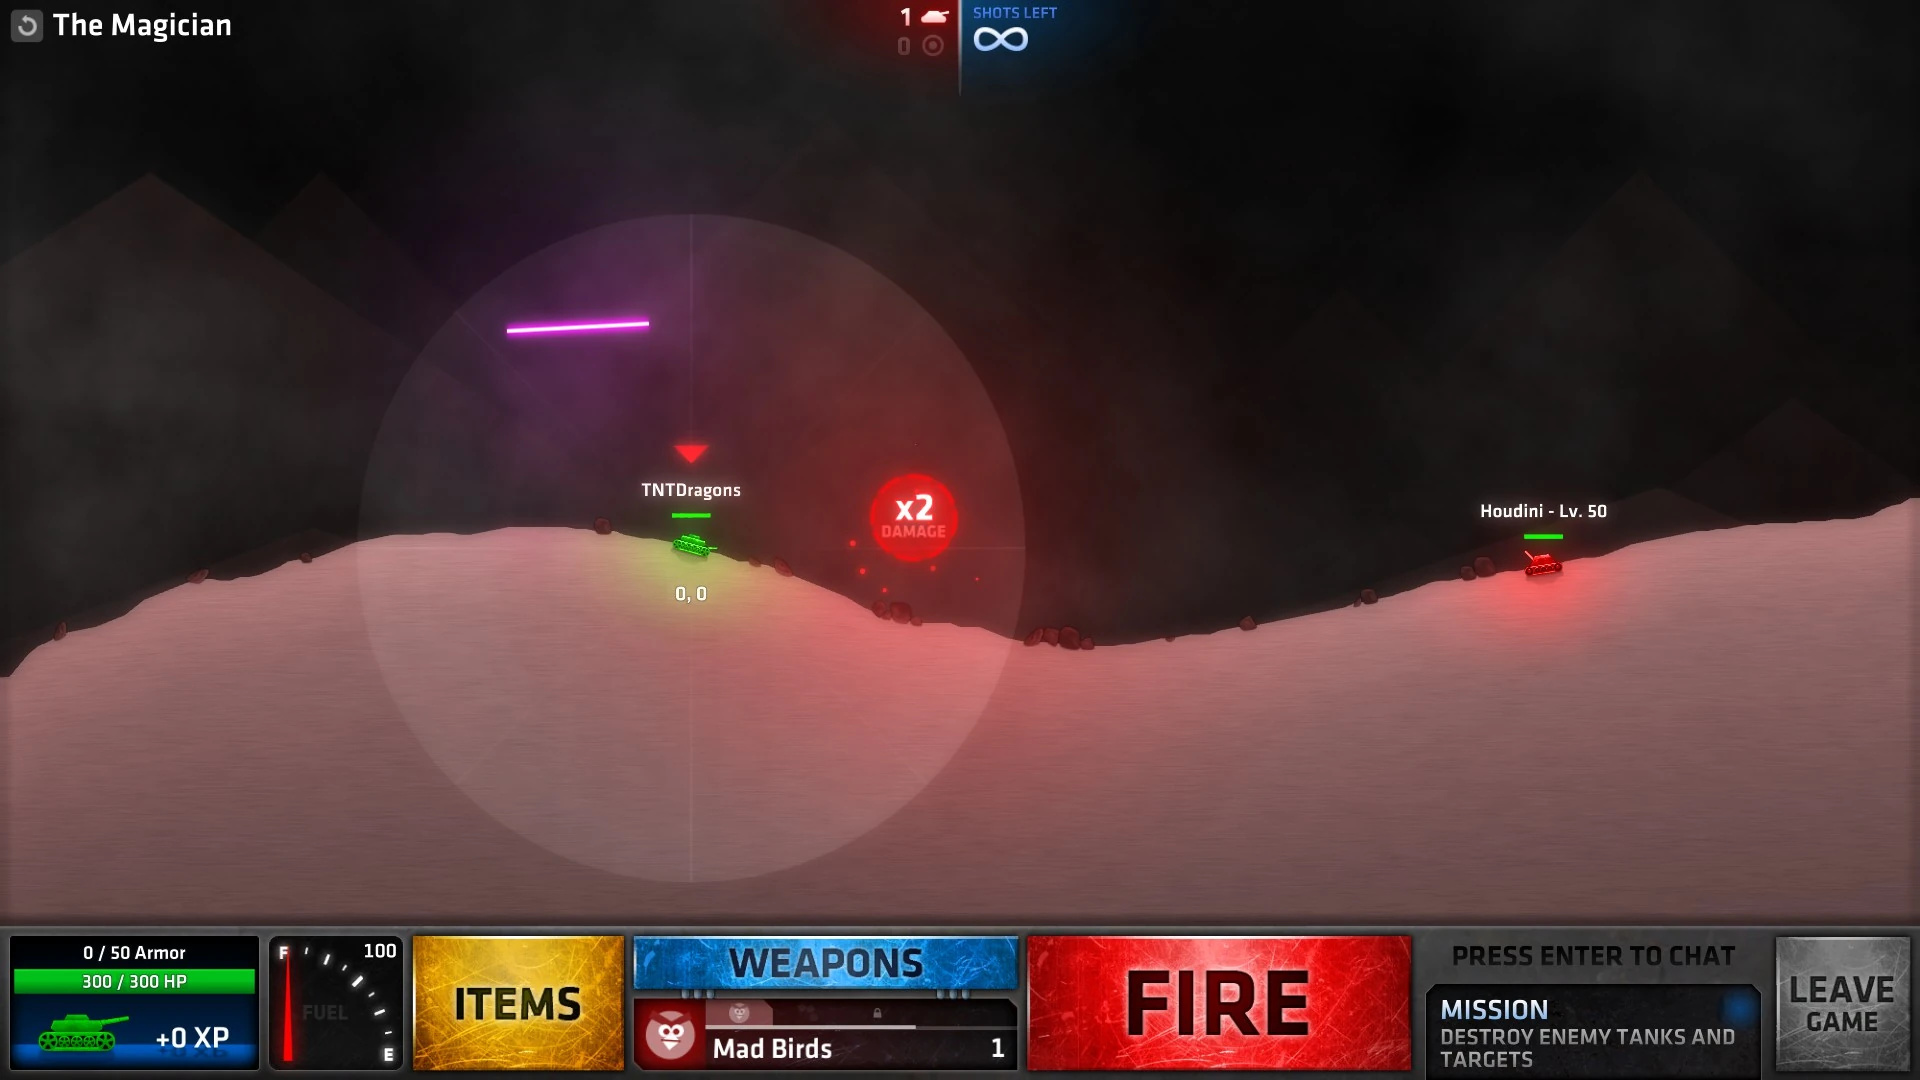
| − | The Magician.jpg|The Magician |
+ | The Magician.jpg|[[Battle Royale#The Magician|The Magician]] |
</gallery> |
</gallery> |
||
== [[Armored Fury]] == |
== [[Armored Fury]] == |
||
<gallery> |
<gallery> |
||
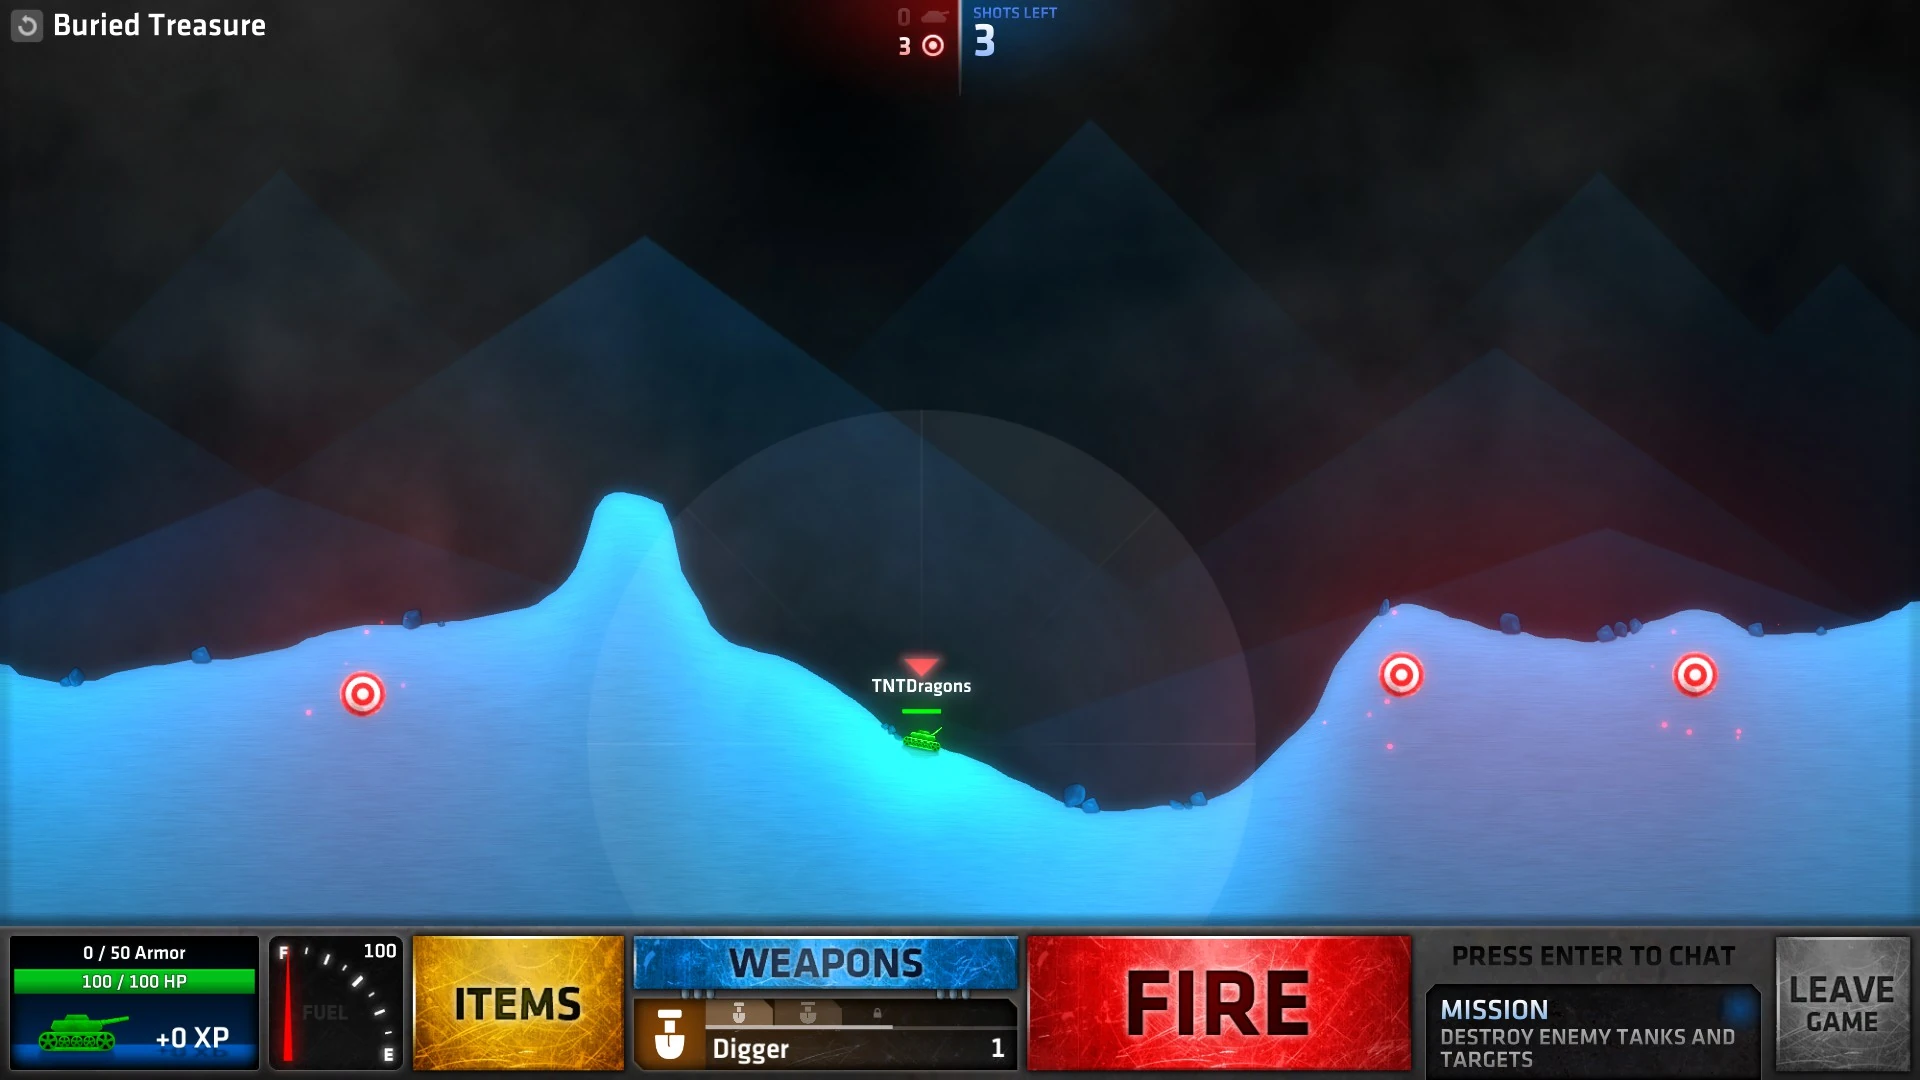
| − | Buried Treasure.jpg|Buried Treasure |
+ | Buried Treasure.jpg|[[Armored Fury#Buried Treasure|Buried Treasure]] |
| − | Porthole.jpg|Porthole |
+ | Porthole.jpg|[[Armored Fury#Porthole|Porthole]] |
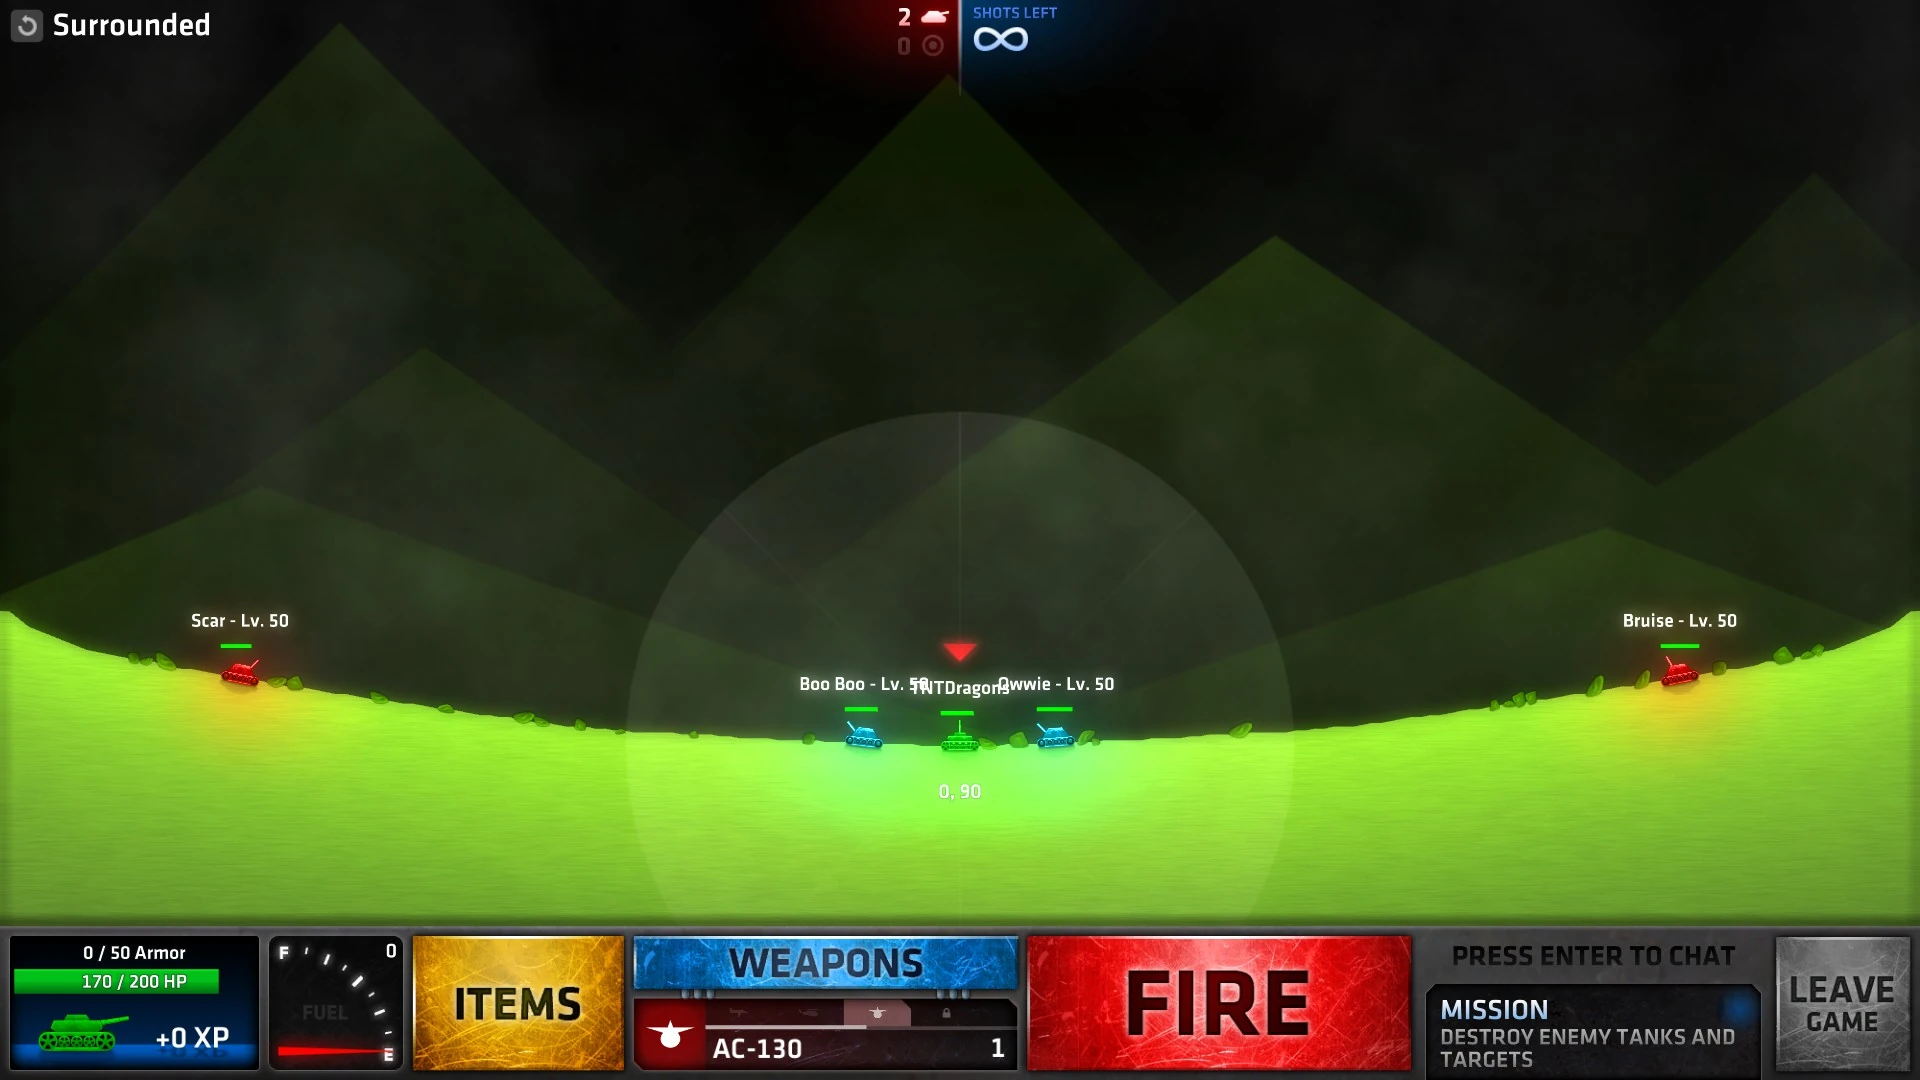
| − | Surrounded.jpg|Surrounded |
+ | Surrounded.jpg|[[Armored Fury#Surrounded|Surrounded]] |
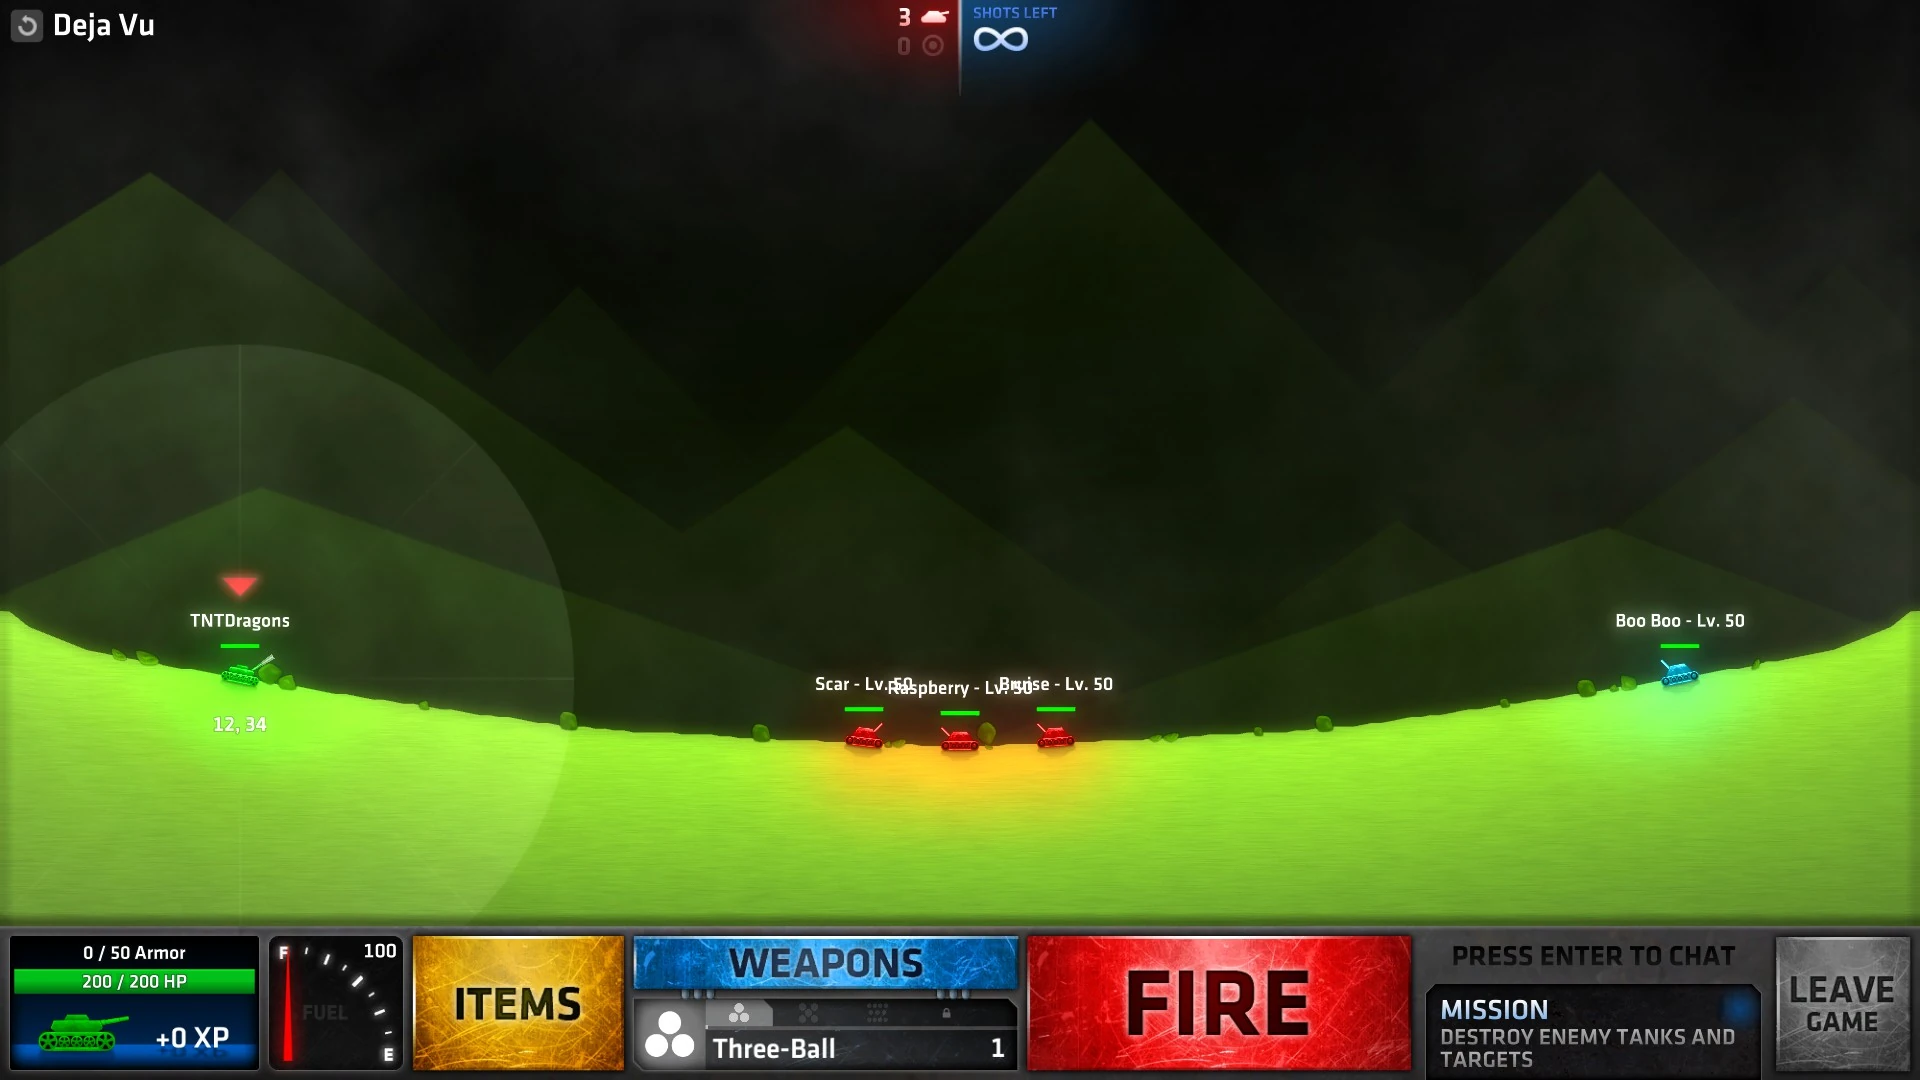
| − | Deja vu.jpg|Deja vu |
+ | Deja vu.jpg|[[Armored Fury#Deja vu|Deja vu]] |
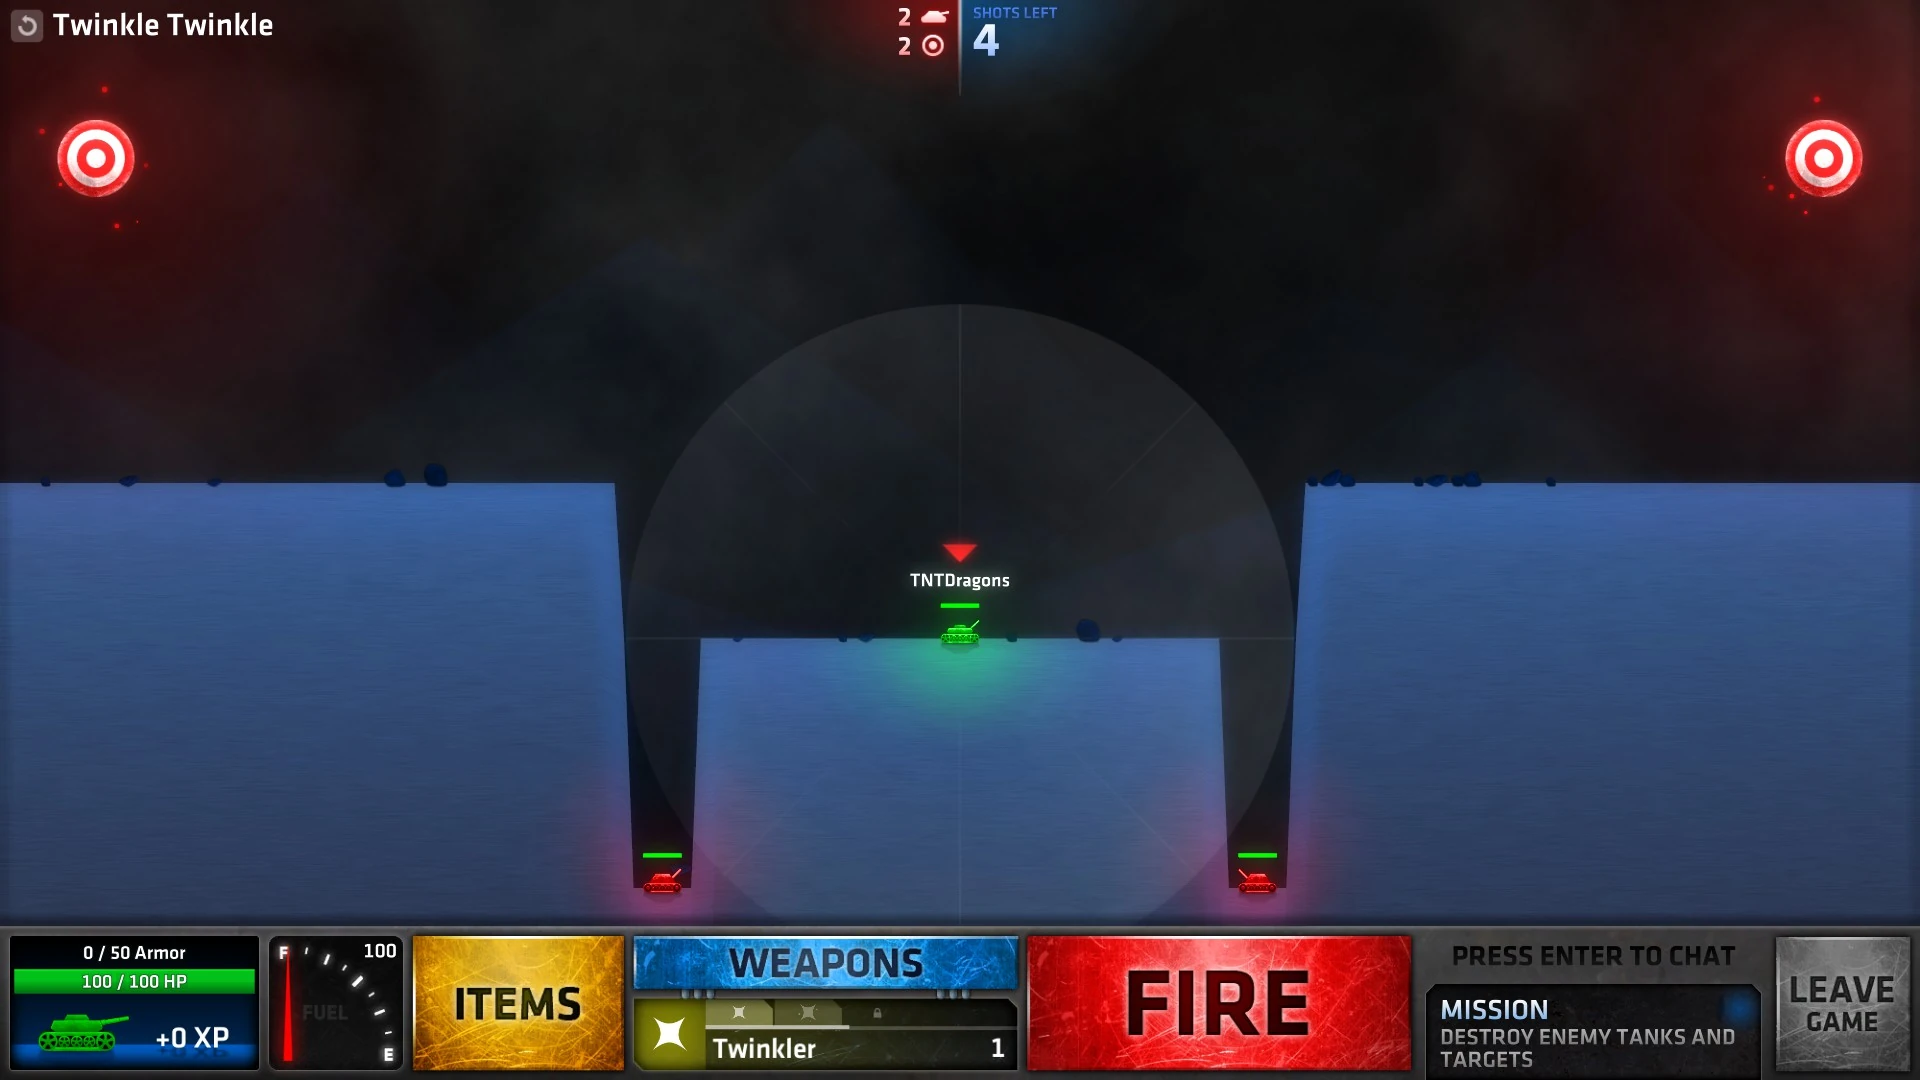
| − | Twinkle Twinkle.jpg|Twinkle Twinkle |
+ | Twinkle Twinkle.jpg|[[Armored Fury#Twinkle Twinkle|Twinkle Twinkle]] |
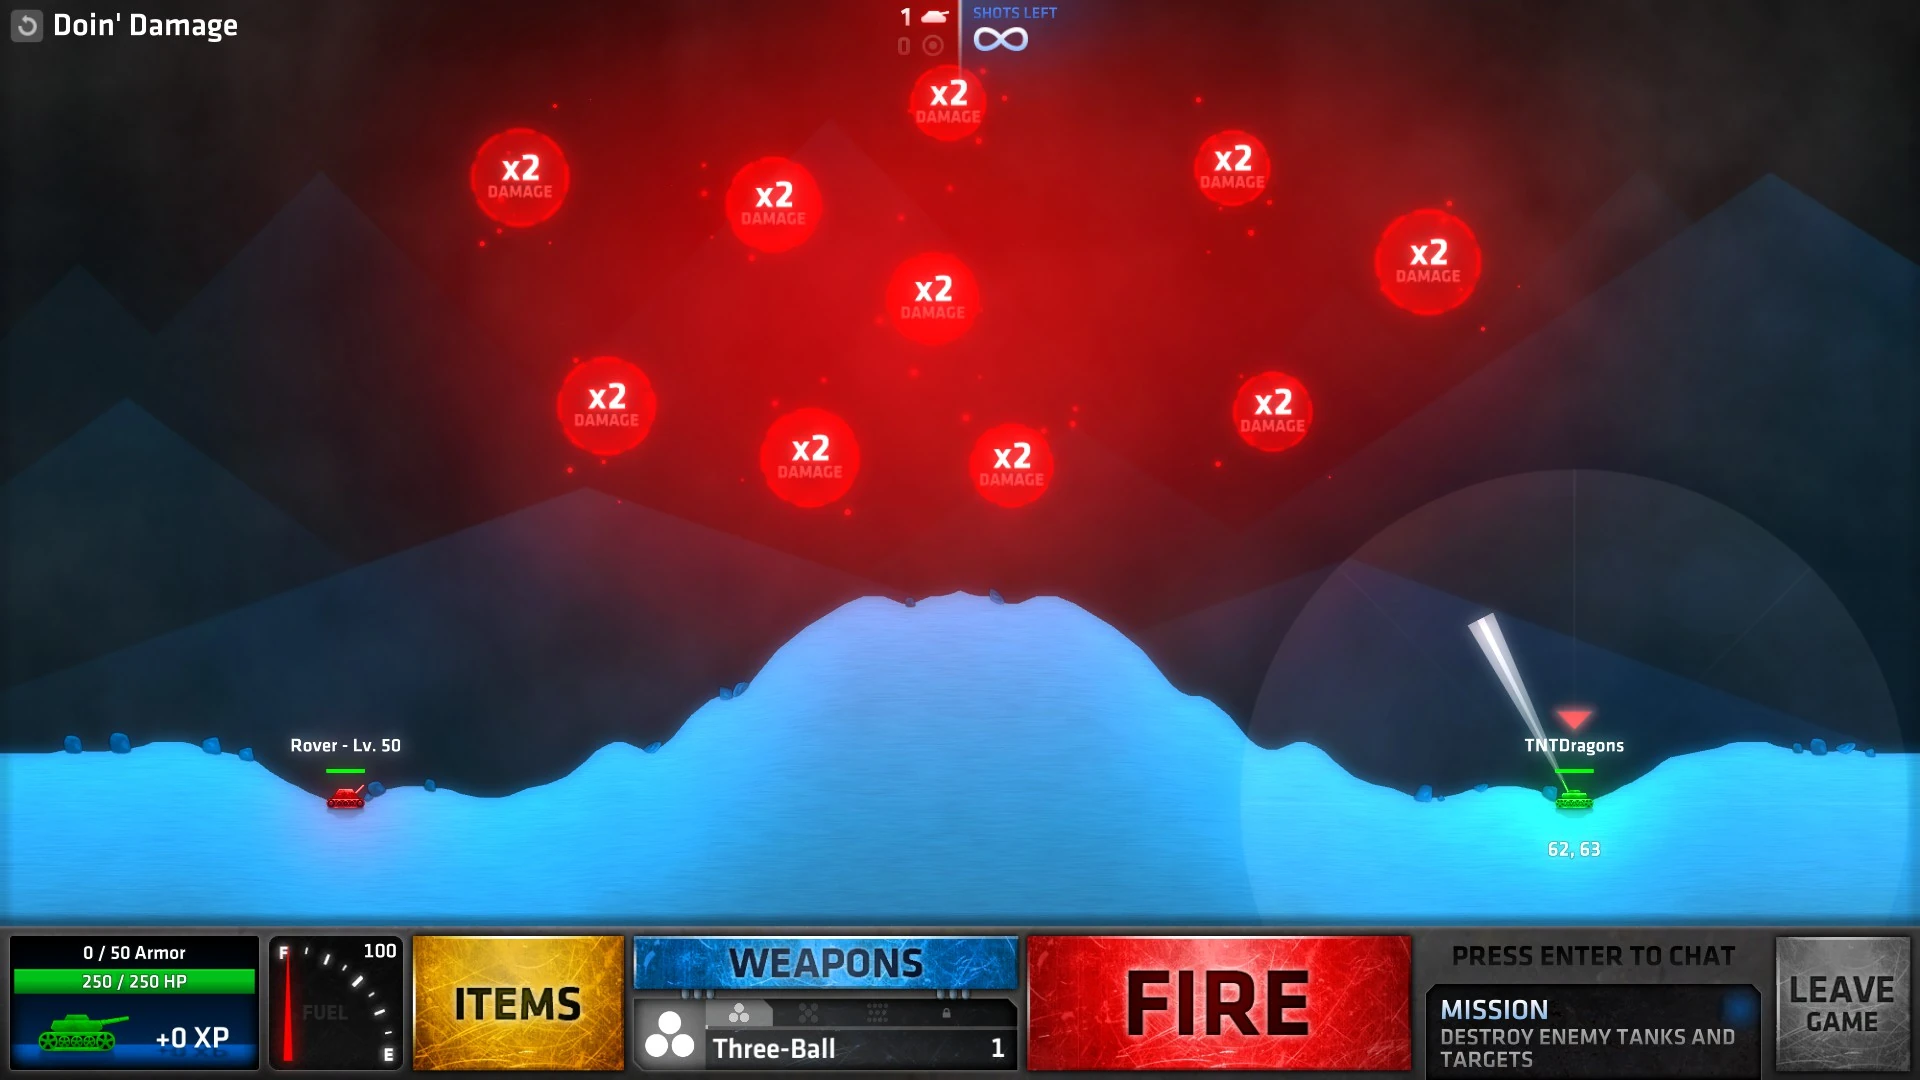
| − | Doin' Damage.jpg|Doin' Damage |
+ | Doin' Damage.jpg|[[Armored Fury#Doin' Damage|Doin' Damage]] |
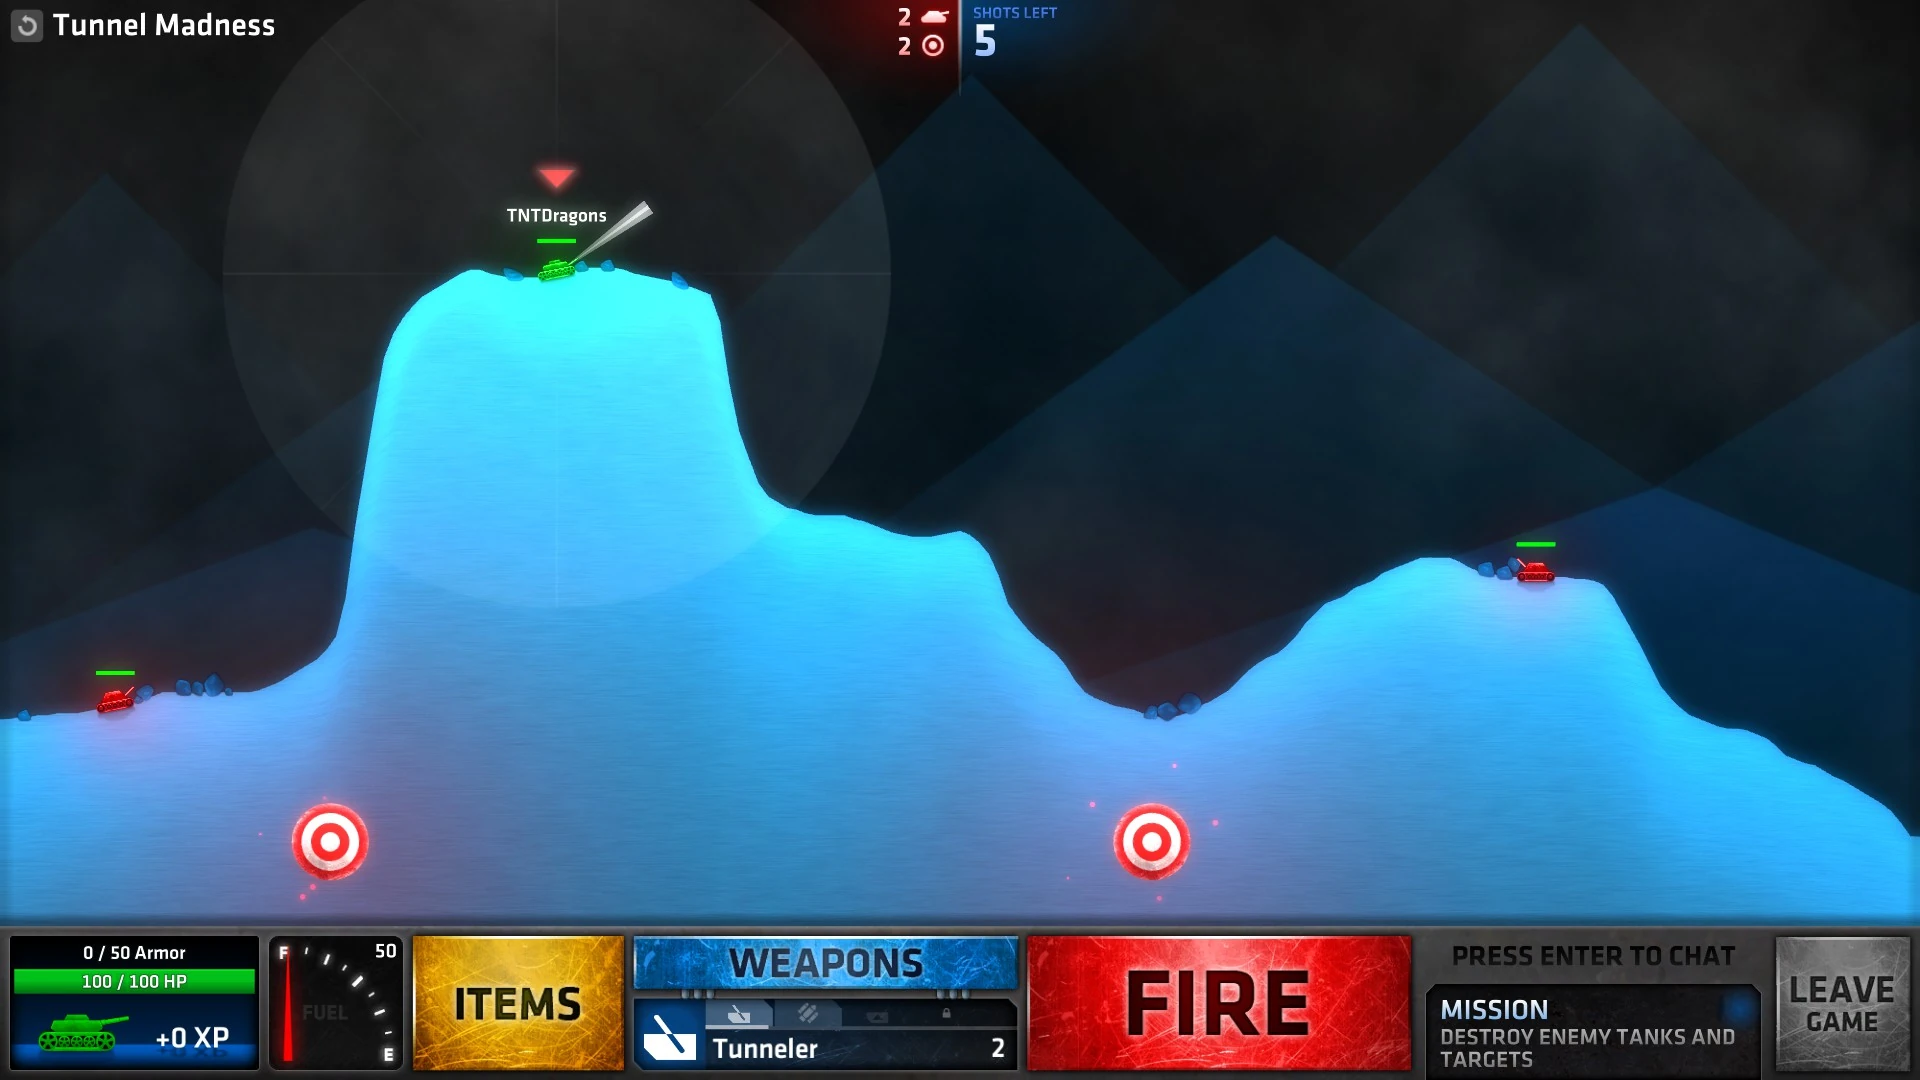
| − | Tunnel Madness.jpg|Tunnel Madness |
+ | Tunnel Madness.jpg|[[Armored Fury#Tunnel Madness|Tunnel Madness]] |
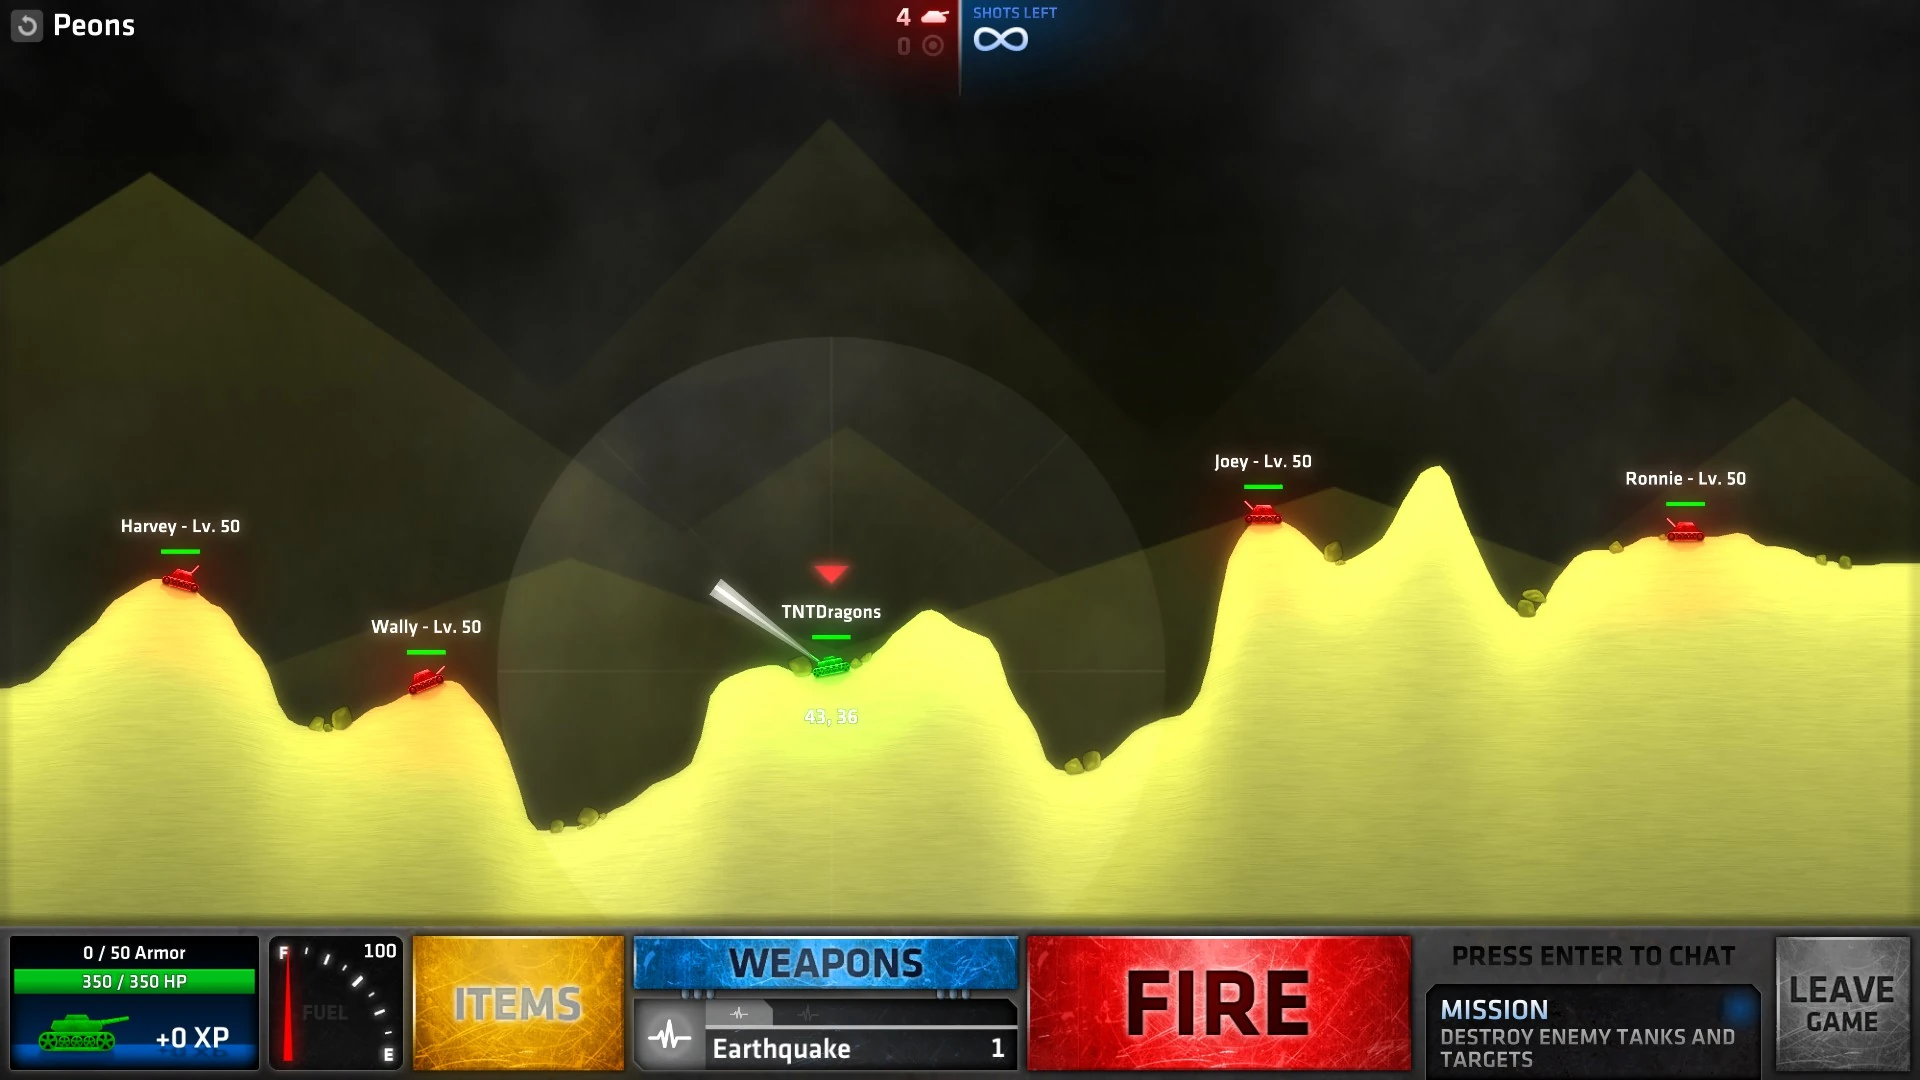
| − | Peons.jpg|Peons |
+ | Peons.jpg|[[Armored Fury#Peons|Peons]] |
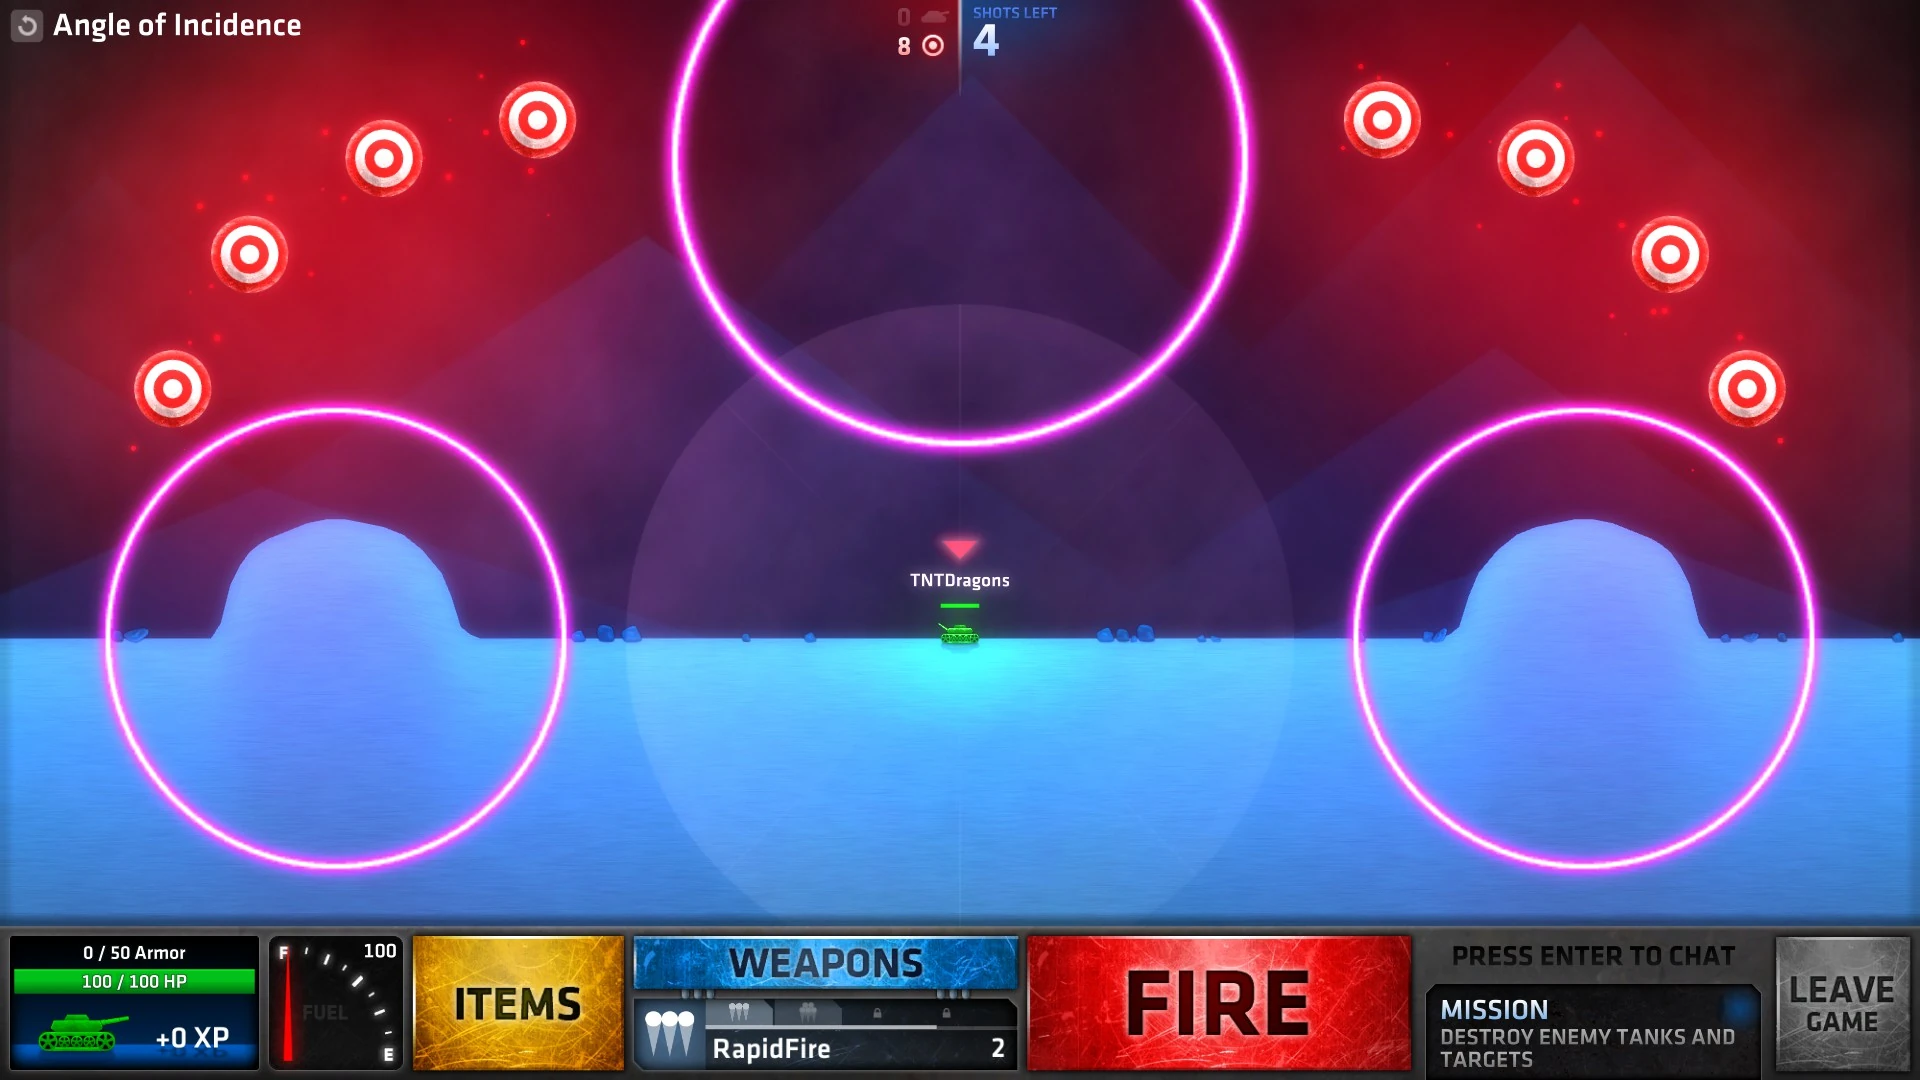
| − | Angle of Incidence.jpg|Angle of Incidence |
+ | Angle of Incidence.jpg|[[Armored Fury#Angle of Incidence|Angle of Incidence]] |
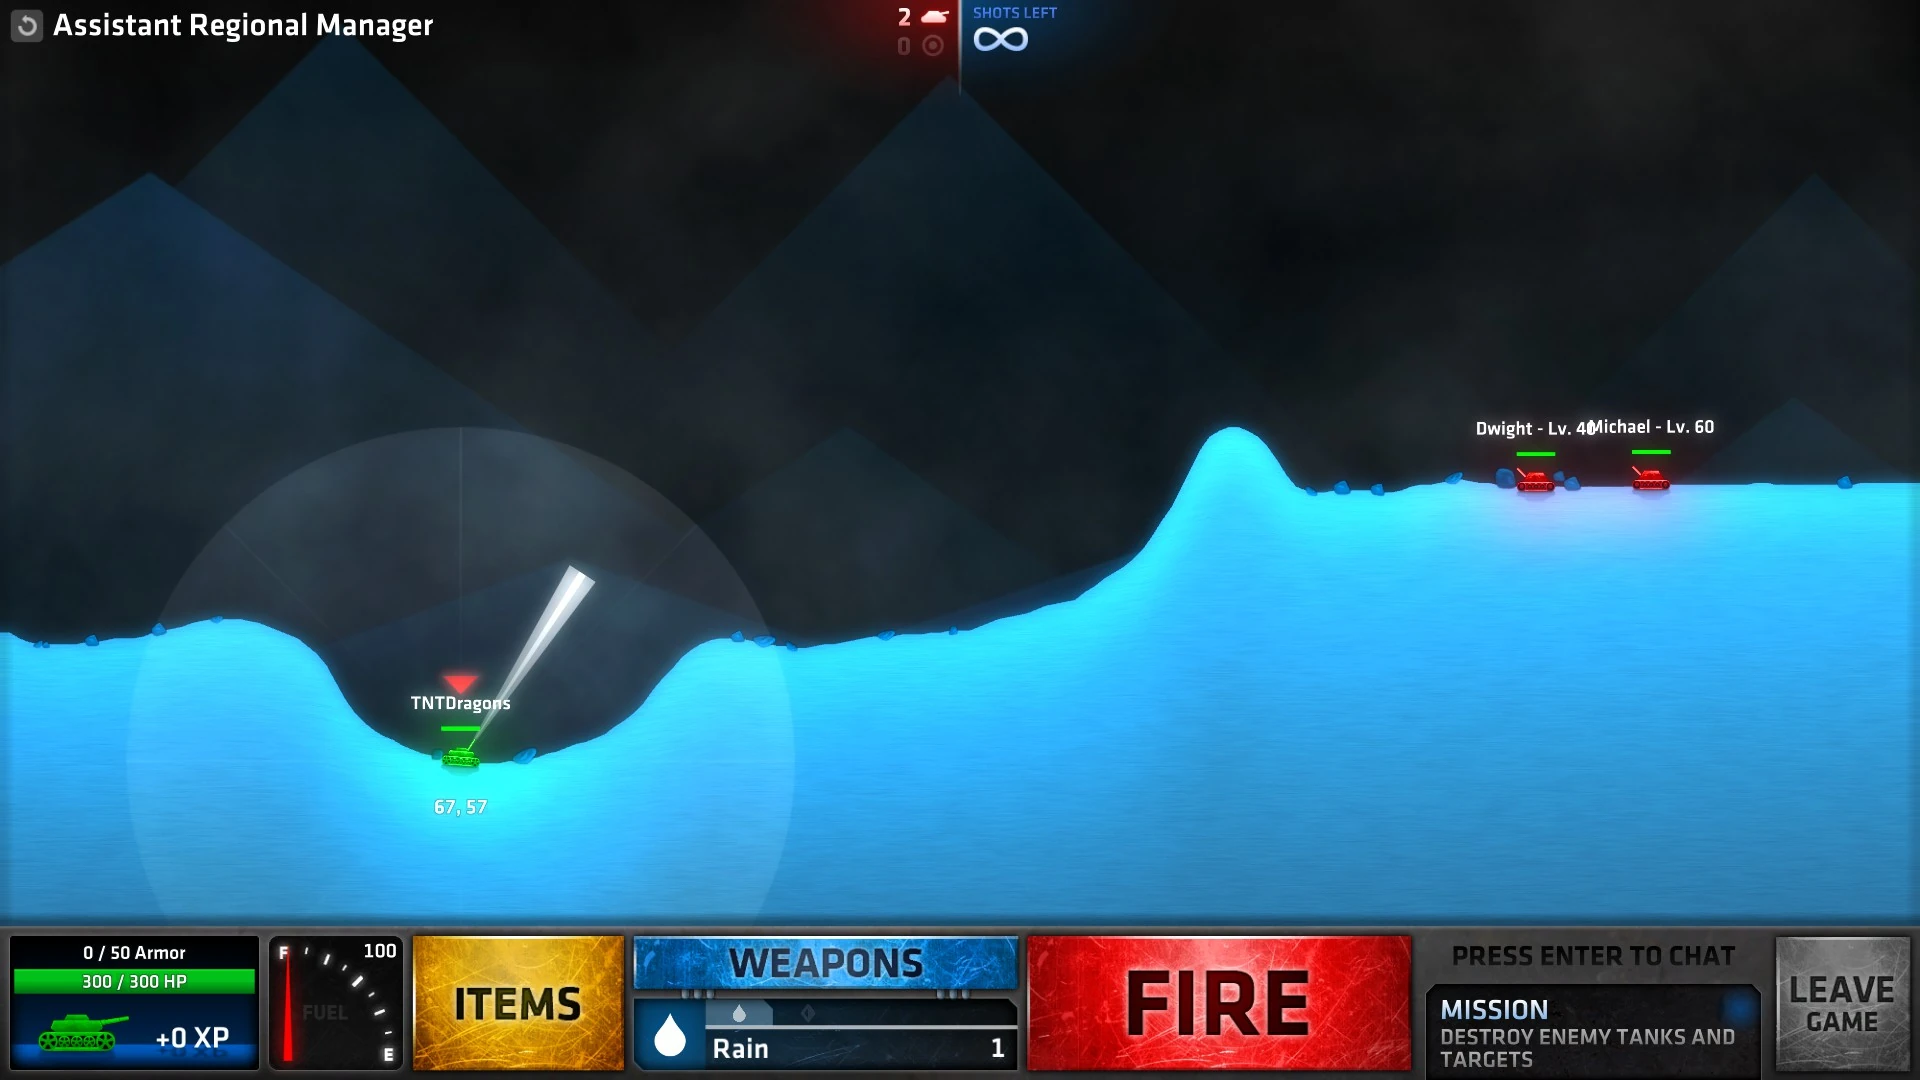
| − | Assistant Regional Manager.jpg|Assistant Regional Manager |
+ | Assistant Regional Manager.jpg|[[Armored Fury#Assistant Regional Manager|Assistant Regional Manager]] |
</gallery> |
</gallery> |
||
== [[Lone Wolf]] == |
== [[Lone Wolf]] == |
||
<gallery> |
<gallery> |
||
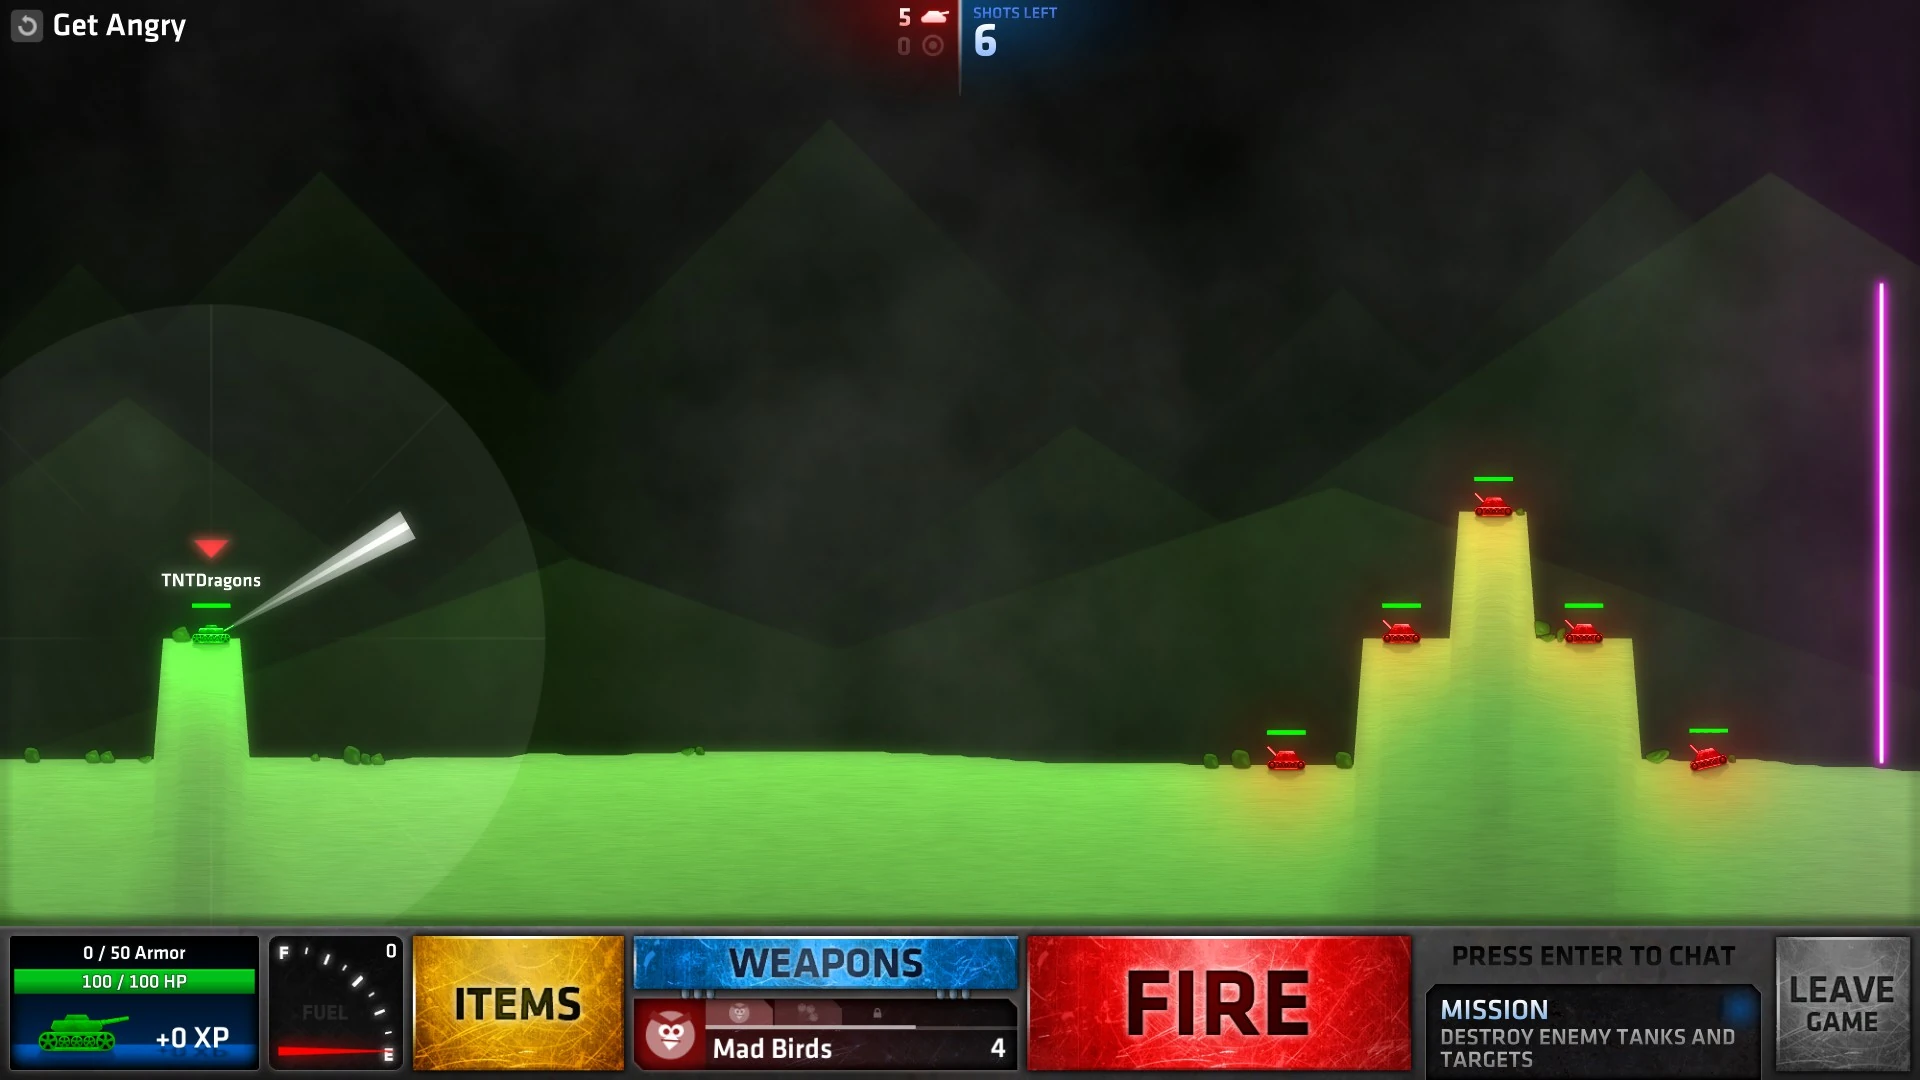
| − | Get Angry.jpg|Get Angry |
+ | Get Angry.jpg|[[Lone Wolf#Get Angry|Get Angry]] |
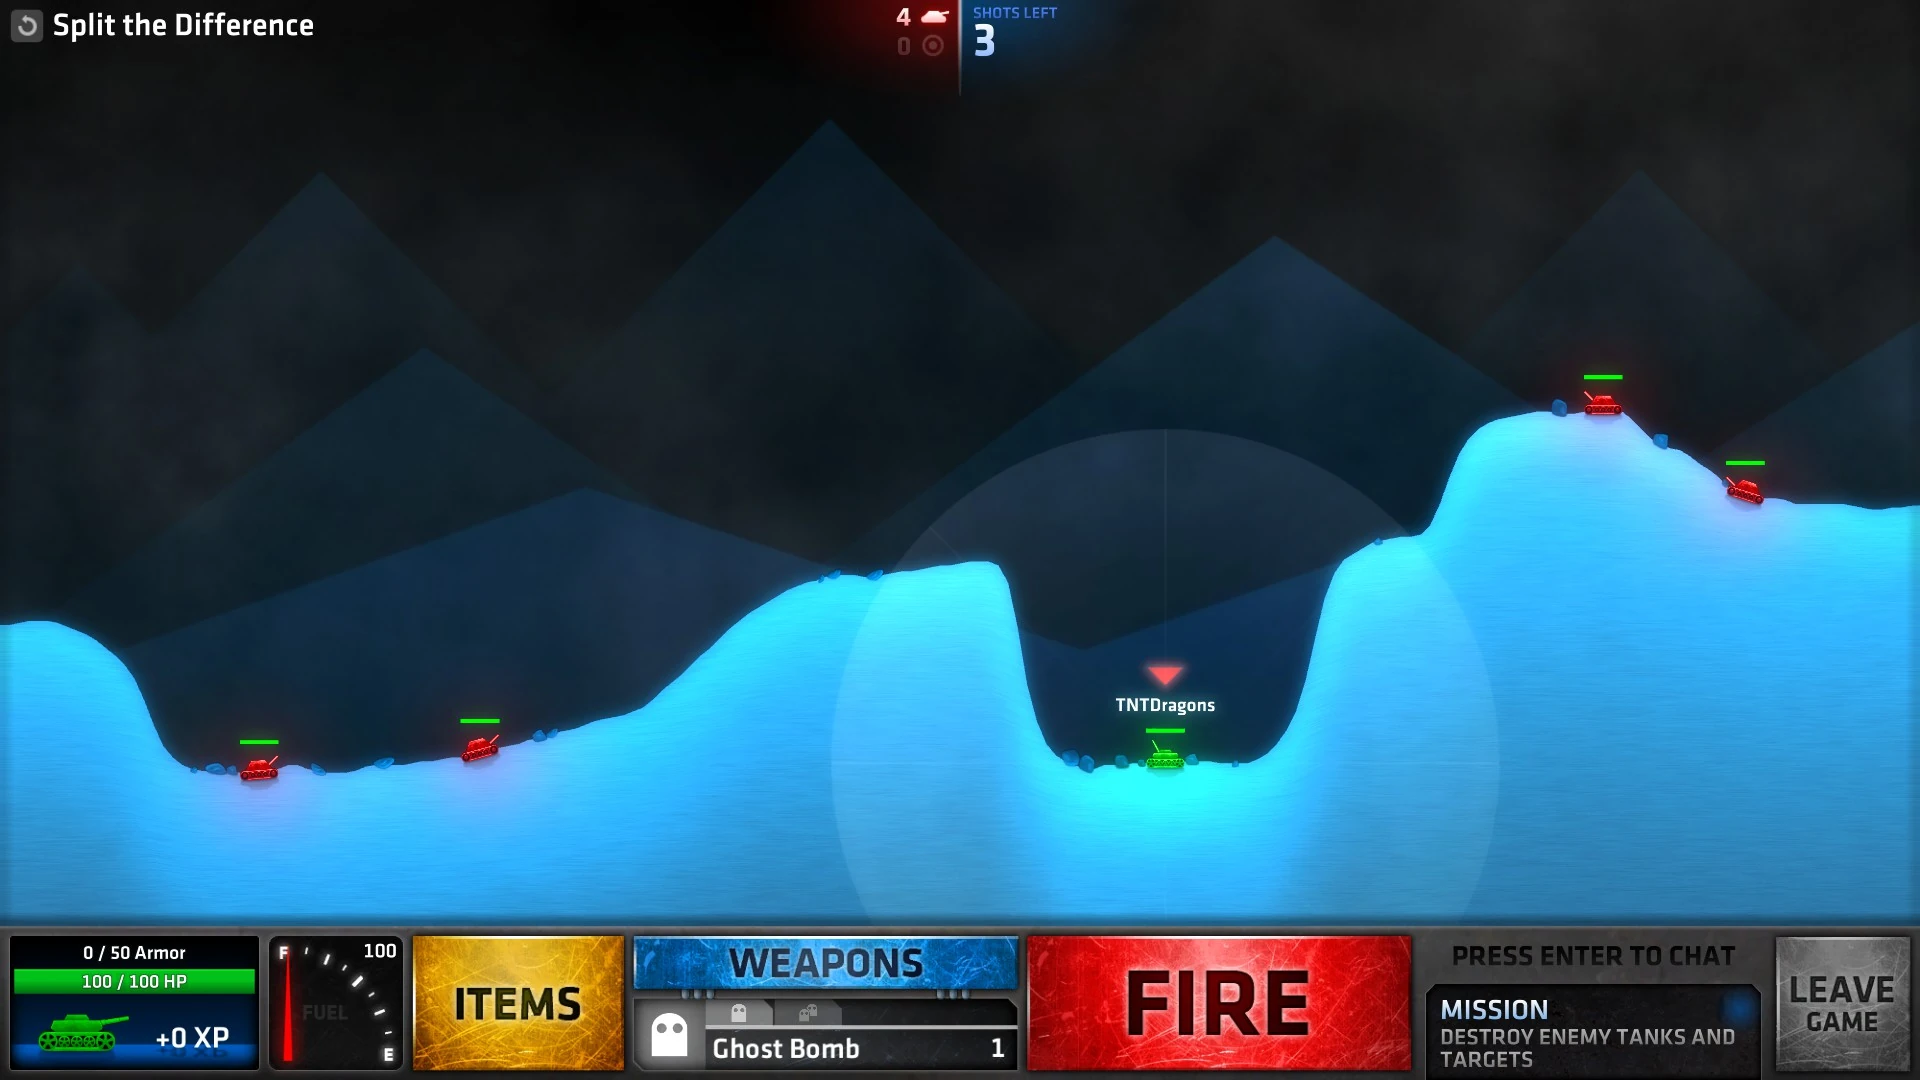
| − | Split The Difference.jpg|Split The Difference |
+ | Split The Difference.jpg|[[Lone Wolf#Split The Difference|Split The Difference]] |
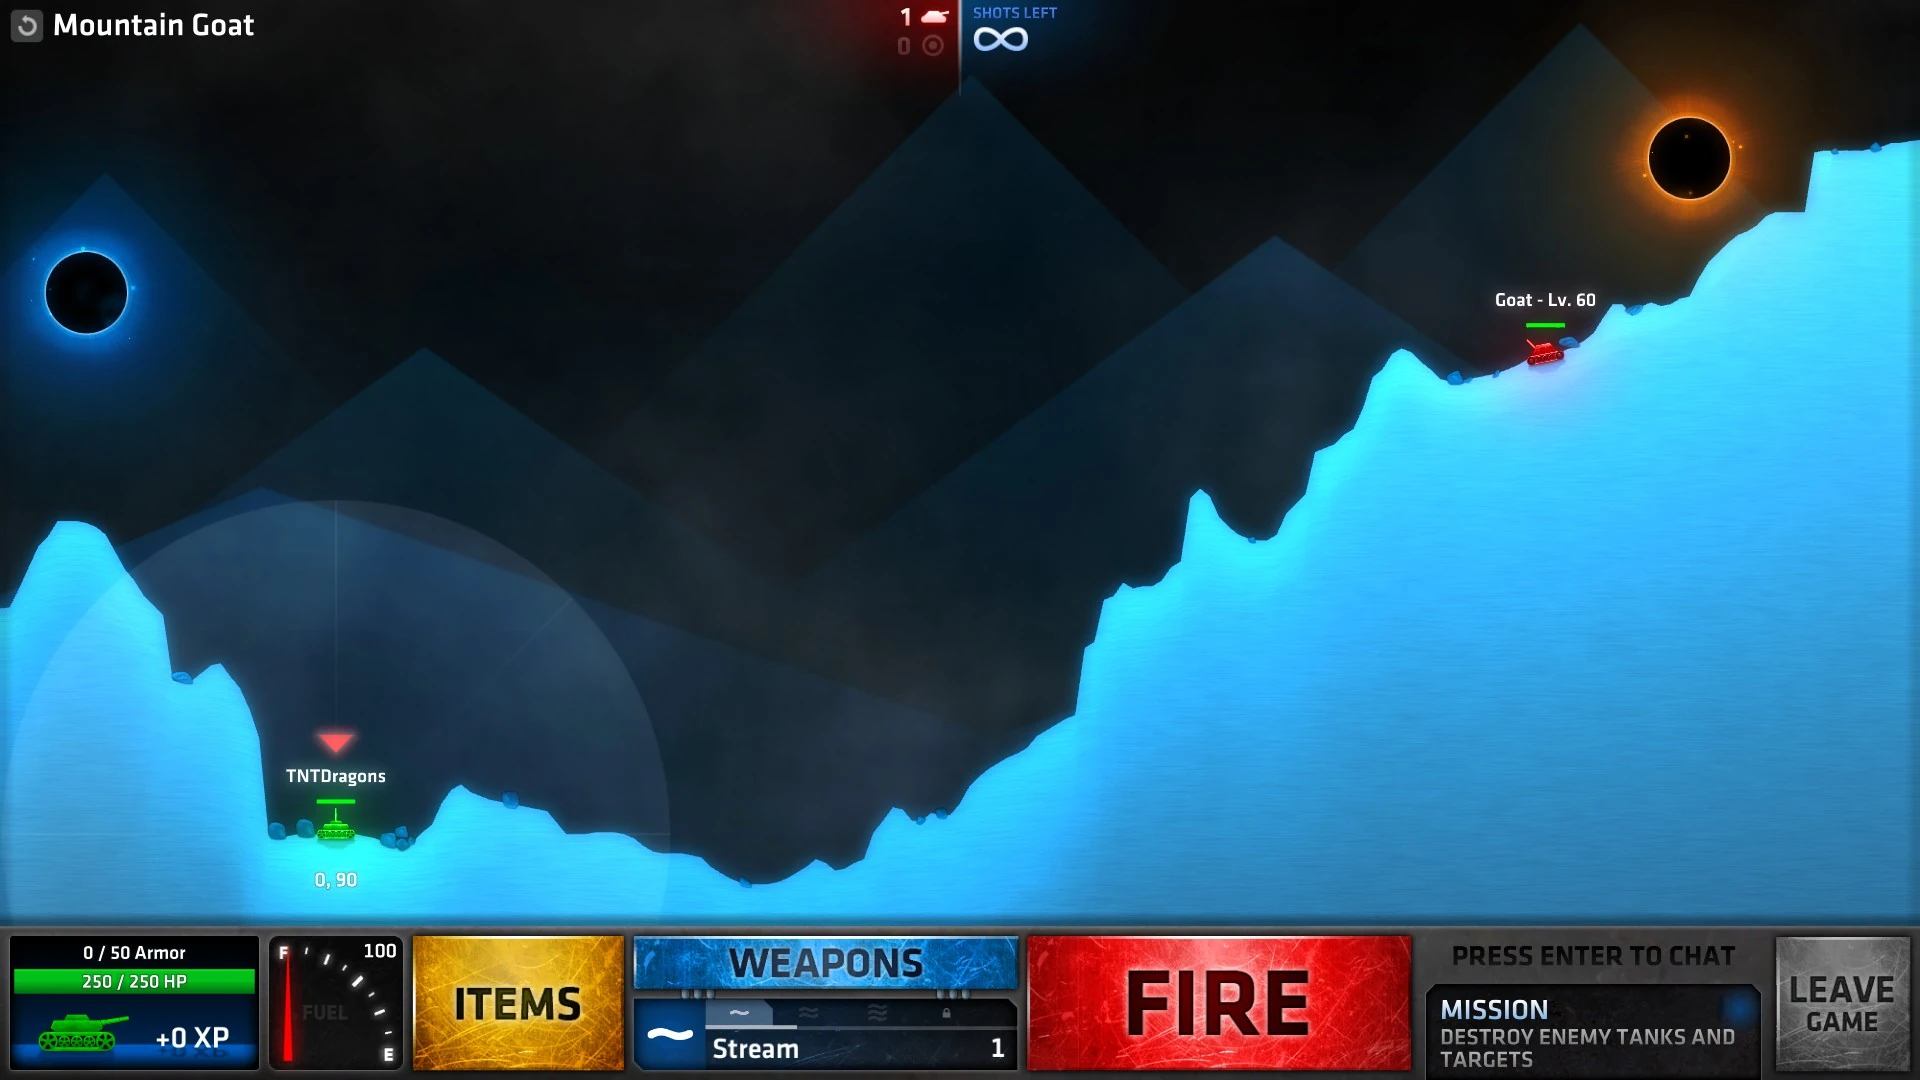
| − | Mountain Goat.jpg|Mountain Goat |
+ | Mountain Goat.jpg|[[Lone Wolf#Mountain Goat|Mountain Goat]] |
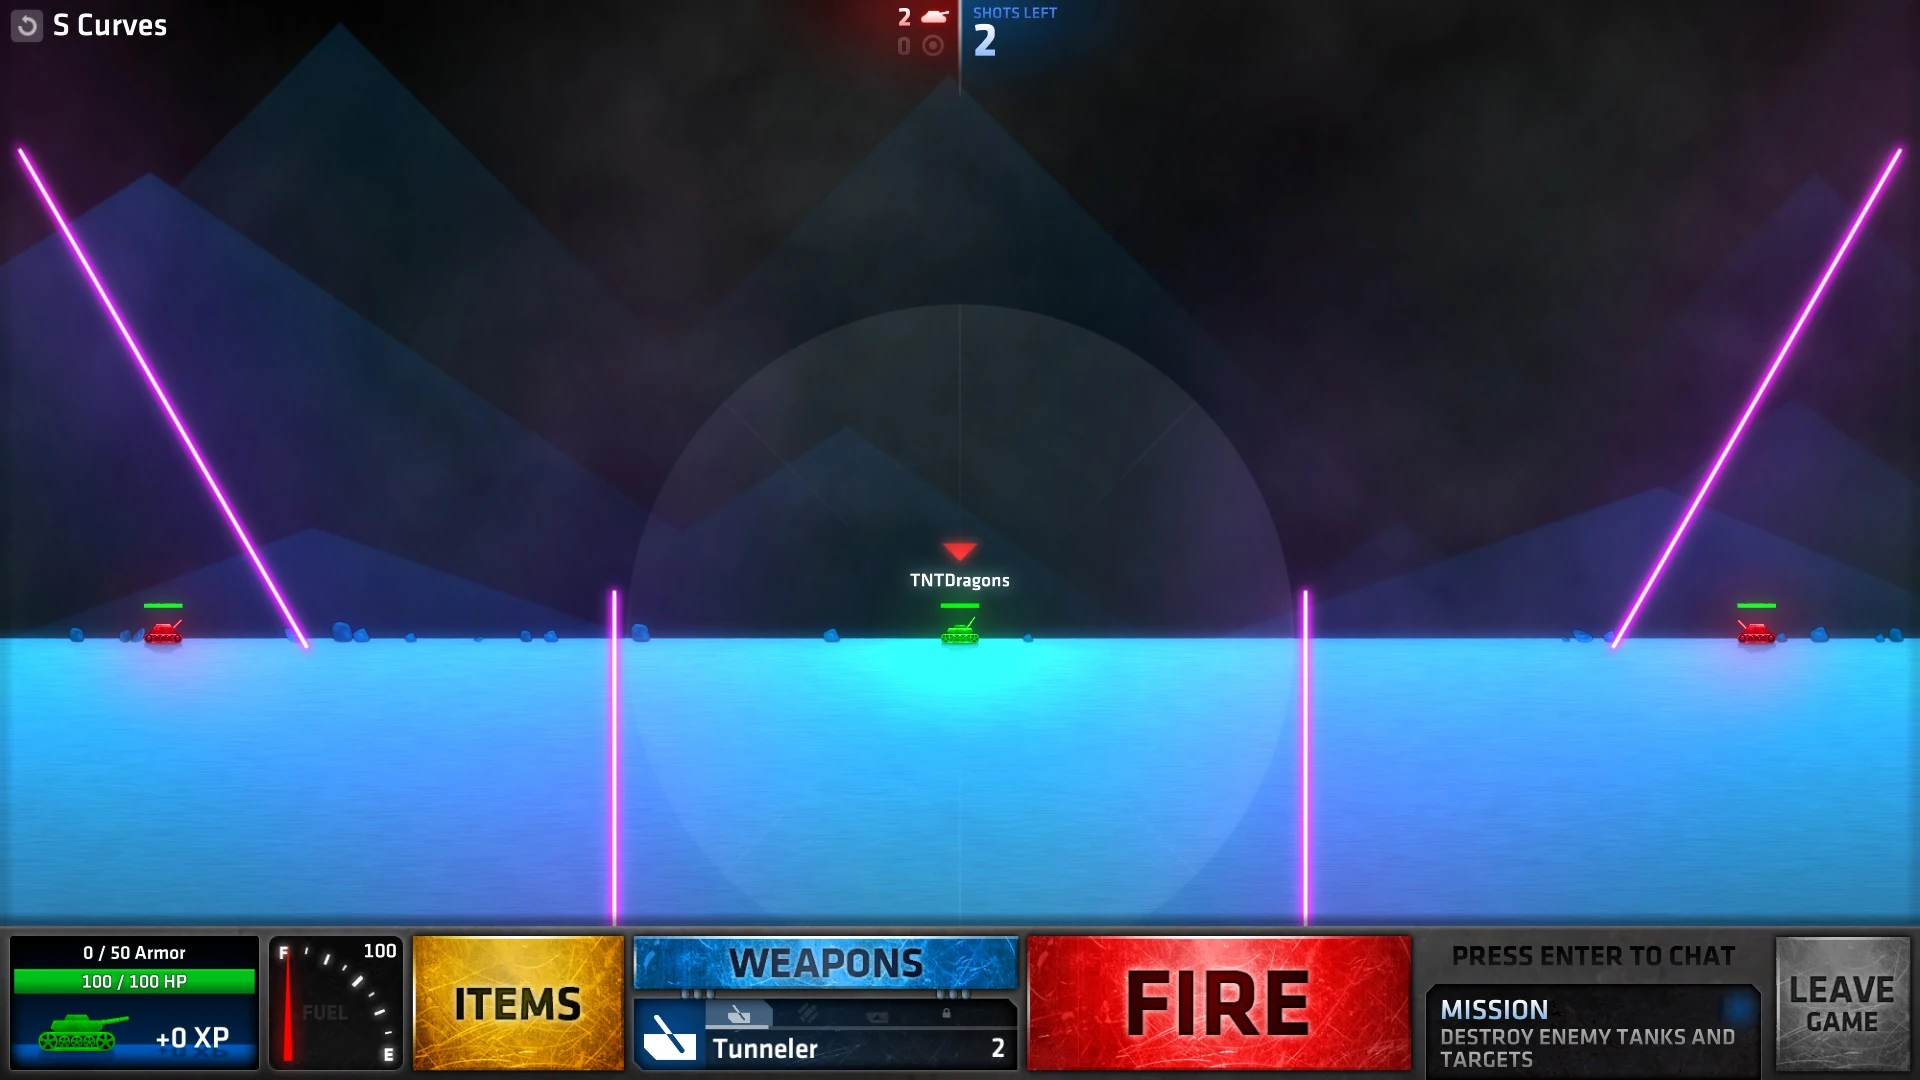
| − | S Curves.jpg|S Curves |
+ | S Curves.jpg|[[Lone Wolf#S Curves|S Curves]] |
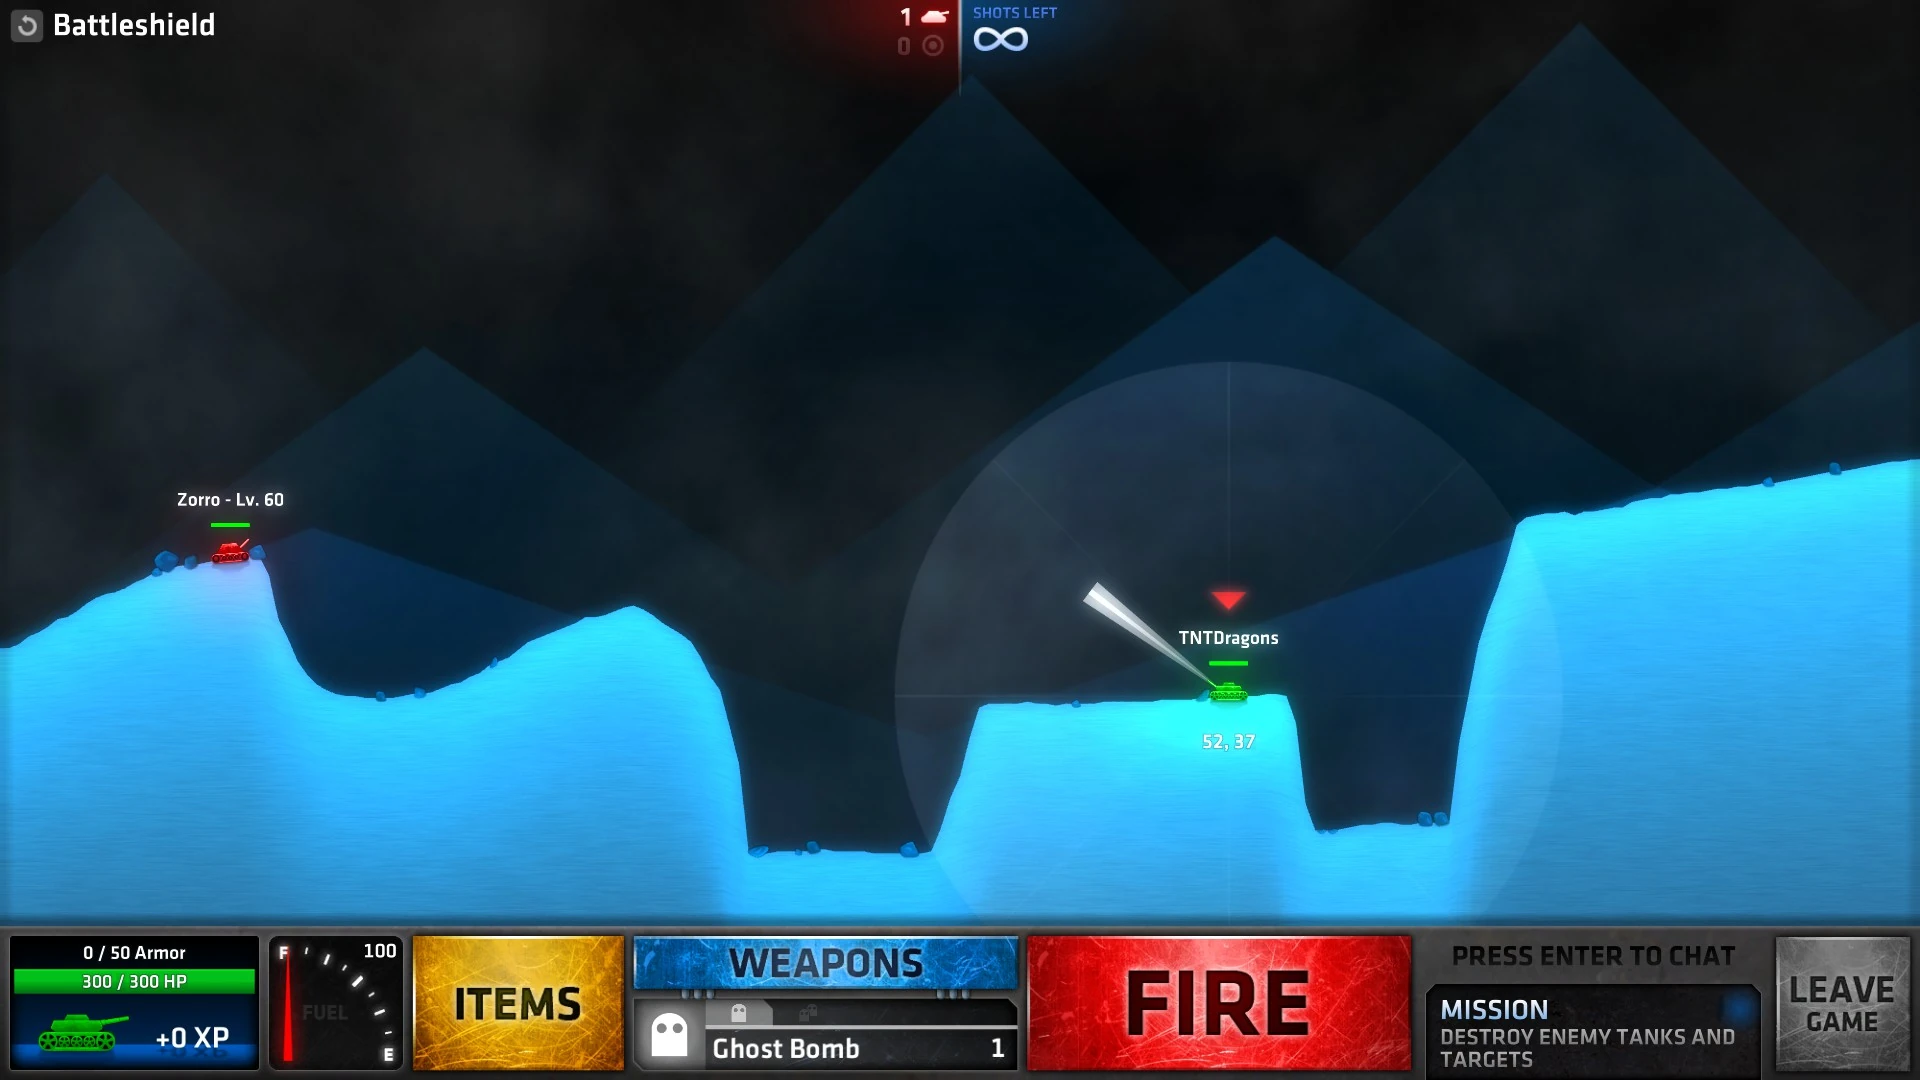
| − | Battleshield.jpg|Battleshield |
+ | Battleshield.jpg|[[Lone Wolf#Battleshield|Battleshield]] |
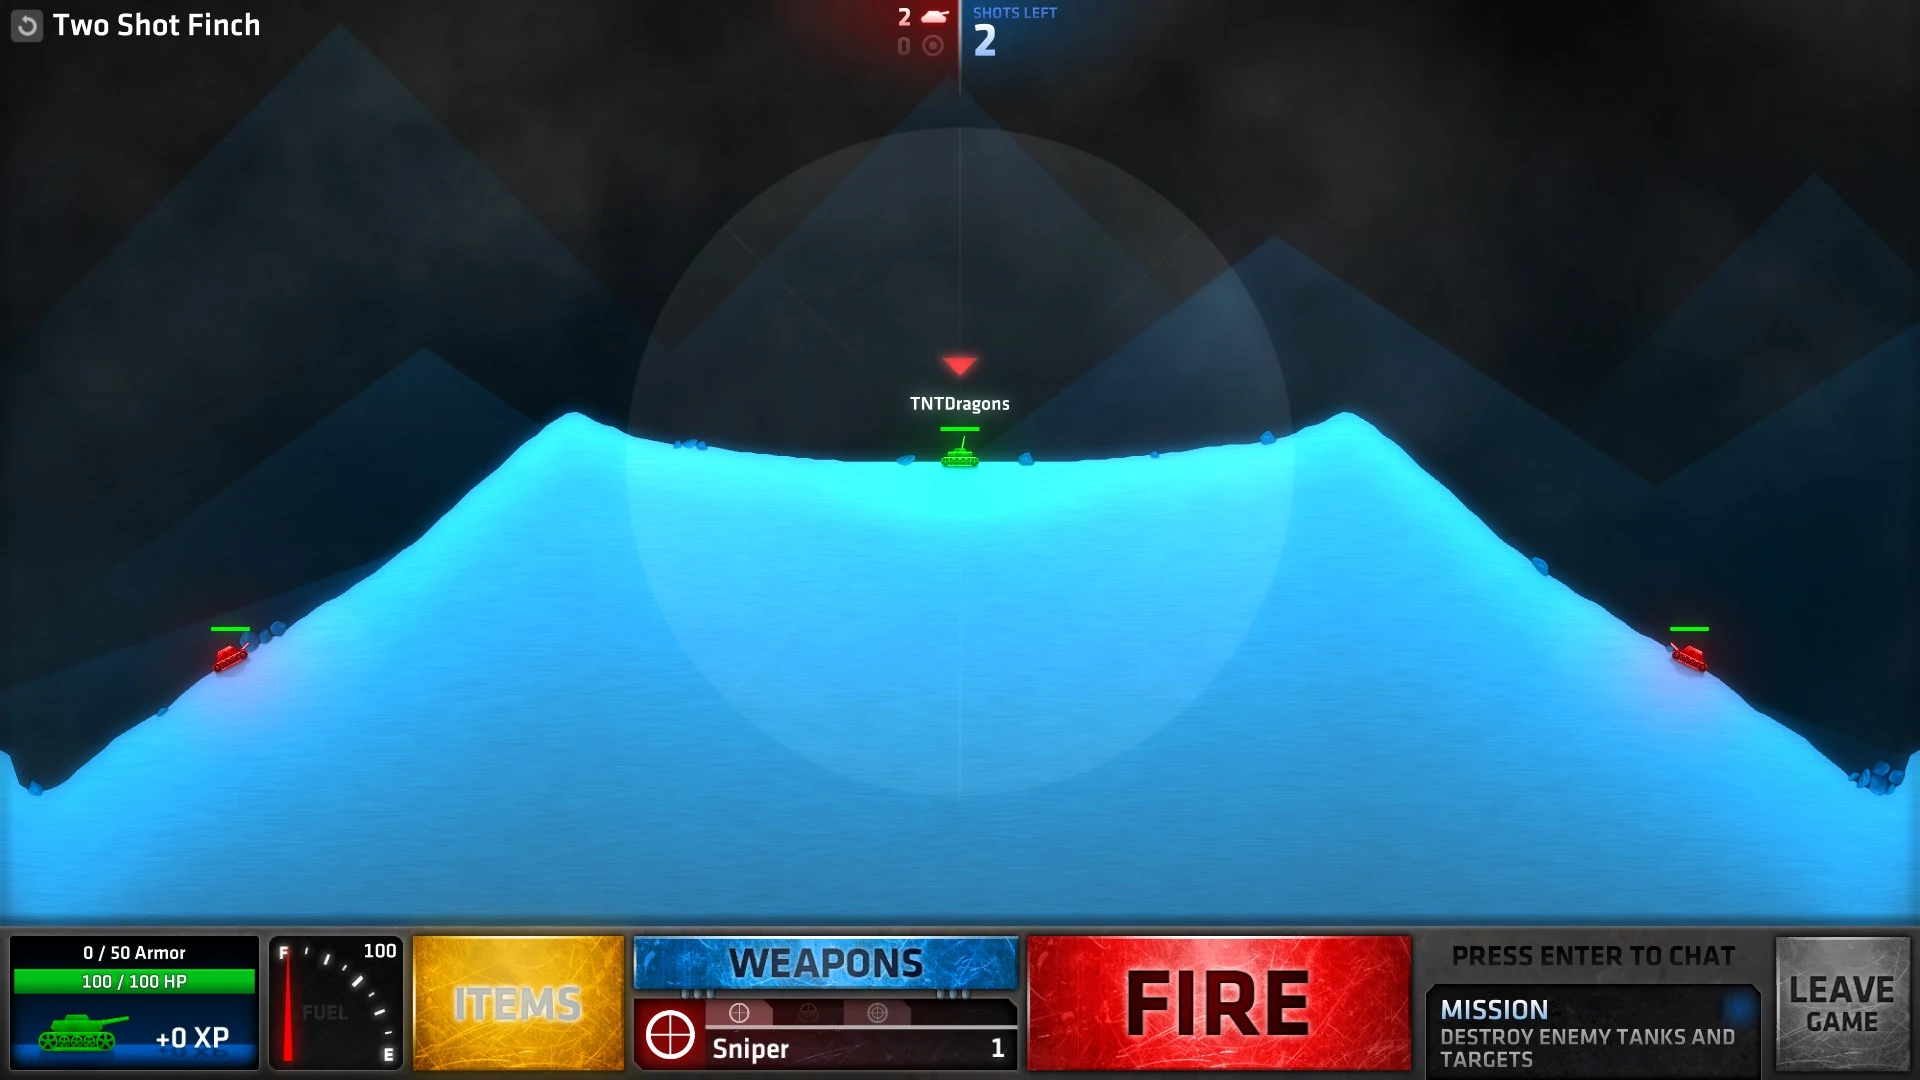
| − | Two Shot Finch.jpg|Two Shot Finch |
+ | Two Shot Finch.jpg|[[Lone Wolf#Two Shot Finch|Two Shot Finch]] |
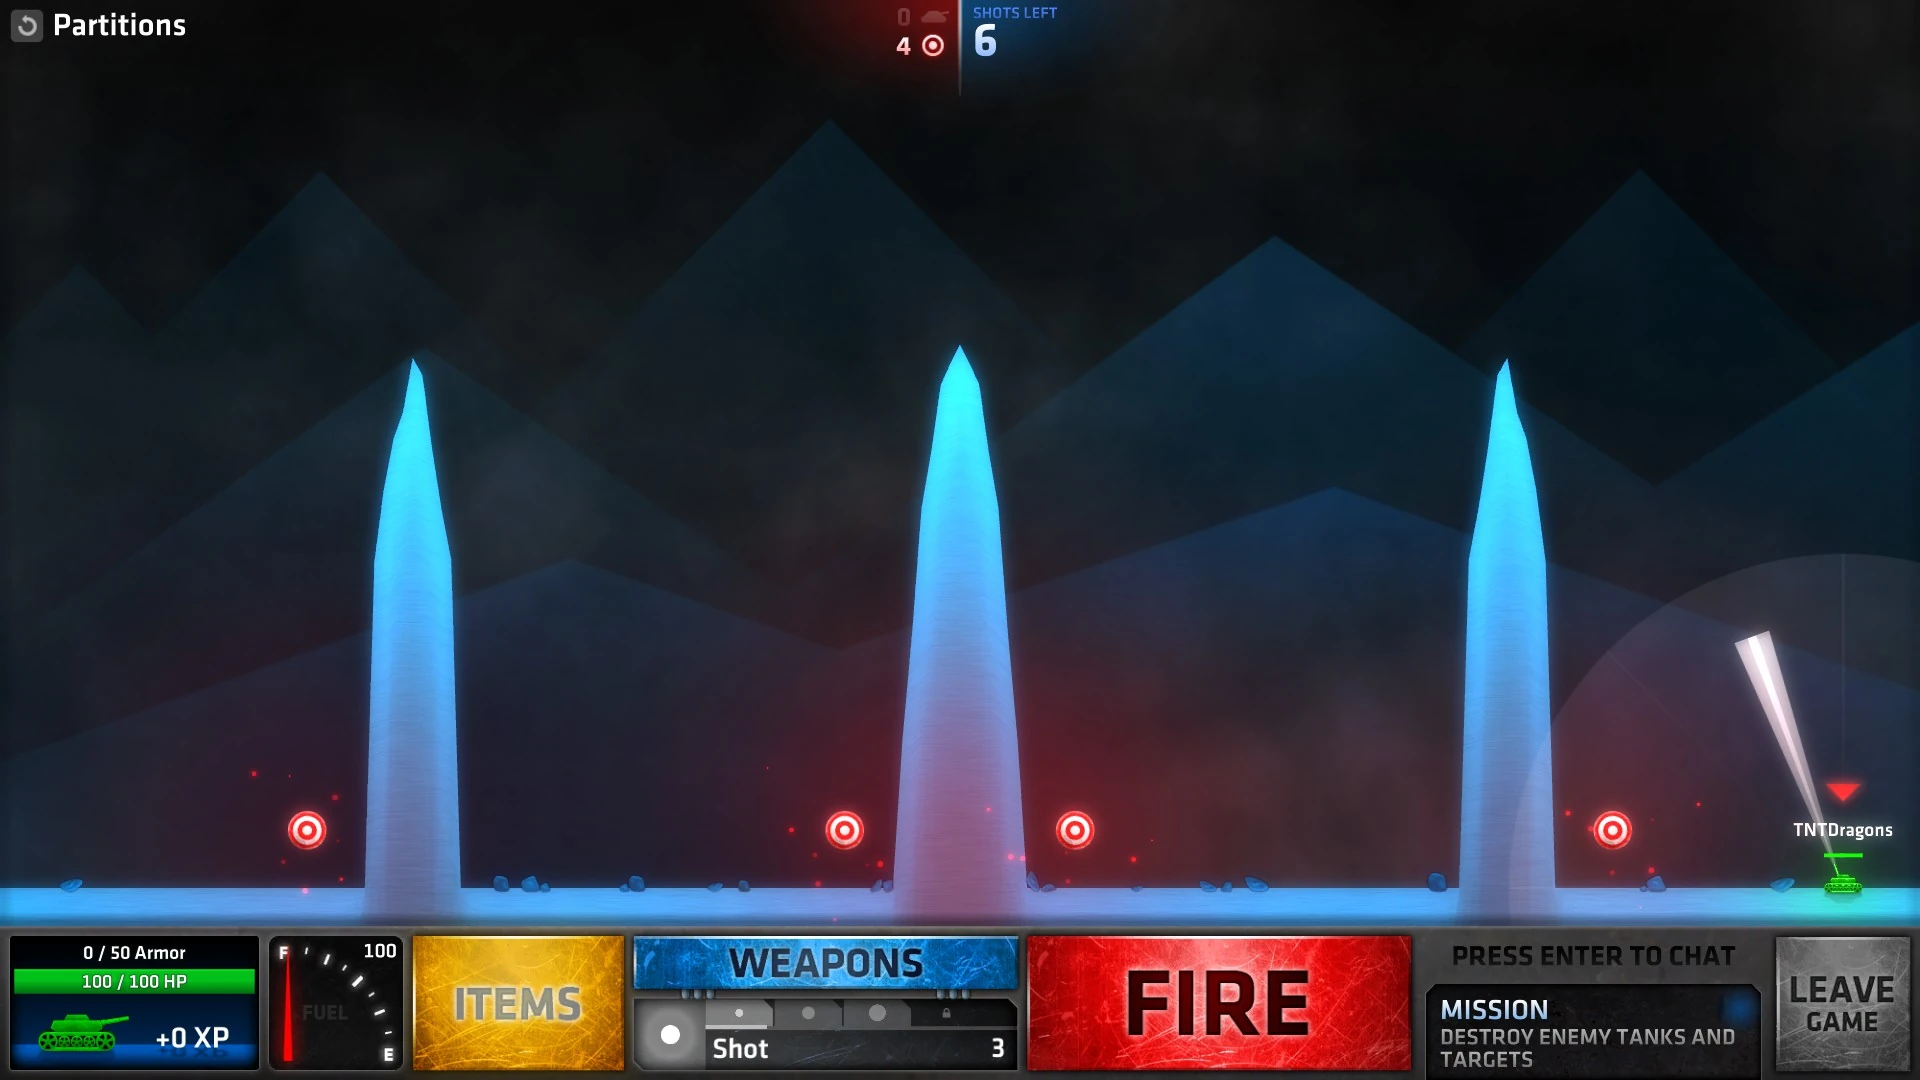
| − | Partitions.jpg|Partitions |
+ | Partitions.jpg|[[Lone Wolf#Partitions|Partitions]] |
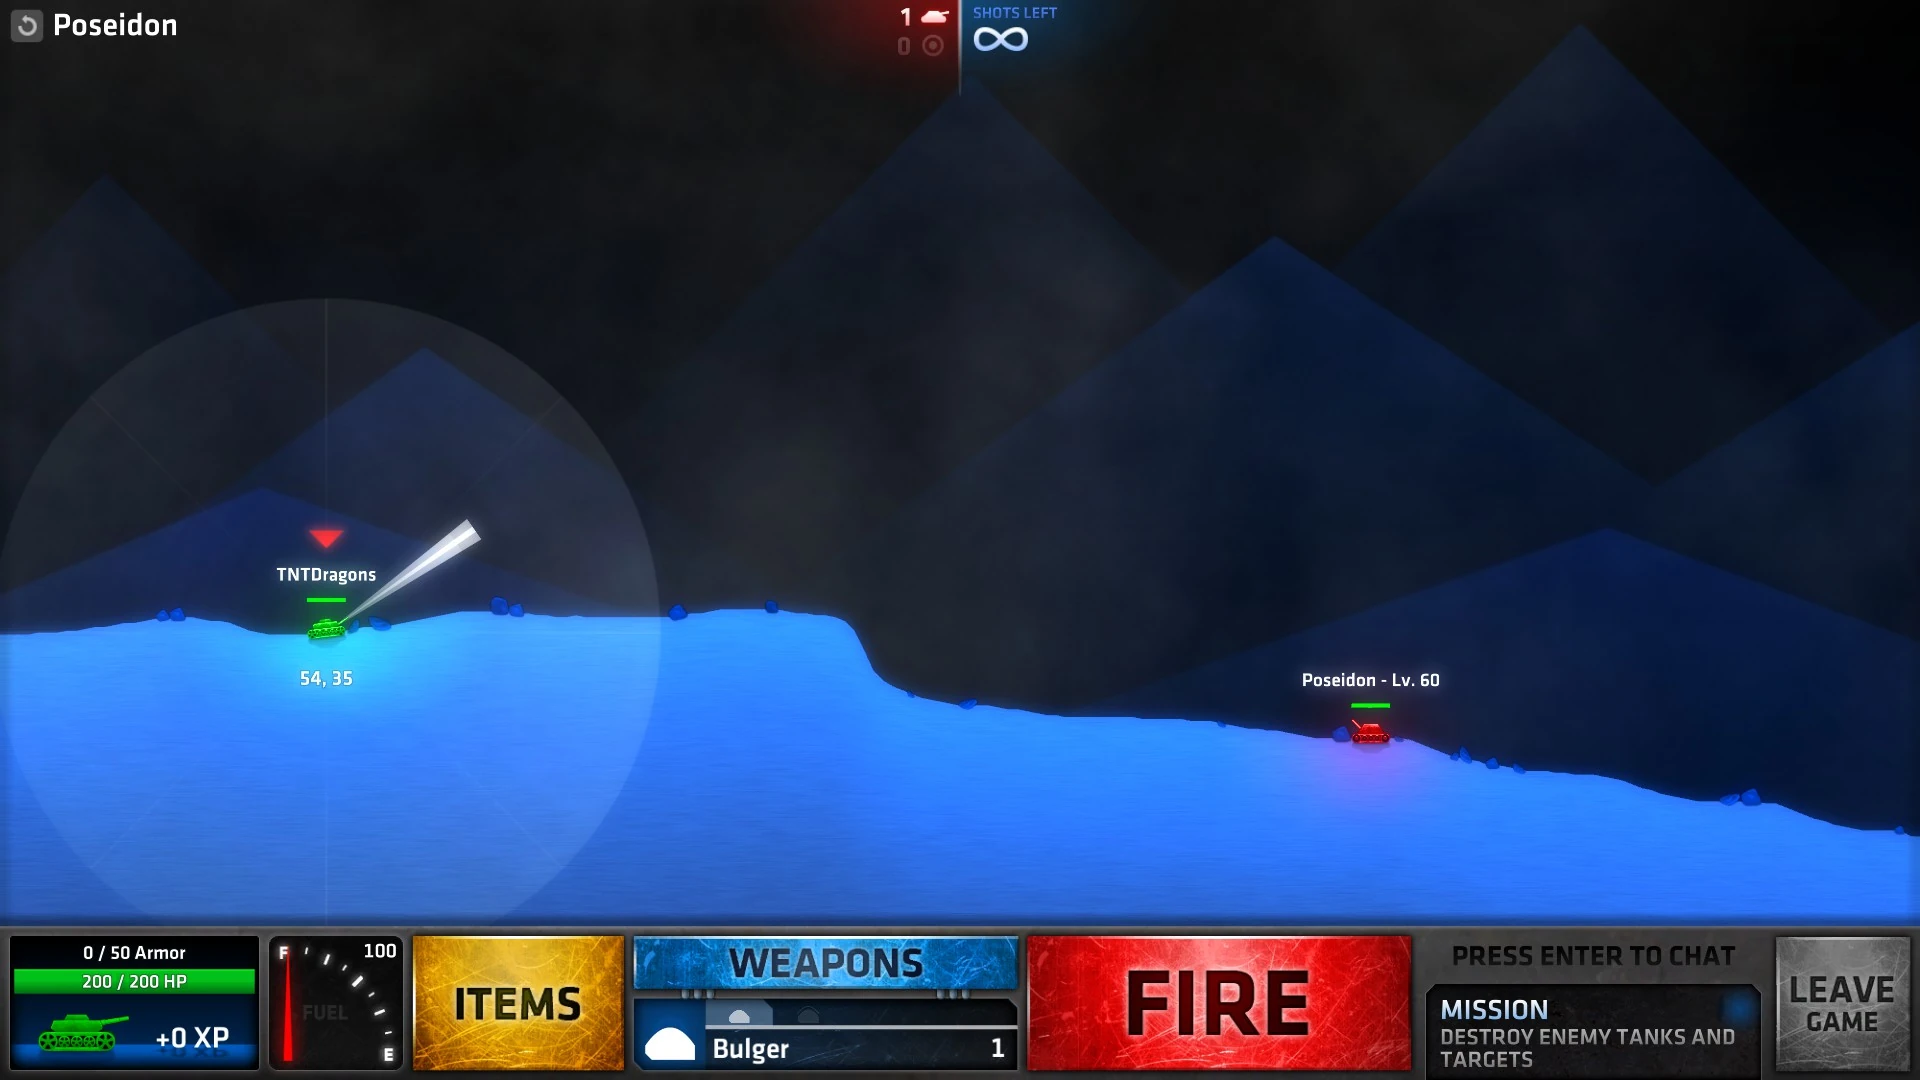
| − | Poseidon.jpg|Poseidon |
+ | Poseidon.jpg|[[Lone Wolf#Poseidon|Poseidon]] |
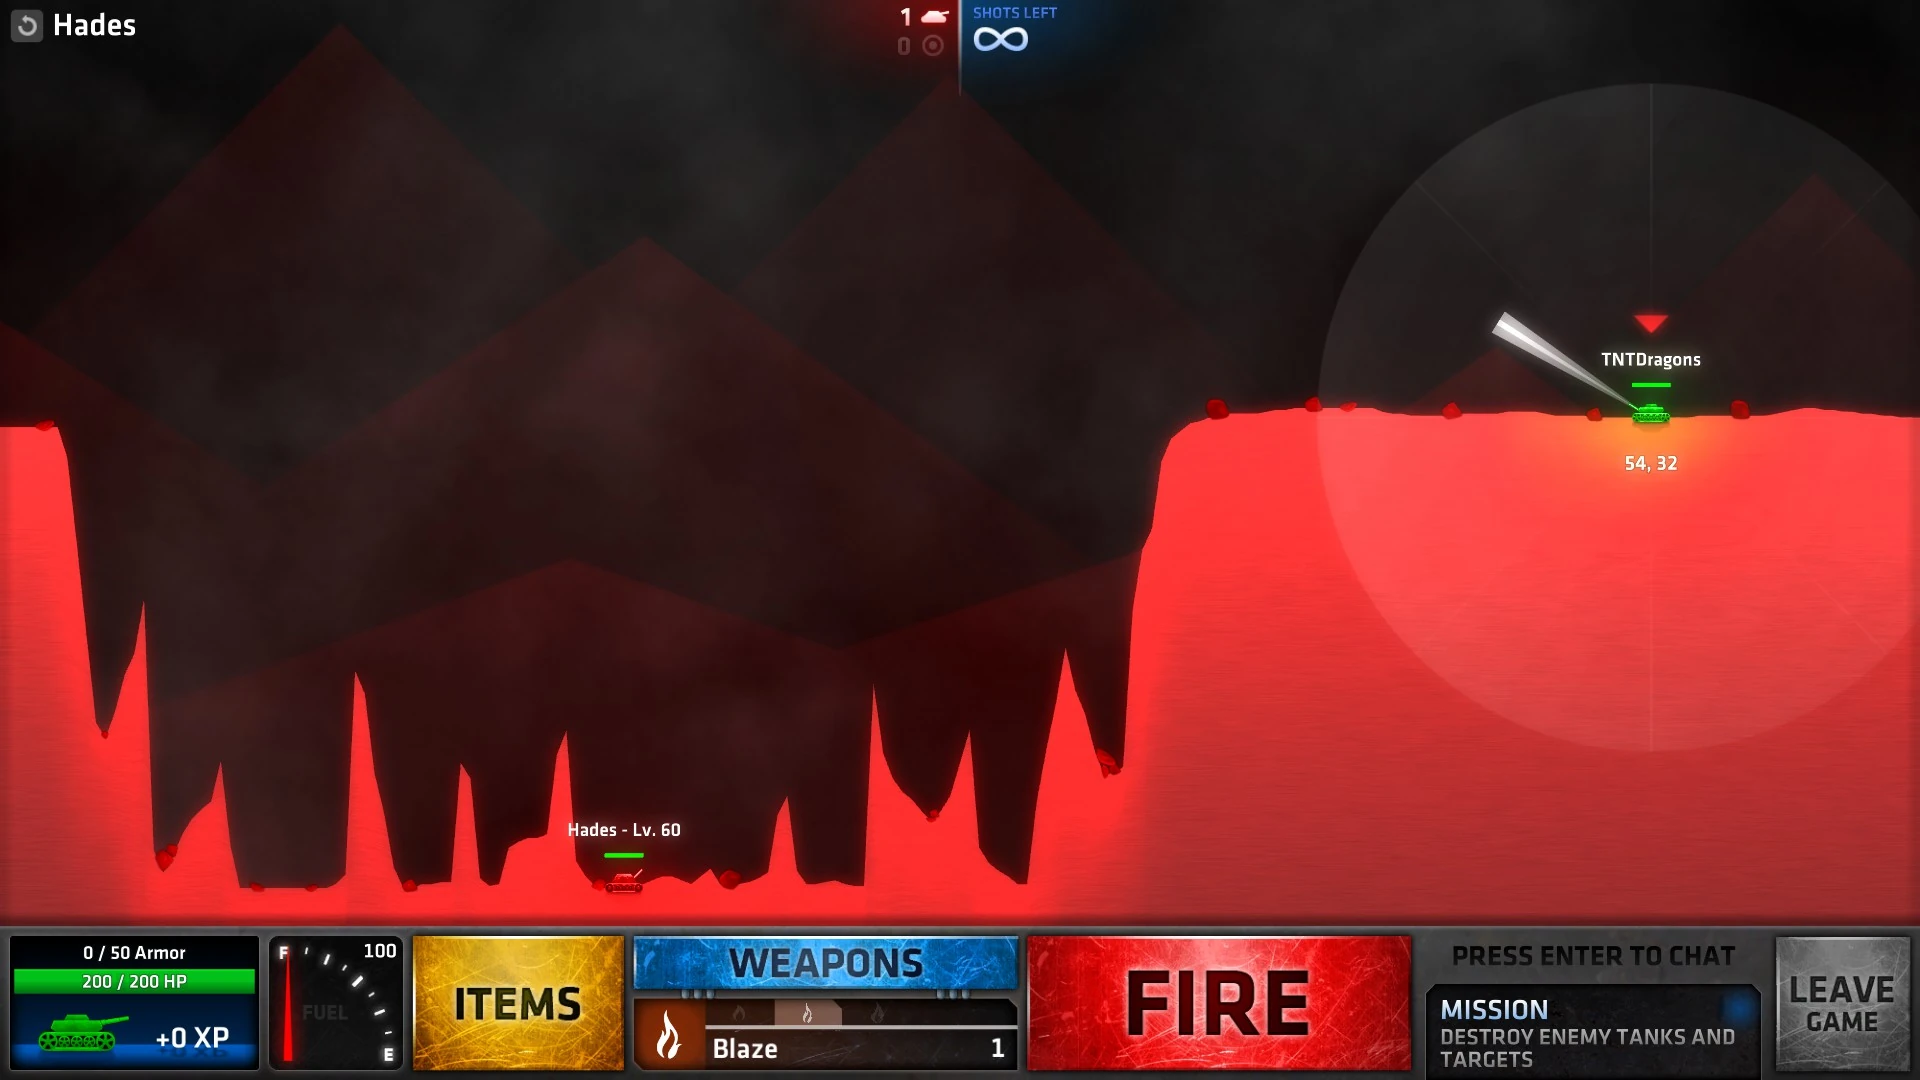
| − | Hades.jpg|Hades |
+ | Hades.jpg|[[Lone Wolf#Hades|Hades]] |
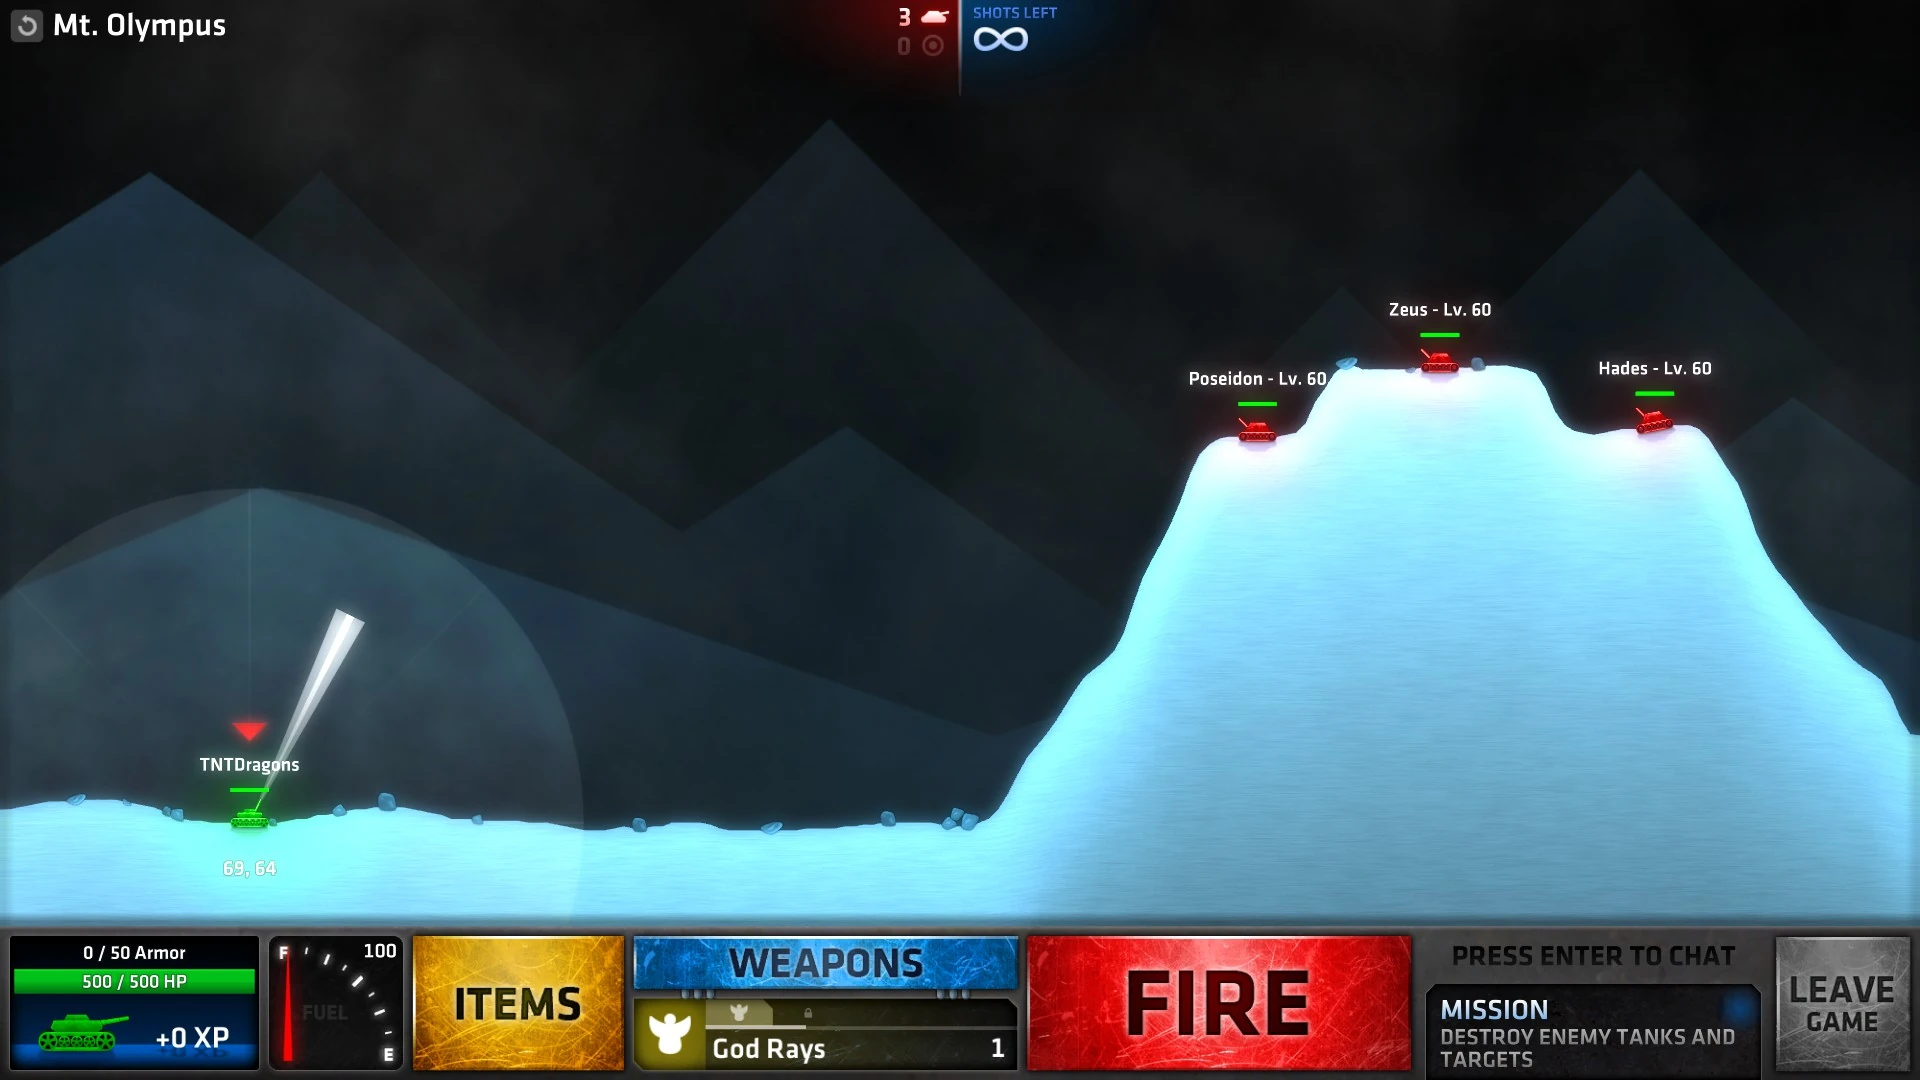
| − | Mt. Olympus.jpg|Mt. Olympus |
+ | Mt. Olympus.jpg|[[Lone Wolf#Mt. Olympus|Mt. Olympus]] |
</gallery> |
</gallery> |
||
== [[Penultimate]] == |
== [[Penultimate]] == |
||
<gallery> |
<gallery> |
||
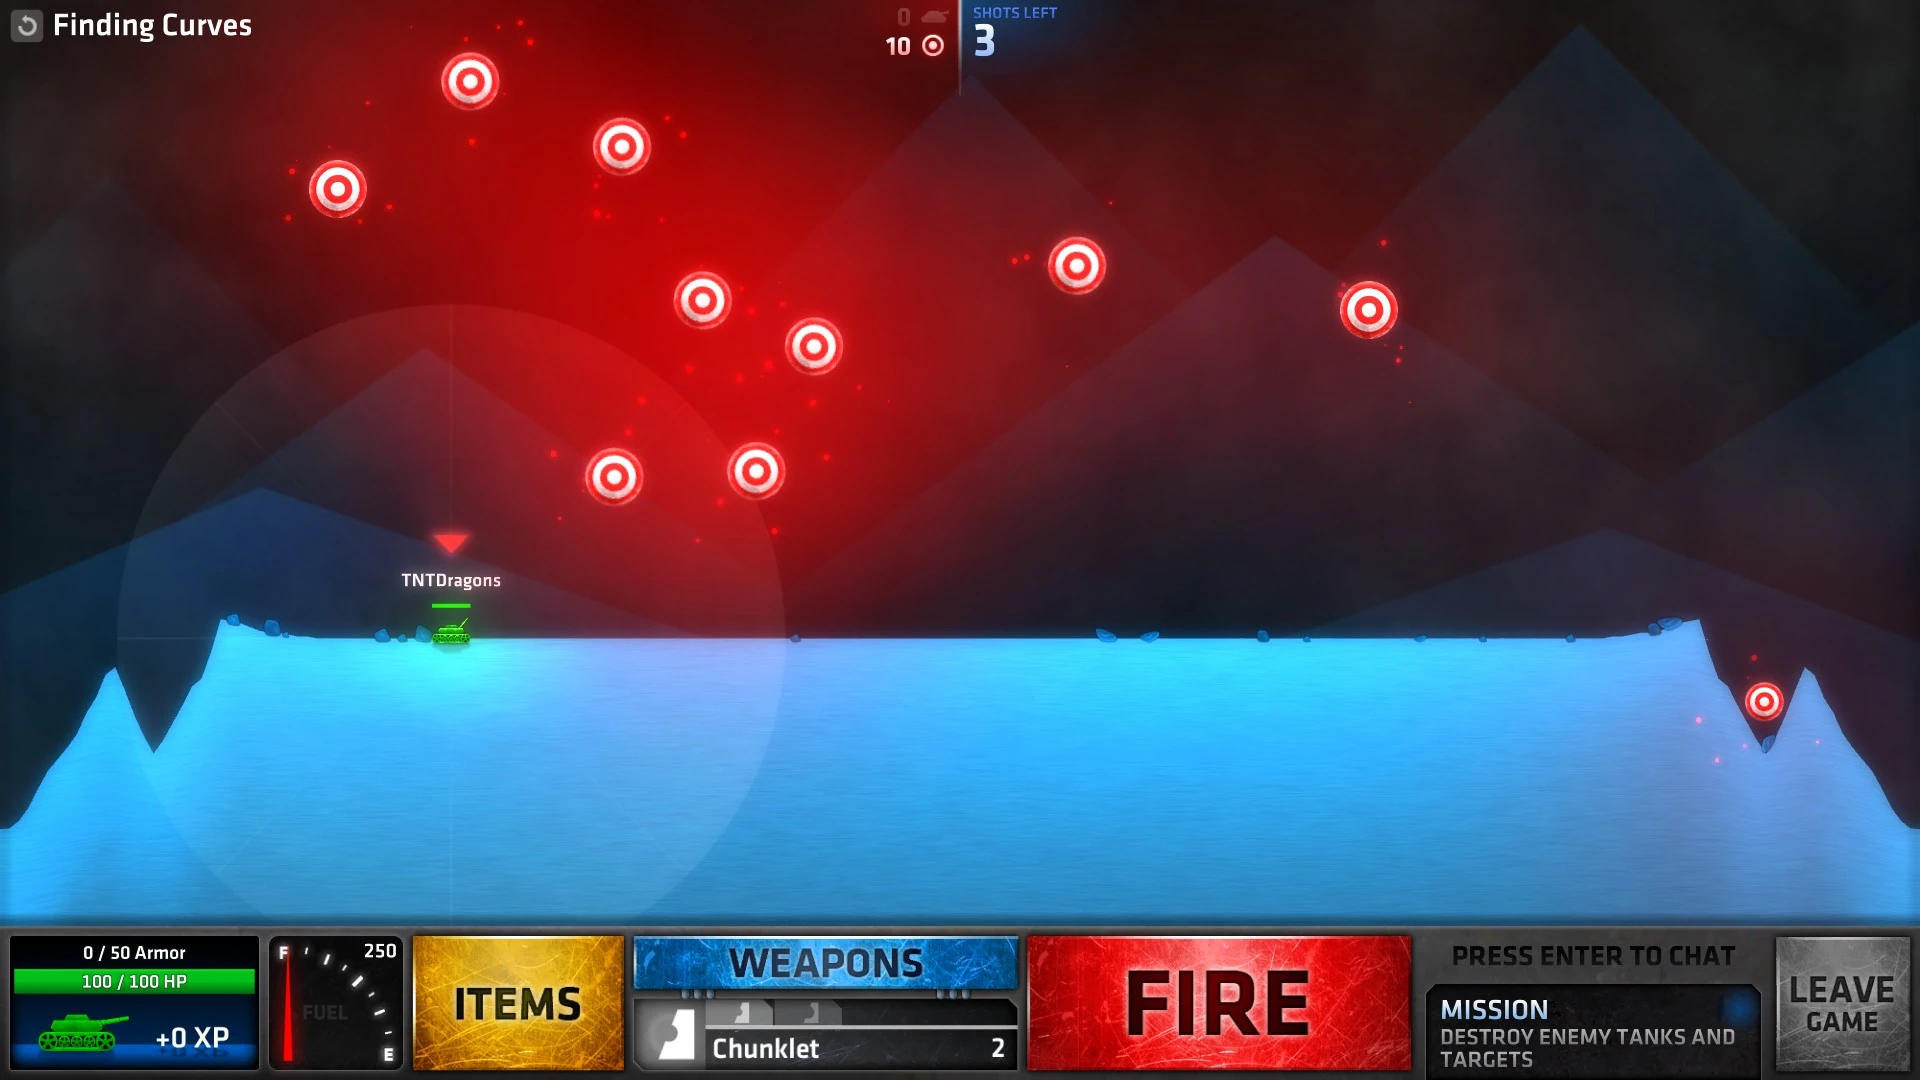
| − | Finding Curves.jpg|Finding Curves |
+ | Finding Curves.jpg|[[Penultimate#Finding Curves|Finding Curves]] |
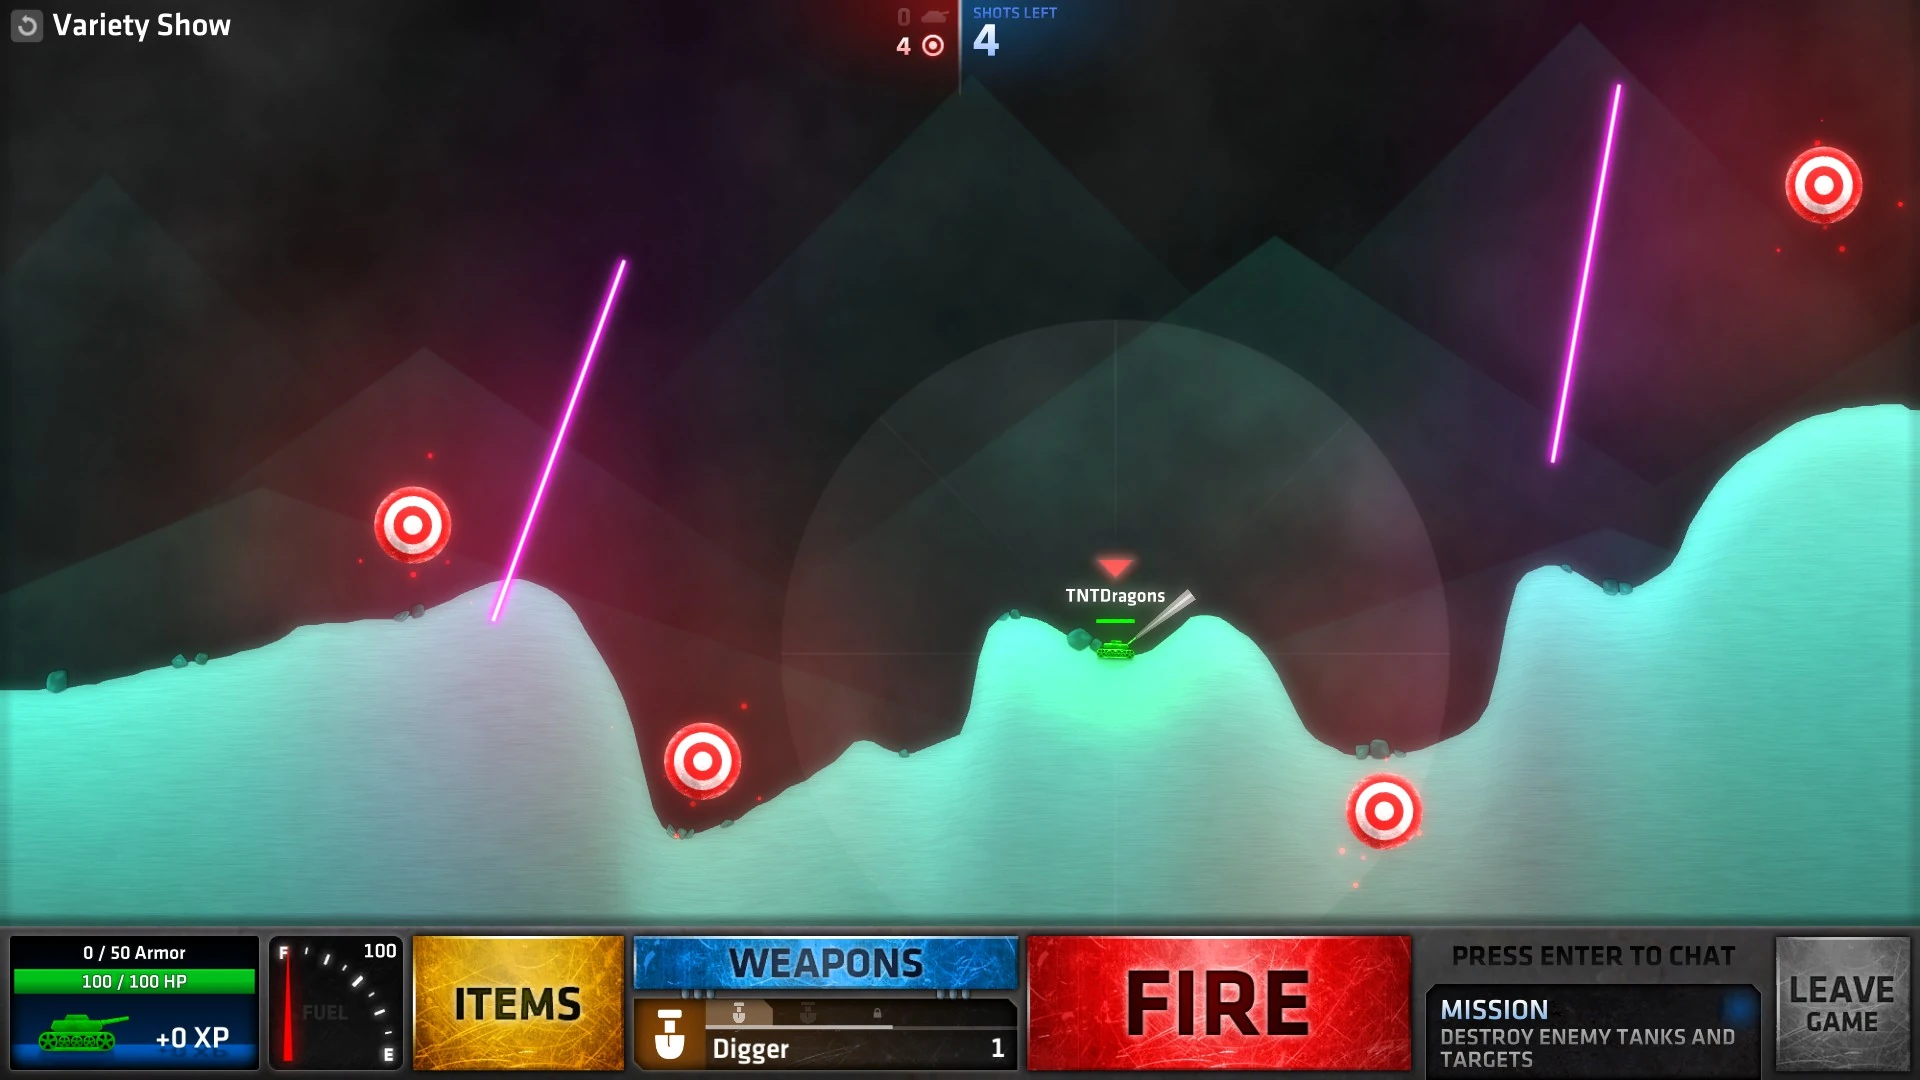
| − | Variety Show.jpg|Variety Show |
+ | Variety Show.jpg|[[Penultimate#Variety Show|Variety Show]] |
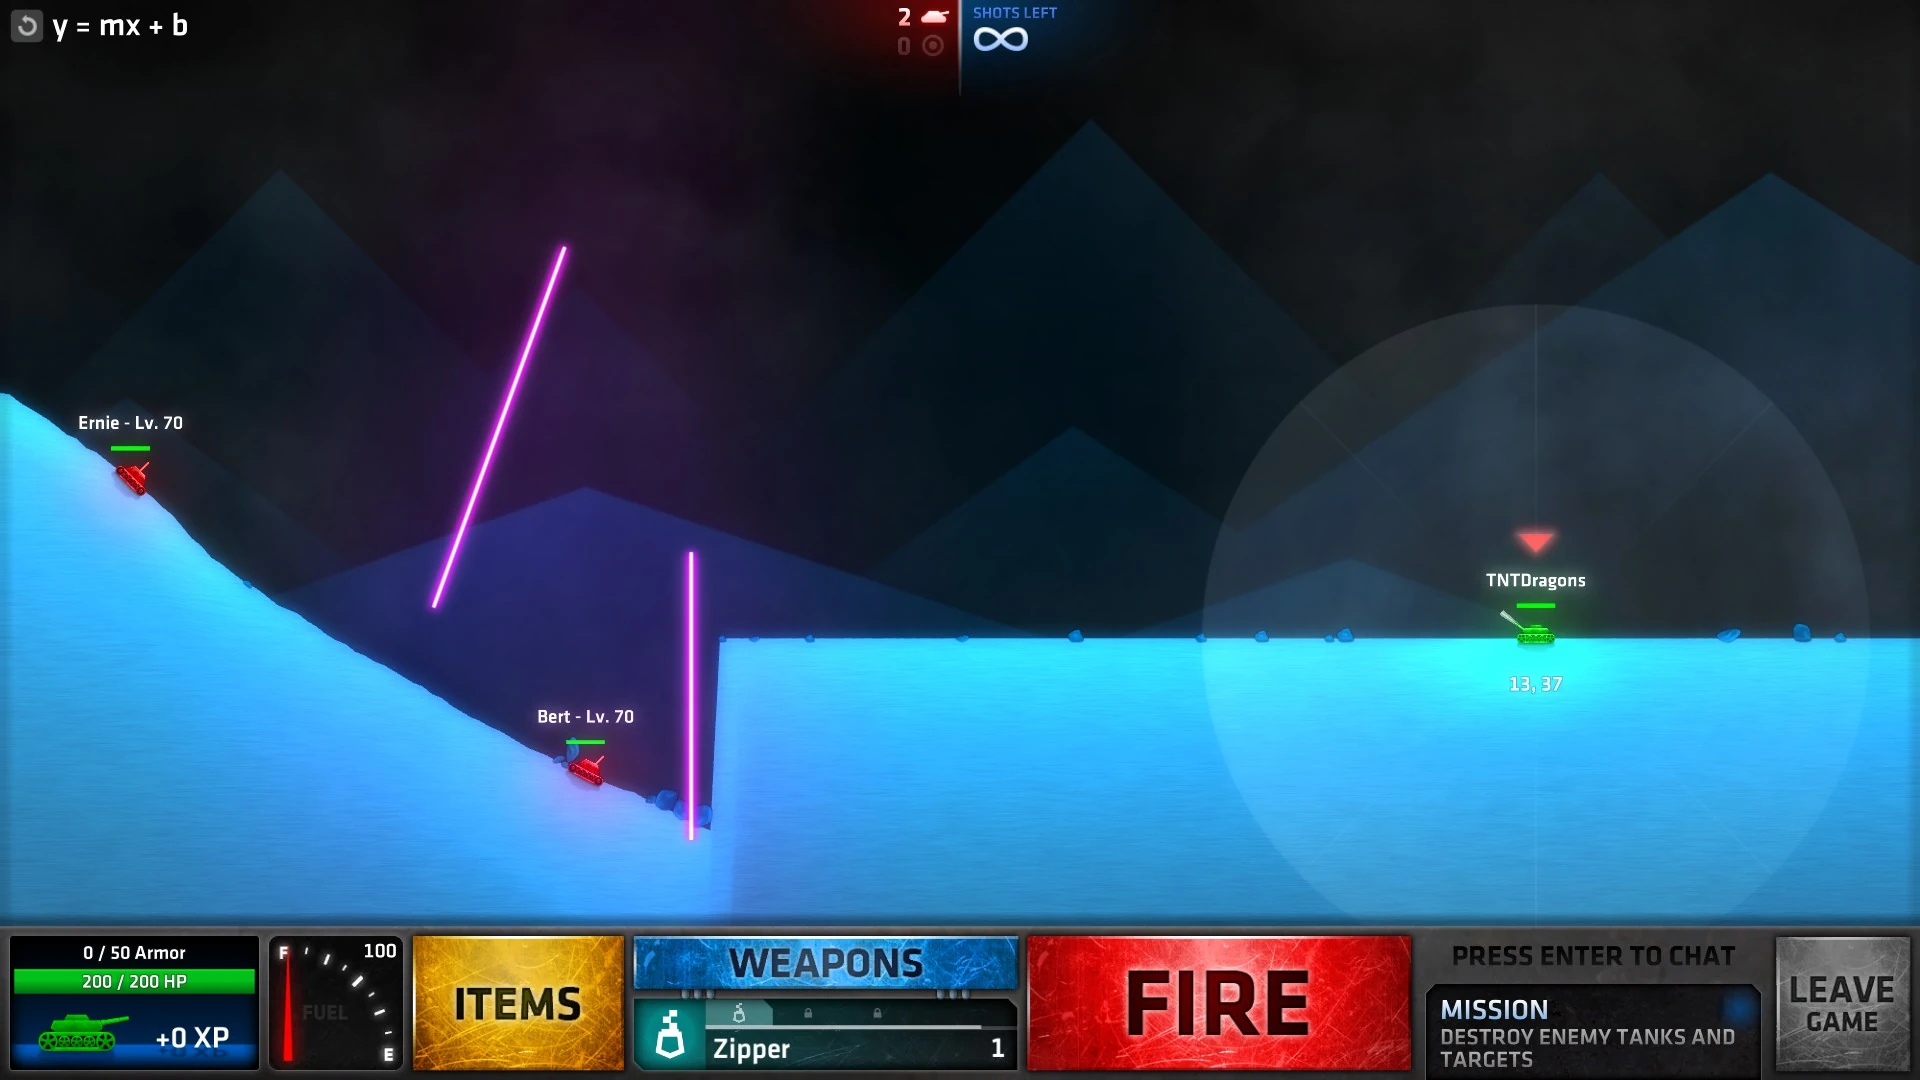
| − | functionMission.jpg|y = mx + b |
+ | functionMission.jpg|[[Penultimate#y = mx + b|y = mx + b]] |
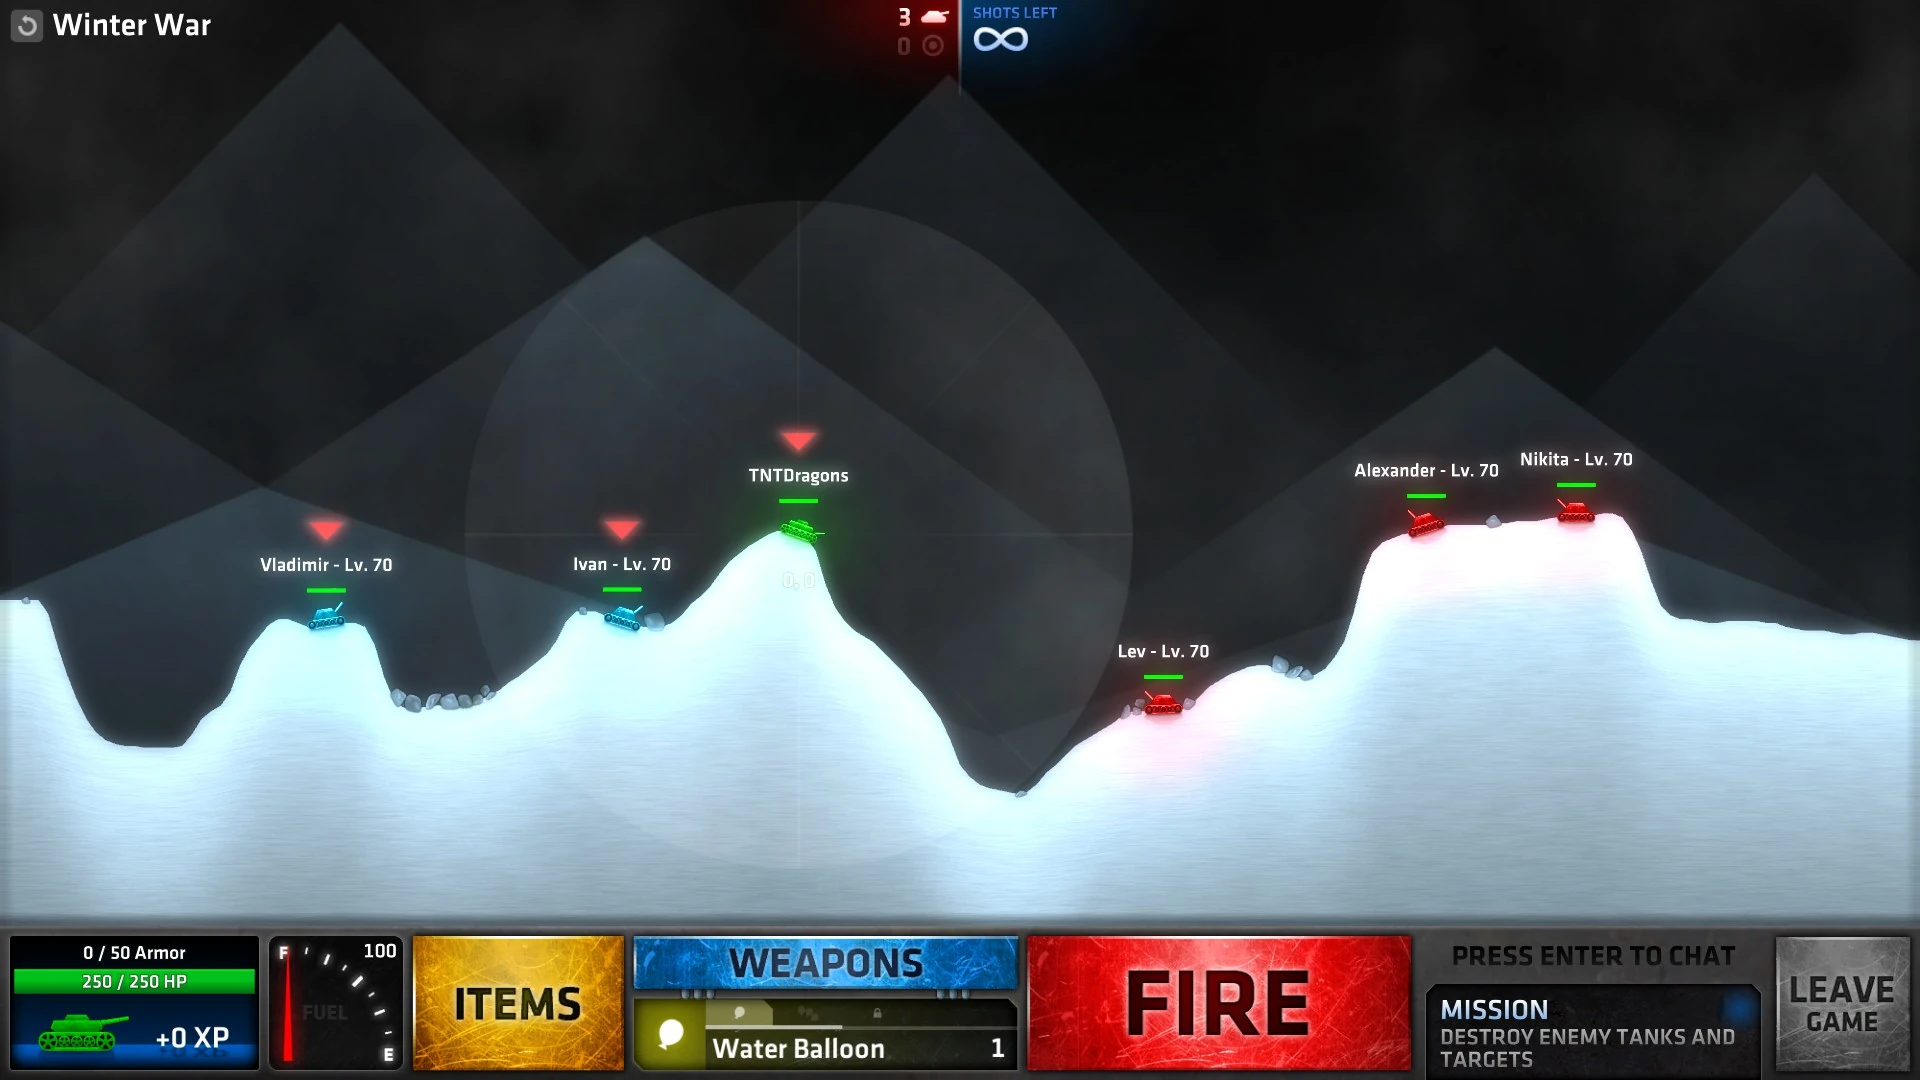
| − | Winter War.jpg|Winter War |
+ | Winter War.jpg|[[Penultimate#Winter War|Winter War]] |
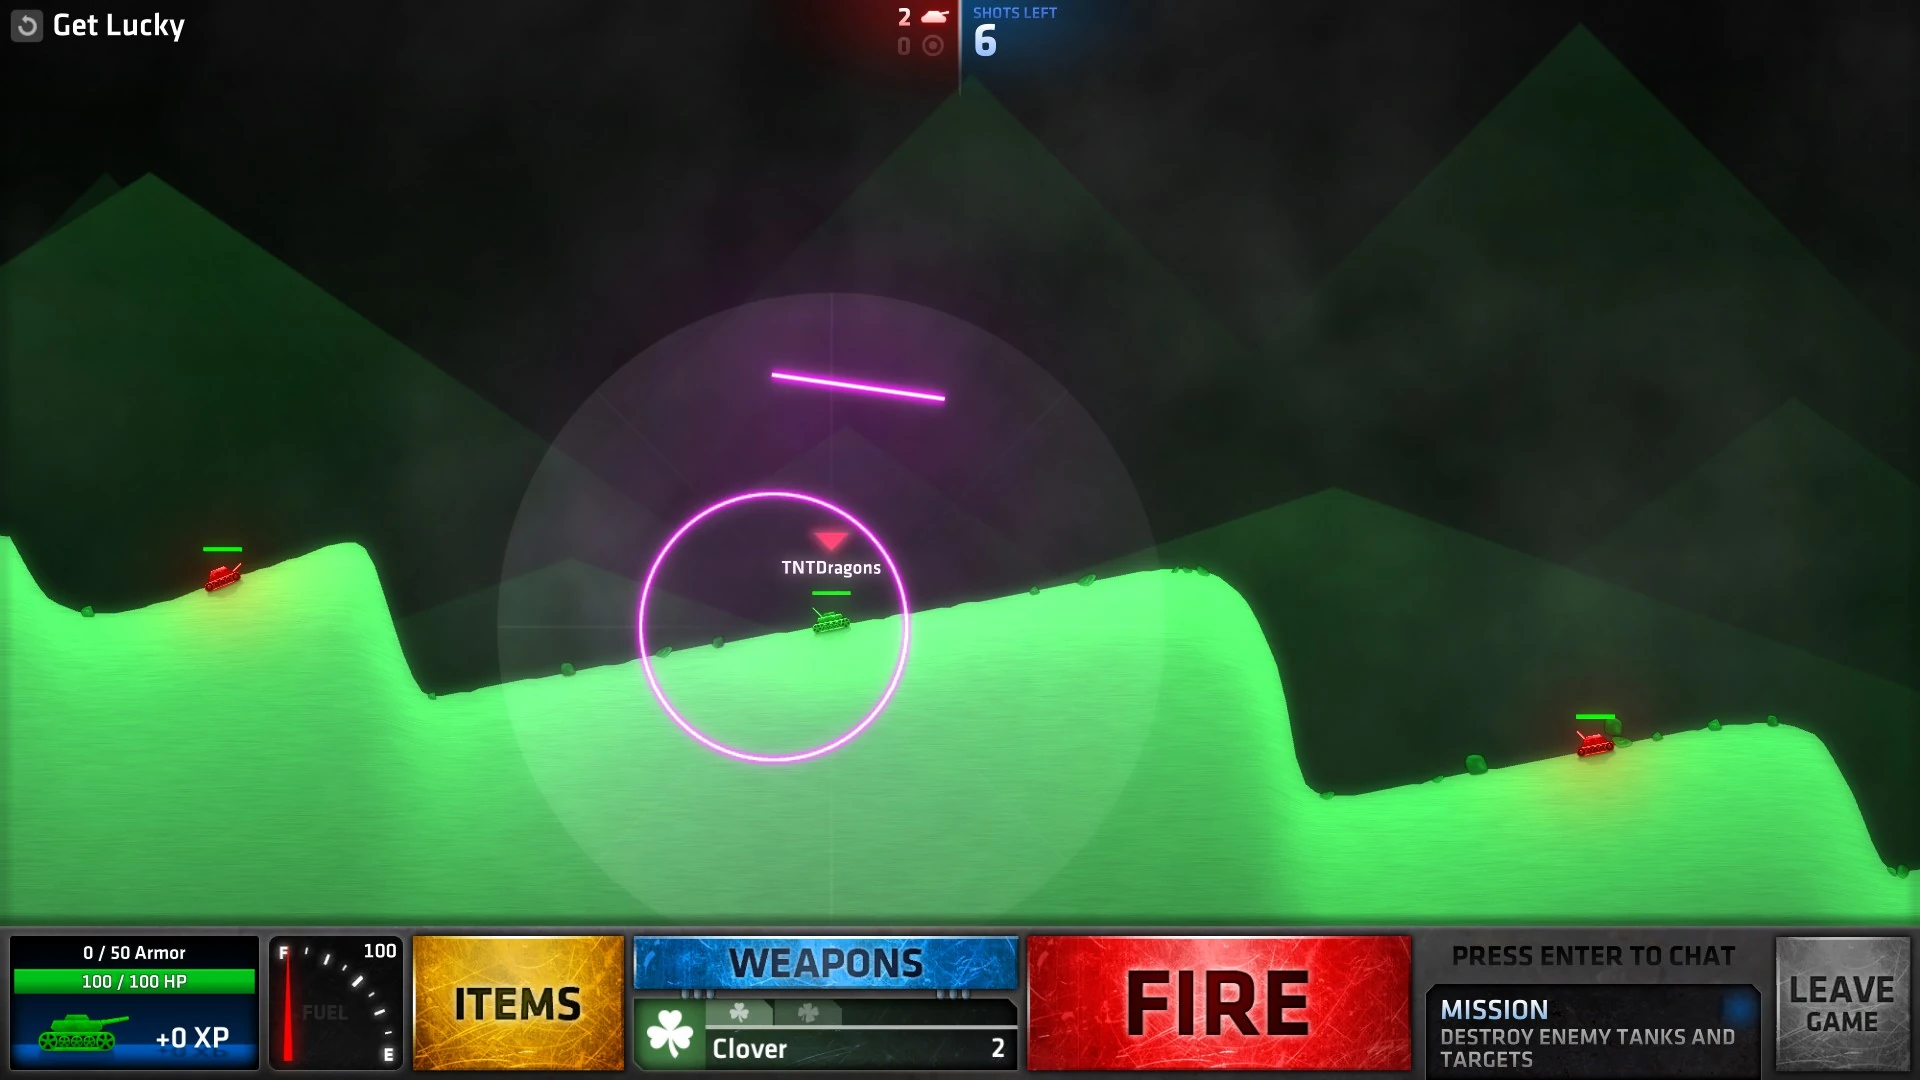
| − | Get Lucky.jpg|Get Lucky |
+ | Get Lucky.jpg|[[Penultimate#Get Lucky|Get Lucky]] |
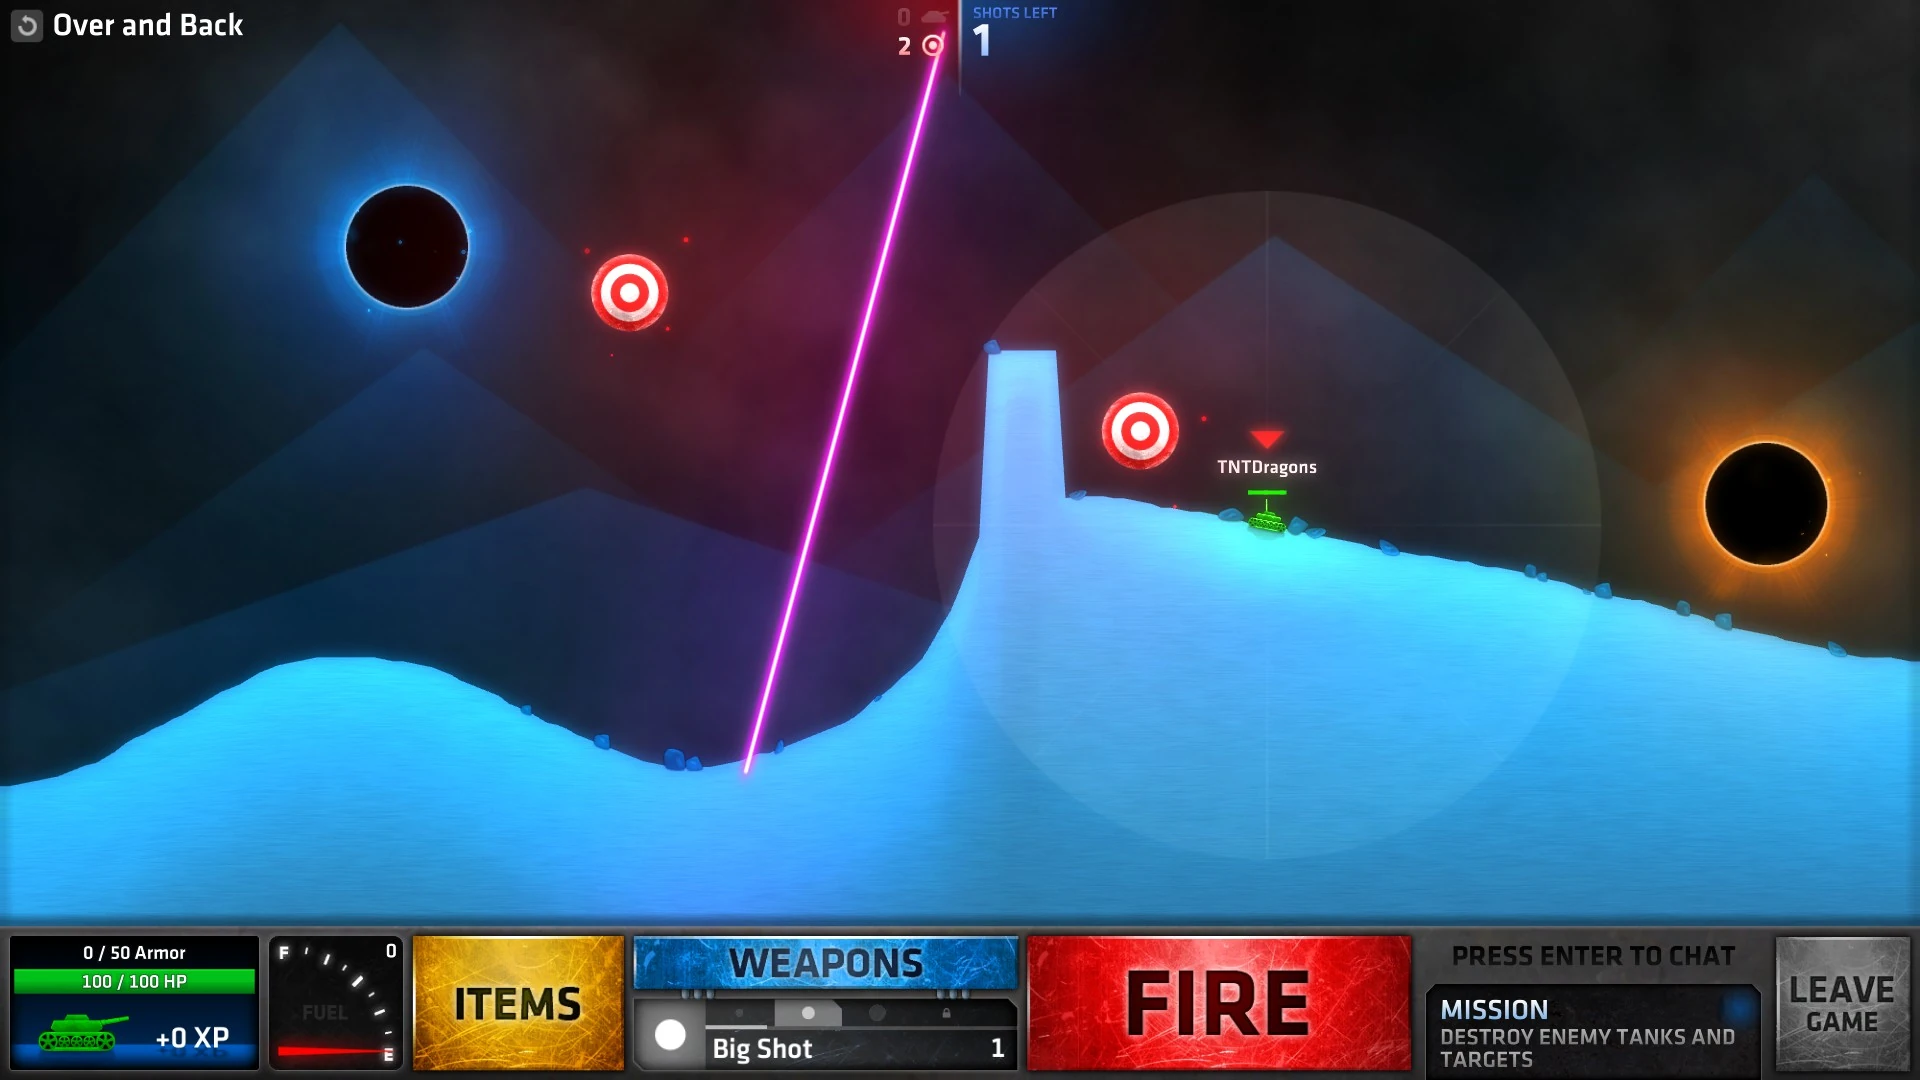
| − | Over and Back.jpg|Over and Back |
+ | Over and Back.jpg|[[Penultimate#Over and Back|Over and Back]] |
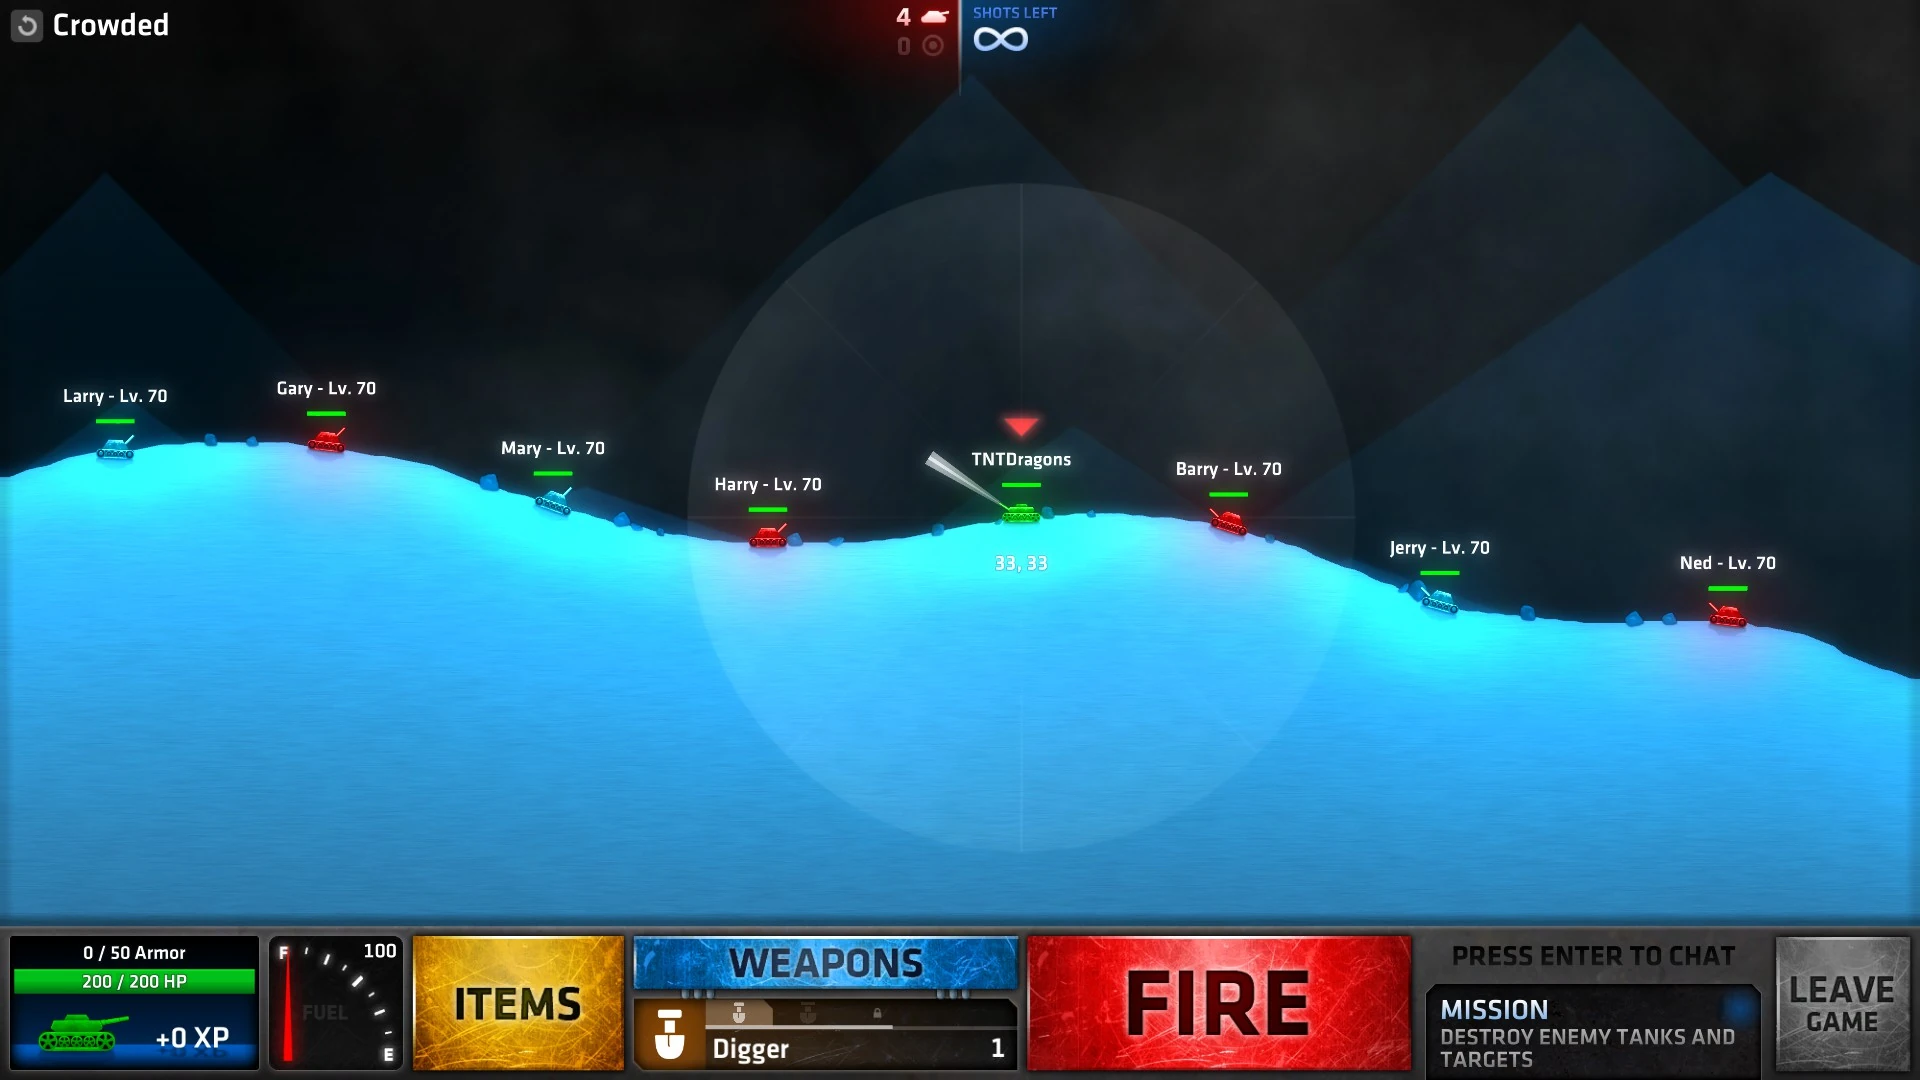
| − | Crowded.jpg|Crowded |
+ | Crowded.jpg|[[Penultimate#Crowded|Crowded]] |
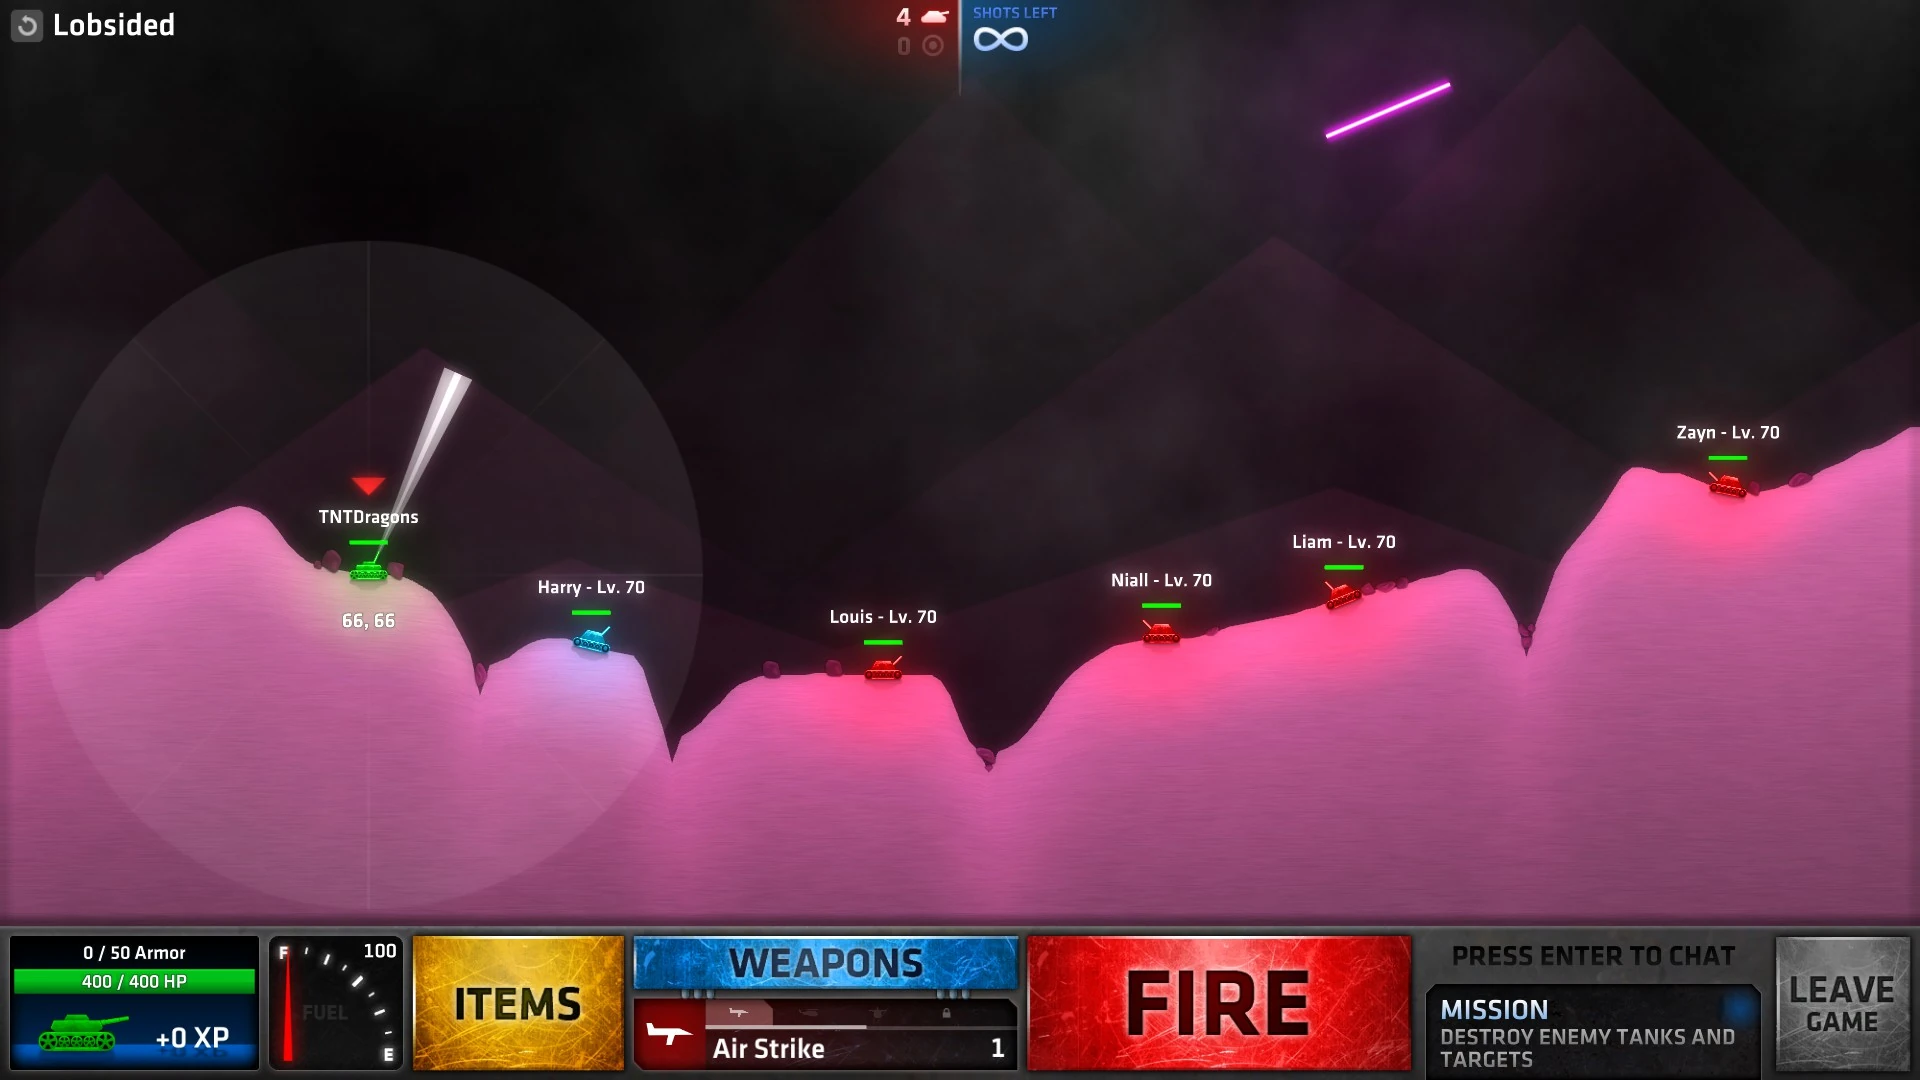
| − | Lobsided.jpg|Lobsided |
+ | Lobsided.jpg|[[Penultimate#Lobsided|Lobsided]] |
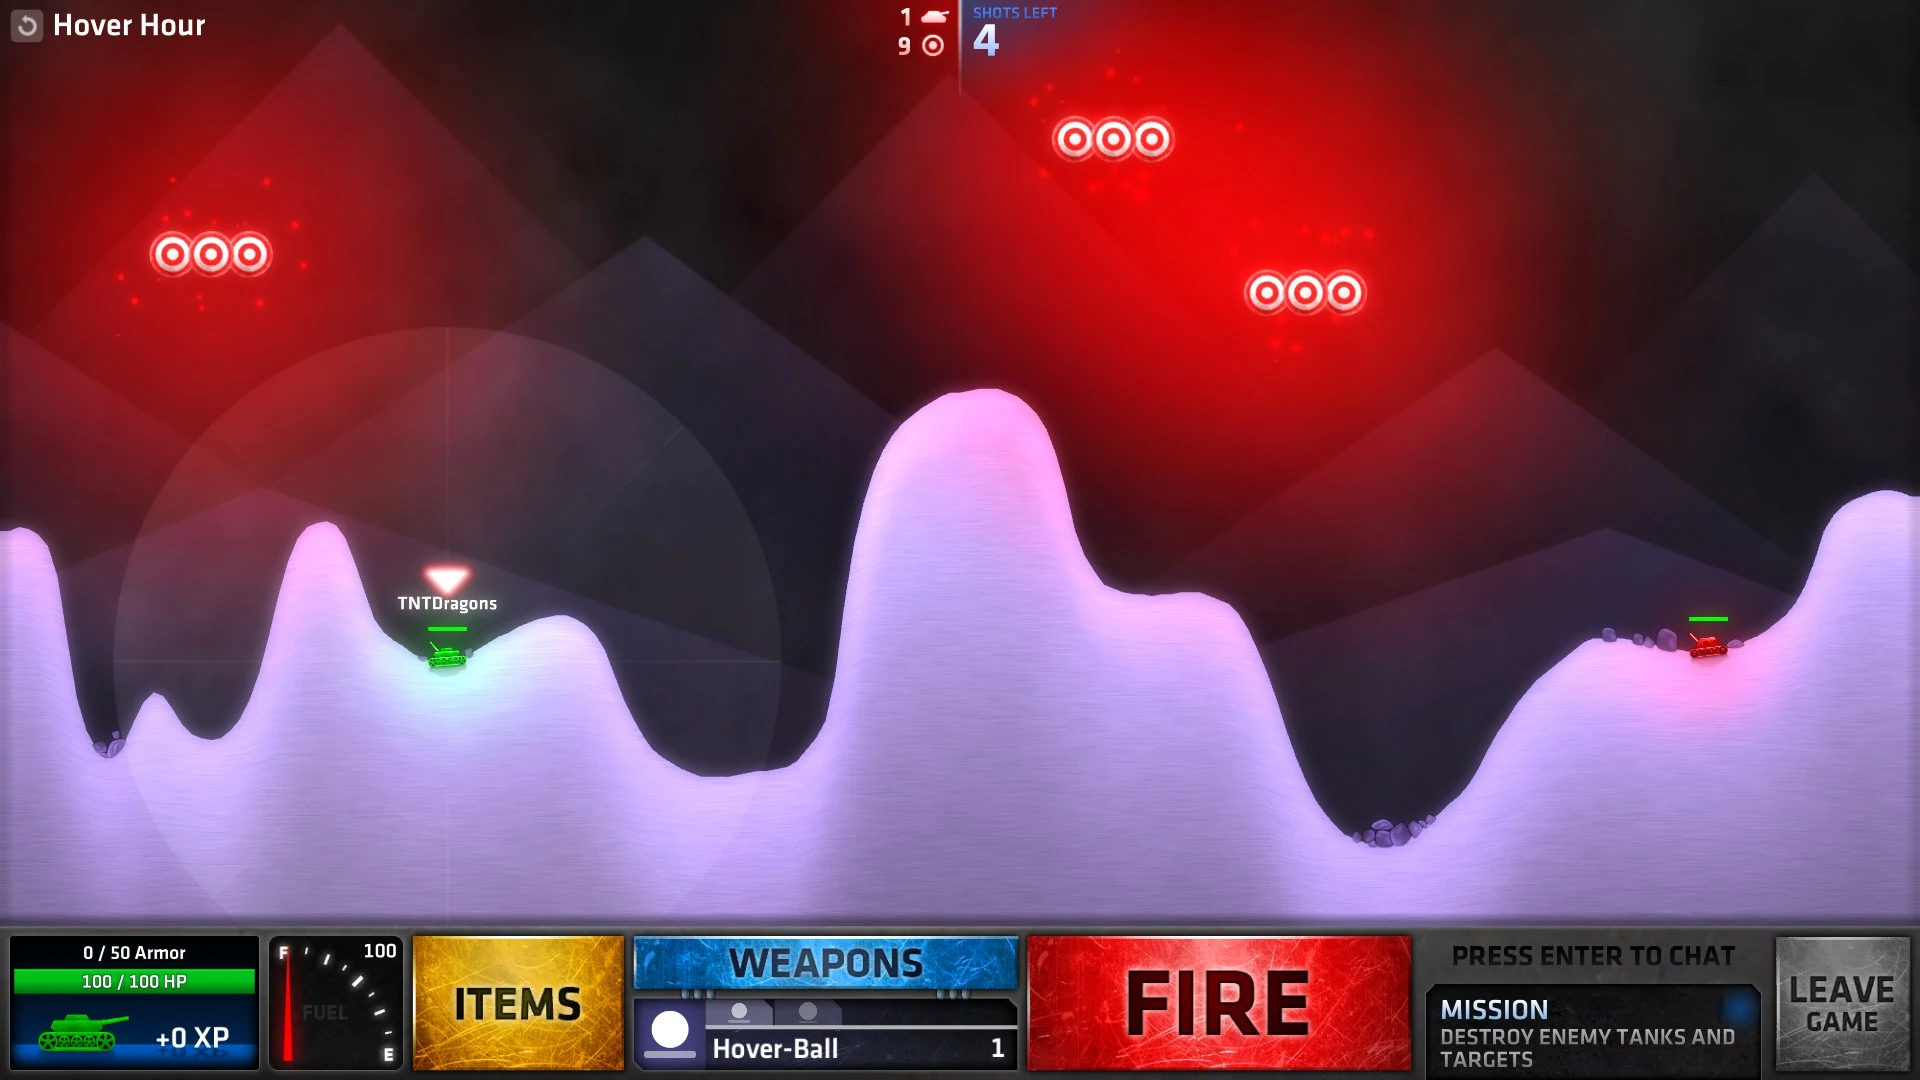
| − | Hover Hour.jpg|Hover Hour |
+ | Hover Hour.jpg|[[Penultimate#Hover Hour|Hover Hour]] |
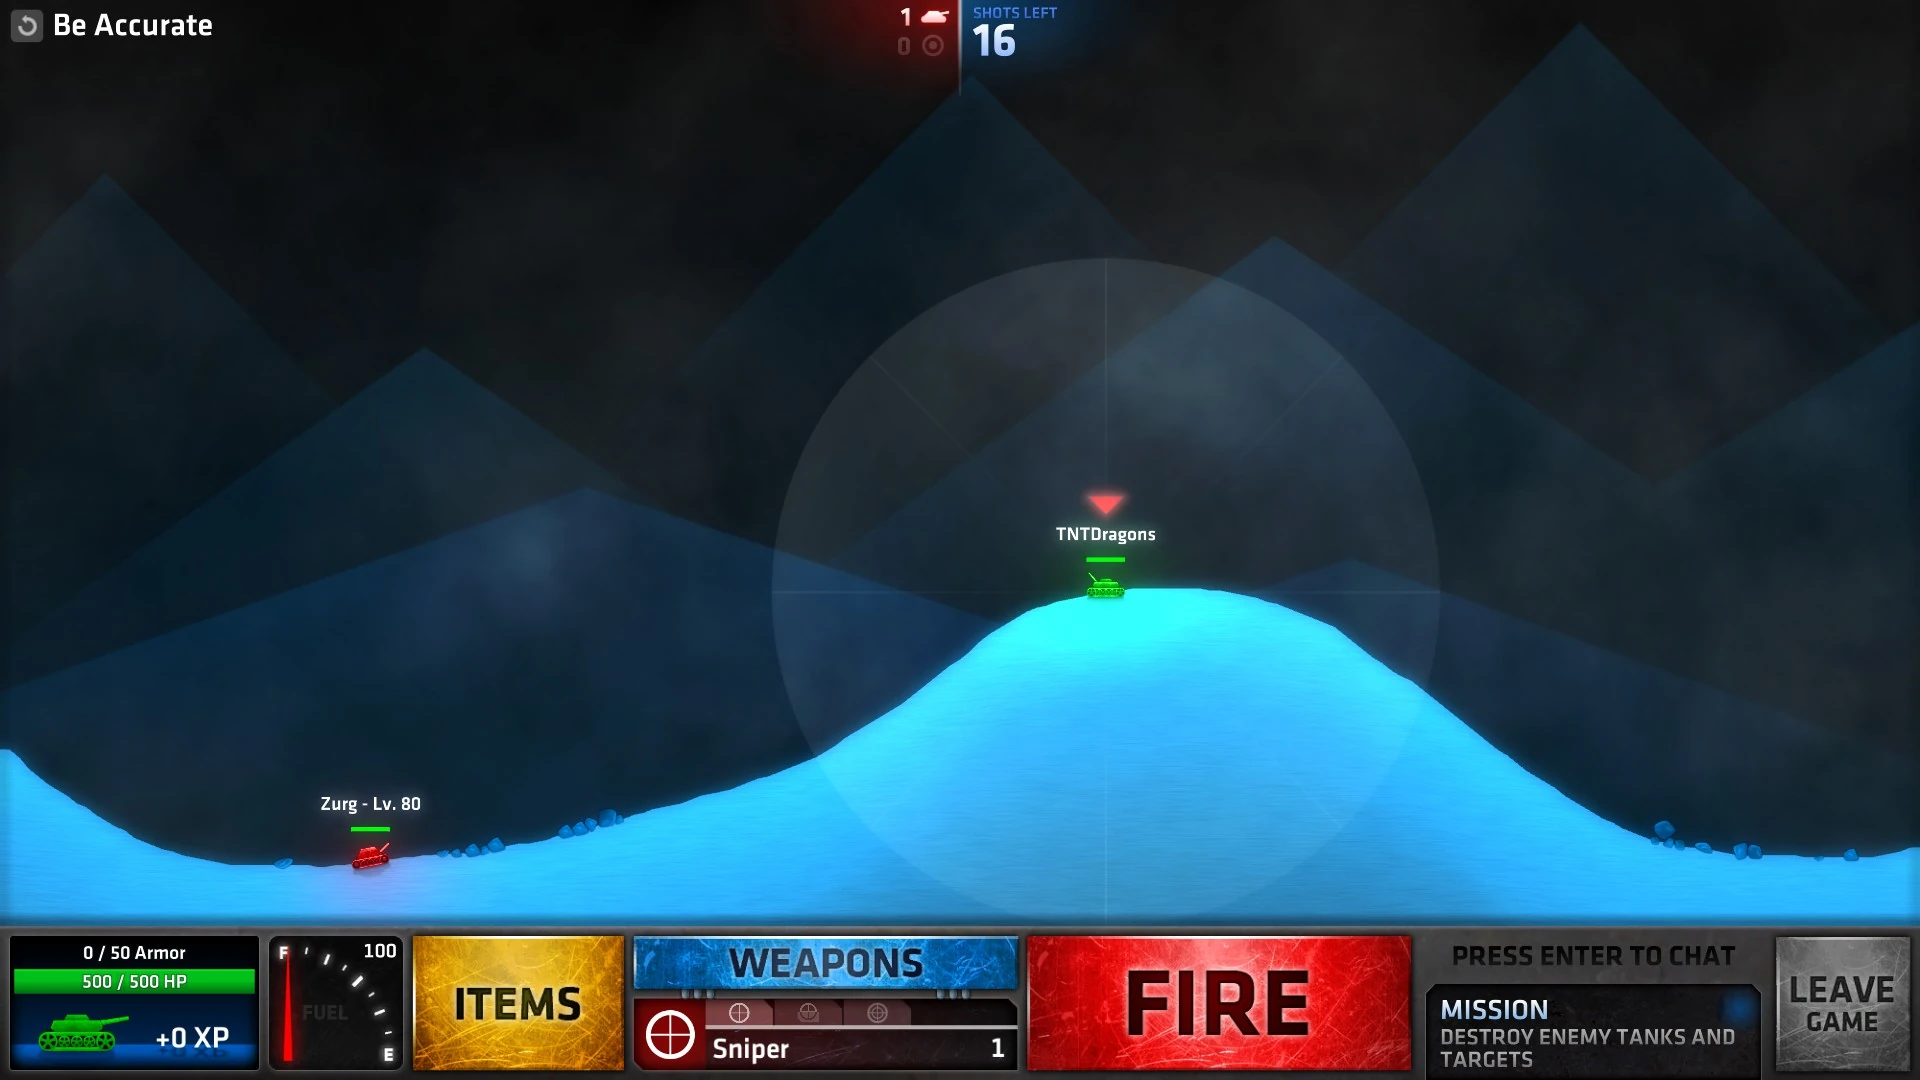
| − | Be Accurate.jpg|Be Accurate |
+ | Be Accurate.jpg|[[Penultimate#Be Accurate|Be Accurate]] |
</gallery> |
</gallery> |
||
== [[Showdown]] == |
== [[Showdown]] == |
||
<gallery> |
<gallery> |
||
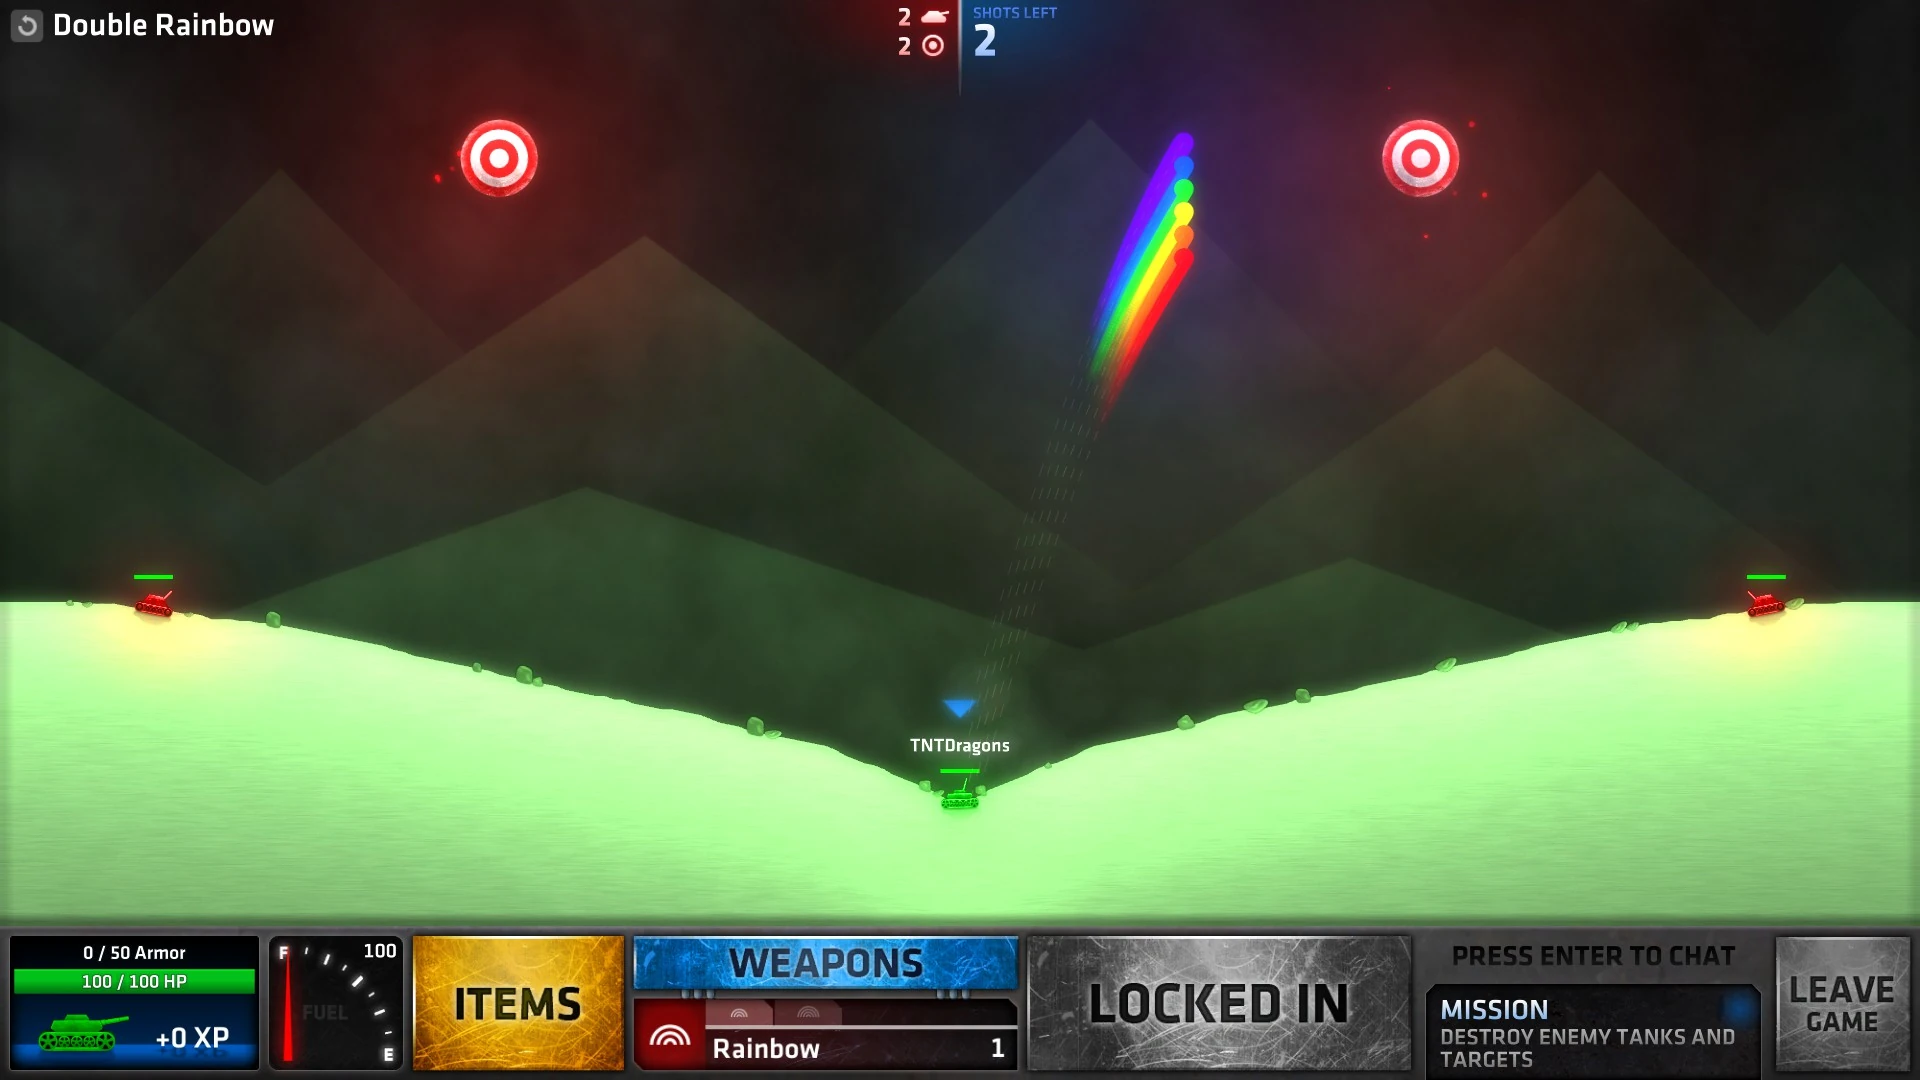
| − | Double Rainbow.jpg|Double Rainbow |
+ | Double Rainbow.jpg|[[Showdown#Double Rainbow|Double Rainbow]] |
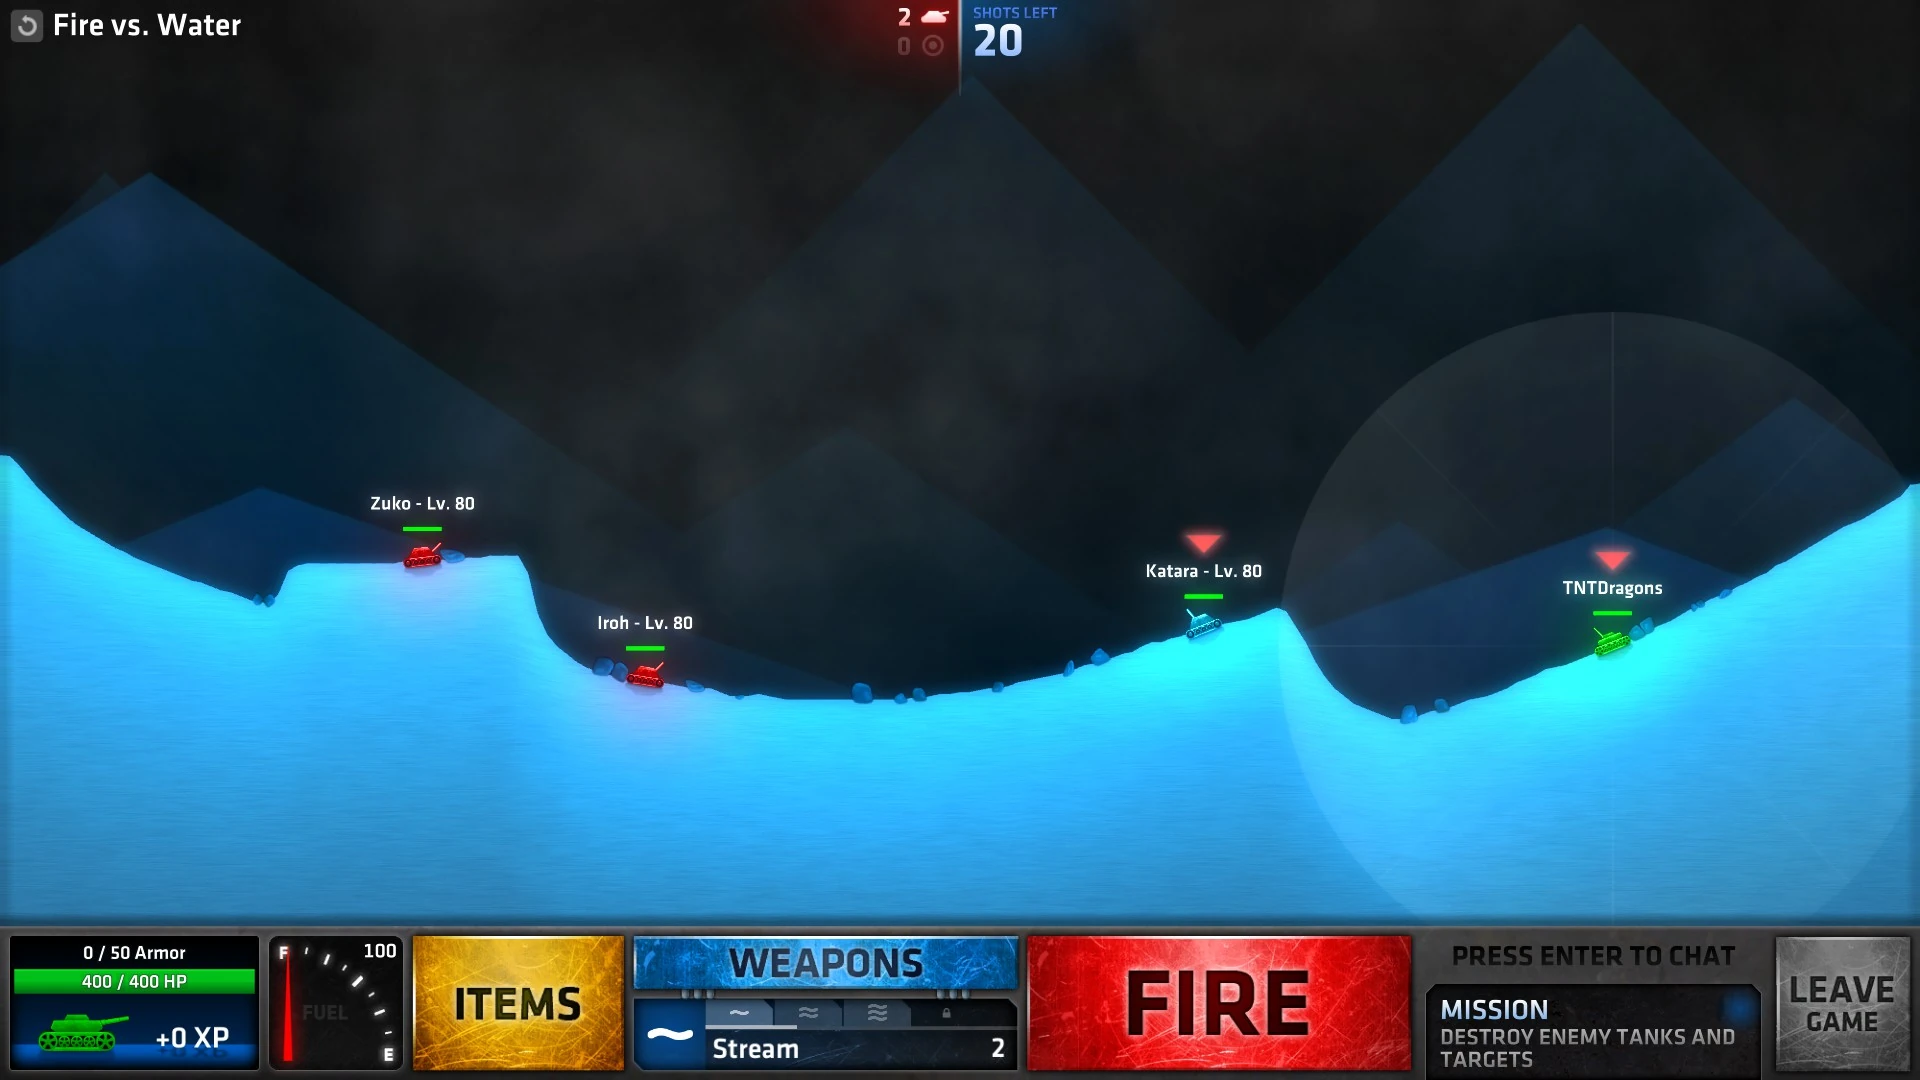
| − | Fire vs. Water.jpg|Fire vs. Water |
+ | Fire vs. Water.jpg|[[Showdown#Fire vs. Water|Fire vs. Water]] |
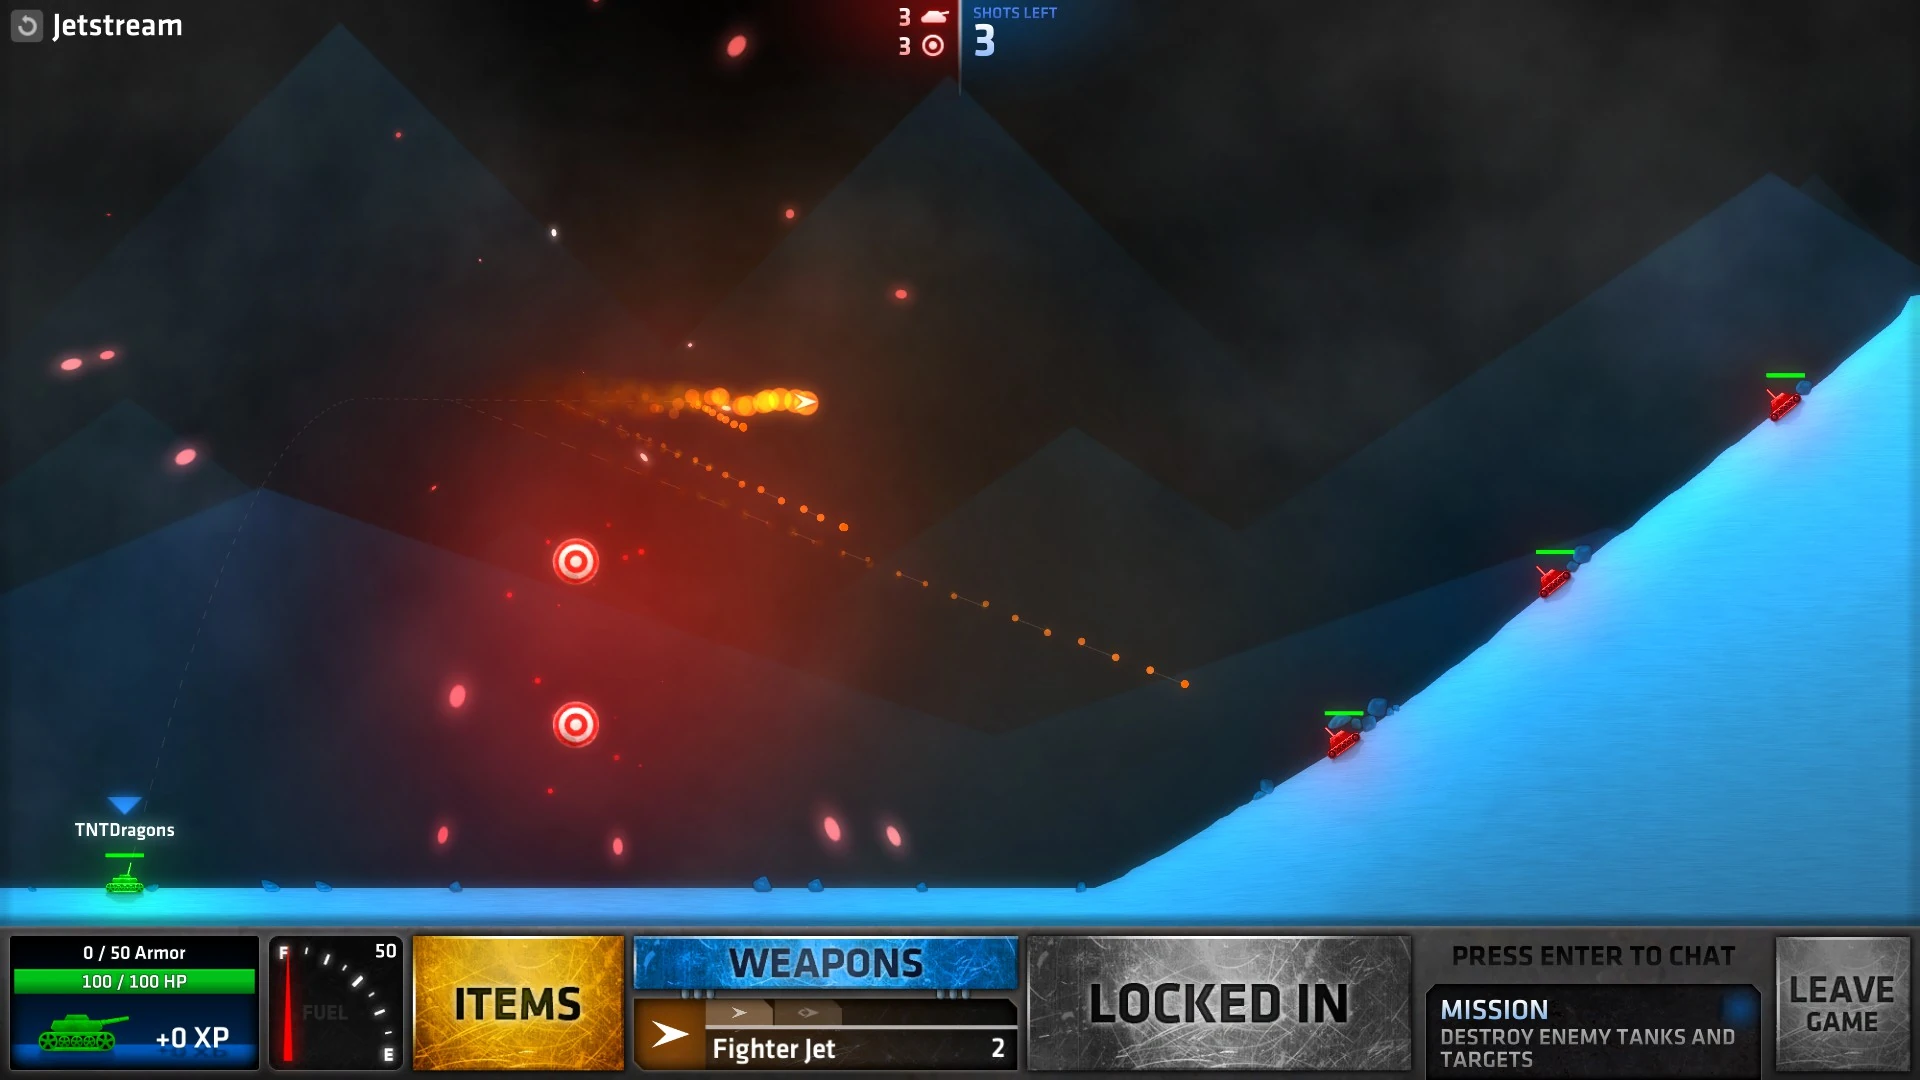
| − | Jetstream.jpg|Jetstream |
+ | Jetstream.jpg|[[Showdown#Jetstream|Jetstream]] |
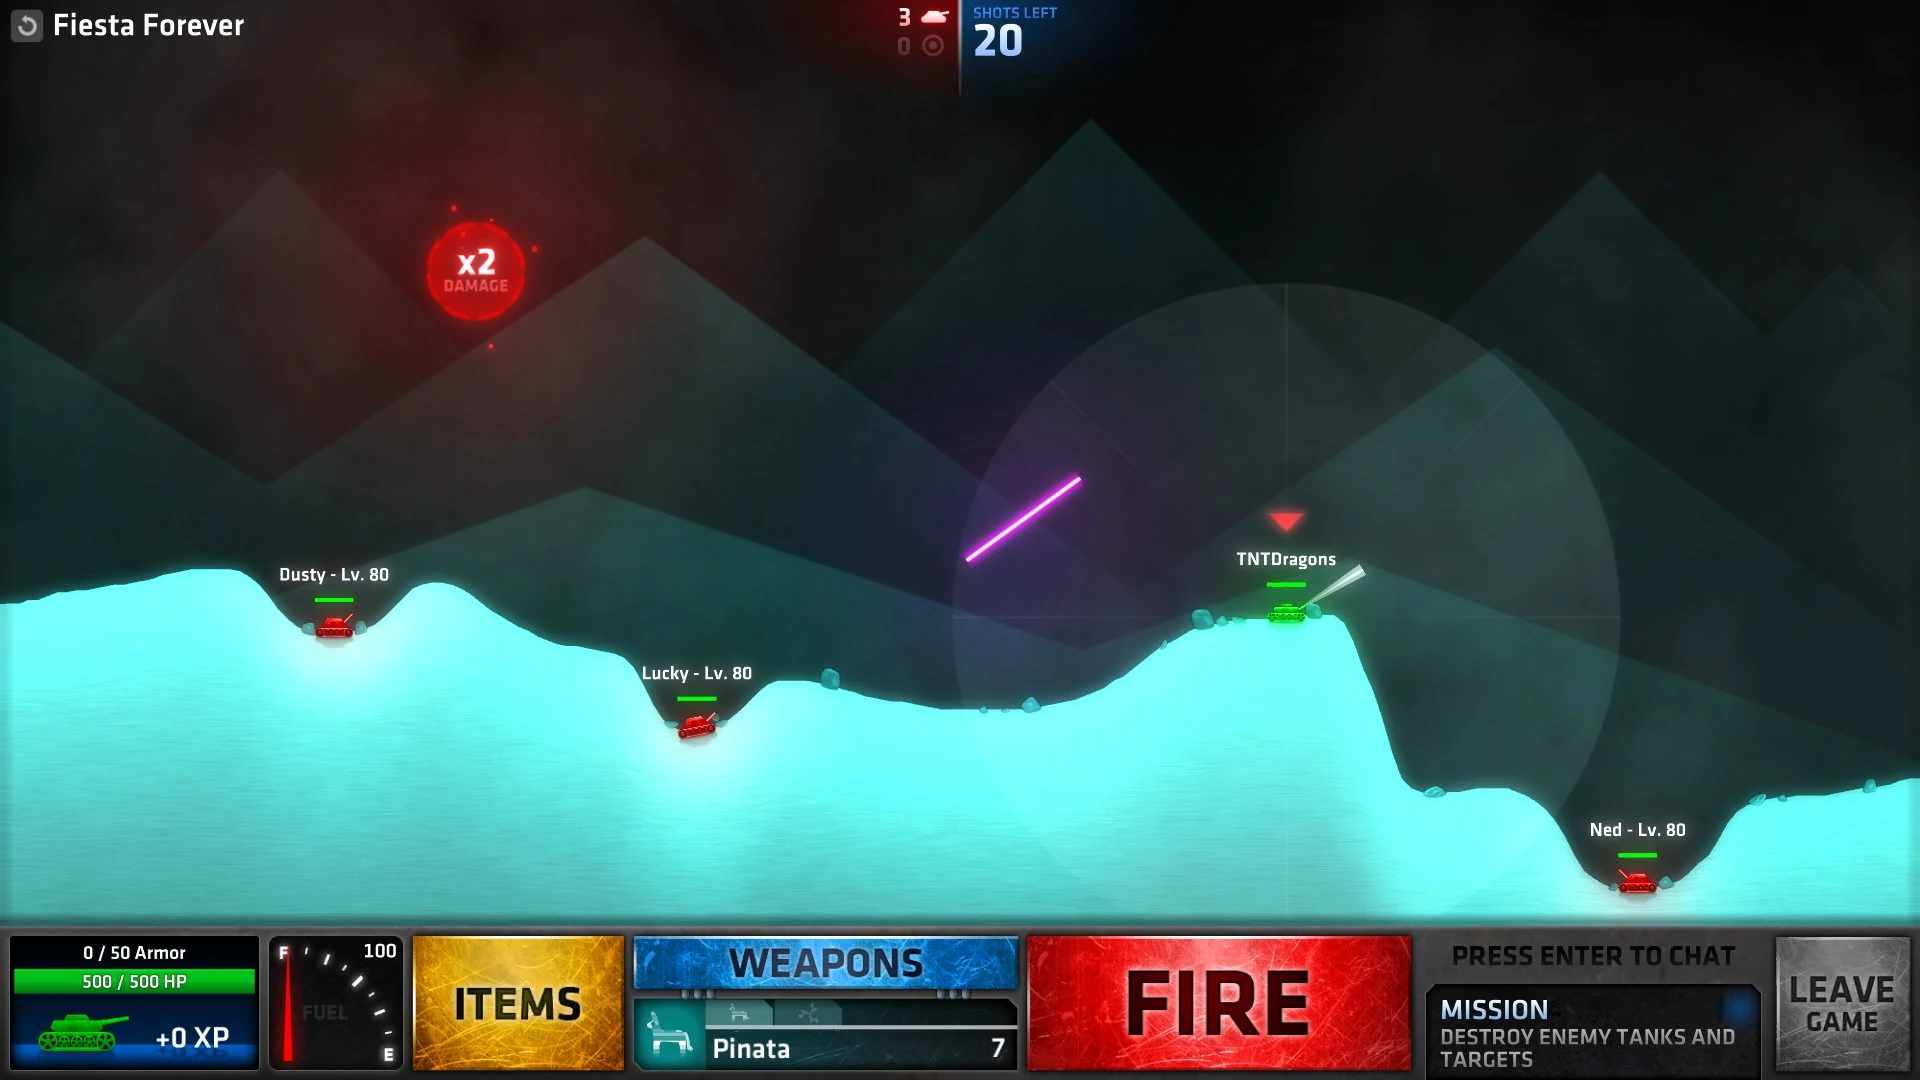
| − | Fiesta Forever.jpg|Fiesta Forever |
+ | Fiesta Forever.jpg|[[Showdown#Fiesta Forever|Fiesta Forever]] |
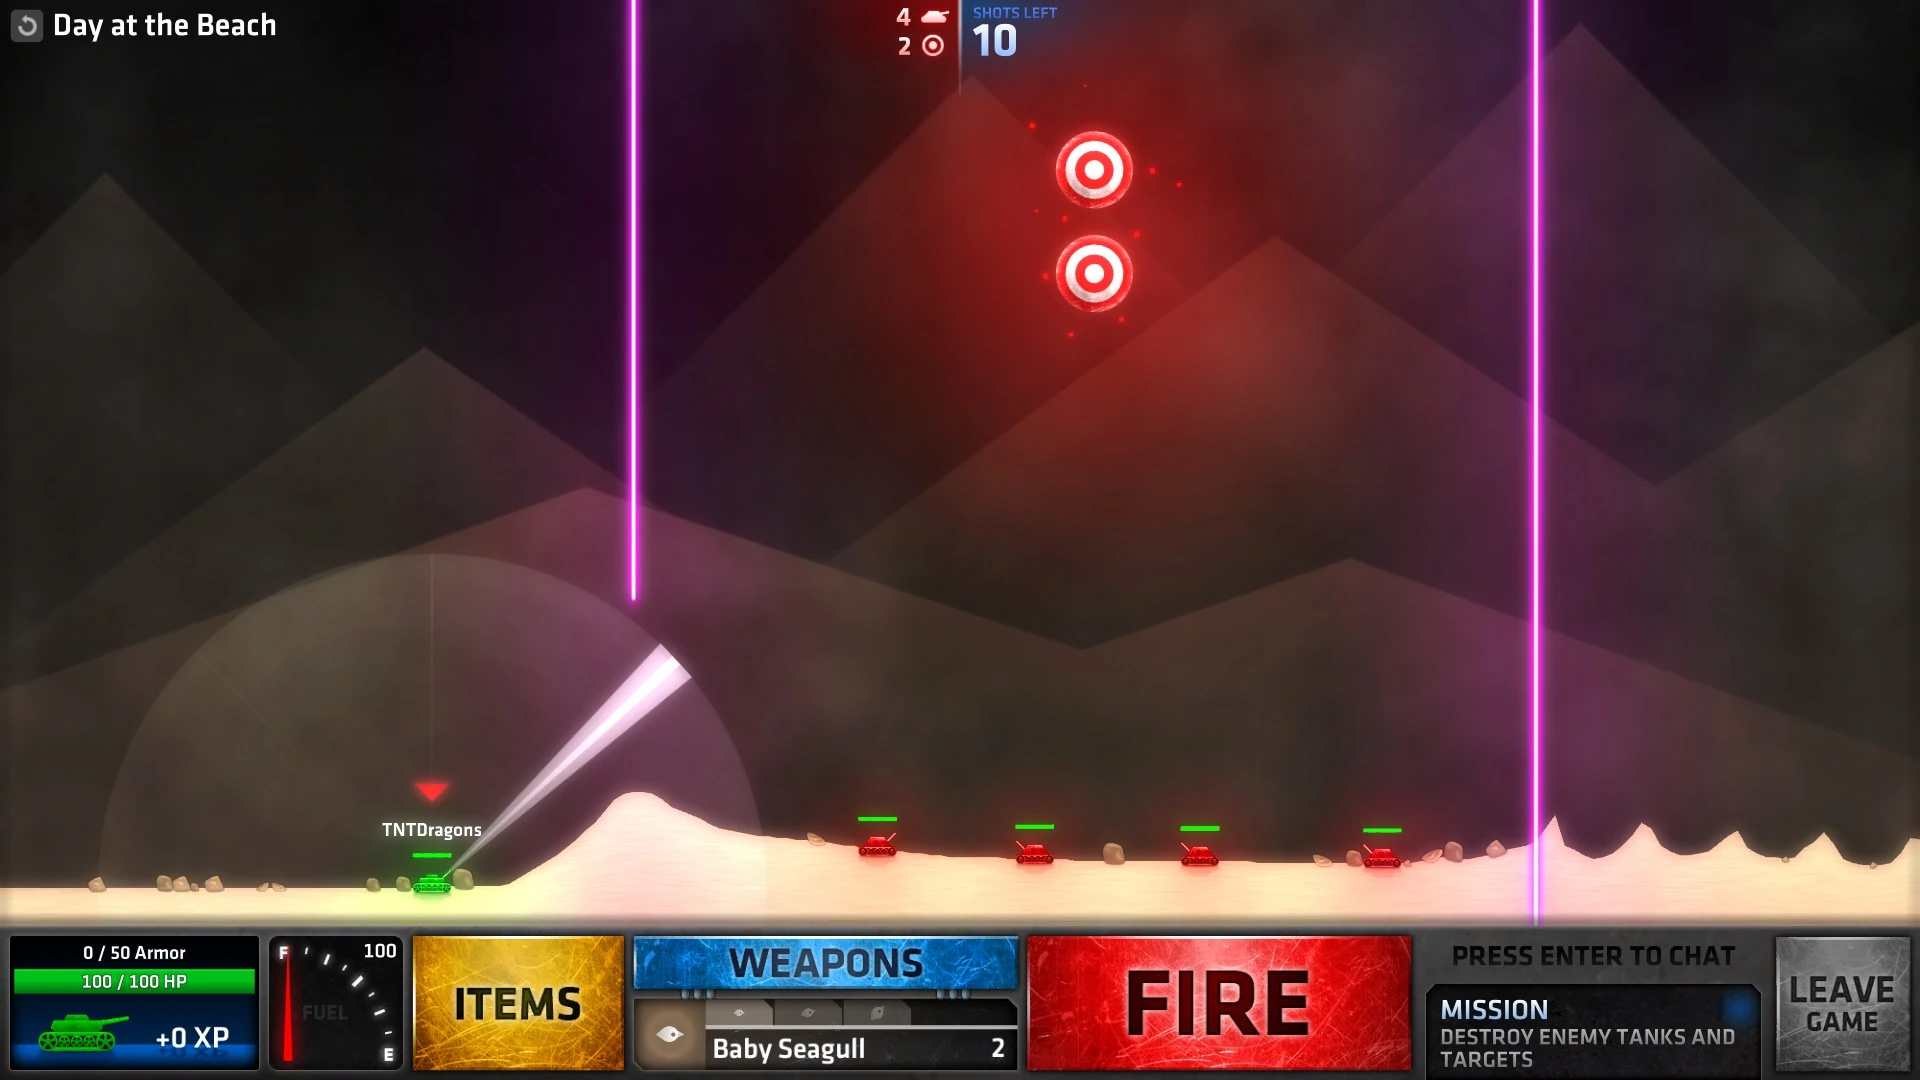
| − | Day at the Beach.jpg|Day at the Beach |
+ | Day at the Beach.jpg|[[Showdown#Day at the Beach|Day at the Beach]] |
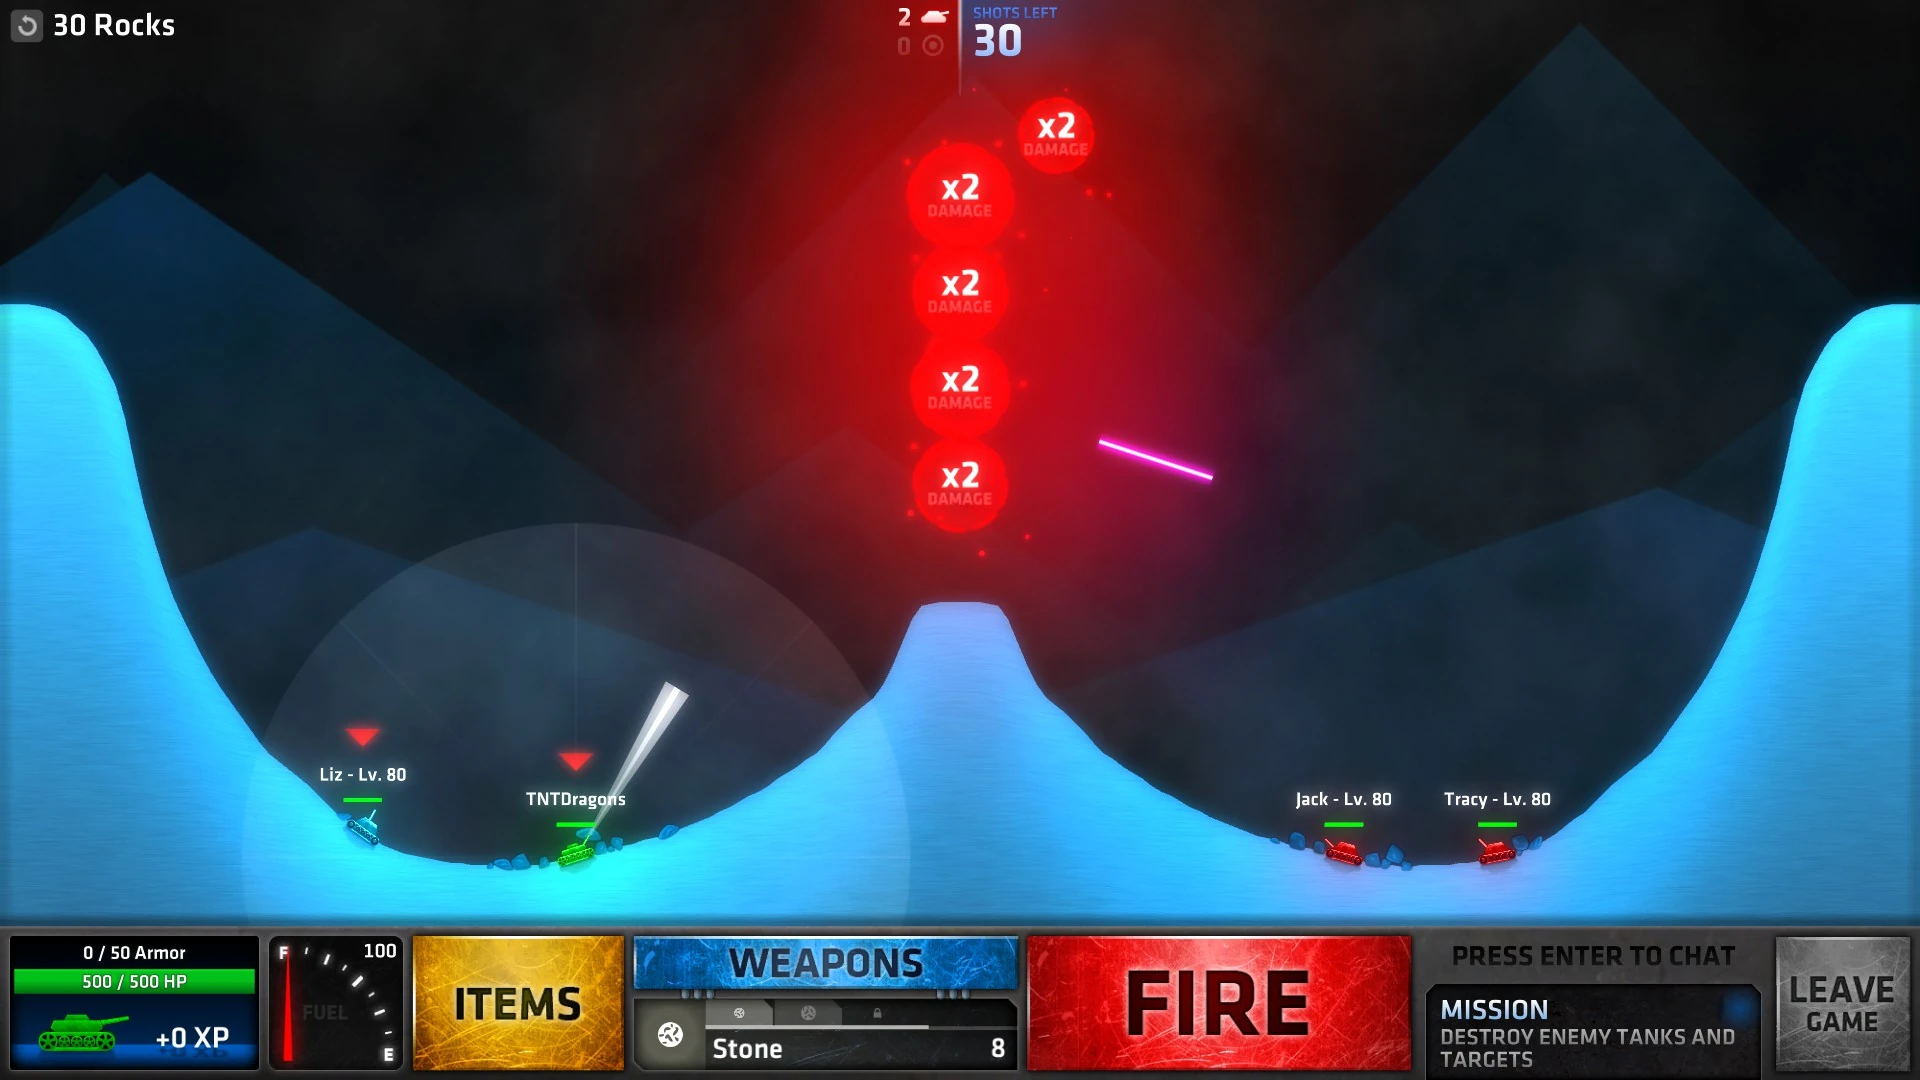
| − | 30 Rocks.jpg|30 Rocks |
+ | 30 Rocks.jpg|[[Showdown#30 Rocks|30 Rocks]] |
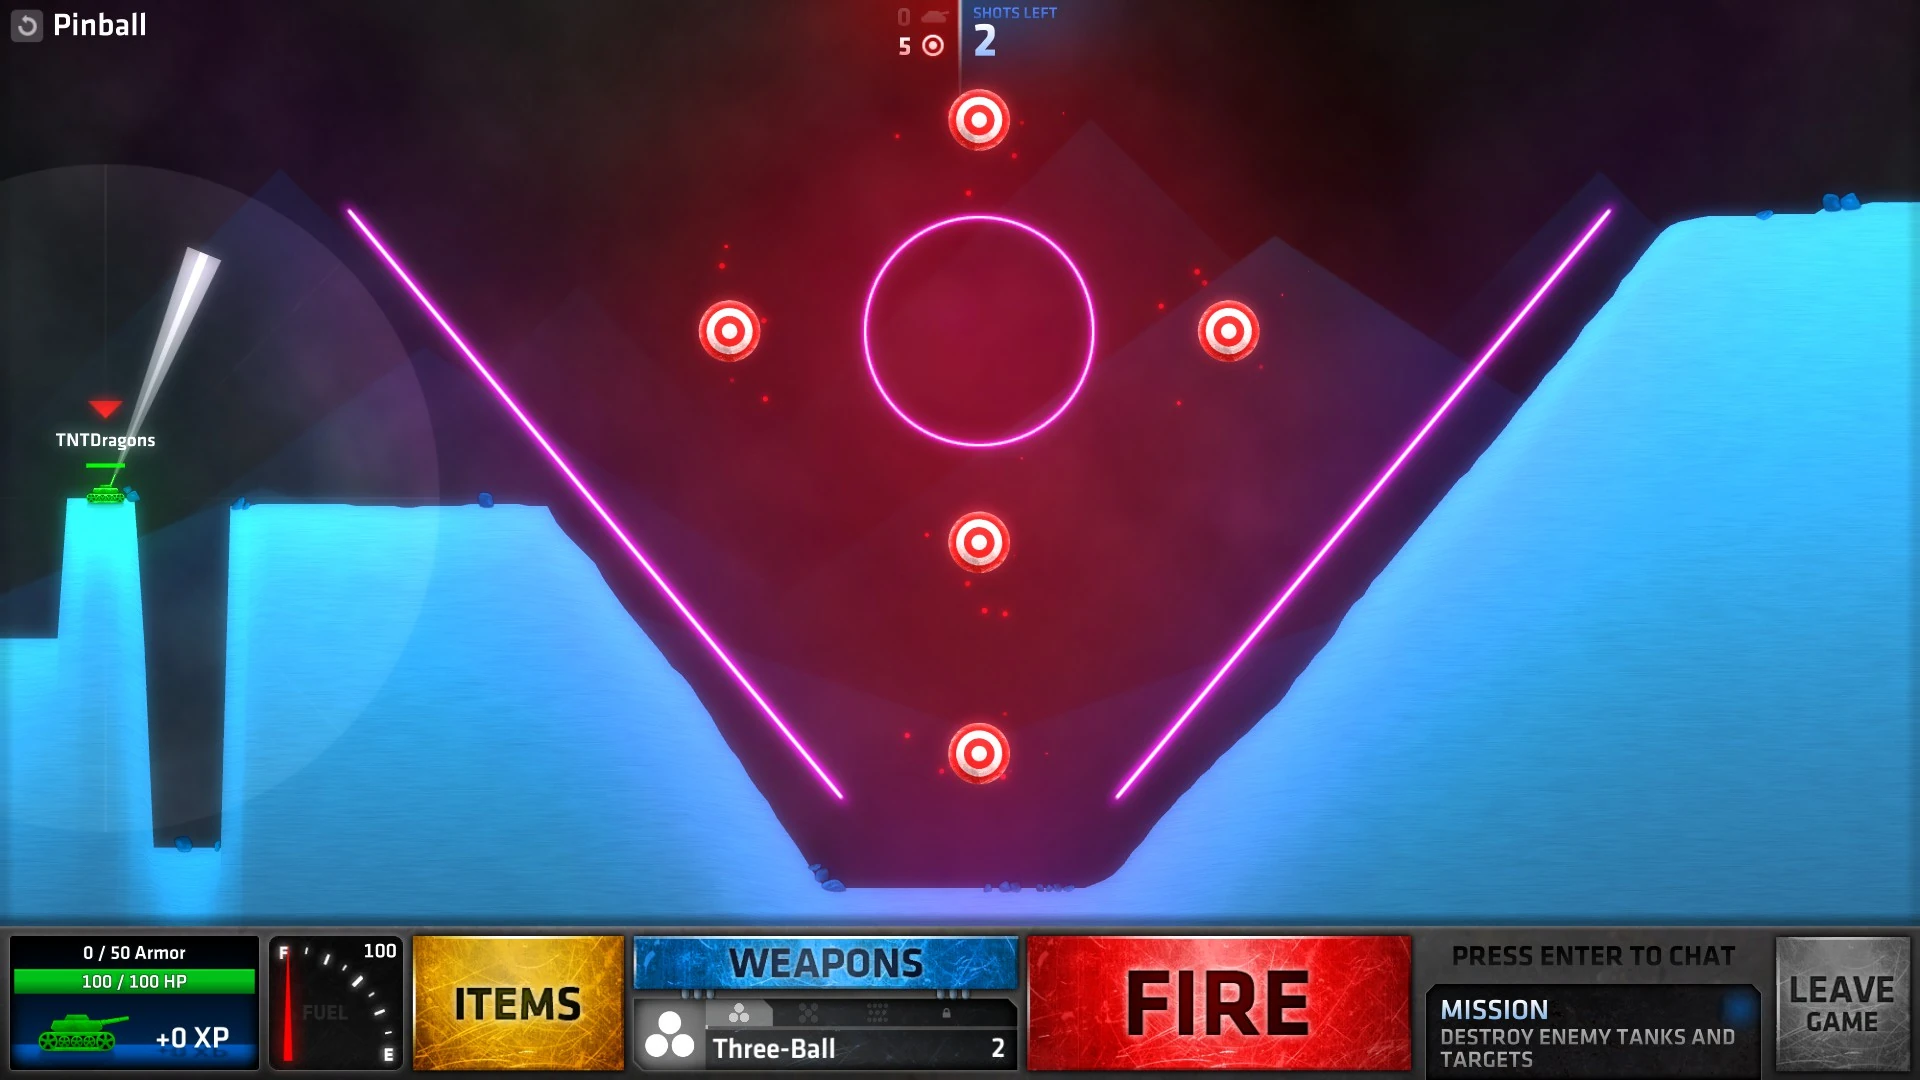
| − | Pinball.jpg|Pinball |
+ | Pinball.jpg|[[Showdown#Pinball|Pinball]] |
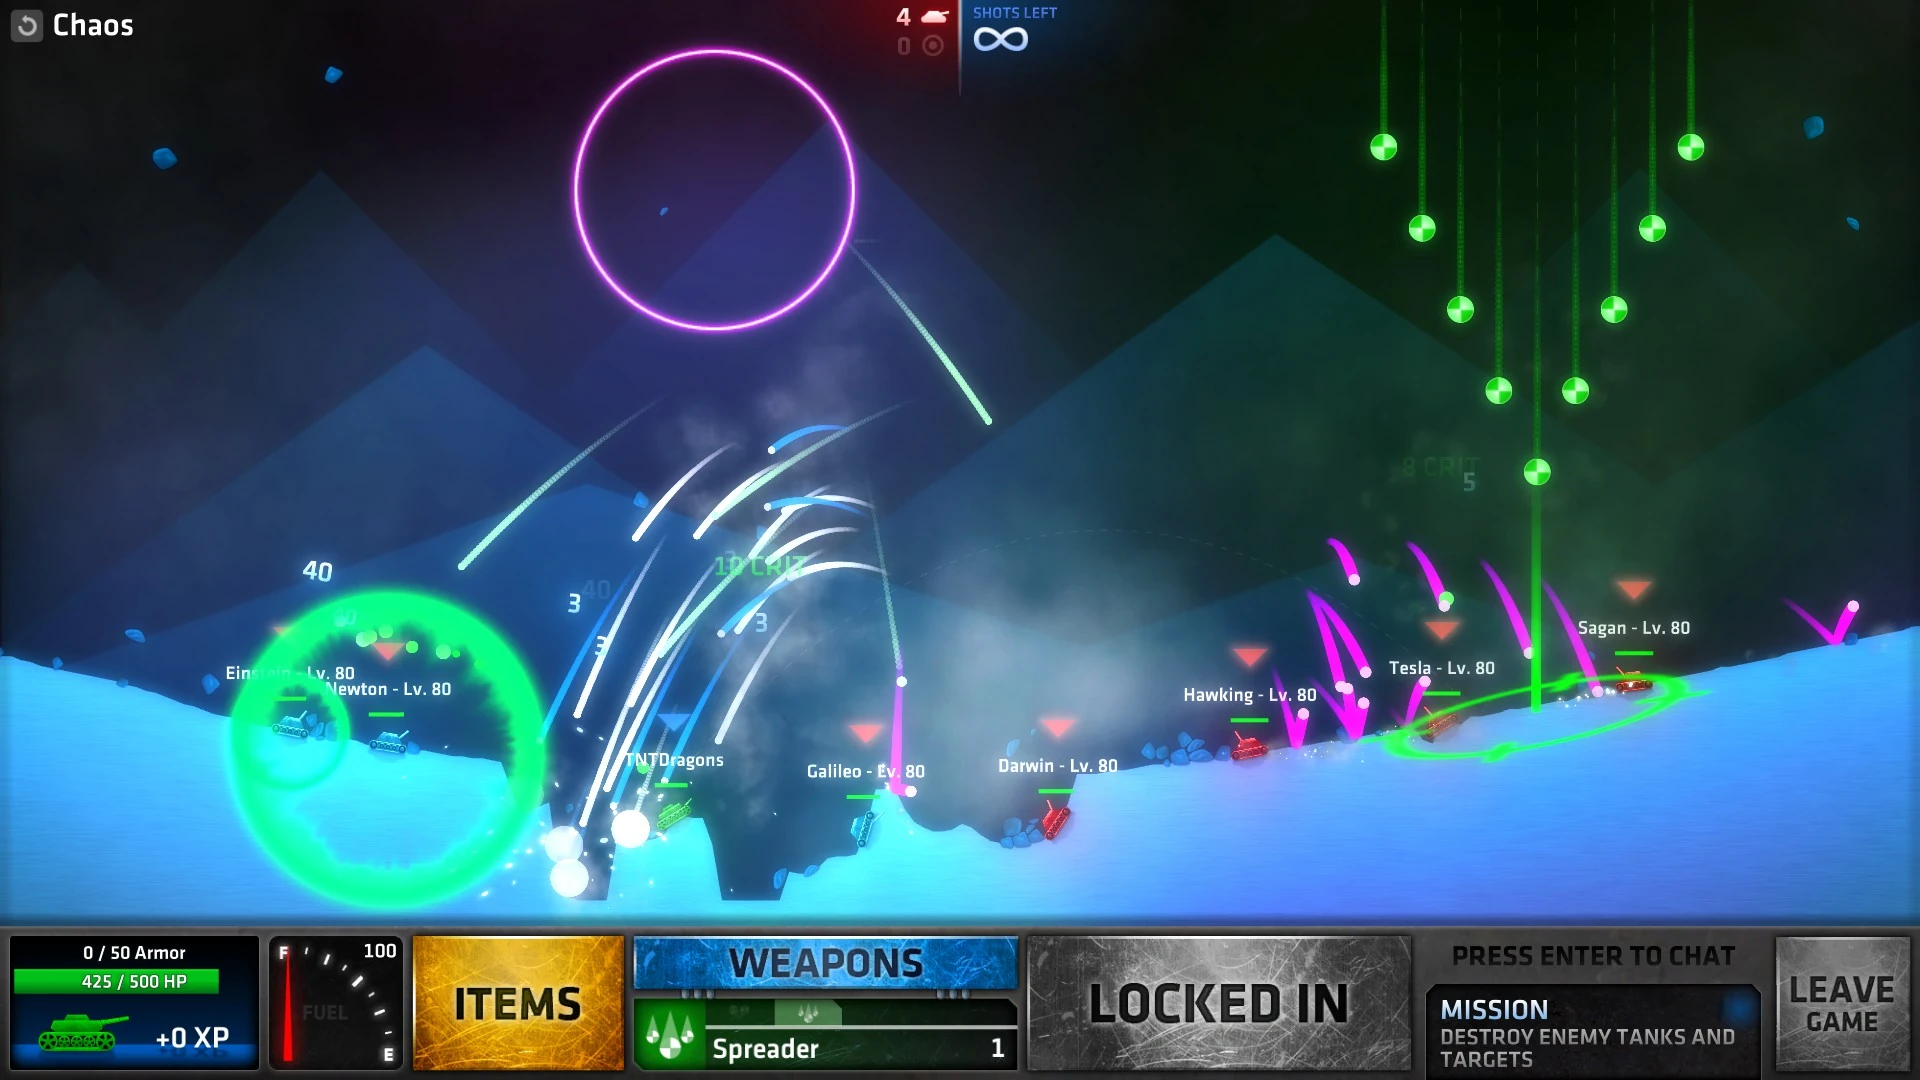
| − | Chaos.jpg|Chaos |
+ | Chaos.jpg|[[Showdown#Chaos|Chaos]] |
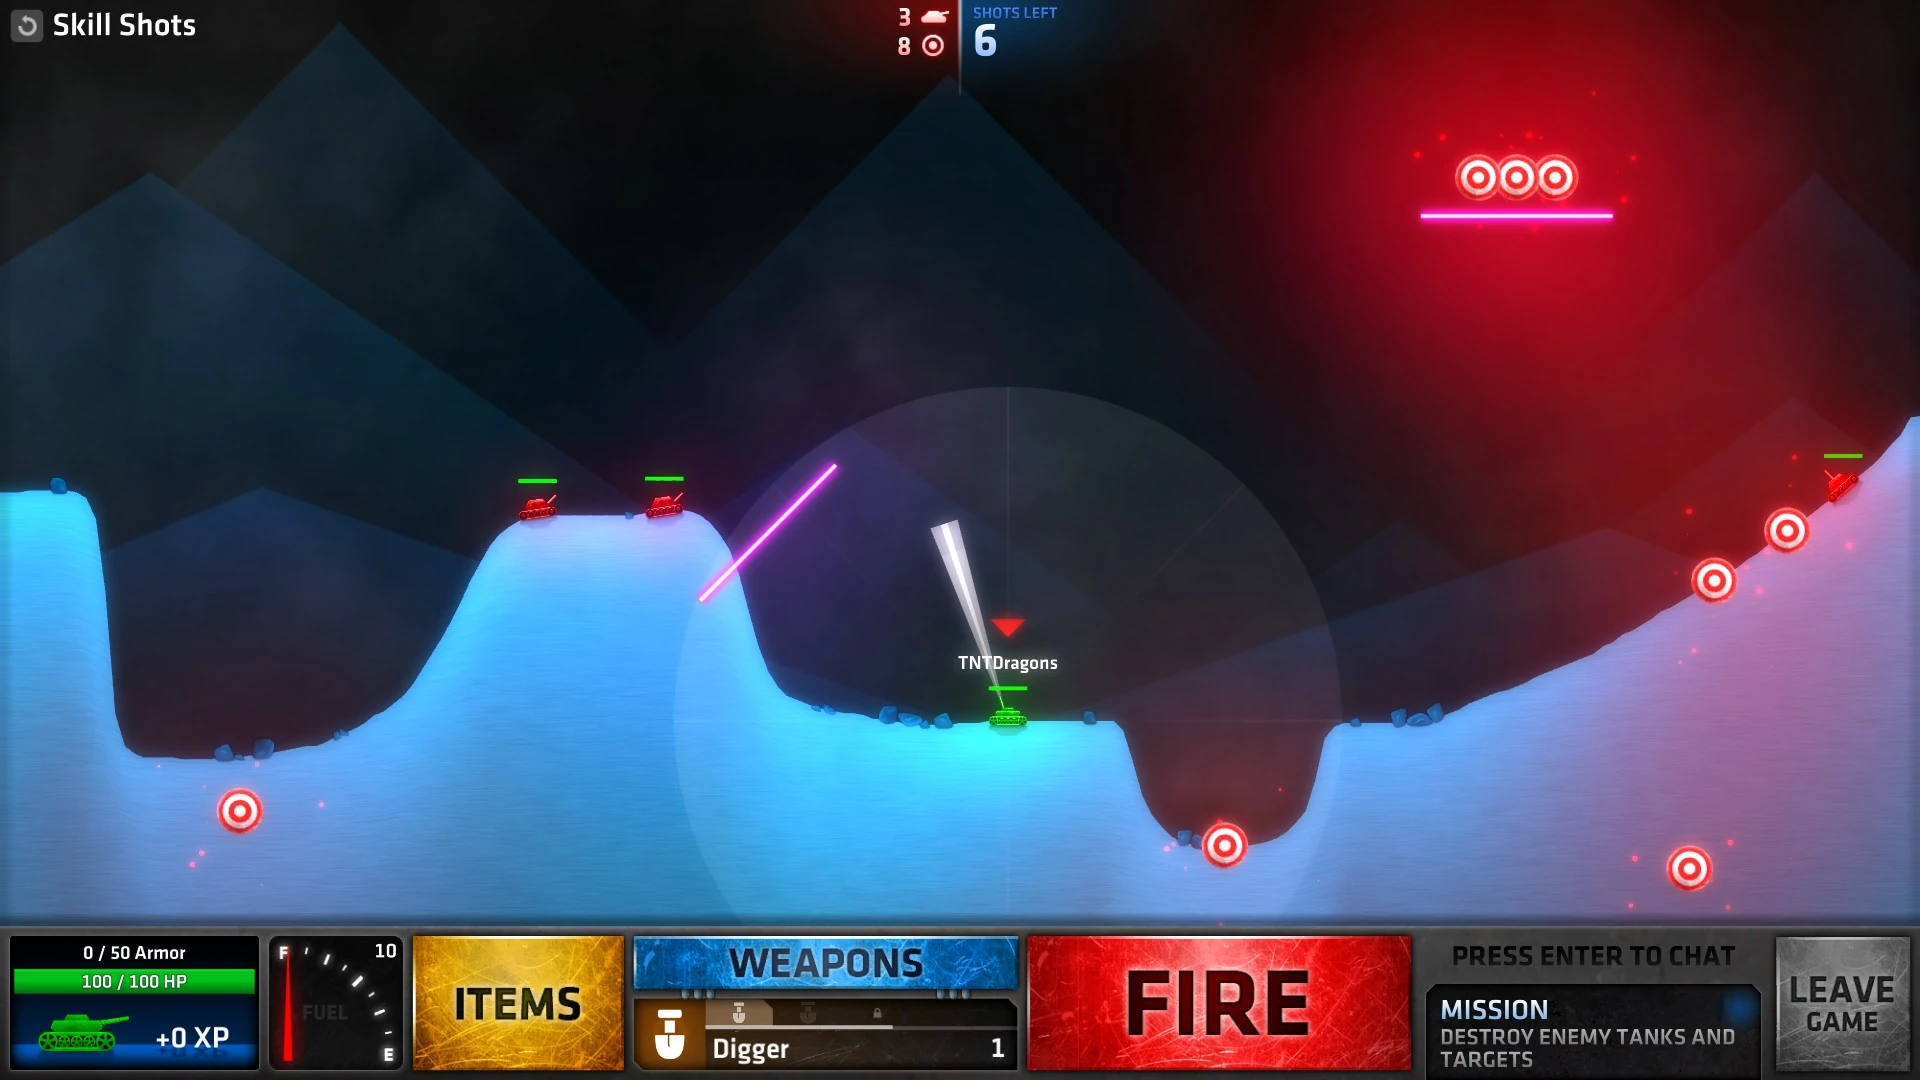
| − | Skill Shots.jpg|Skill Shots |
+ | Skill Shots.jpg|[[Showdown#Skill Shots|Skill Shots]] |
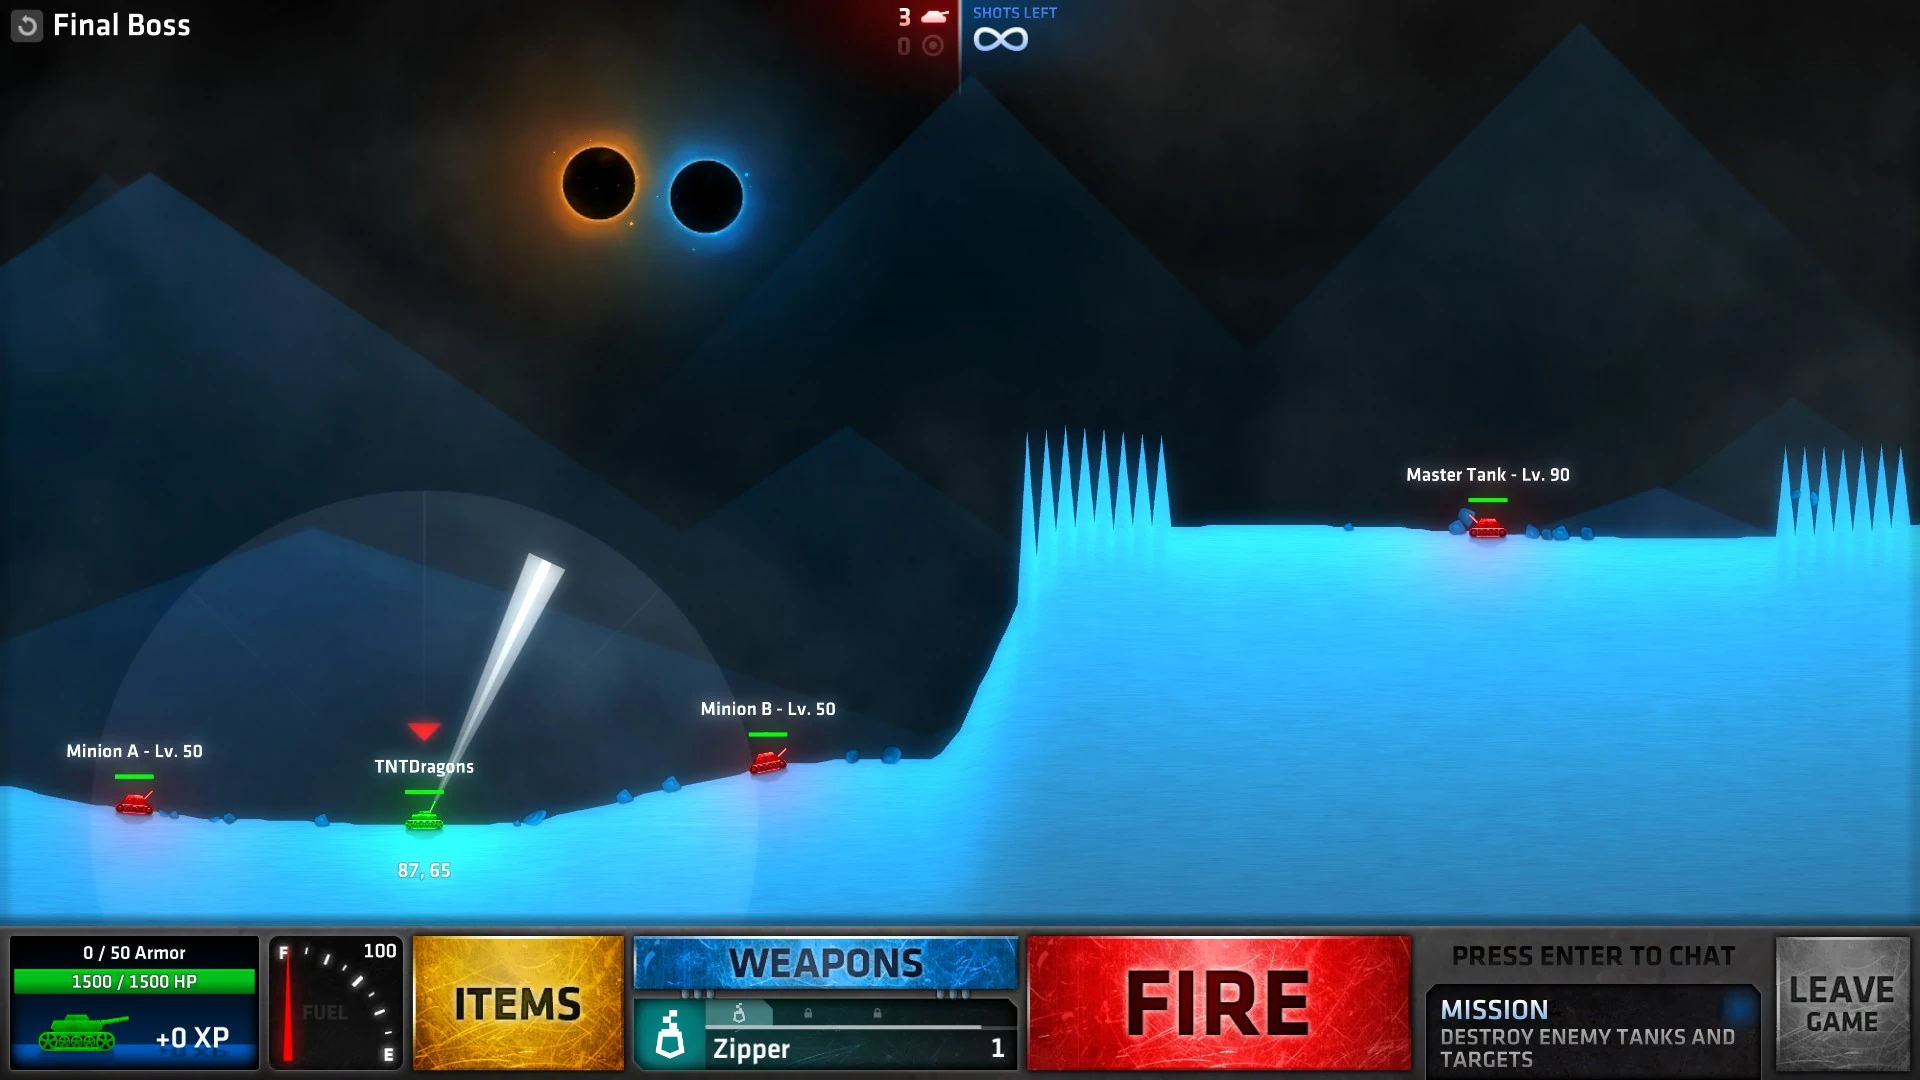
| − | Final Boss.jpg|Final Boss |
+ | Final Boss.jpg|[[Showdown#Final Boss|Final Boss]] |
</gallery> |
</gallery> |
||
Revision as of 16:07, 22 April 2017
| This article is a stub. You can help ShellShock Live Wiki by expanding it. |
This page is the future home of the Campaign Missions and advice on beating said missions, until the page is updated, a comprehensive guide can be found here @ http://steamcommunity.com/sharedfiles/filedetails/?id=481671744