mNo edit summary |
mNo edit summary |
||
| (18 intermediate revisions by 8 users not shown) | |||
| Line 1: | Line 1: | ||
{{Stub}} |
{{Stub}} |
||
| + | This page is the future home of the Campaign Missions and advice on beating said missions, until the page is updated, a comprehensive guide can be found [http://steamcommunity.com/sharedfiles/filedetails/?id=481671744 here]. Upgraded weapons can help in most missions, especially hot hot hot and fiesta forever. However, there are a few missions that become substantially harder with upgraded weapons. A few examples include finding curves, carnival toss, and tear down this wall. |
||
| − | This page is the future home of the Campaign Missions and advice on beating said missions. |
||
| + | == [[Tank Up]] == |
||
| ⚫ | |||
| + | <gallery> |
||
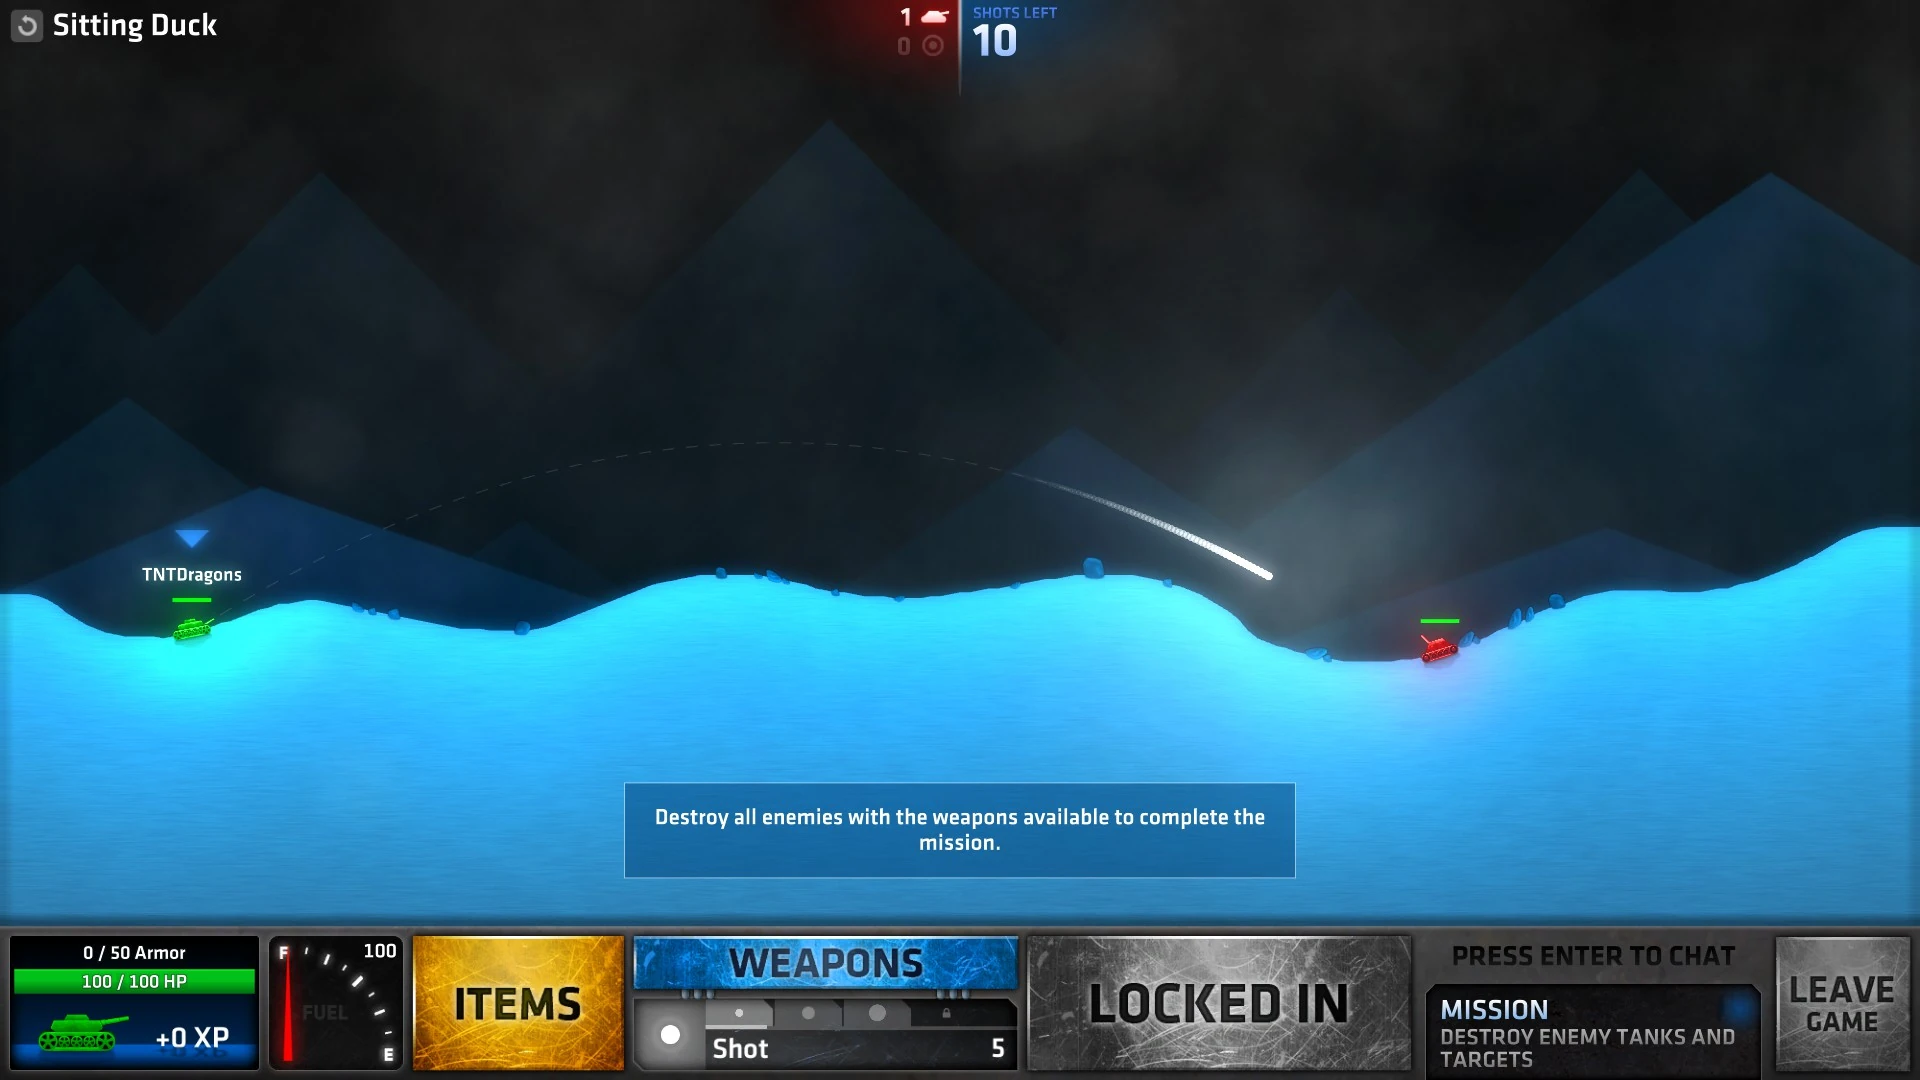
| + | Sitting Duck.jpg|[[Tank Up#Sitting Duck|Sitting Duck]] |
||
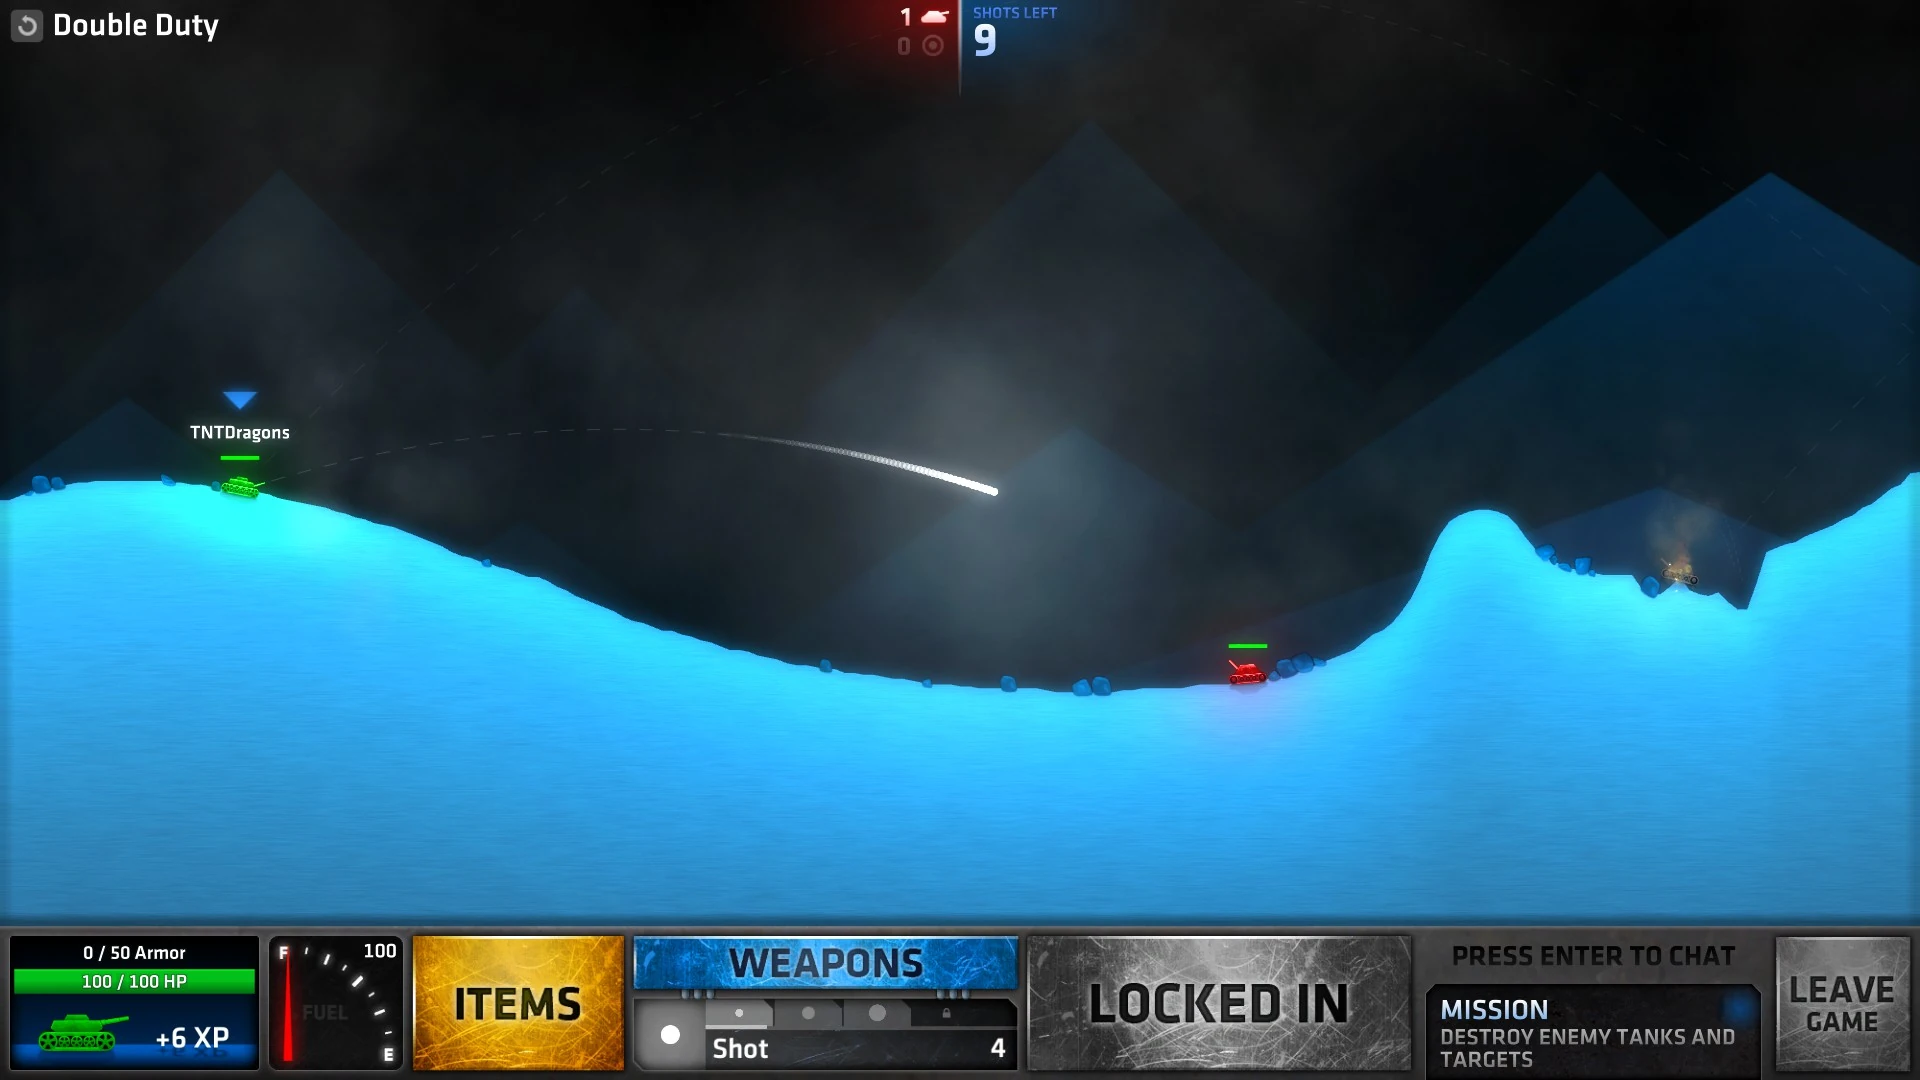
| + | Double Duty.jpg|[[Tank Up#Double Duty|Double Duty]] |
||
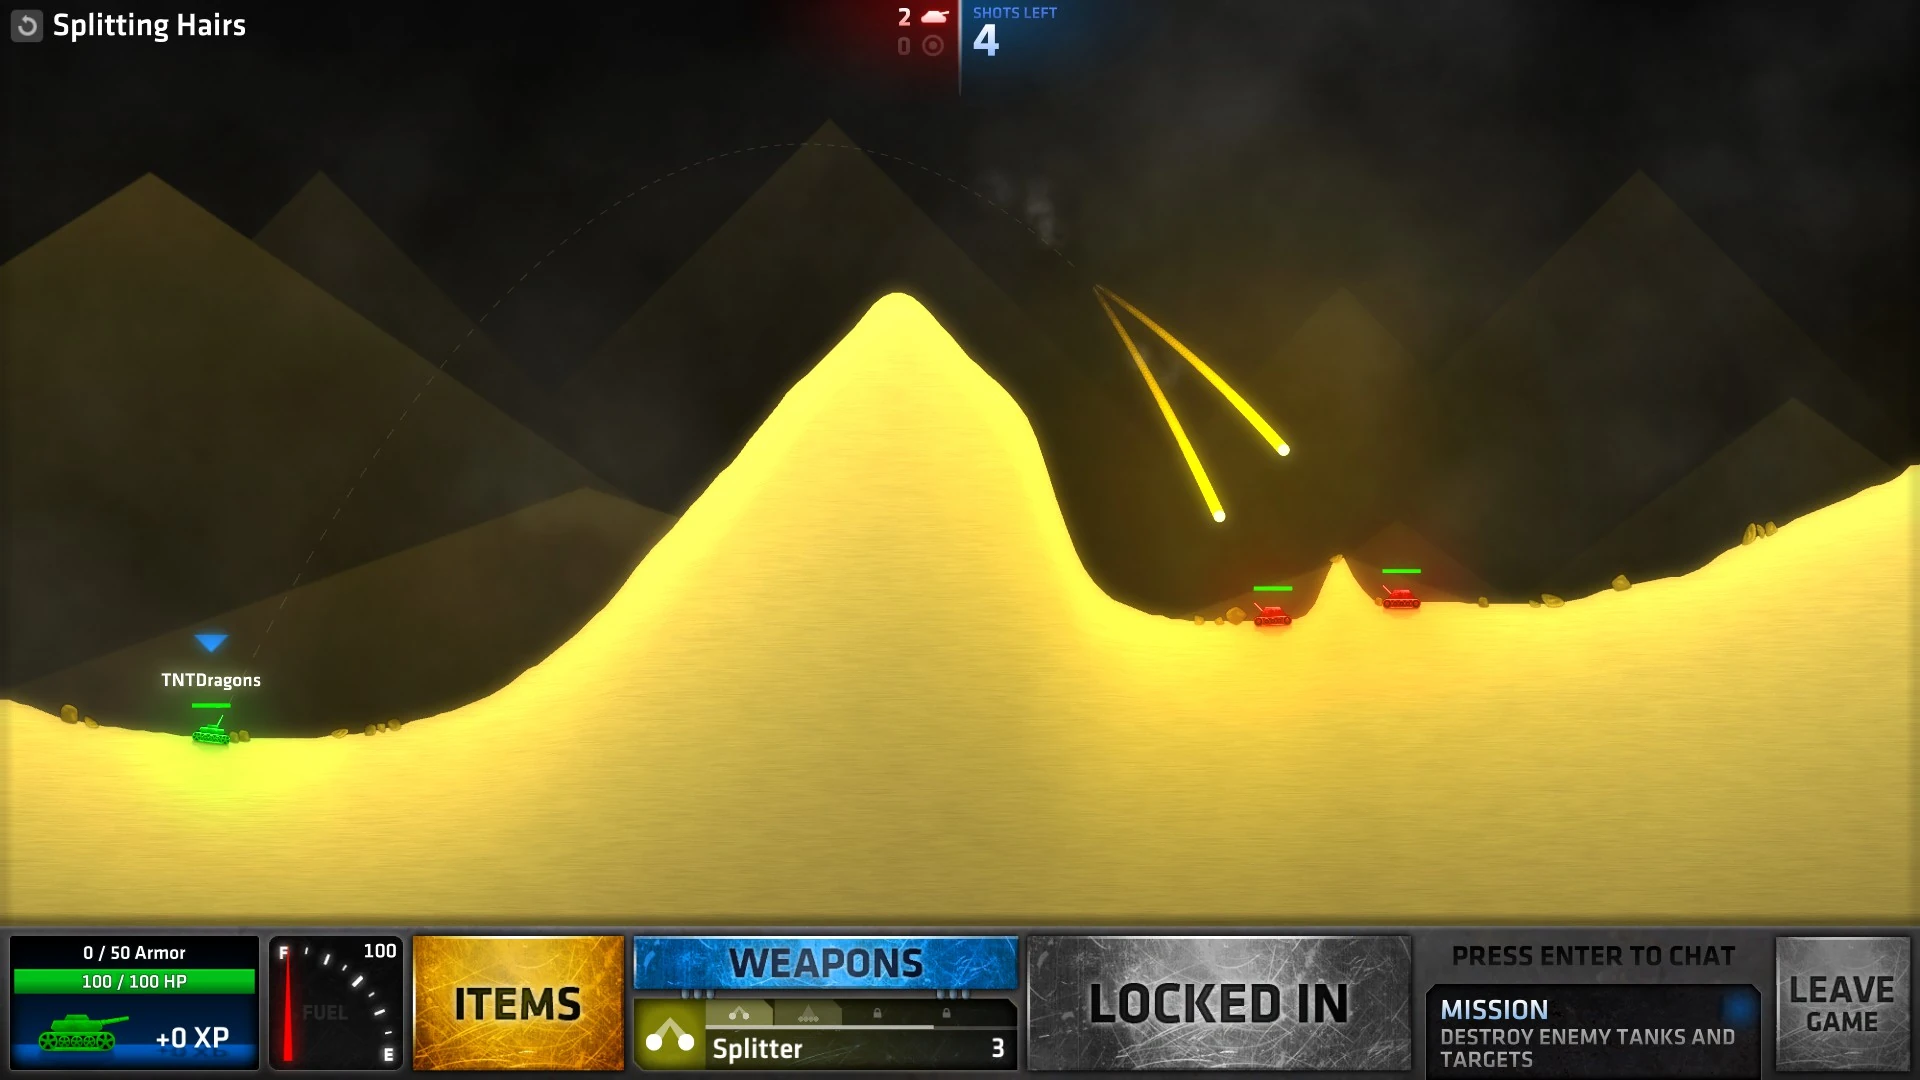
| + | Splitting Hairs.jpg|[[Tank Up#Splitting Hairs|Splitting Hairs]] |
||
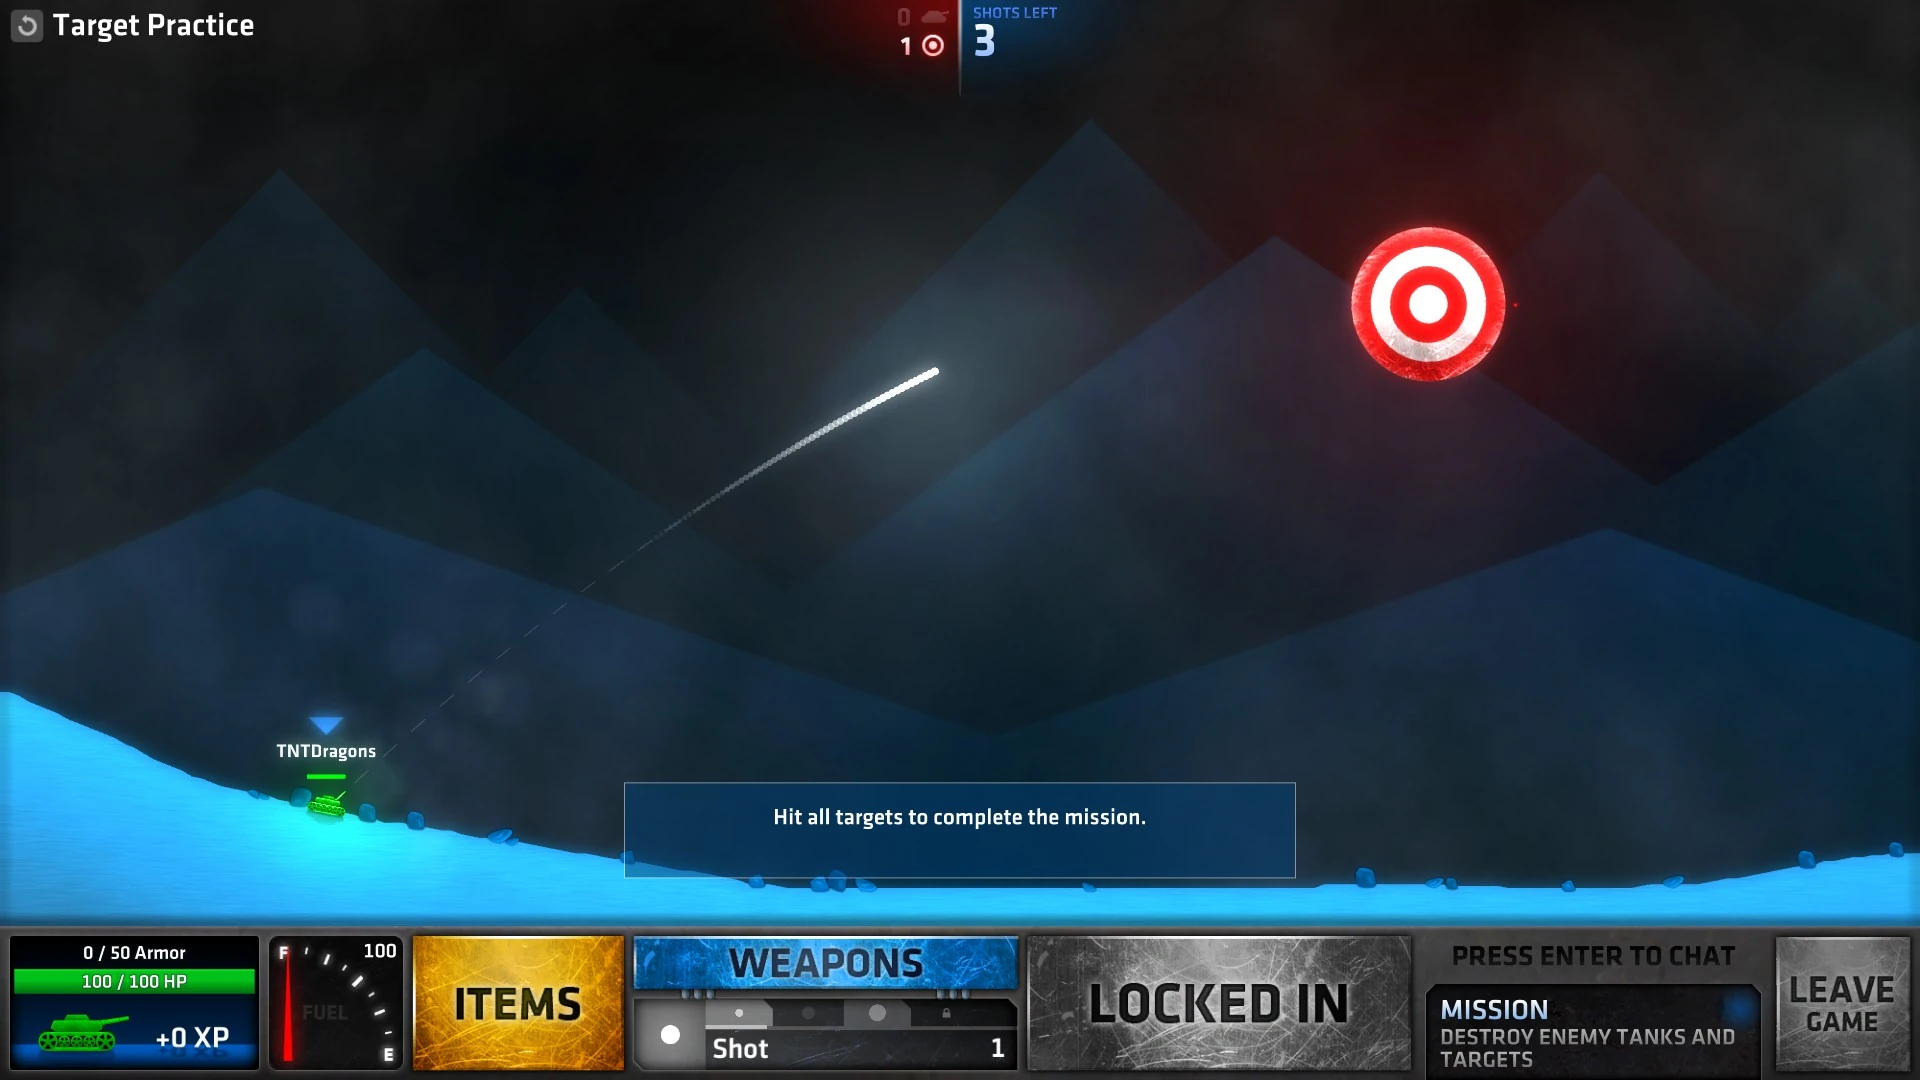
| + | Target Practice.jpg|[[Tank Up#Target Practice|Target Practice]] |
||
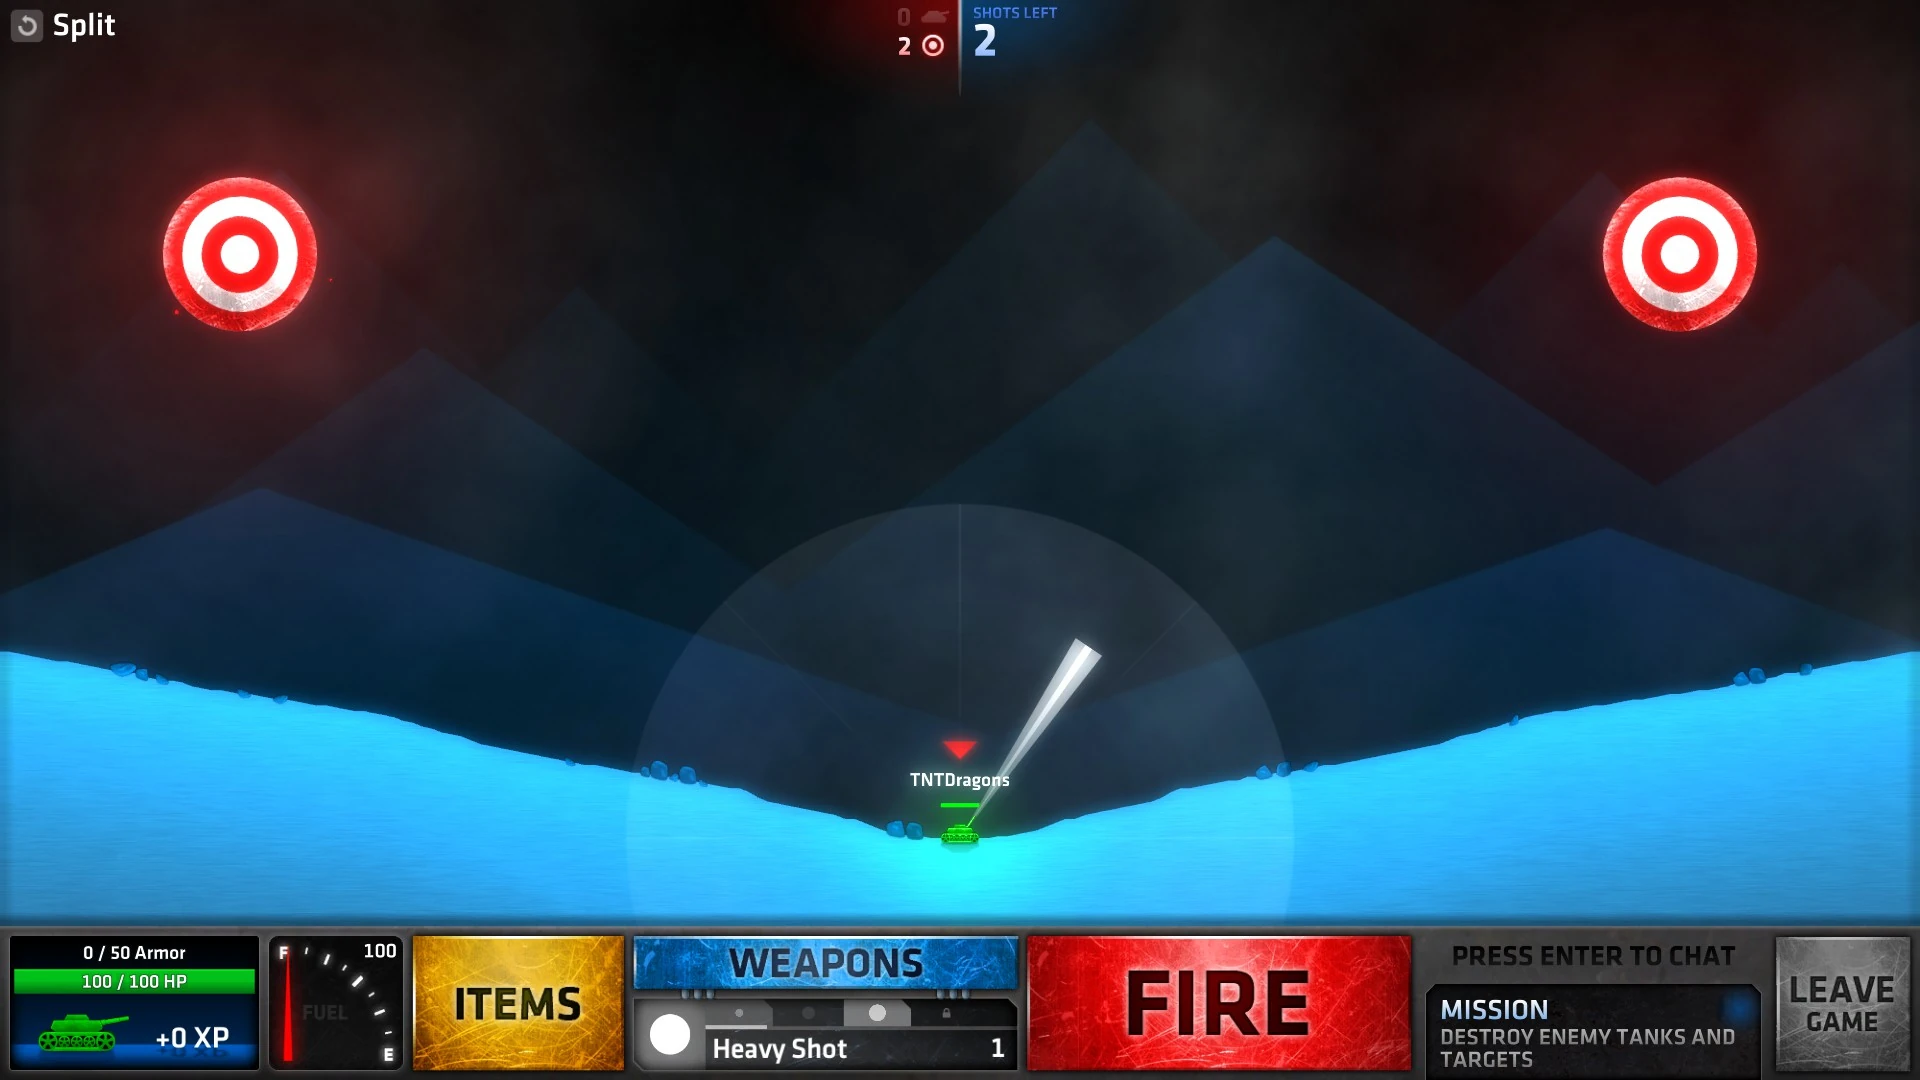
| + | Split.jpg|[[Tank Up#Split|Split]] |
||
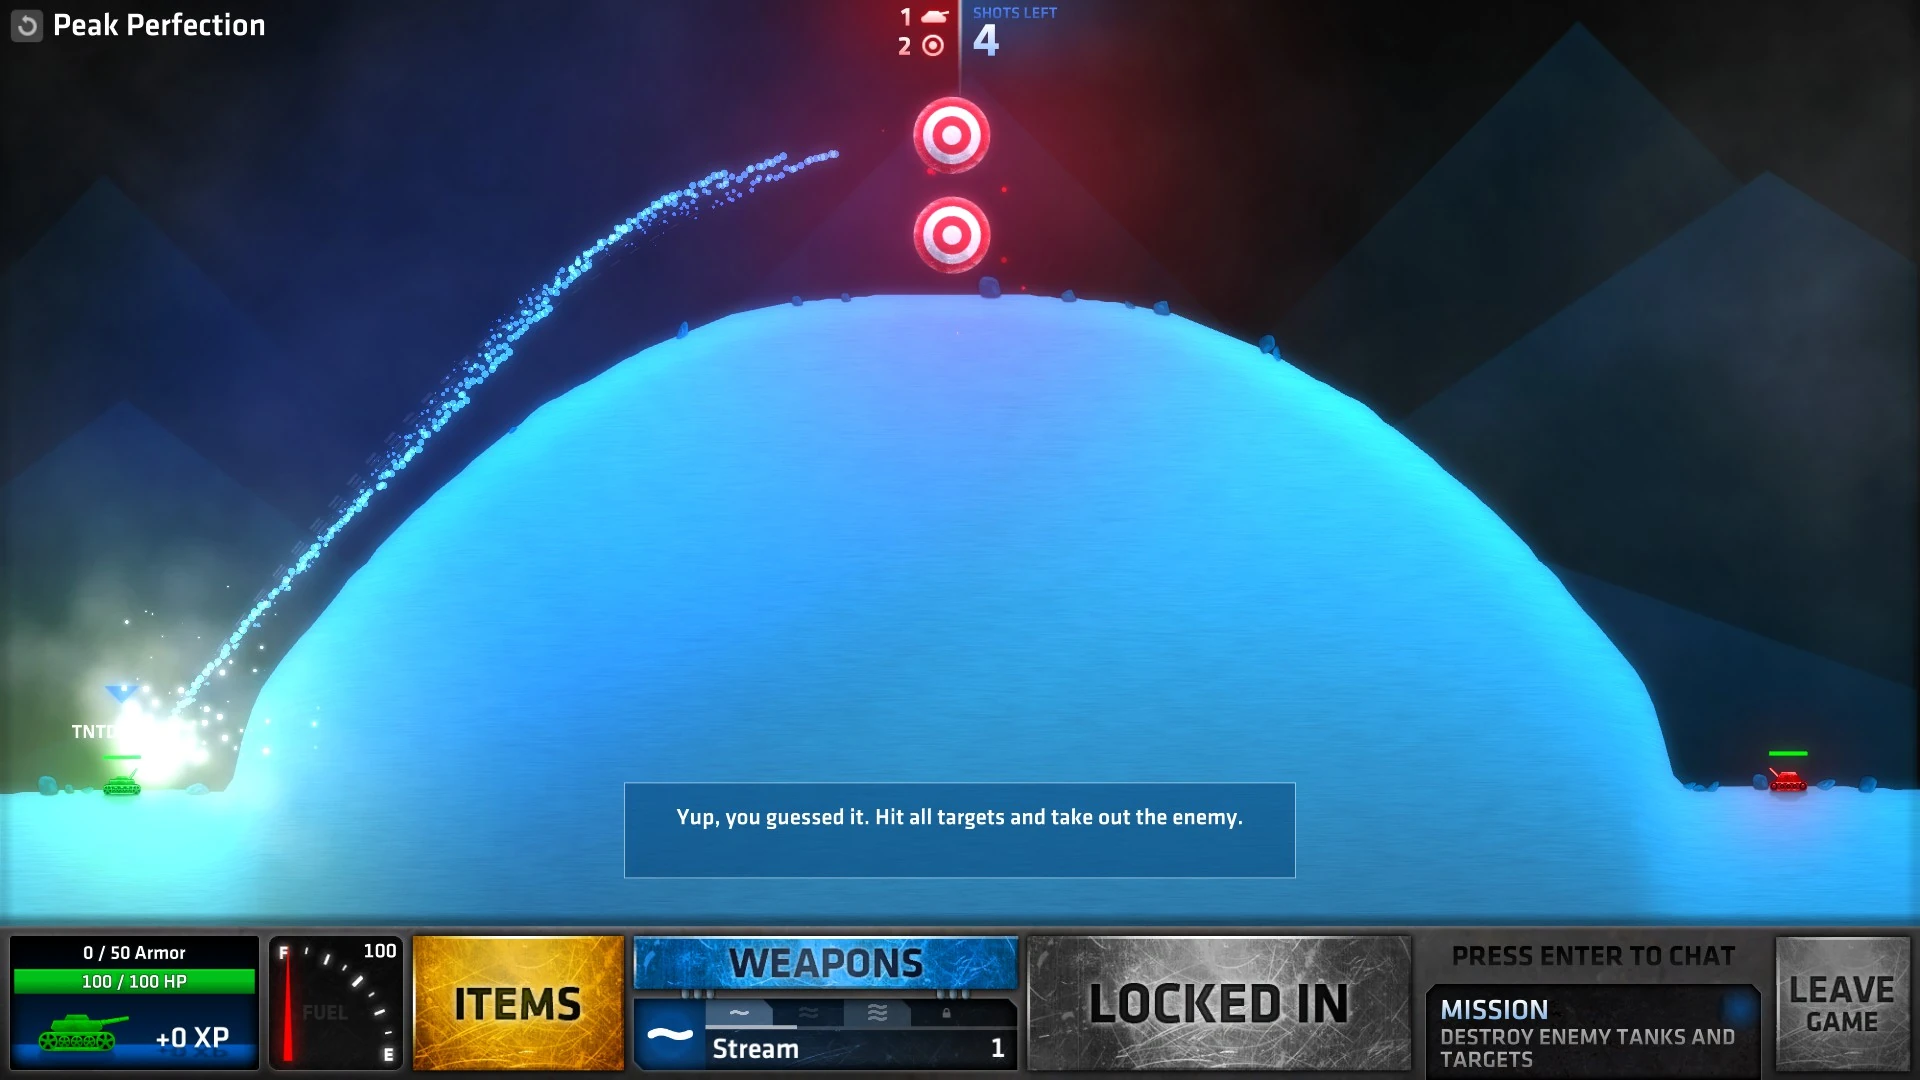
| + | Peak Perfection.jpg|[[Tank Up#Peak Perfection|Peak Perfection]] |
||
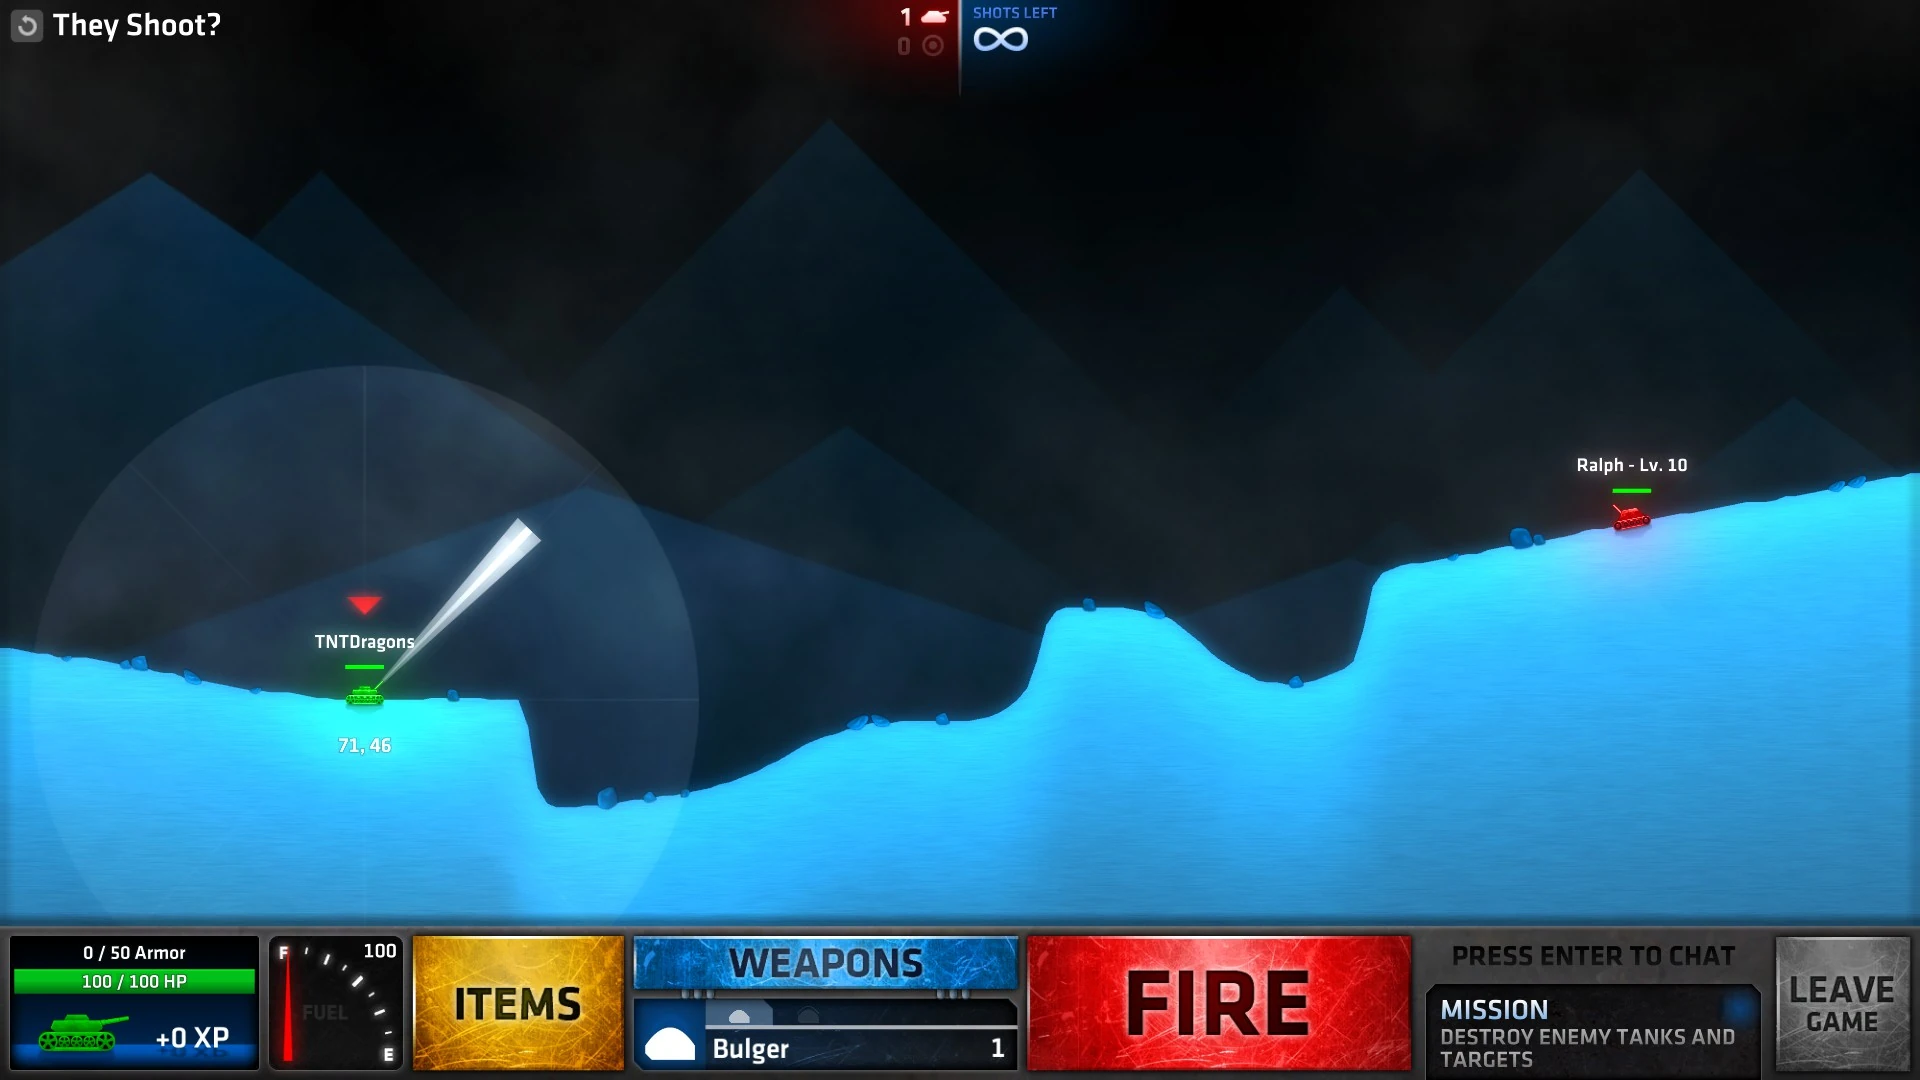
| + | They Shoot.jpg|[[Tank Up#They Shoot?|They Shoot?]] |
||
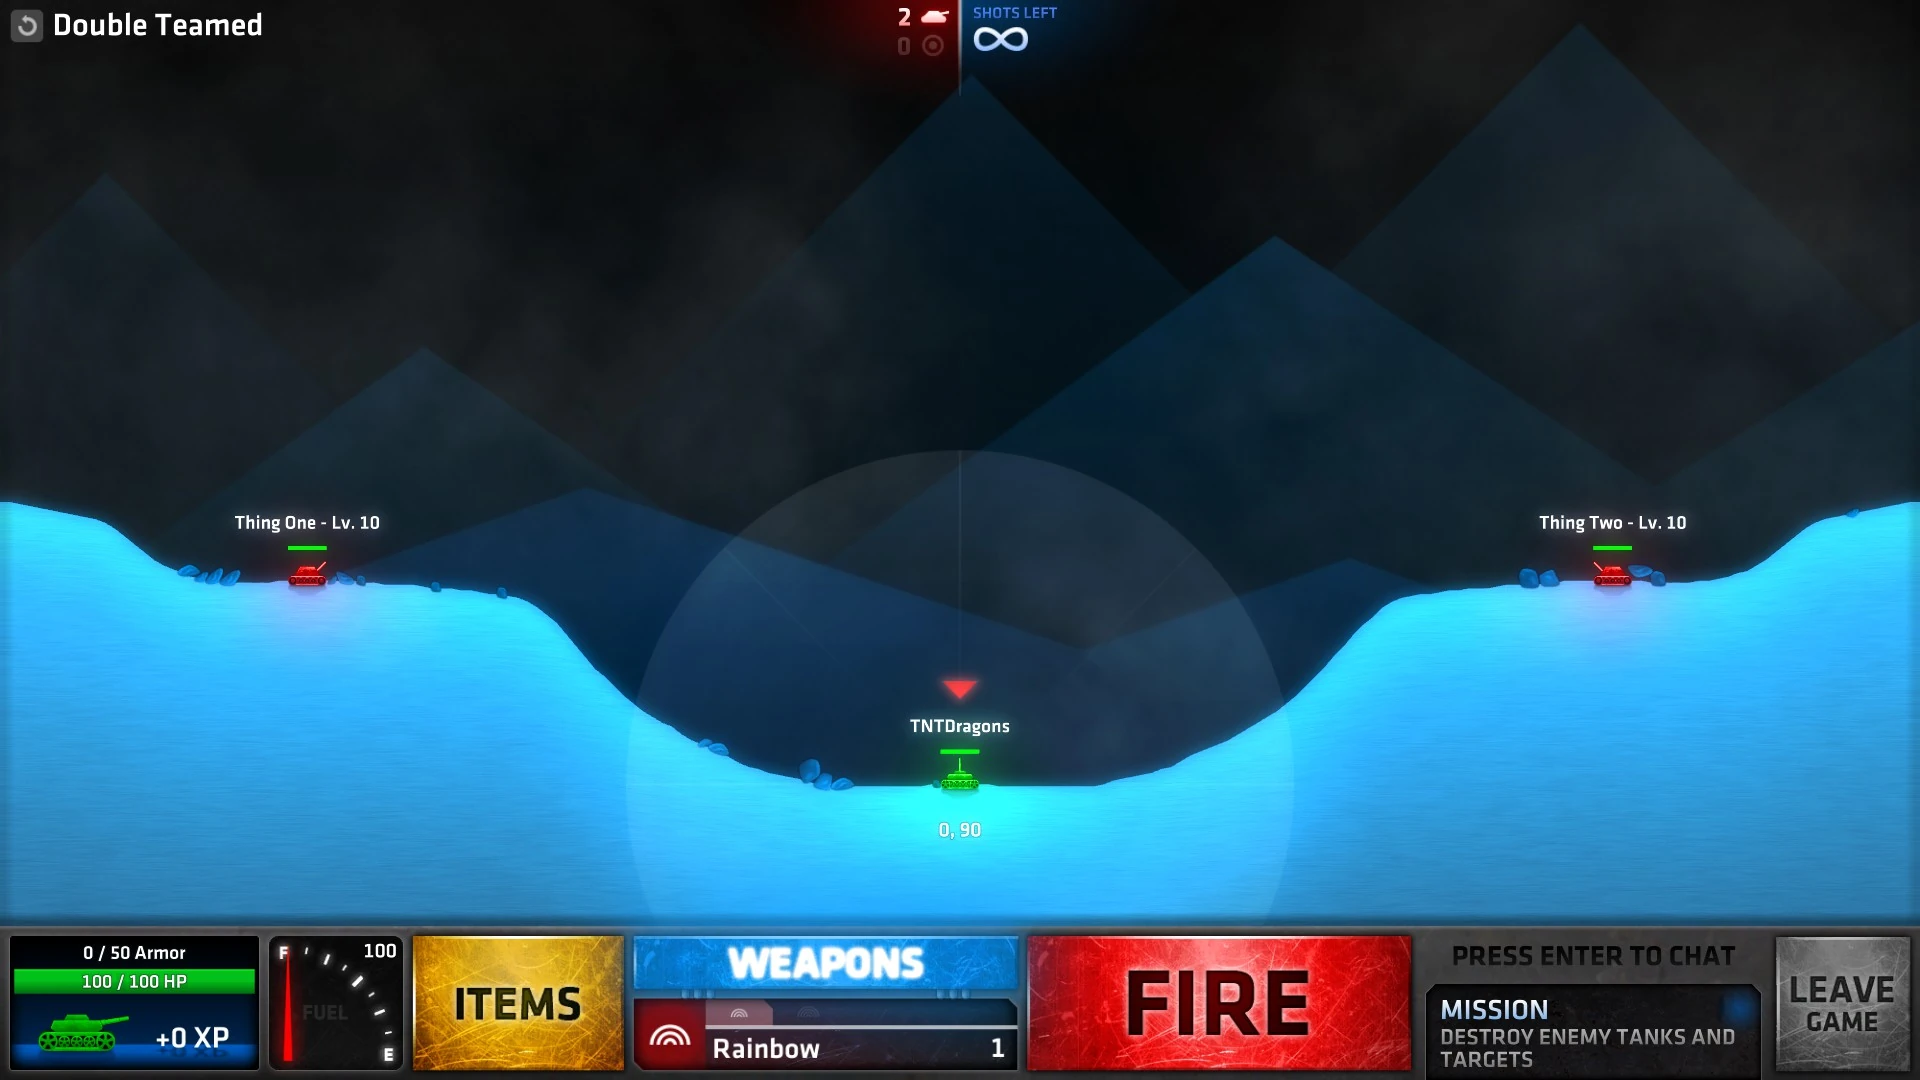
| + | Double Teamed.jpg|[[Tank Up#Double Teamed|Double Teamed]] |
||
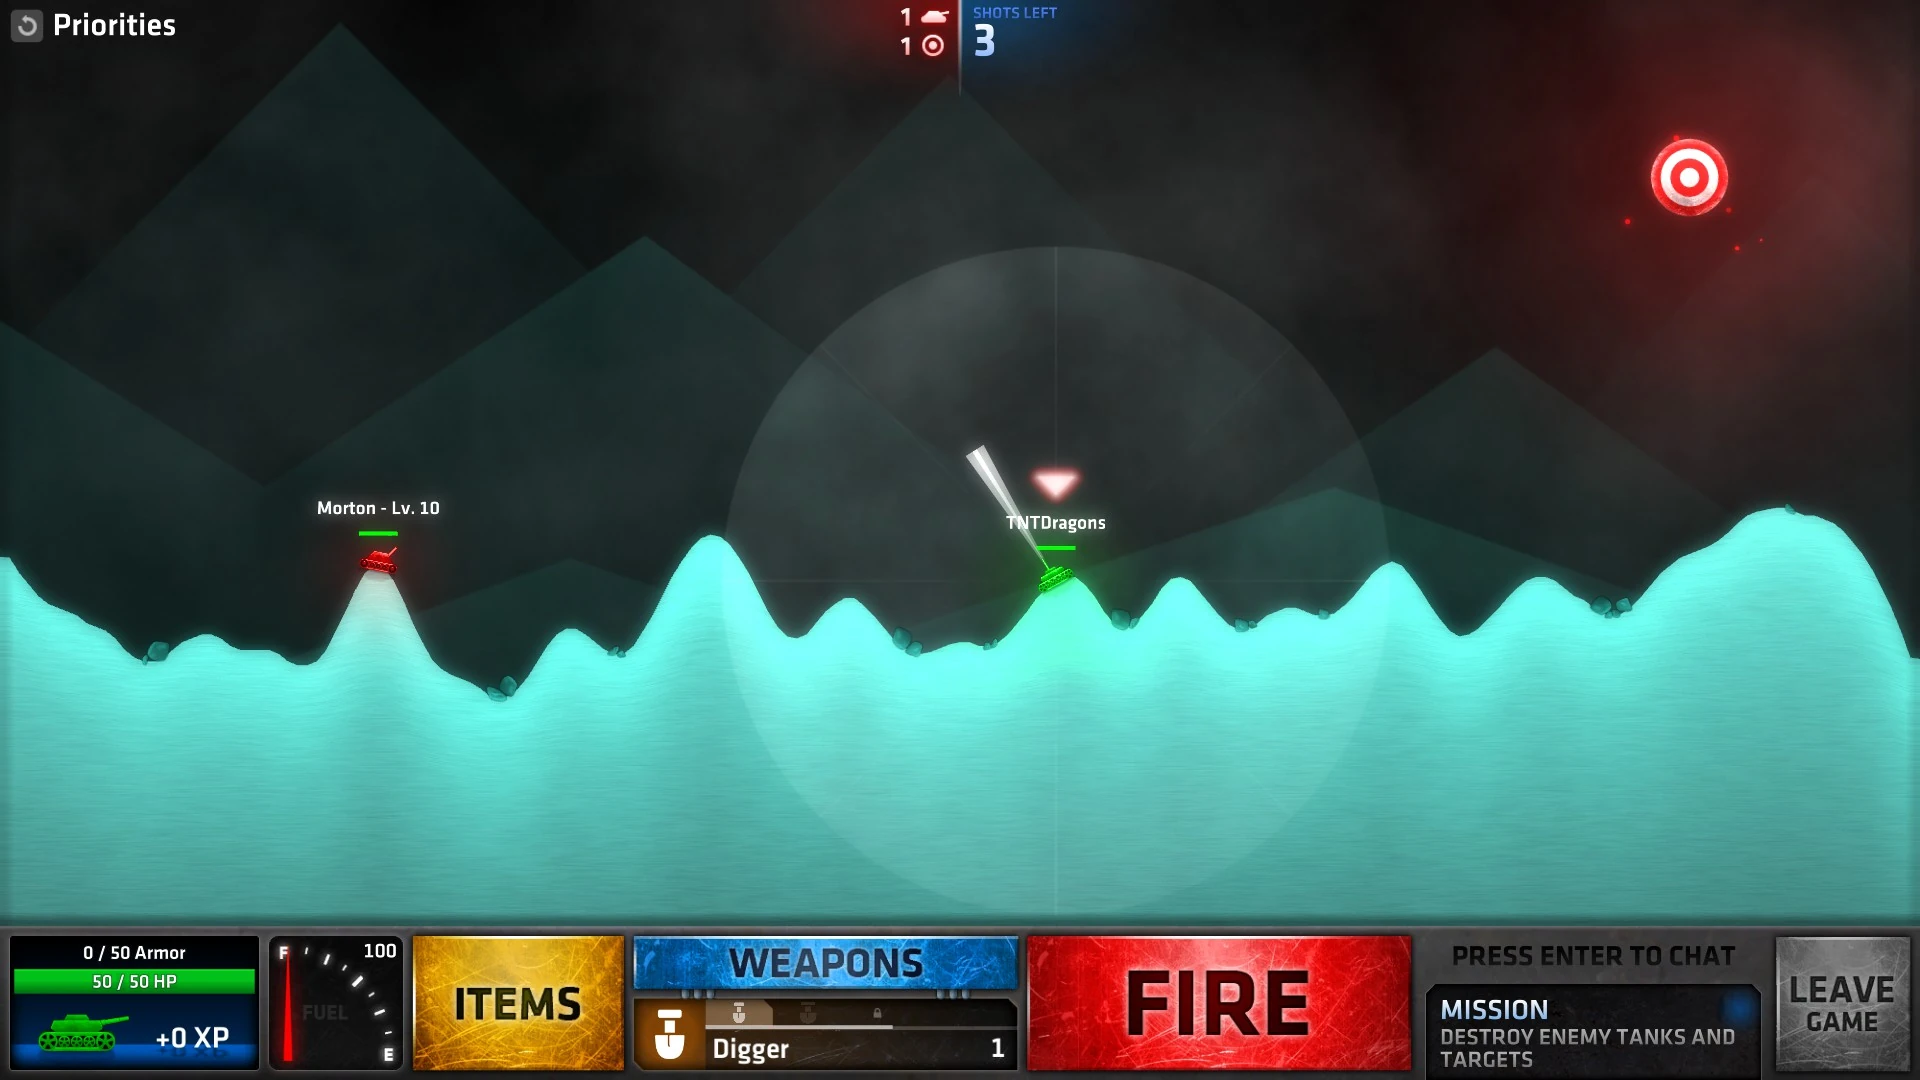
| + | Priorities.jpg|[[Tank Up#Priorities|Priorities]] |
||
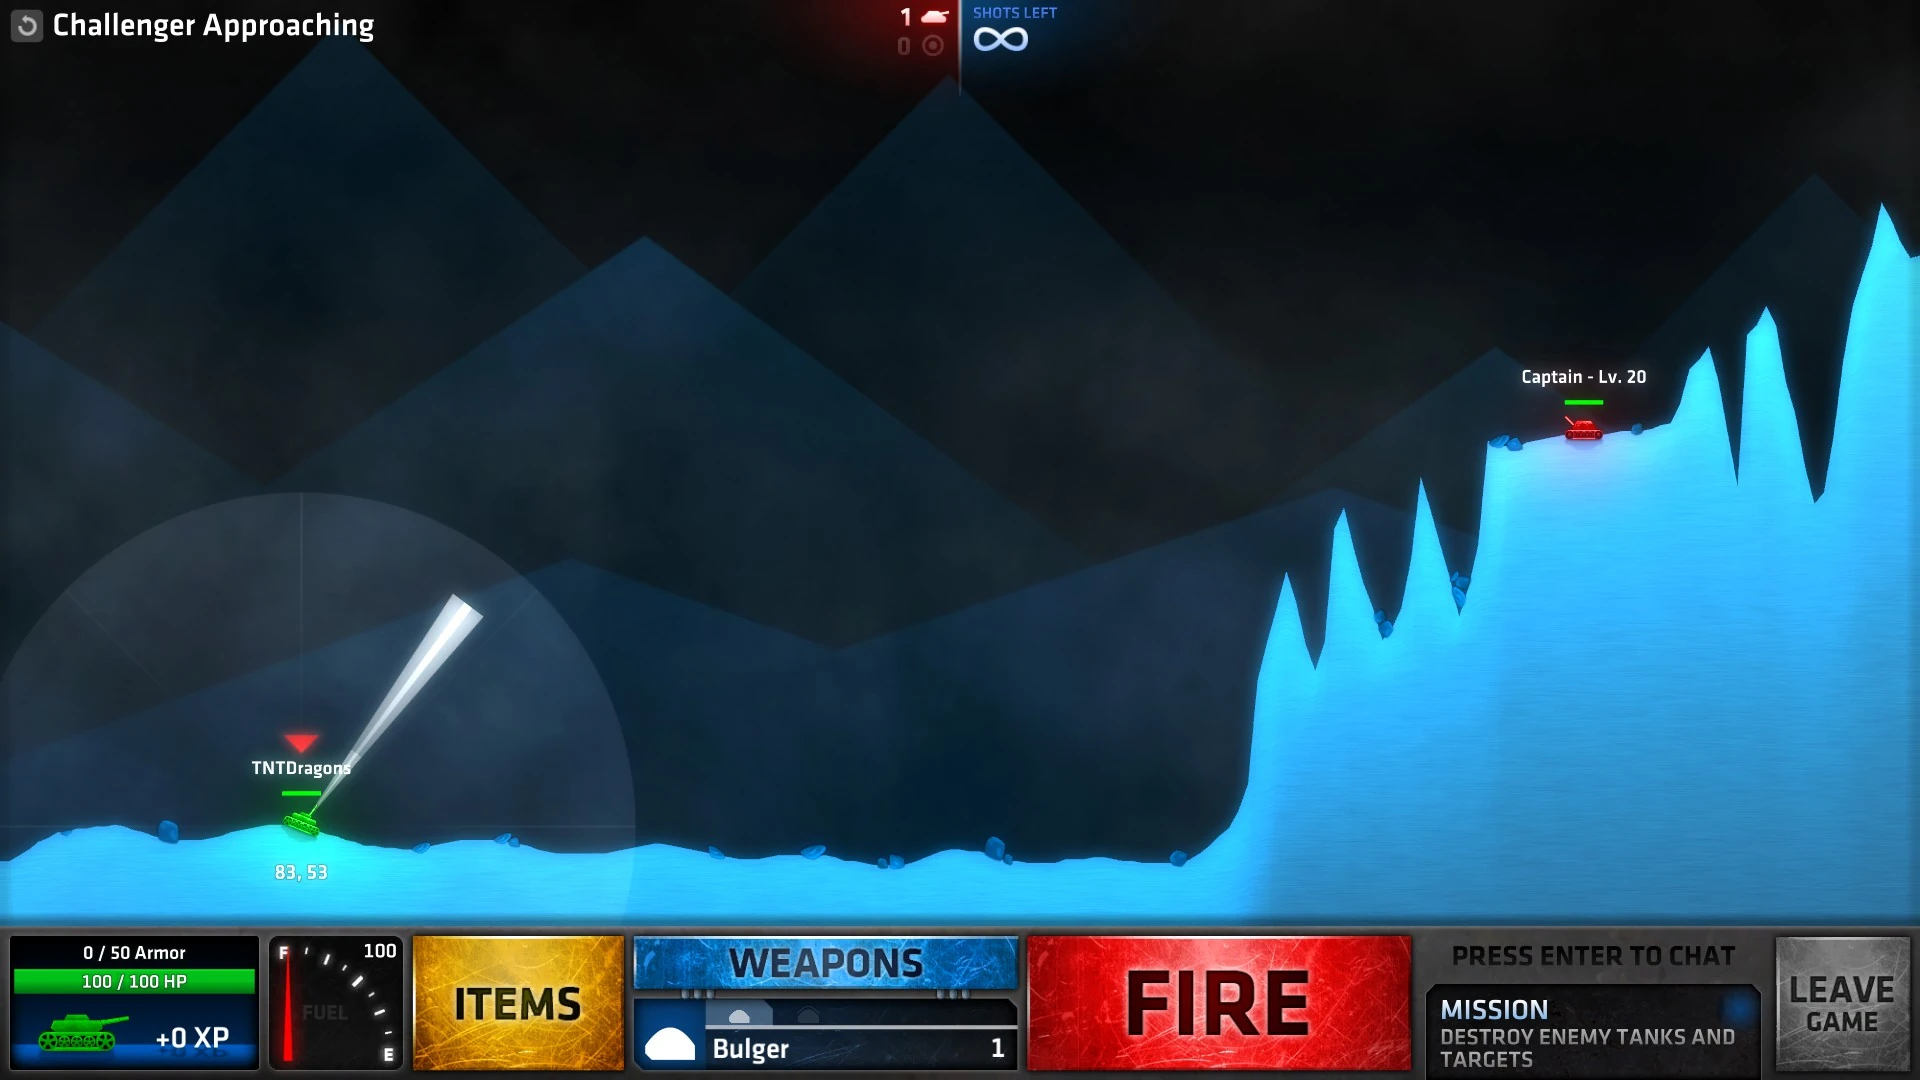
| + | Challenger Approaching.jpg|[[Tank Up#Challenger Approaching|Challenger Approaching]] |
||
| + | </gallery> |
||
| + | |||
| + | == [[War Games]] == |
||
| + | <gallery> |
||
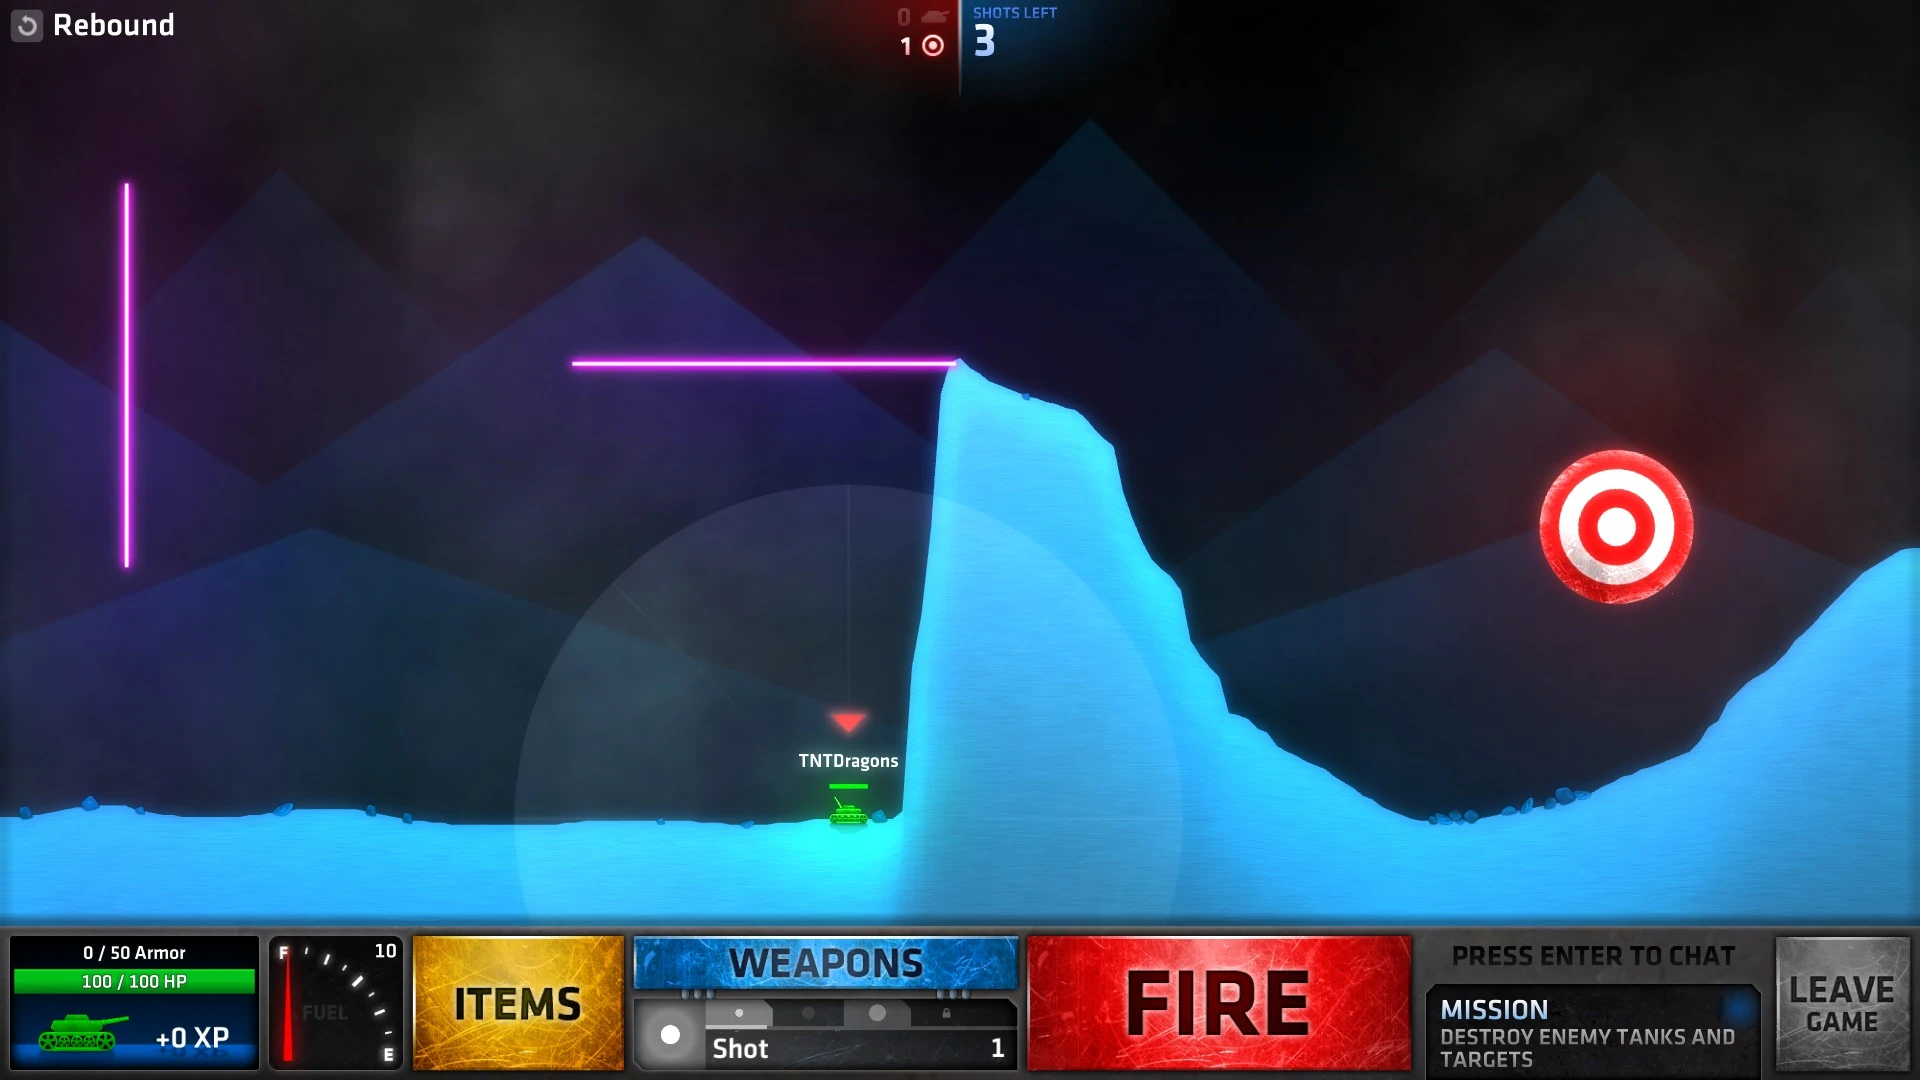
| + | Rebound.jpg|[[War Games#Rebound|Rebound]] |
||
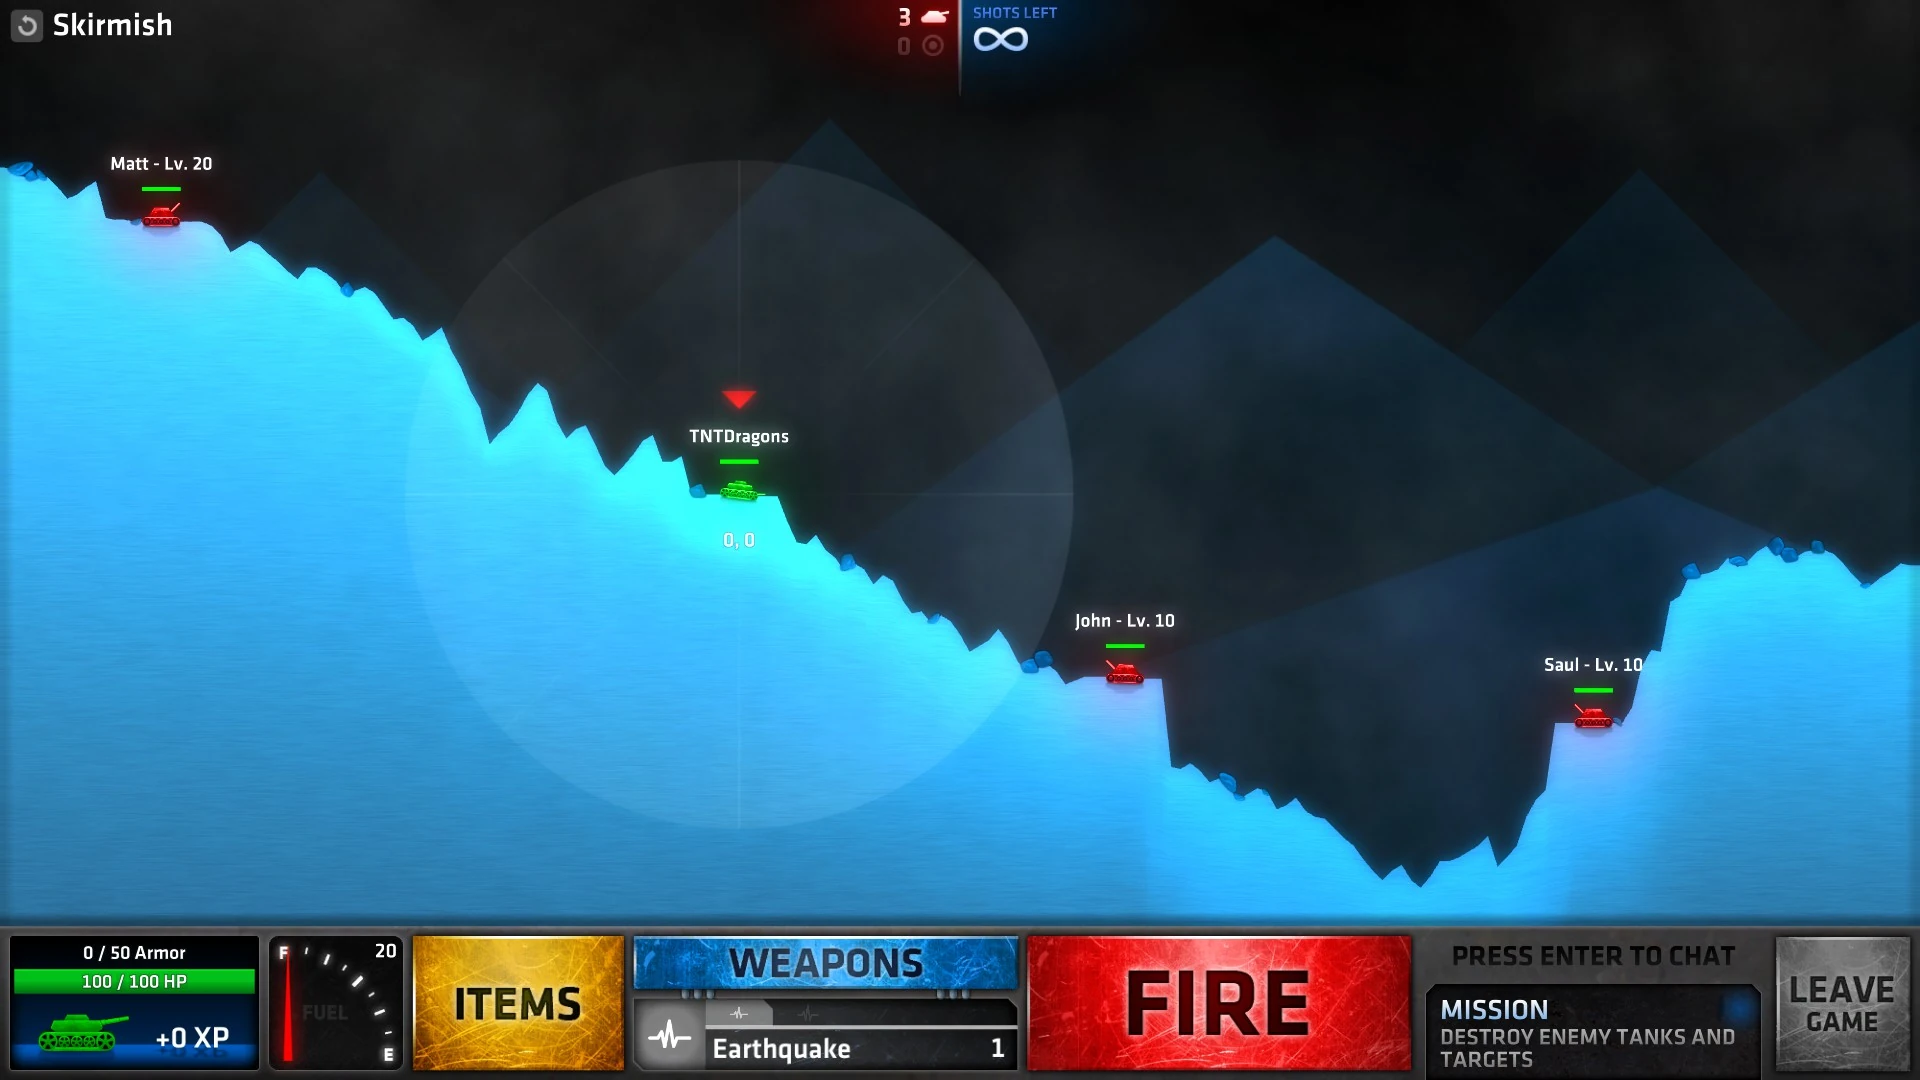
| + | Skirmish.jpg|[[War Games#Skirmish|Skirmish]] |
||
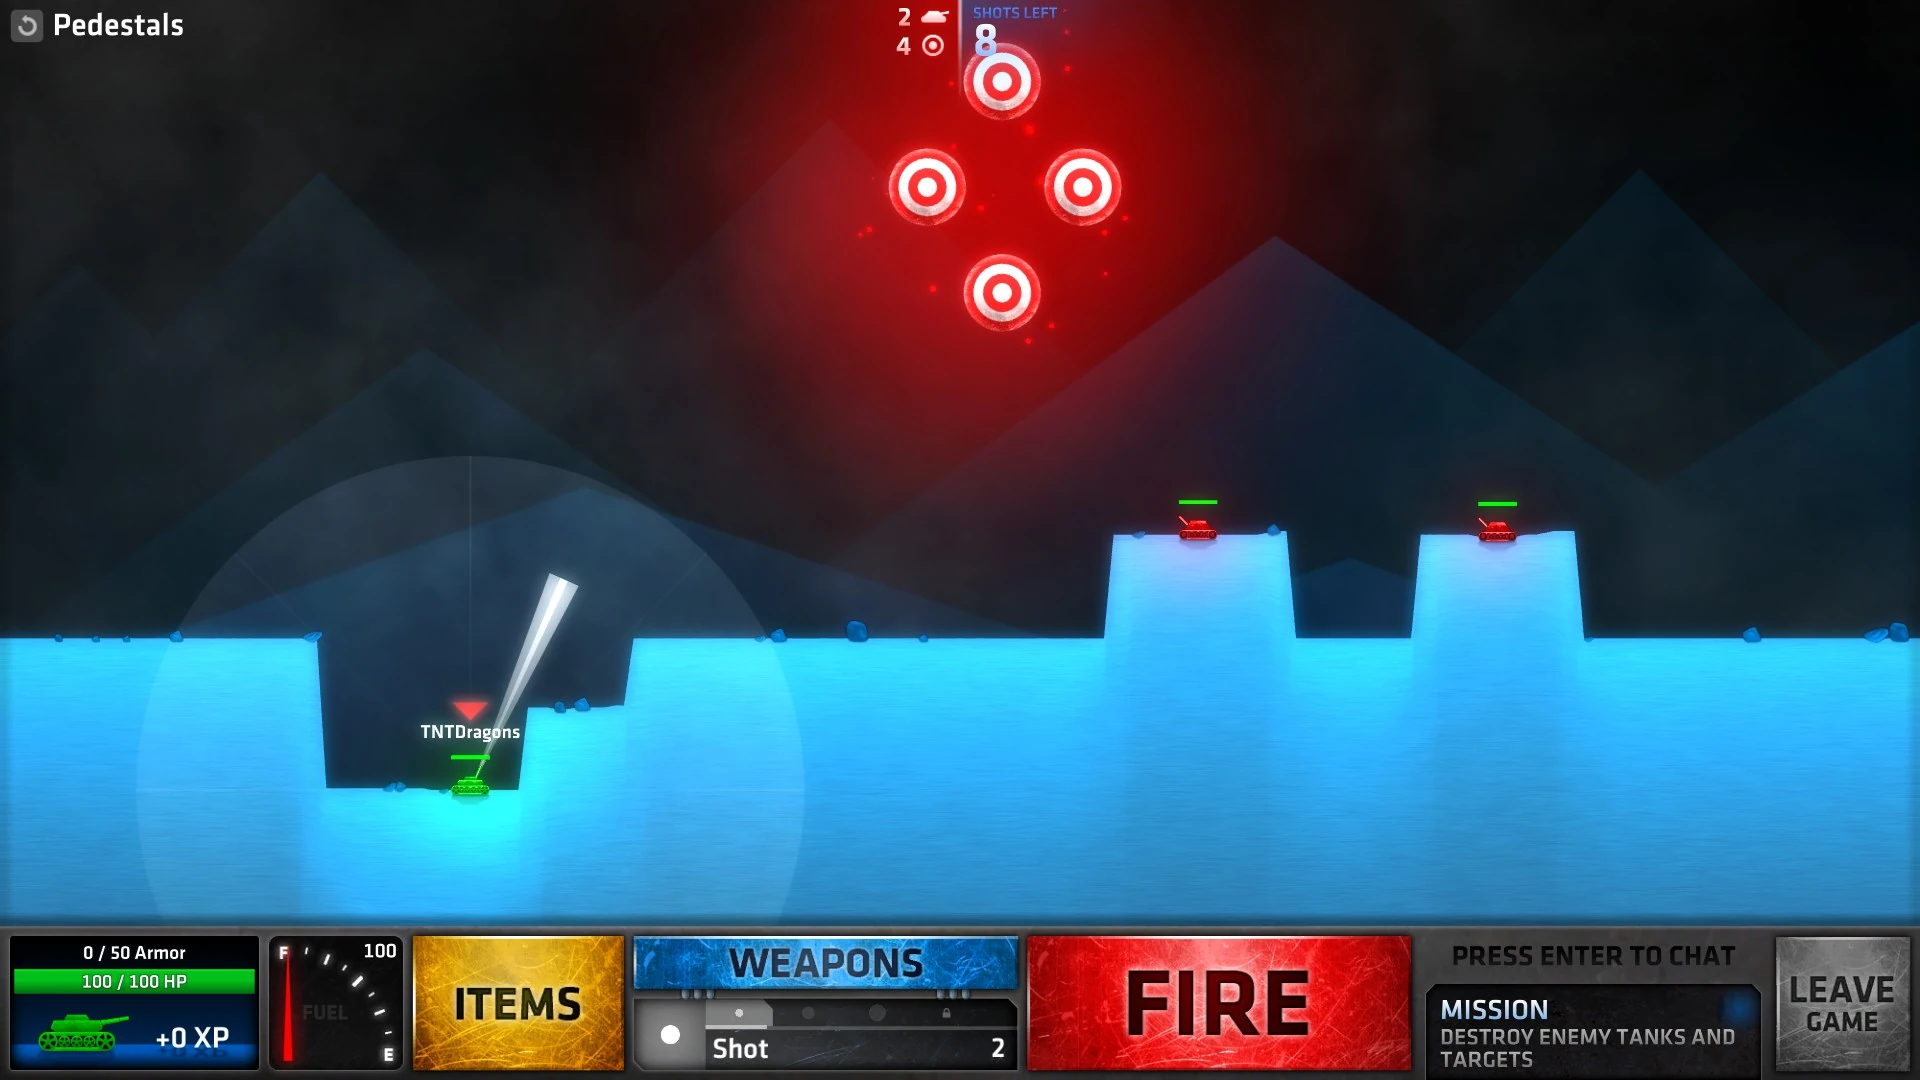
| + | Pedestals.jpg|[[War Games#Pedestals|Pedestals]] |
||
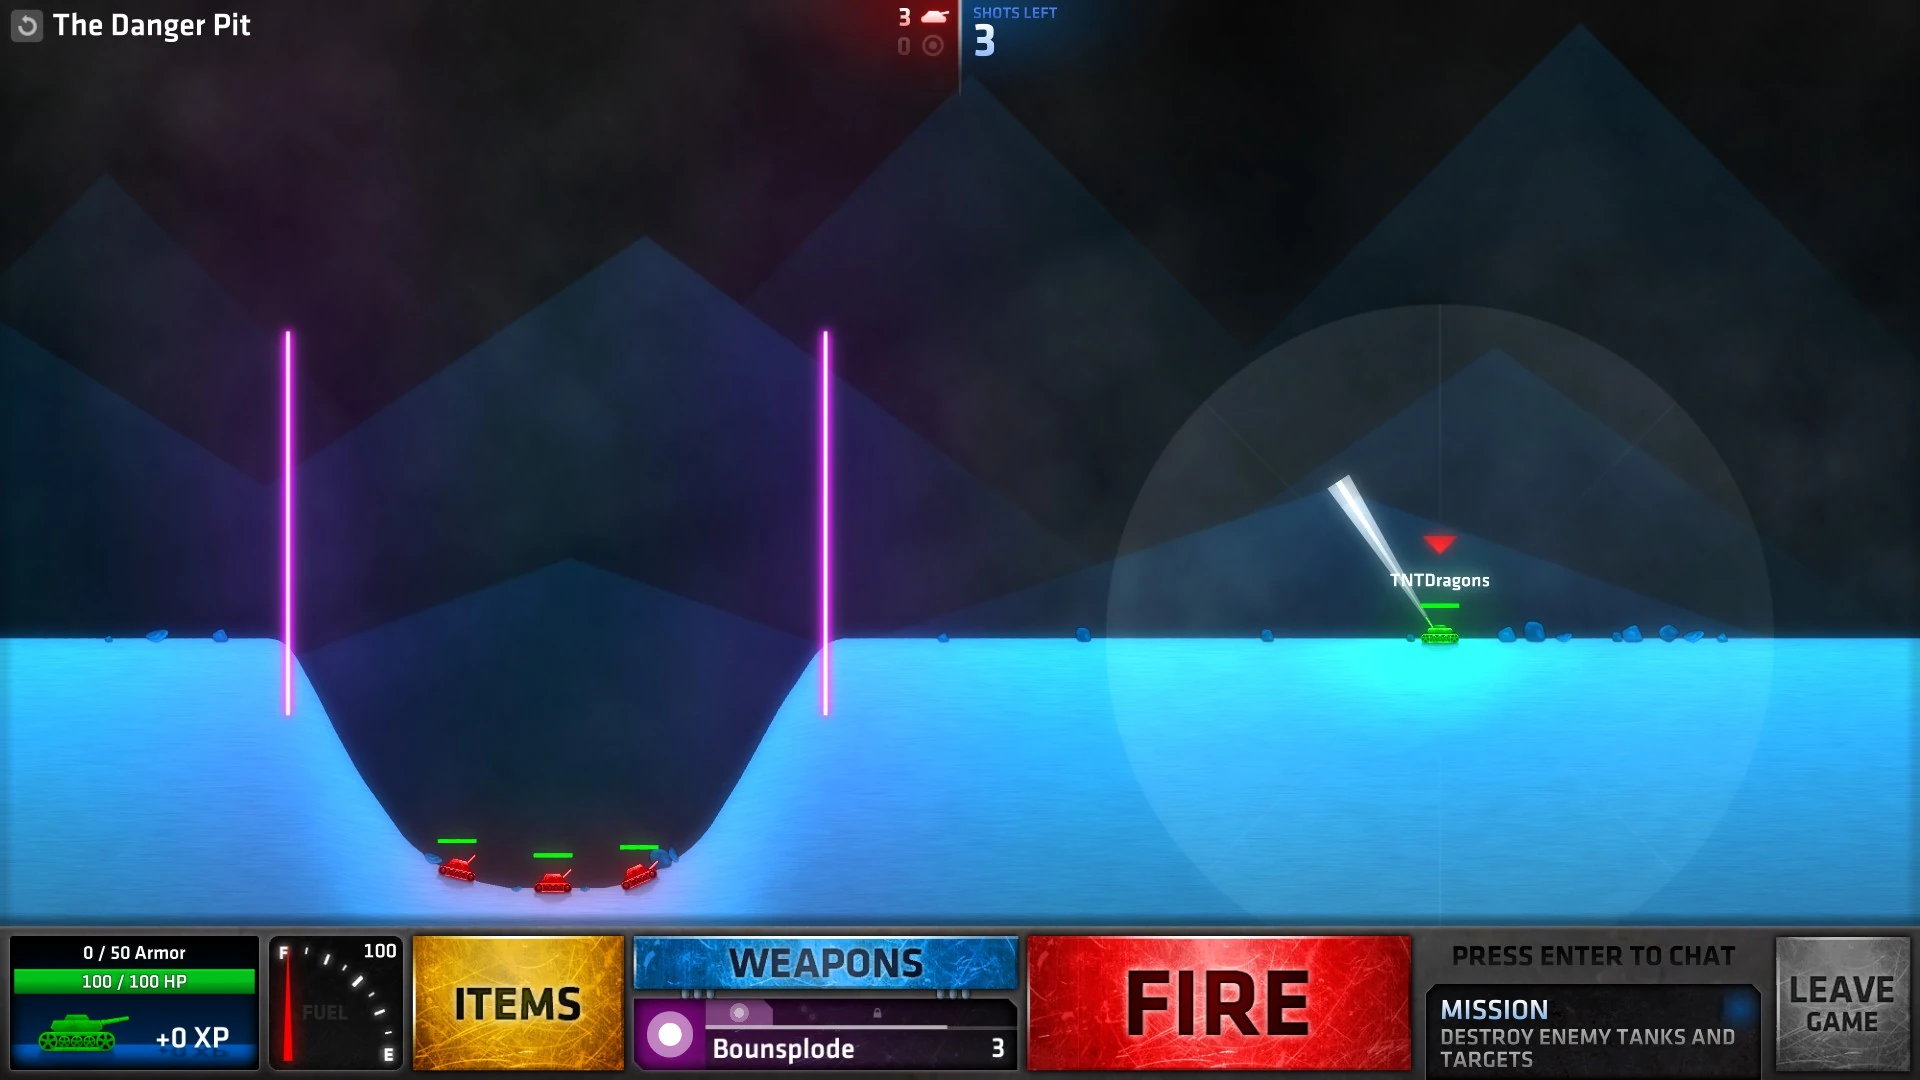
| + | The Danger Pit.jpg|[[War Games#The Danger Pit|The Danger Pit]] |
||
| + | New Heights.jpg|[[War Games#New Heights|New Heights]] |
||
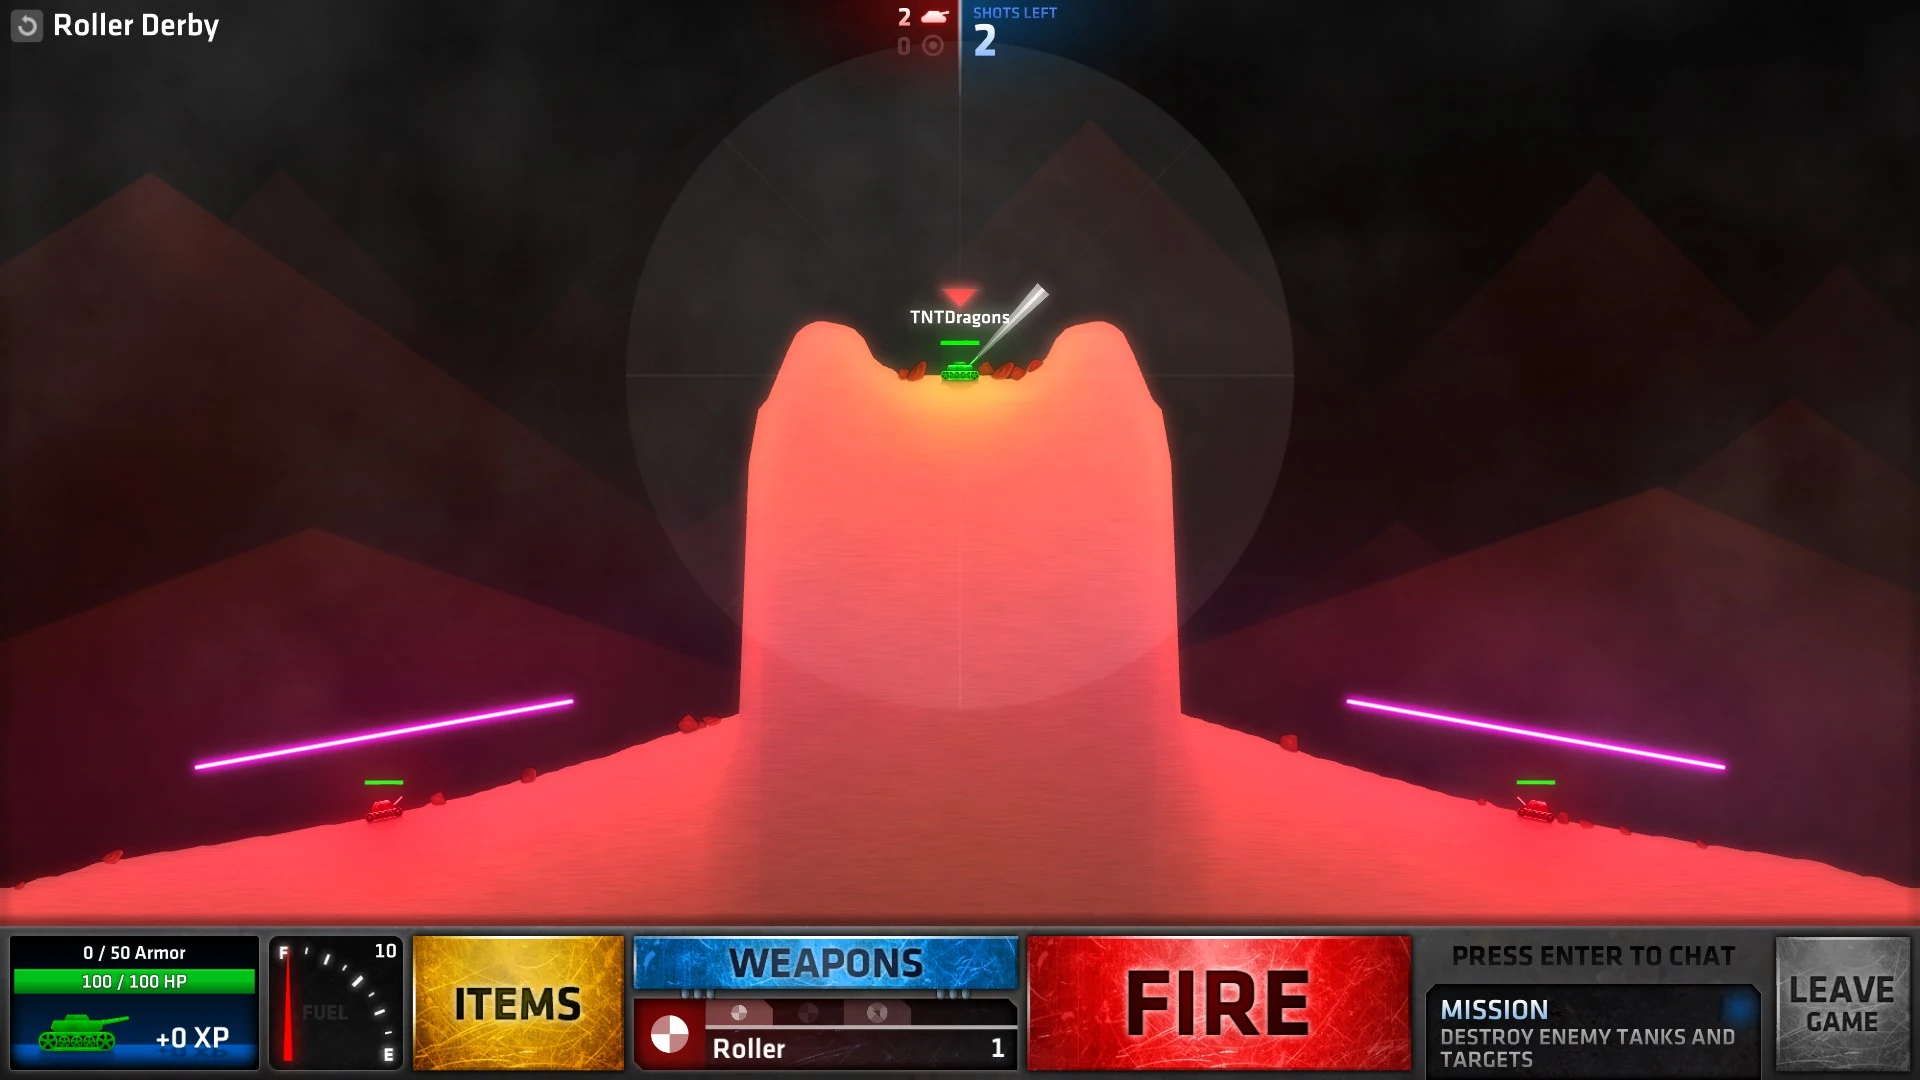
| + | Roller Derby.jpg|[[War Games#Roller Derby|Roller Derby]] |
||
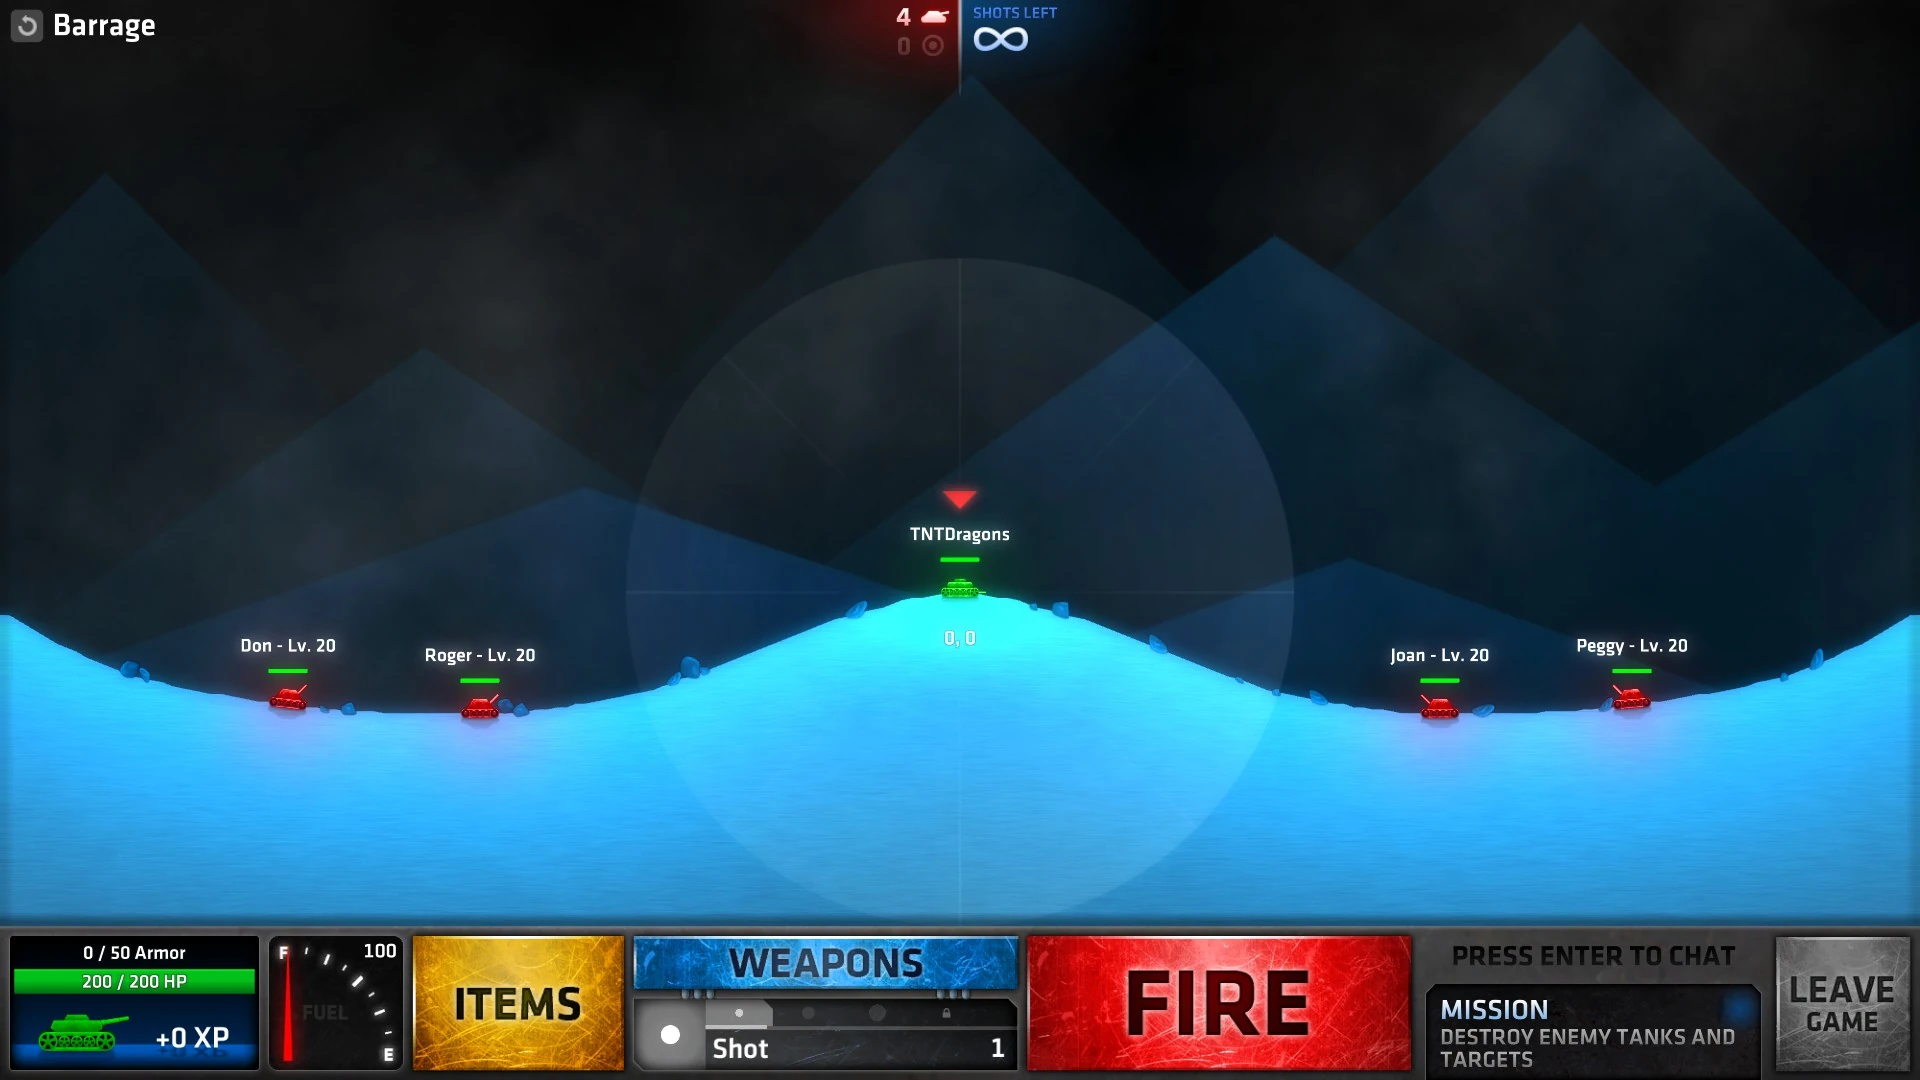
| + | Barrage.jpg|[[War Games#Barrage|Barrage]] |
||
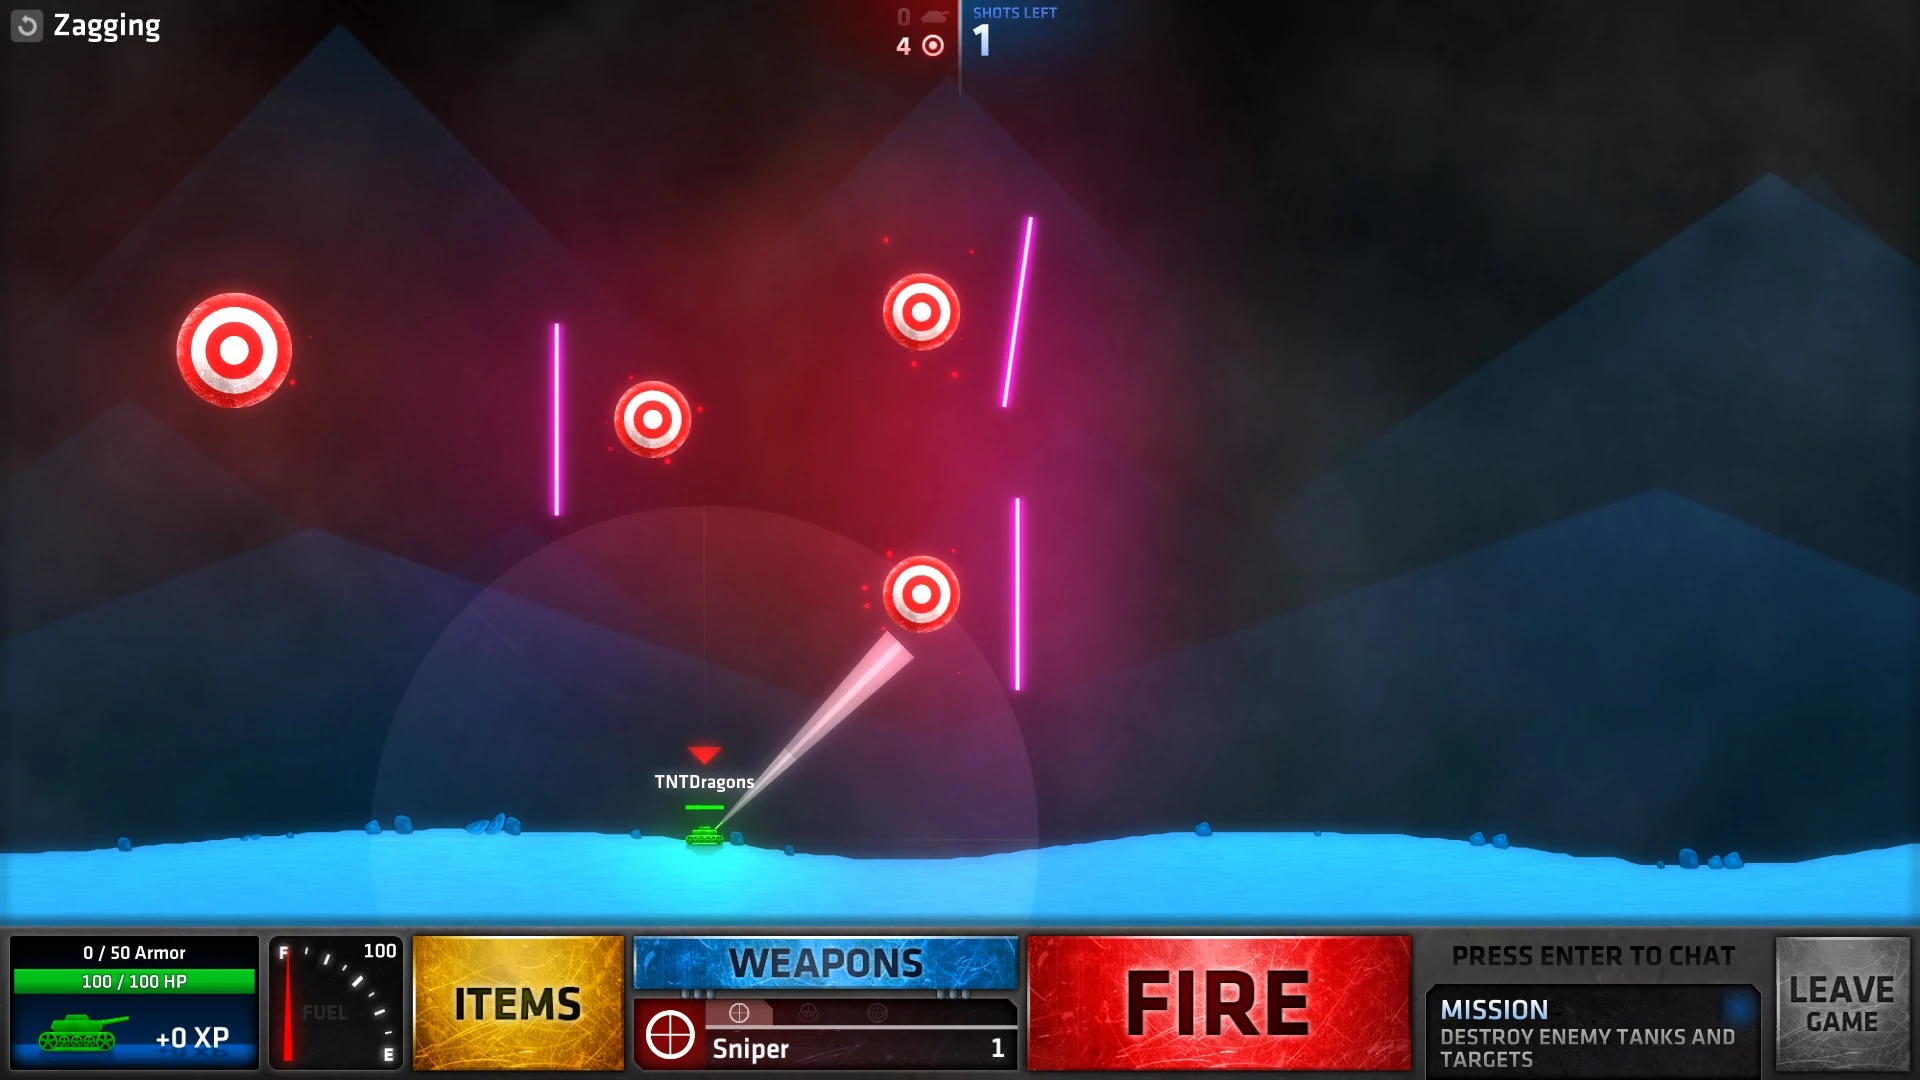
| + | Zagging.jpg|[[War Games#Zagging|Zagging]] |
||
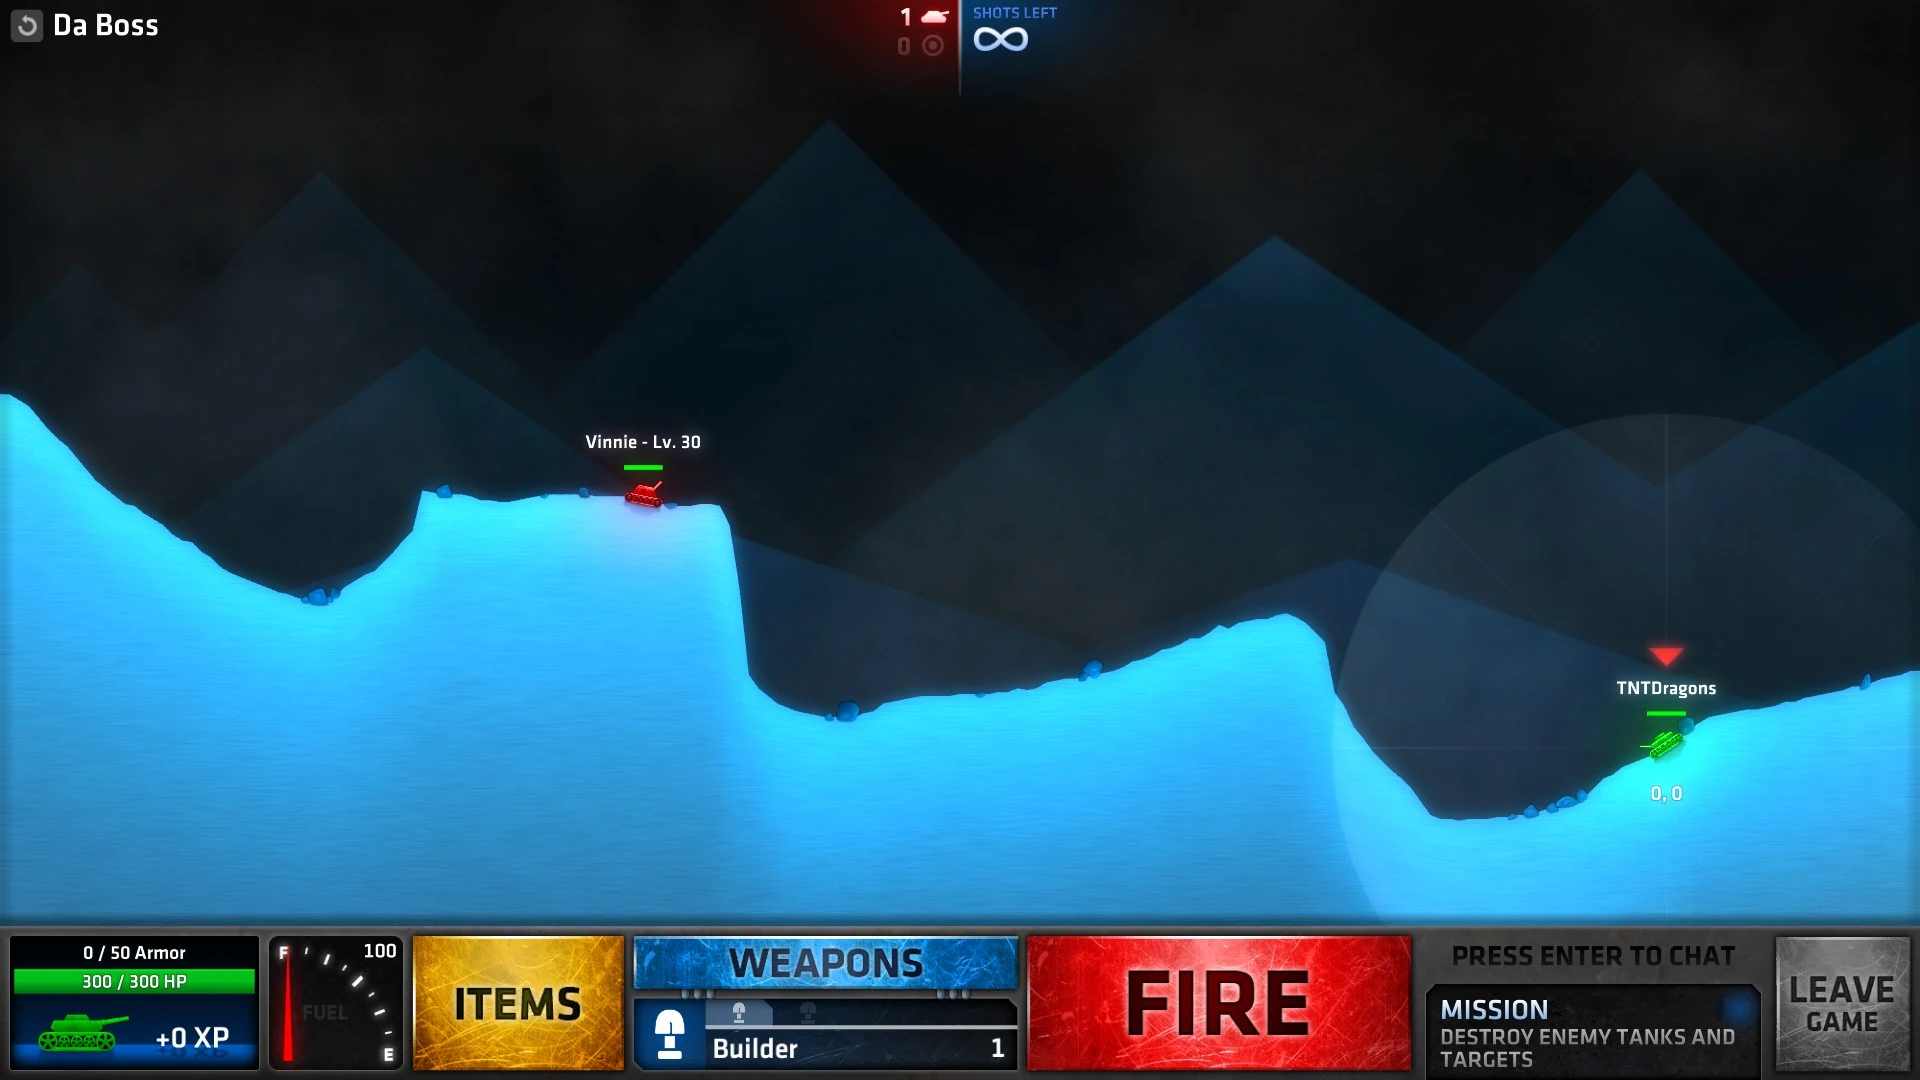
| + | Da Boss.jpg|[[War Games#Da Boss|Da Boss]] |
||
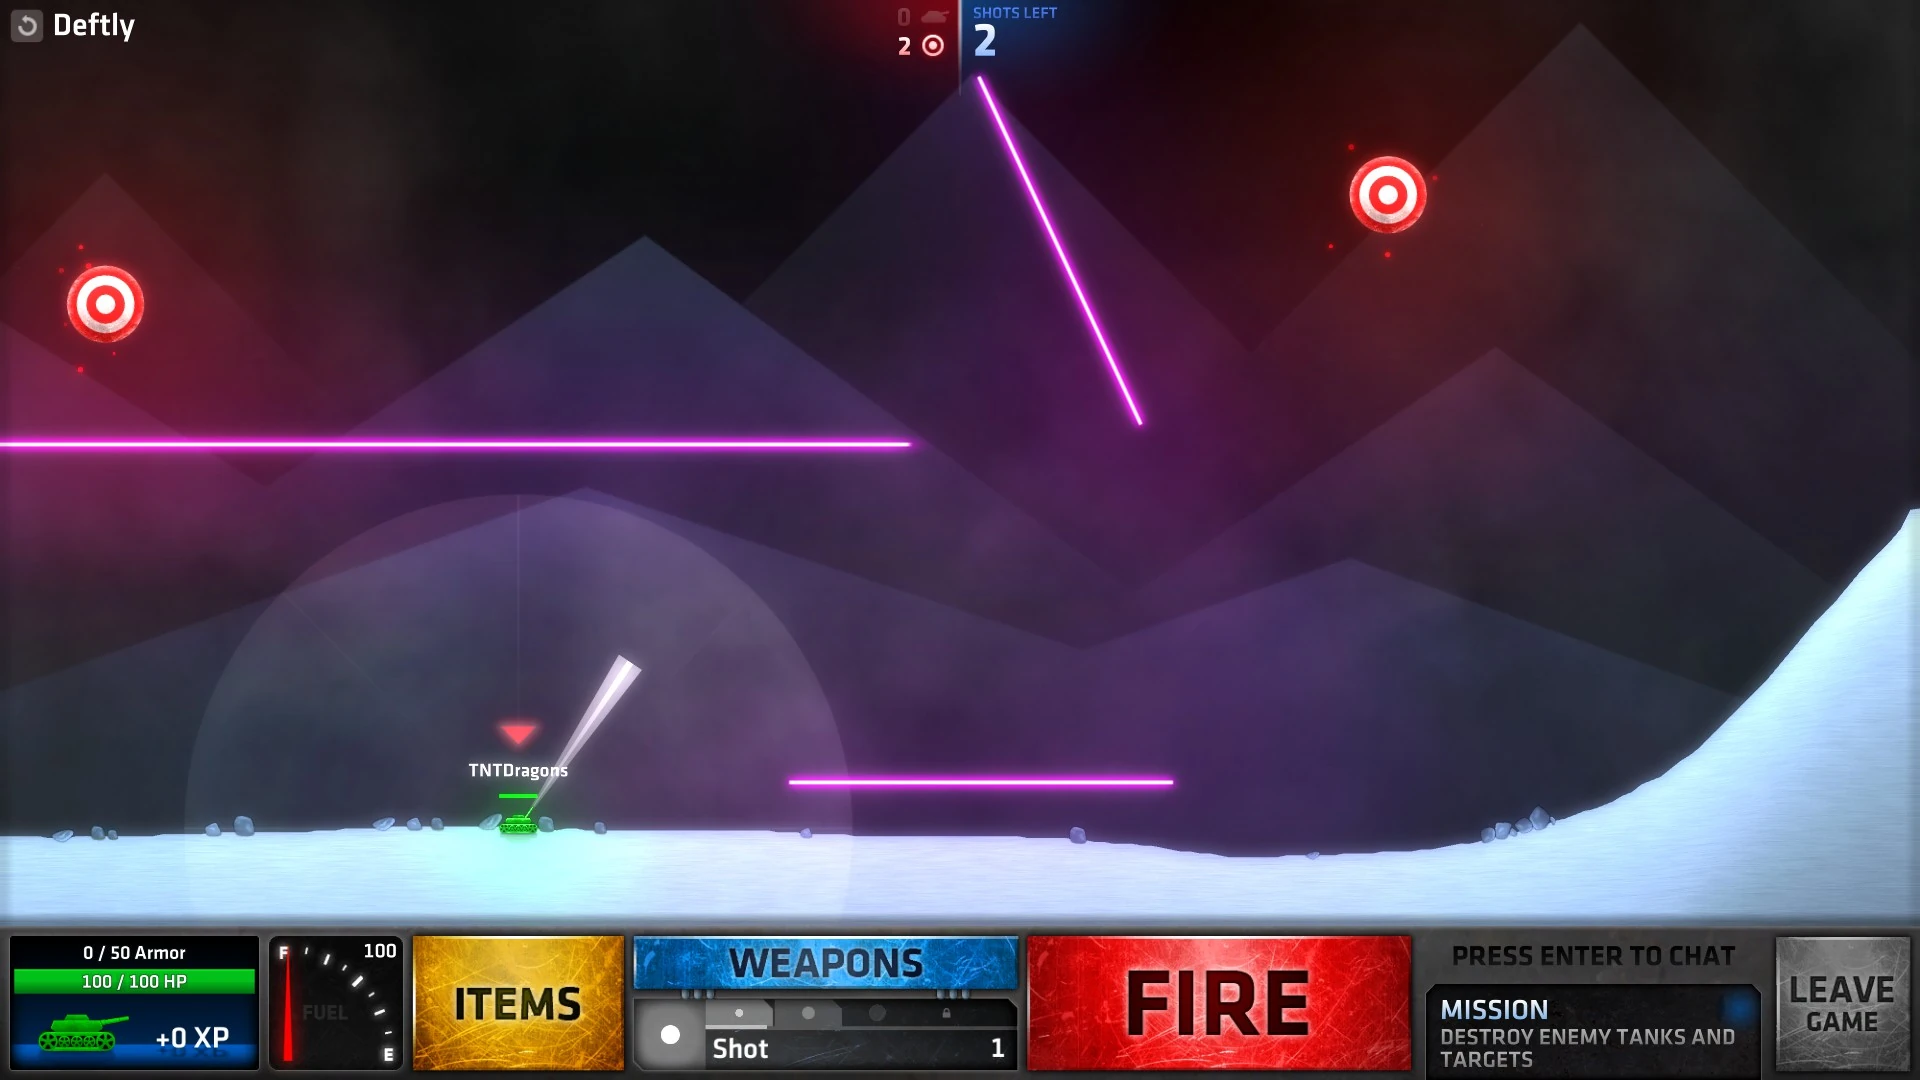
| + | Deftly.jpg|[[War Games#Deftly|Deftly]] |
||
| + | </gallery> |
||
| + | |||
| + | == [[Shell or Be Shelled]] == |
||
| + | <gallery> |
||
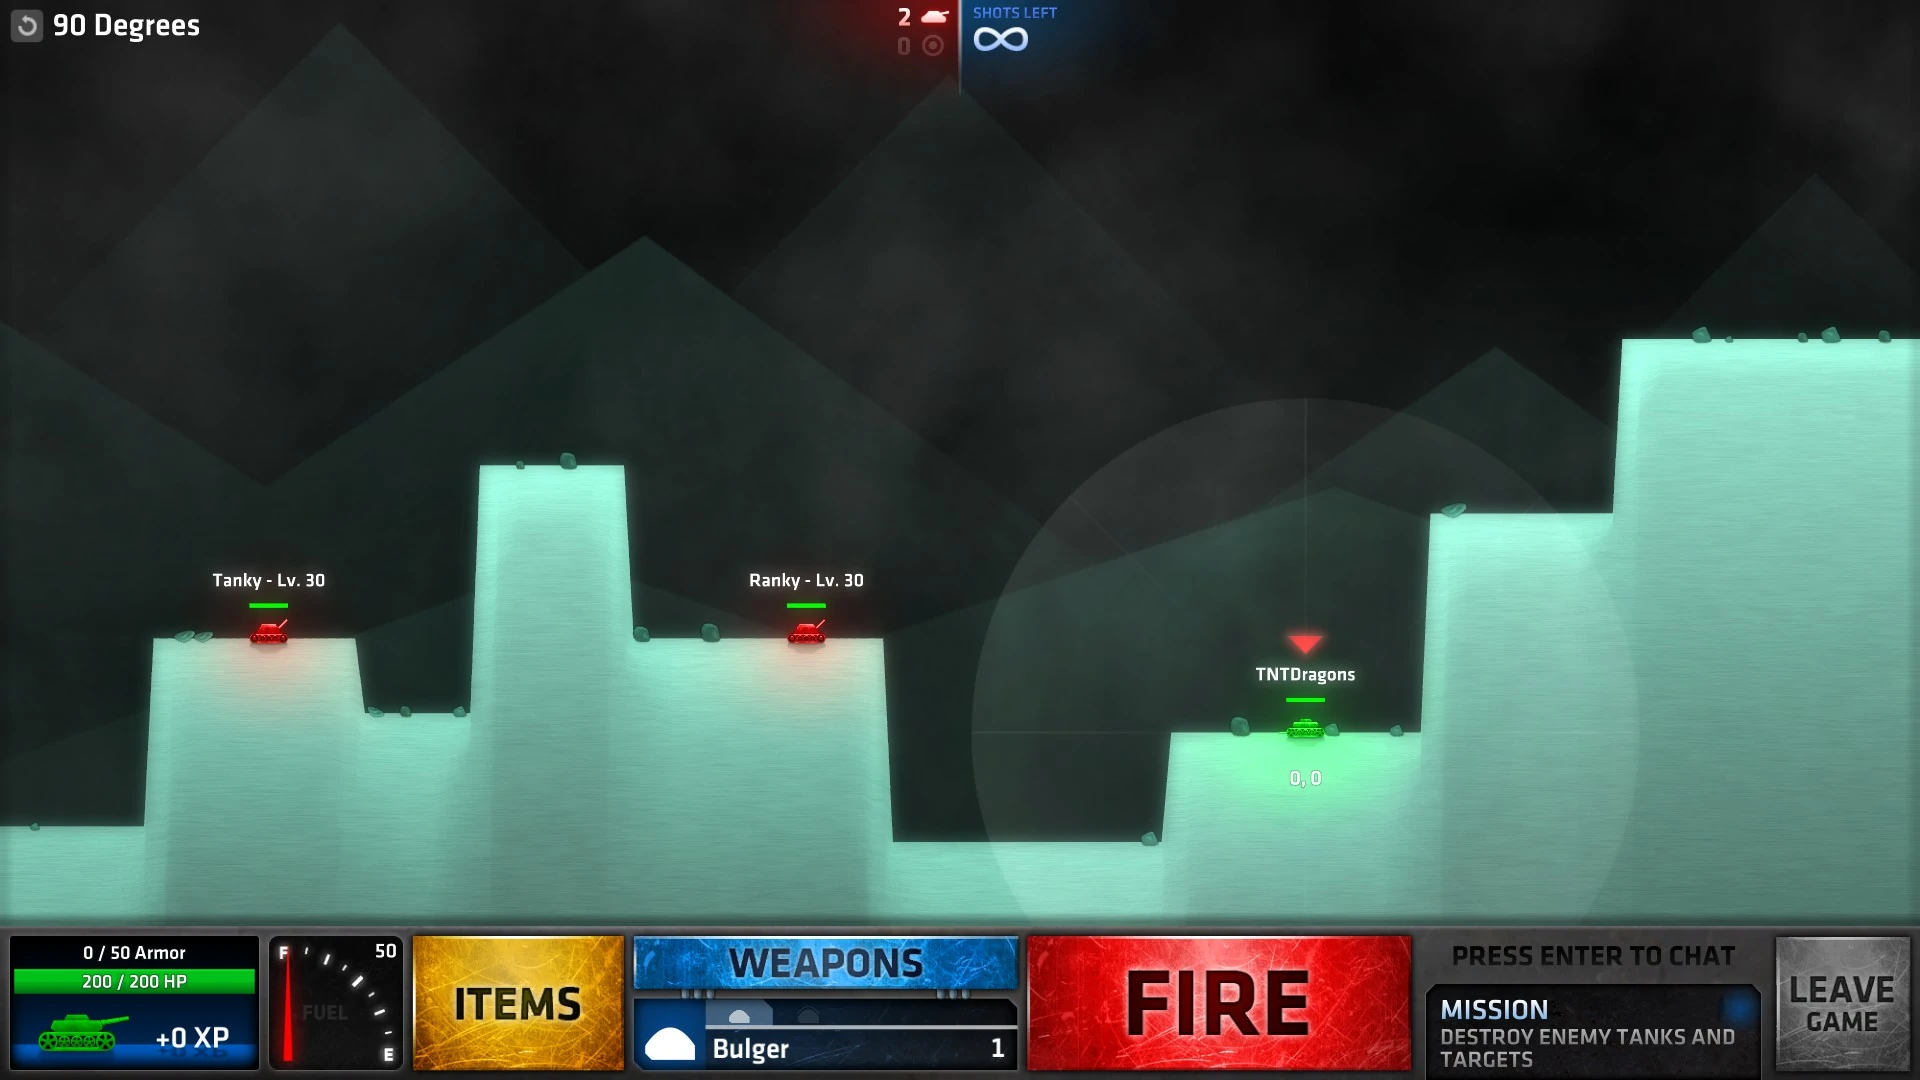
| + | 90 Degrees.jpg|[[Shell or Be Shelled#90 Degrees|90 Degrees]] |
||
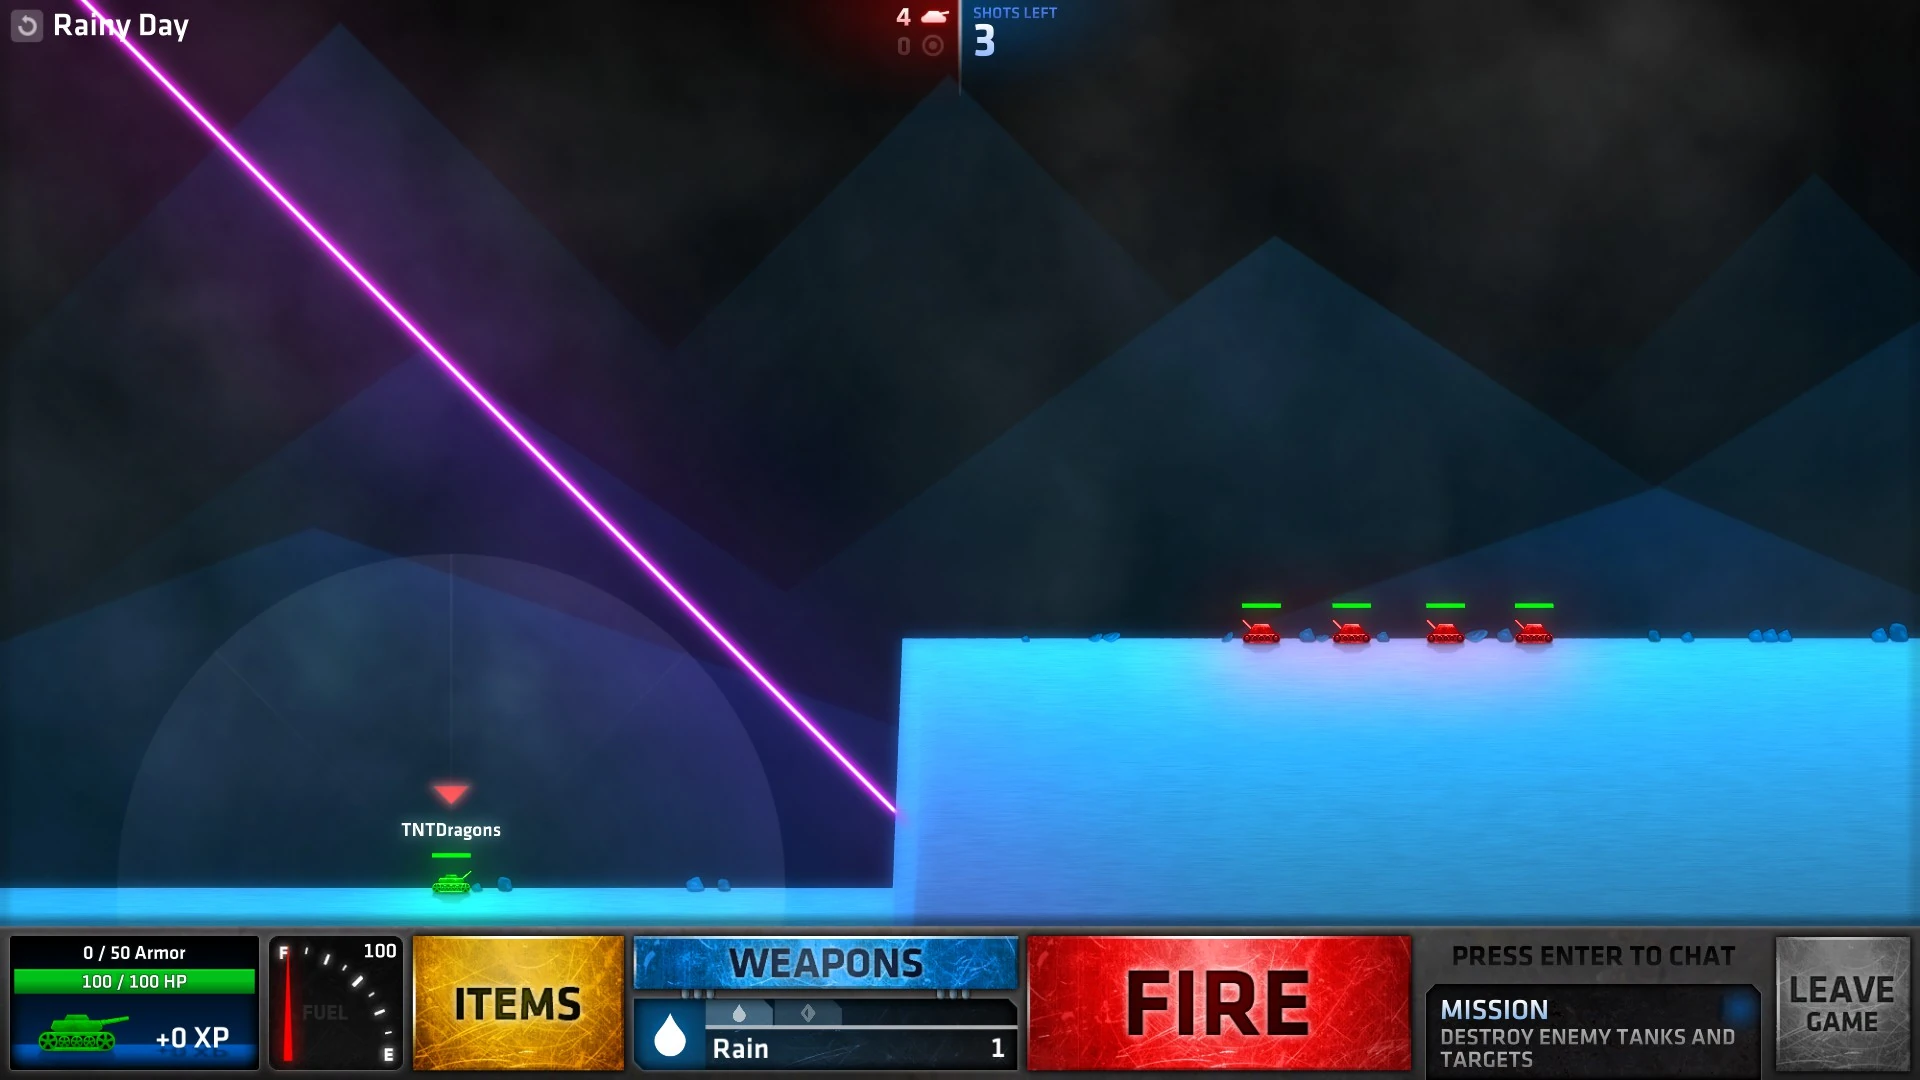
| + | Rainy Day.jpg|[[Shell or Be Shelled#Rainy Day|Rainy Day]] |
||
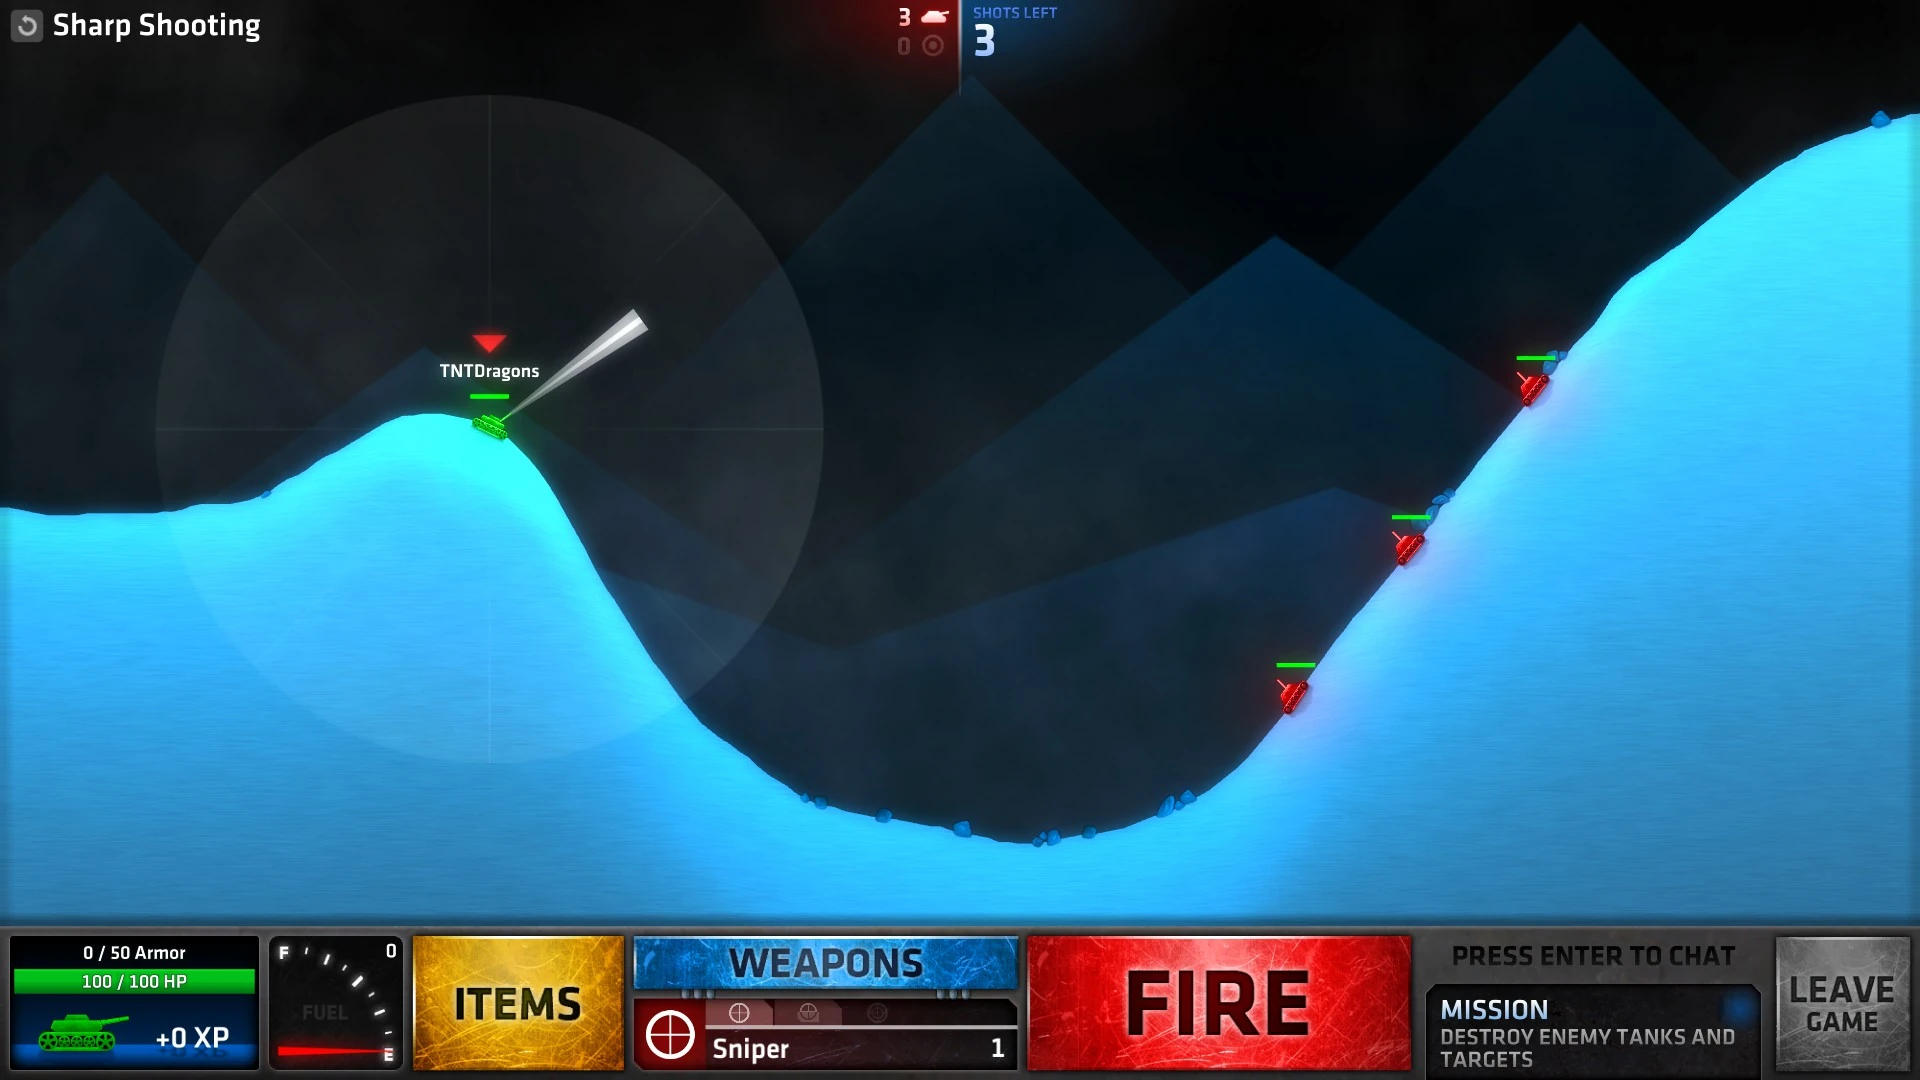
| + | Sharp Shooting.jpg|[[Shell or Be Shelled#Sharp Shooting|Sharp Shooting]] |
||
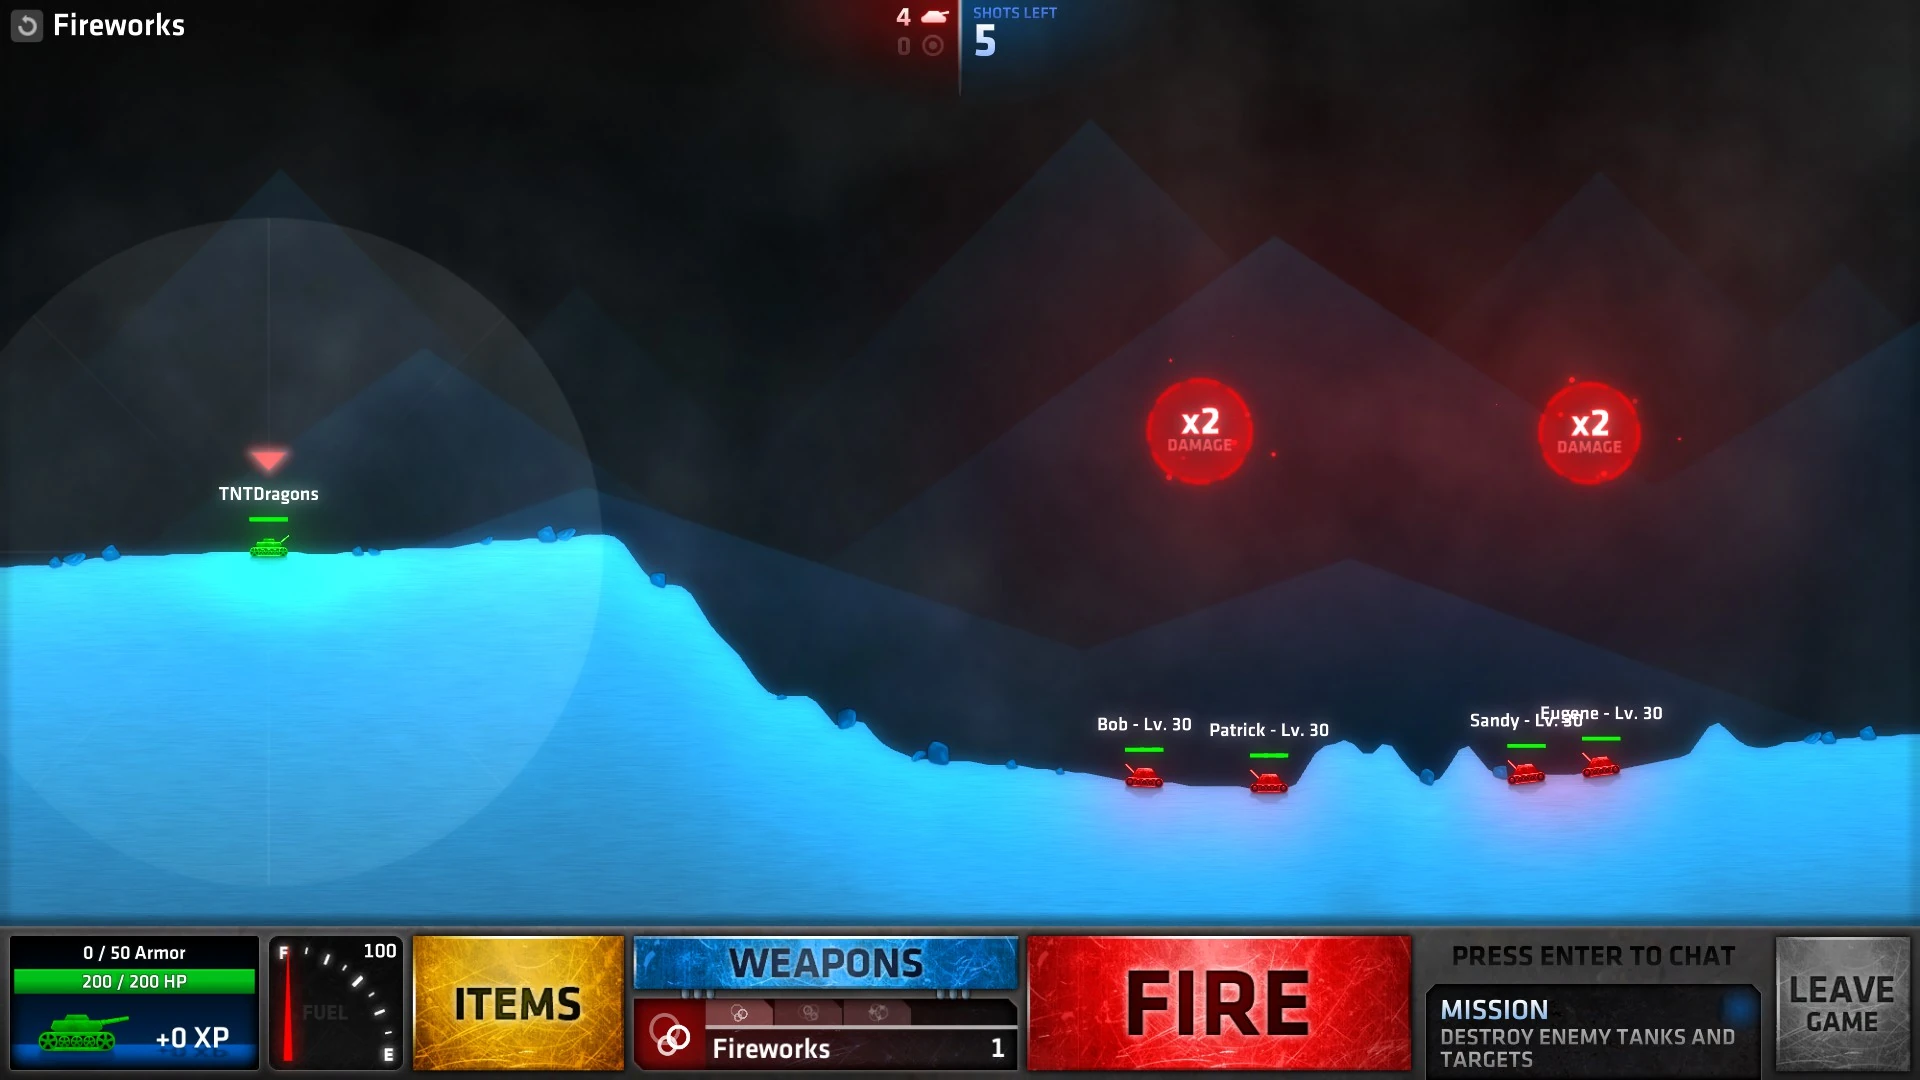
| + | Fireworks.jpg|[[Shell or Be Shelled#Fireworks|Fireworks]] |
||
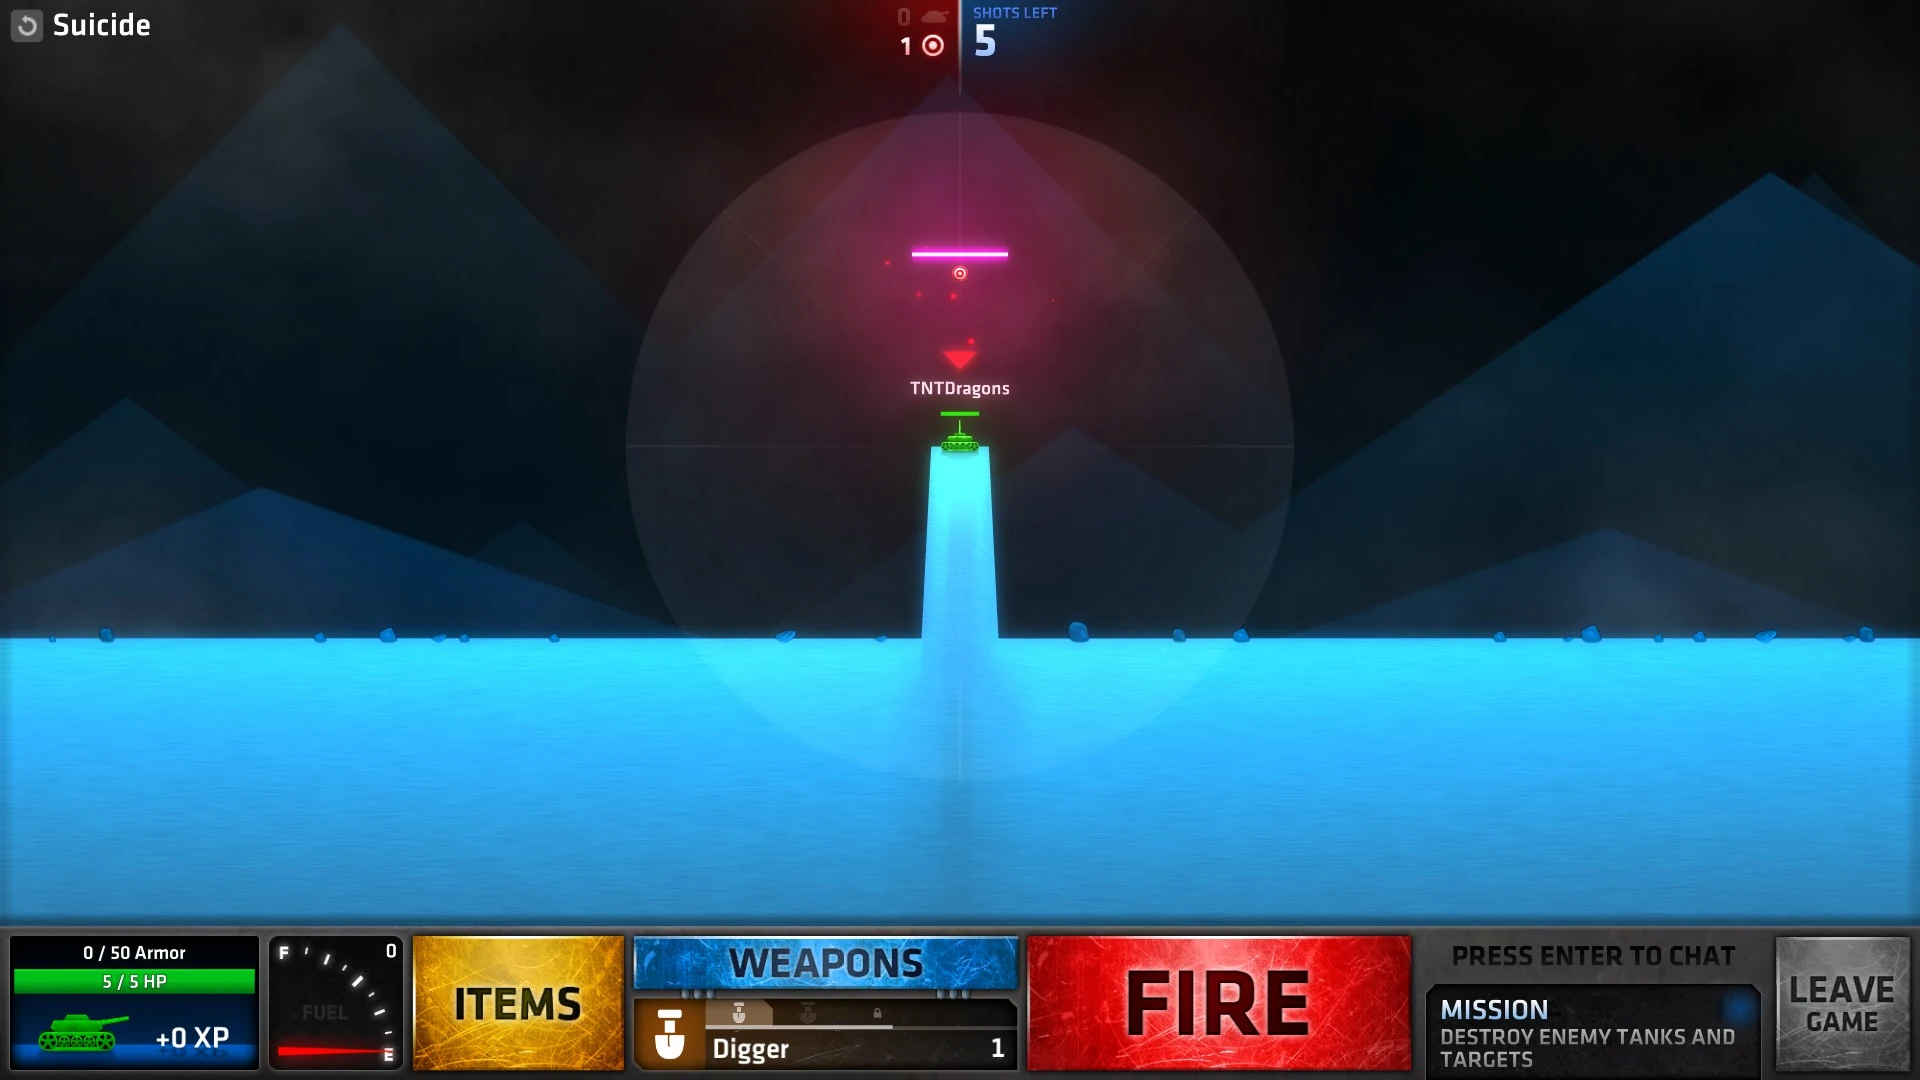
| + | Suicide.jpg|[[Shell or Be Shelled#Suicide|Suicide]] |
||
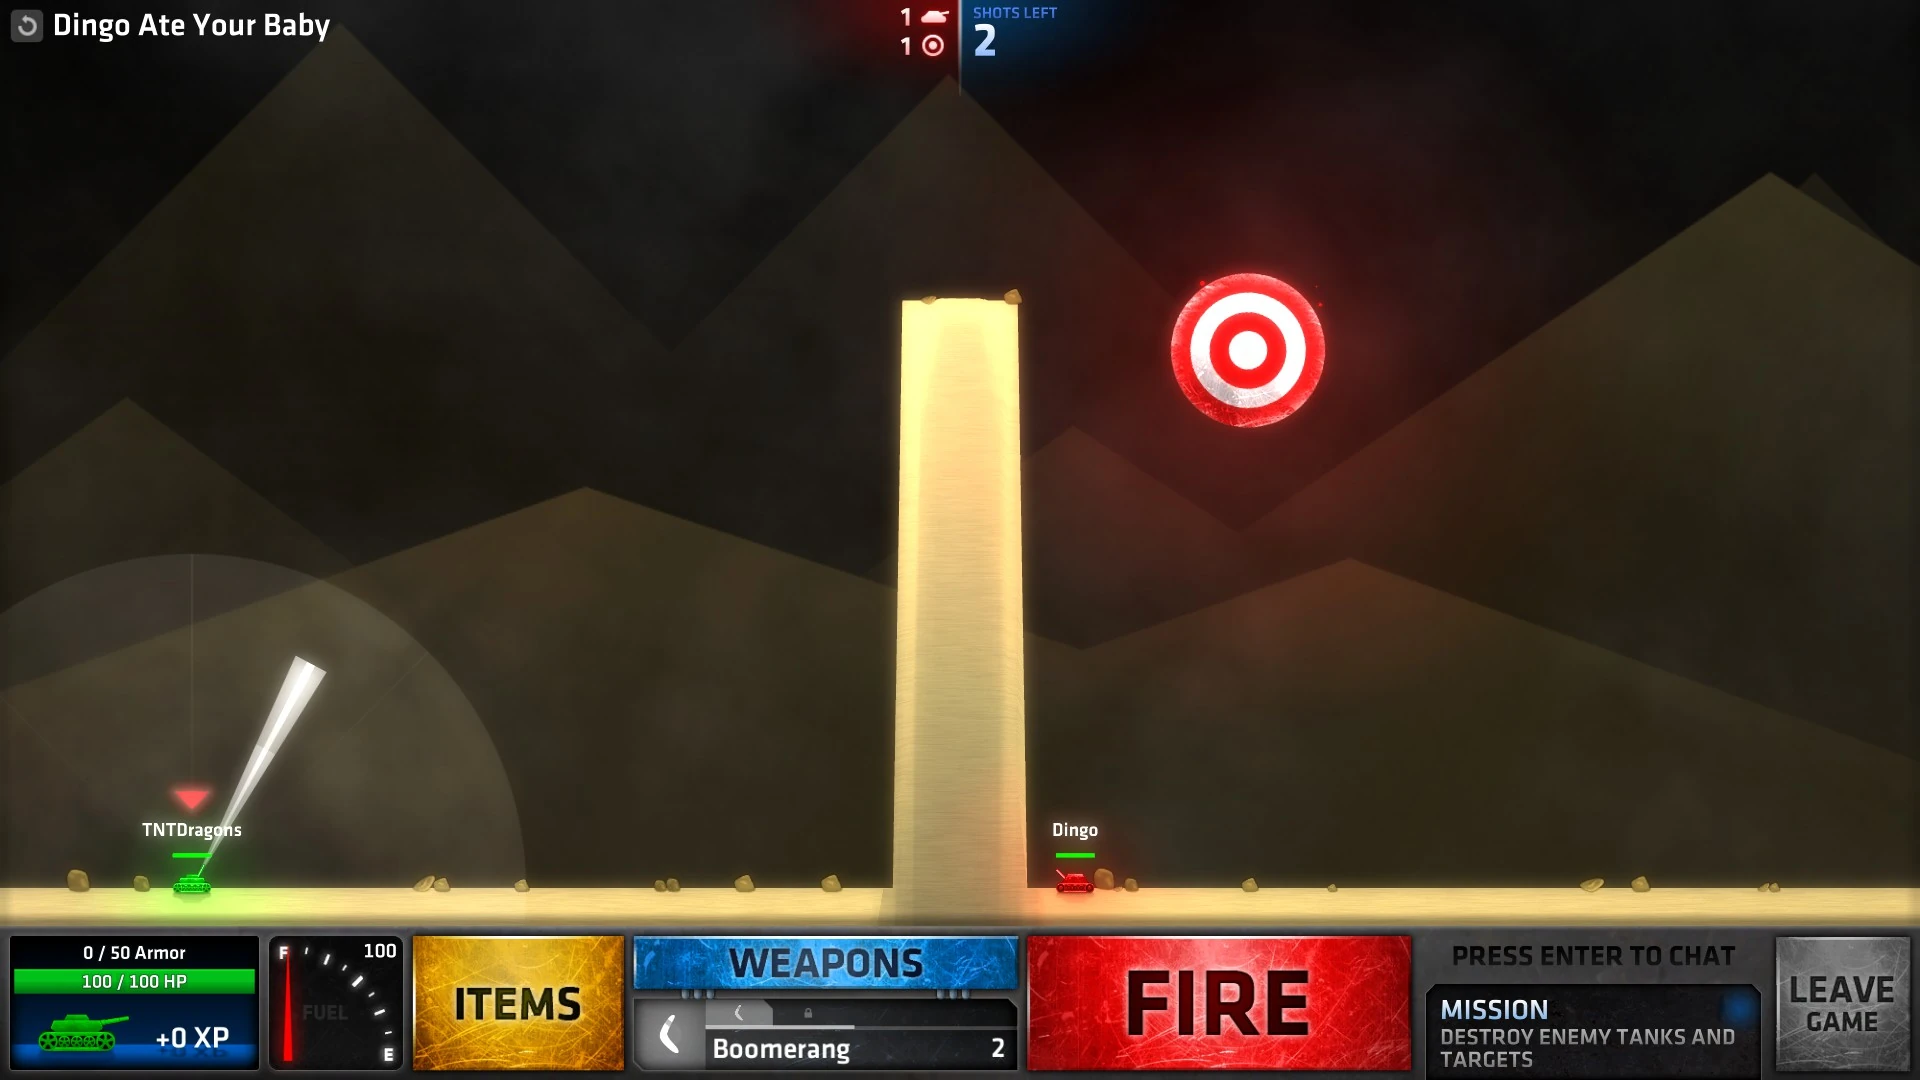
| + | Dingo Ate Your Baby.jpg|[[Shell or Be Shelled#Dingo Ate Your Baby|Dingo Ate Your Baby]] |
||
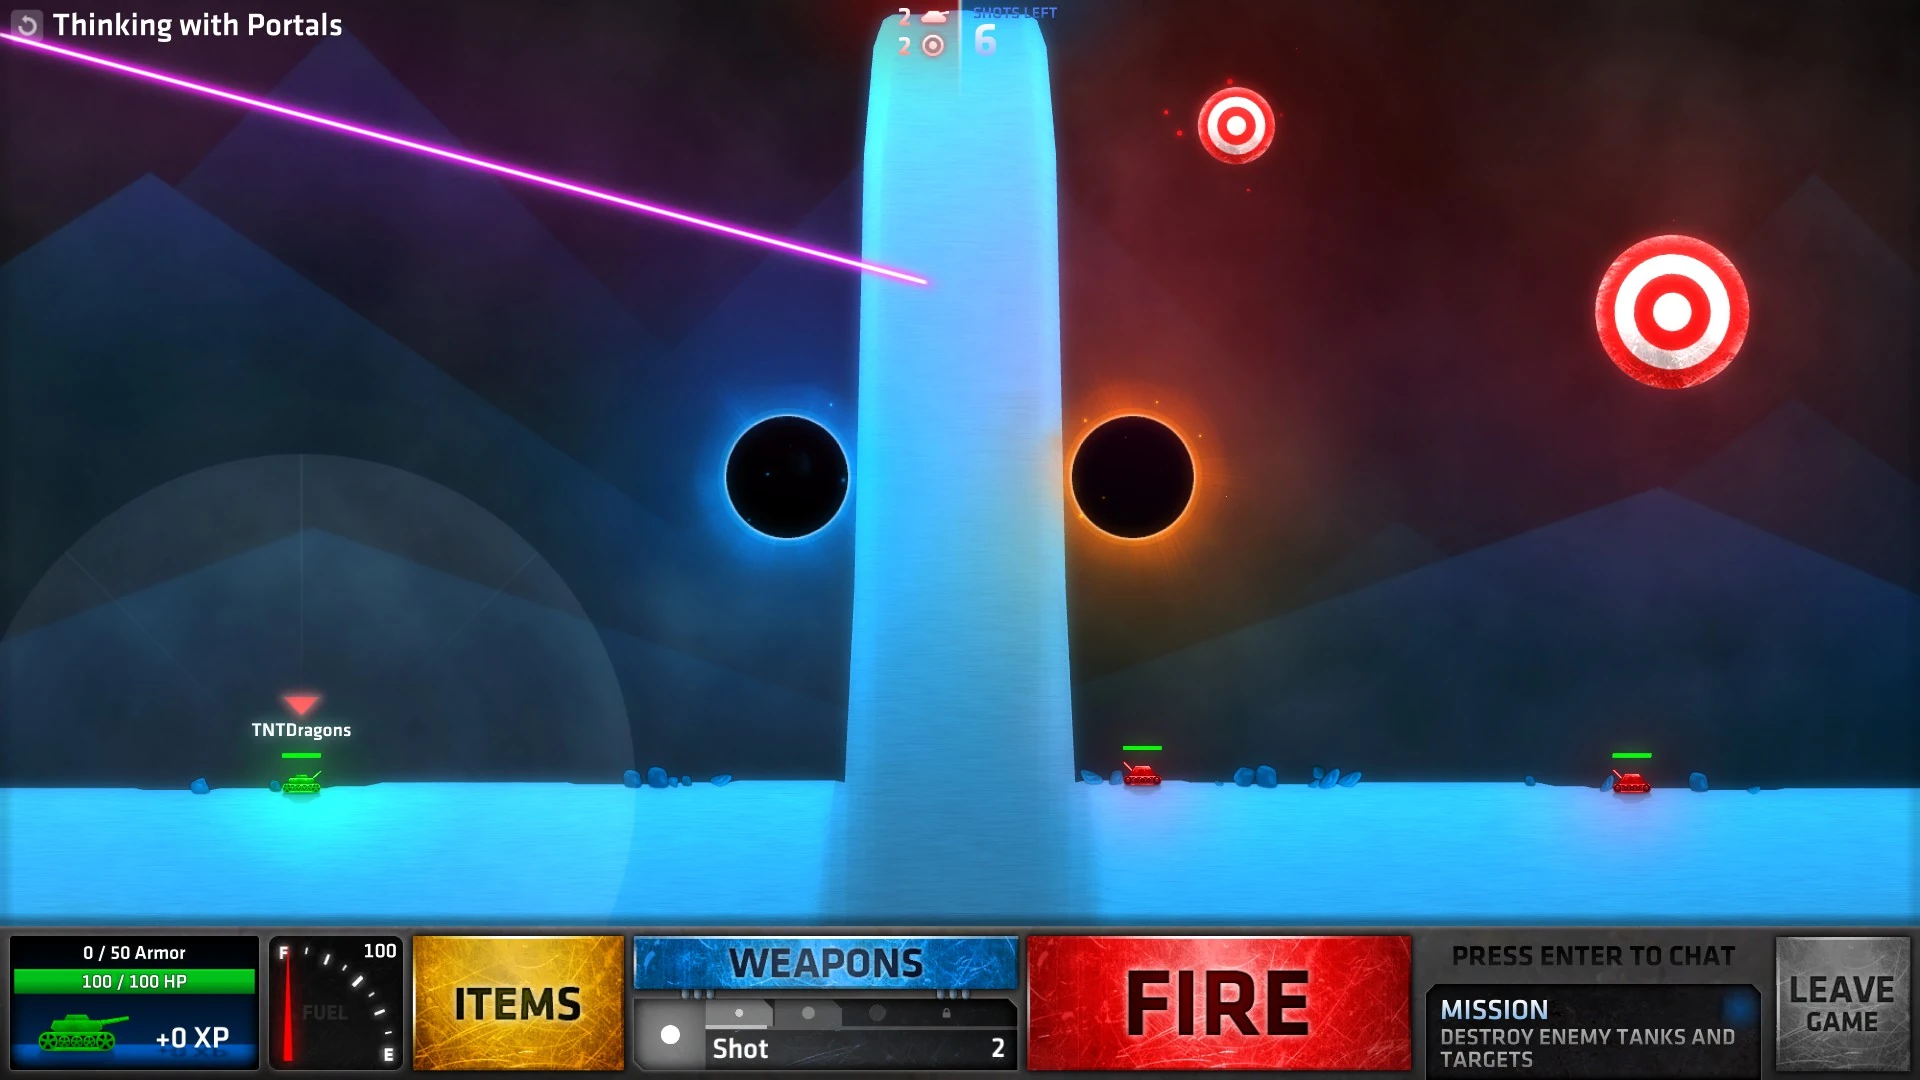
| + | Thinking With Portals.jpg|[[Shell or Be Shelled#Thinking With Portals|Thinking With Portals]] |
||
| + | Shifty.jpg|[[Shell or Be Shelled#Shifty|Shifty]] |
||
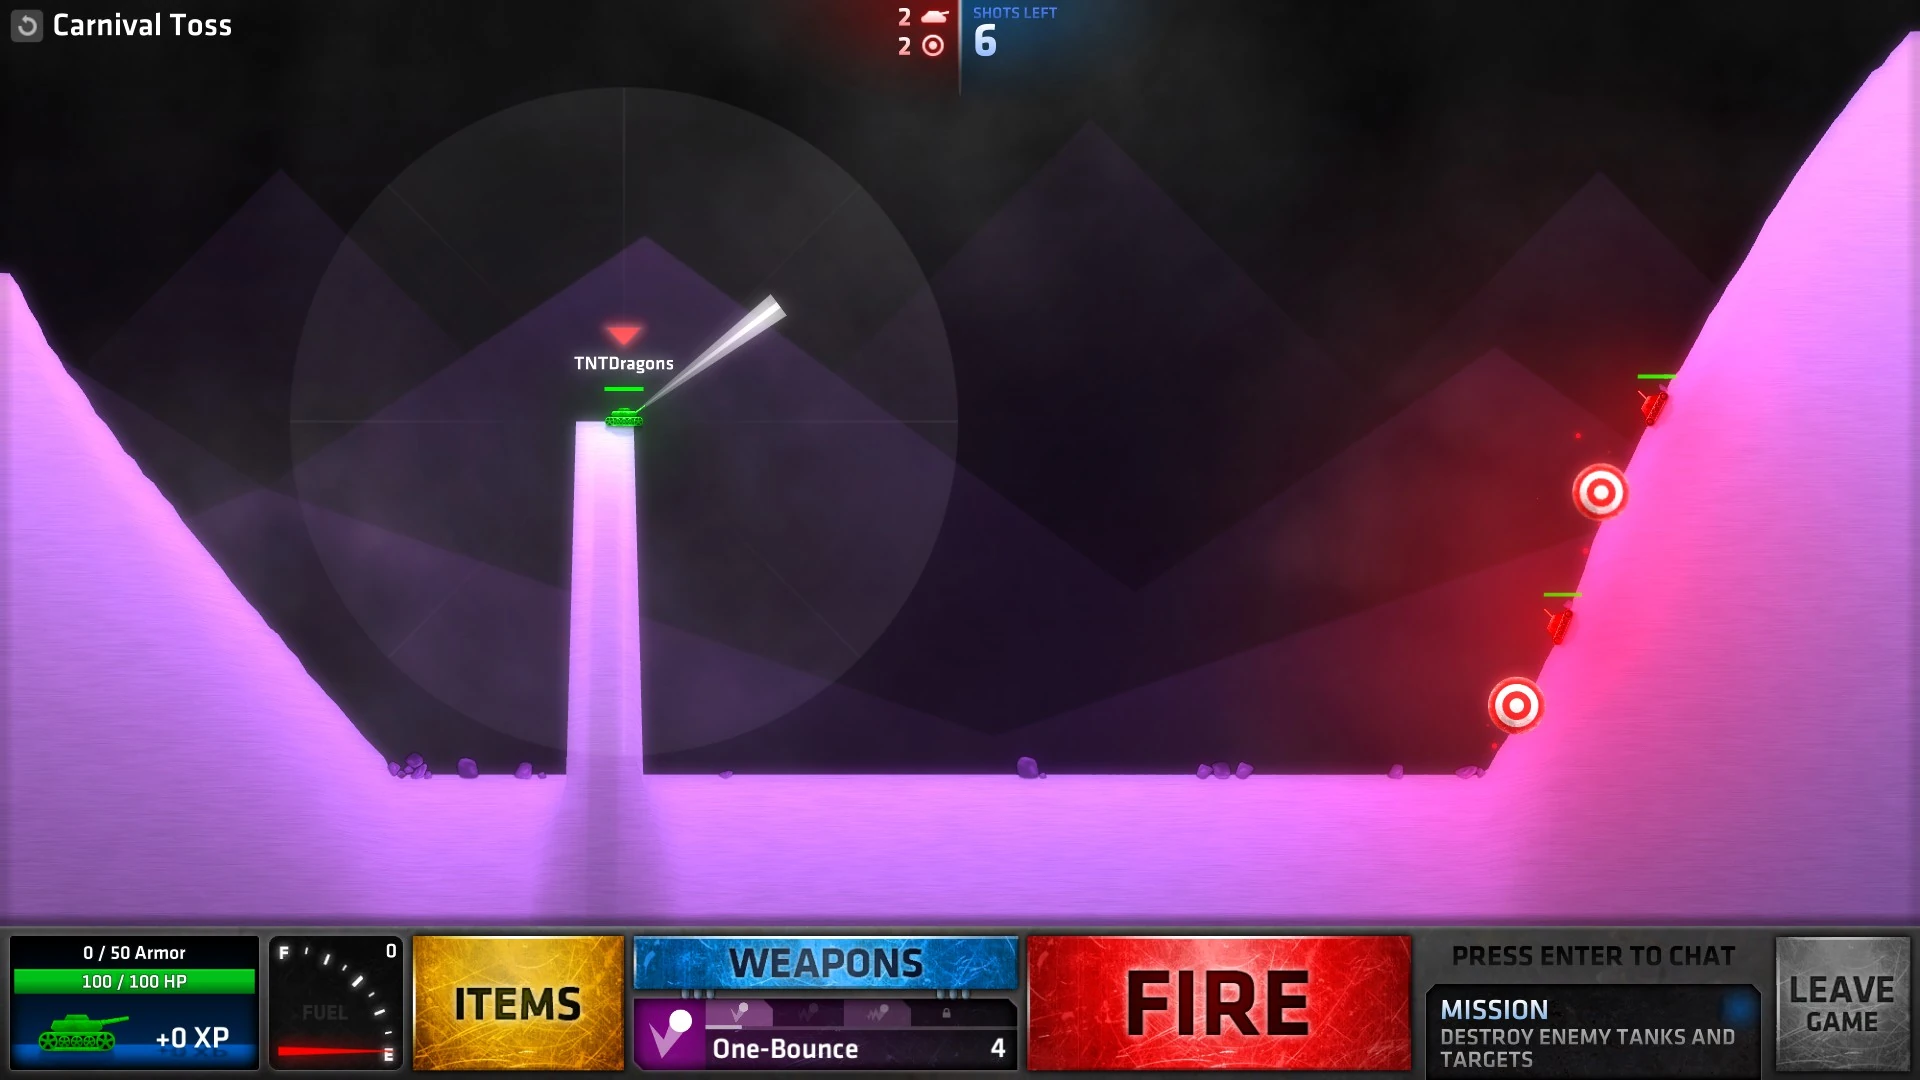
| + | Carnival Toss.jpg|[[Shell or Be Shelled#Carnival Toss|Carnival Toss]] |
||
| + | Heavy Hitters.jpg|[[Shell or Be Shelled#Heavy Hitters|Heavy Hitters]] |
||
| + | </gallery> |
||
| + | |||
| + | == [[Battle Royale]] == |
||
| + | <gallery> |
||
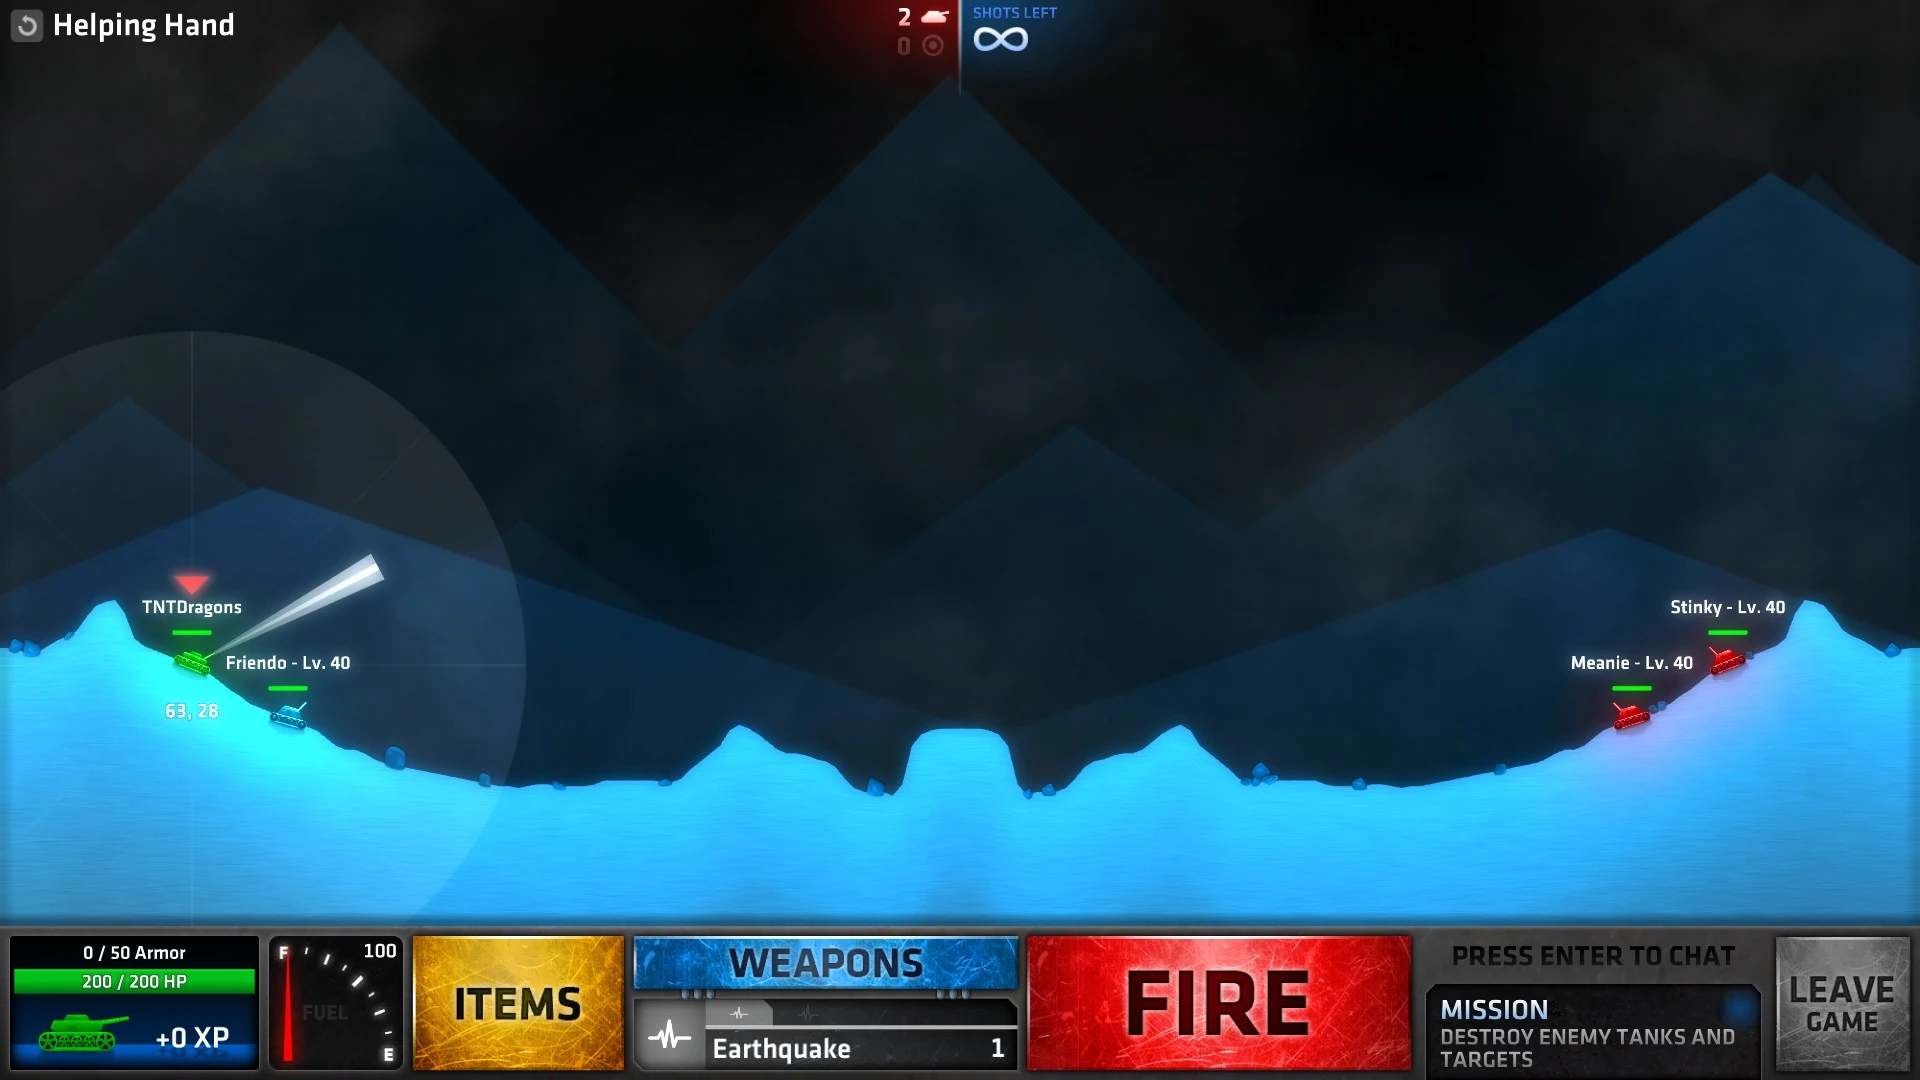
| + | Helping Hand.jpg|[[Battle Royale#Helping Hand|Helping Hand]] |
||
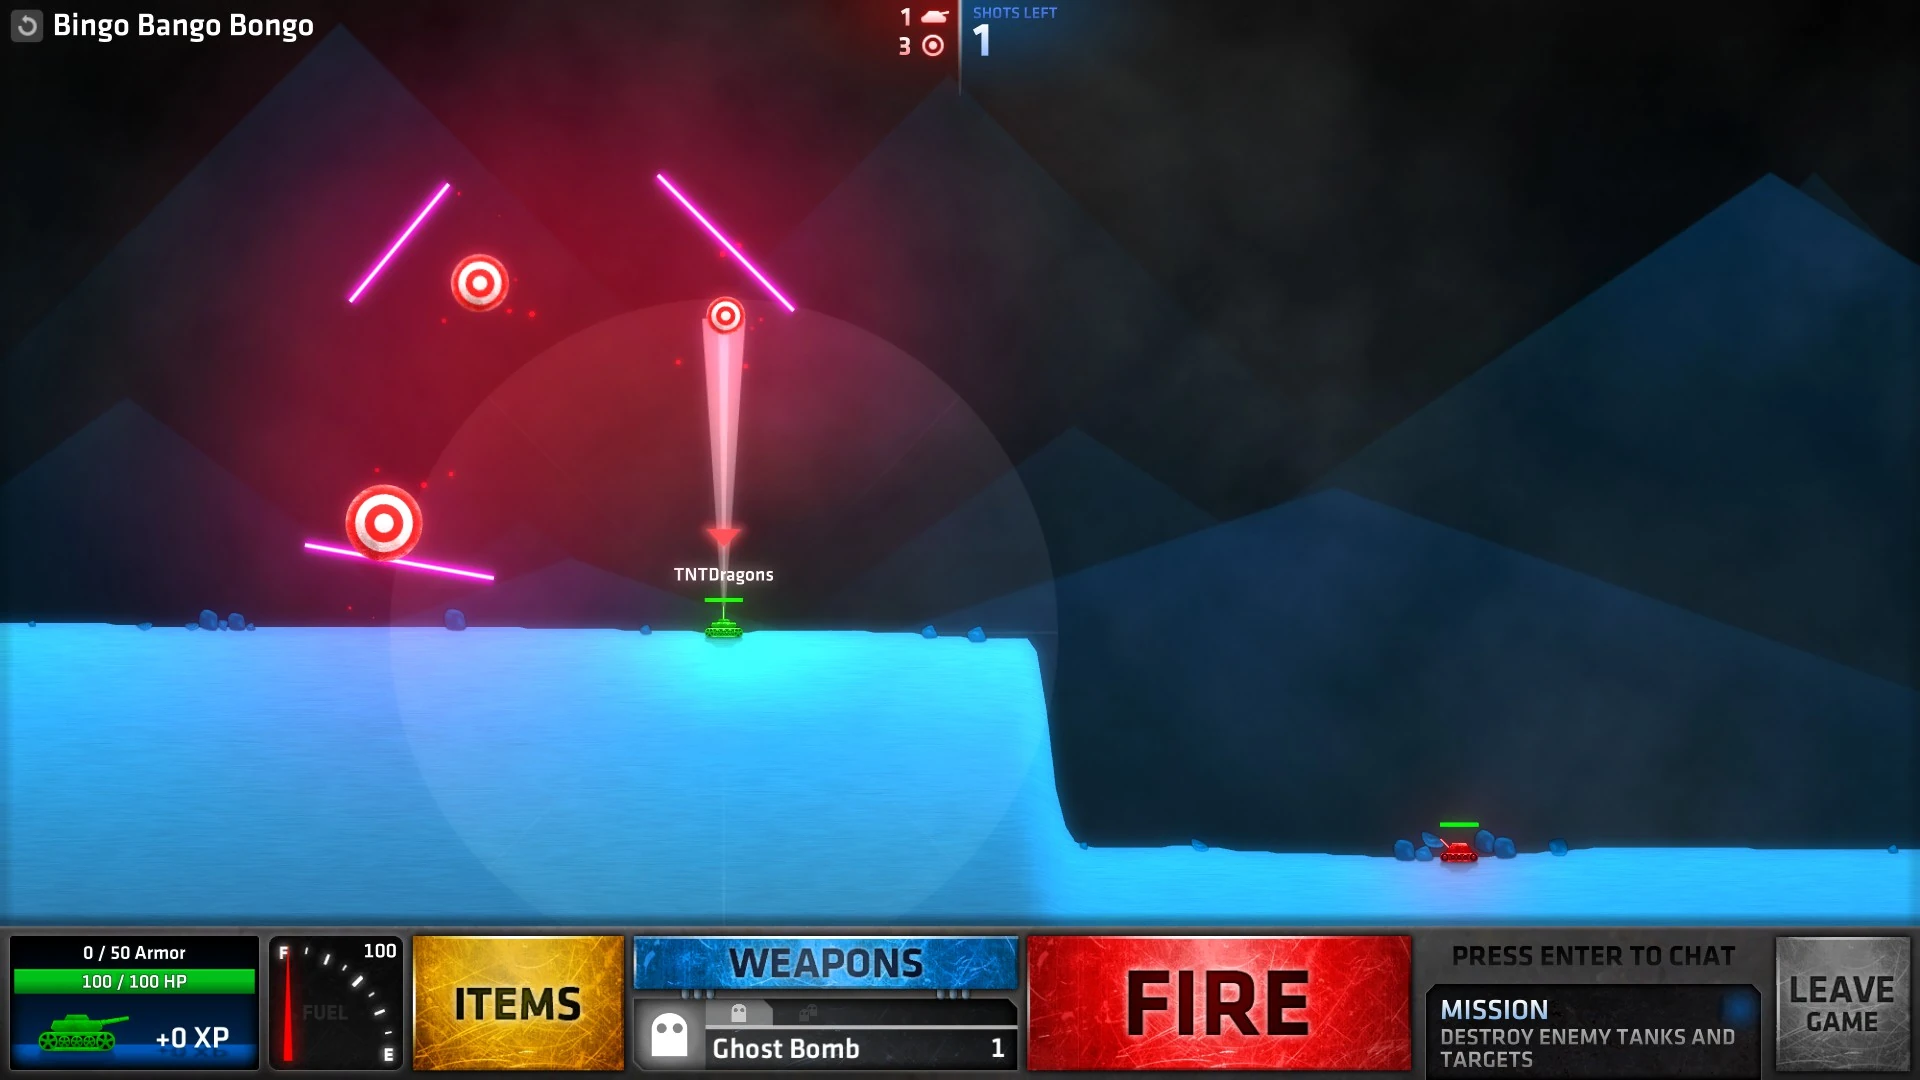
| + | Bingo Bango Bongo.jpg|[[Battle Royale#Bingo Bango Bongo|Bingo Bango Bongo]] |
||
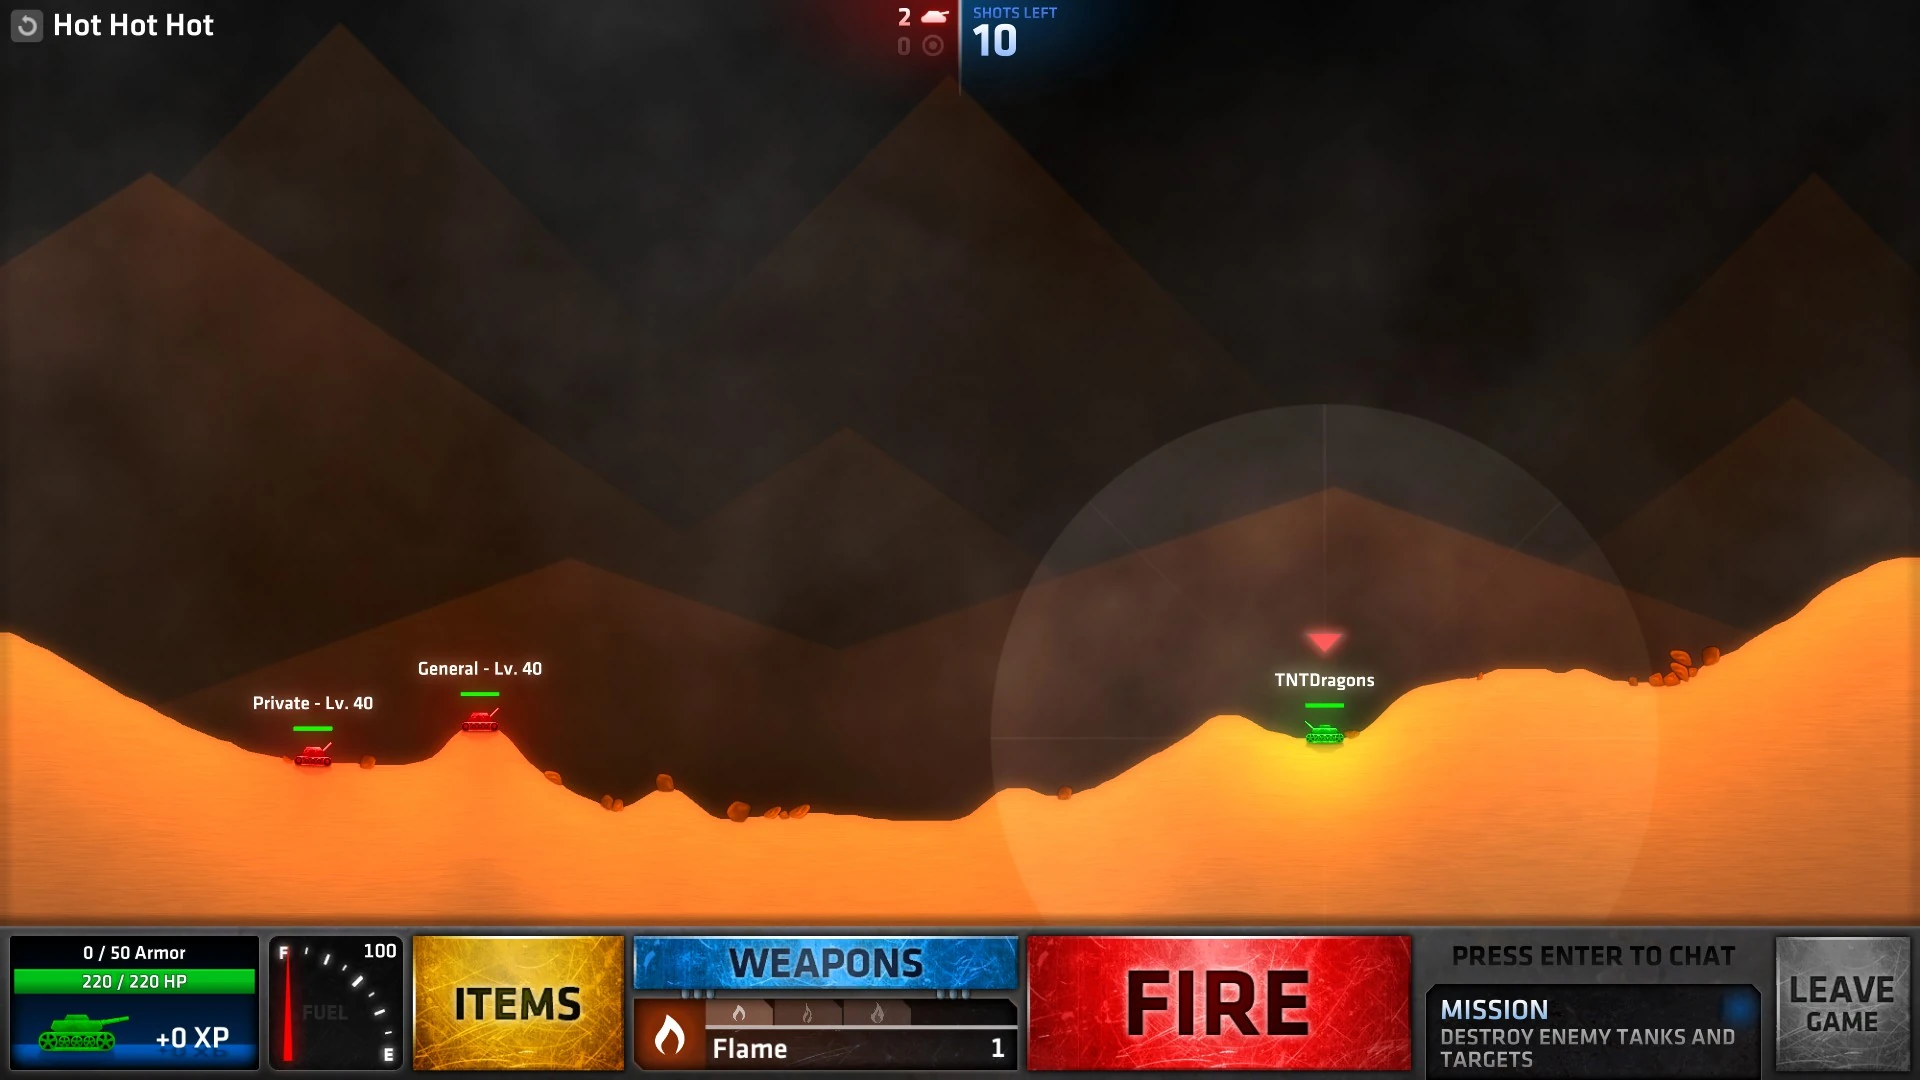
| + | Hot Hot Hot.jpg|[[Battle Royale#Hot Hot Hot|Hot Hot Hot]] |
||
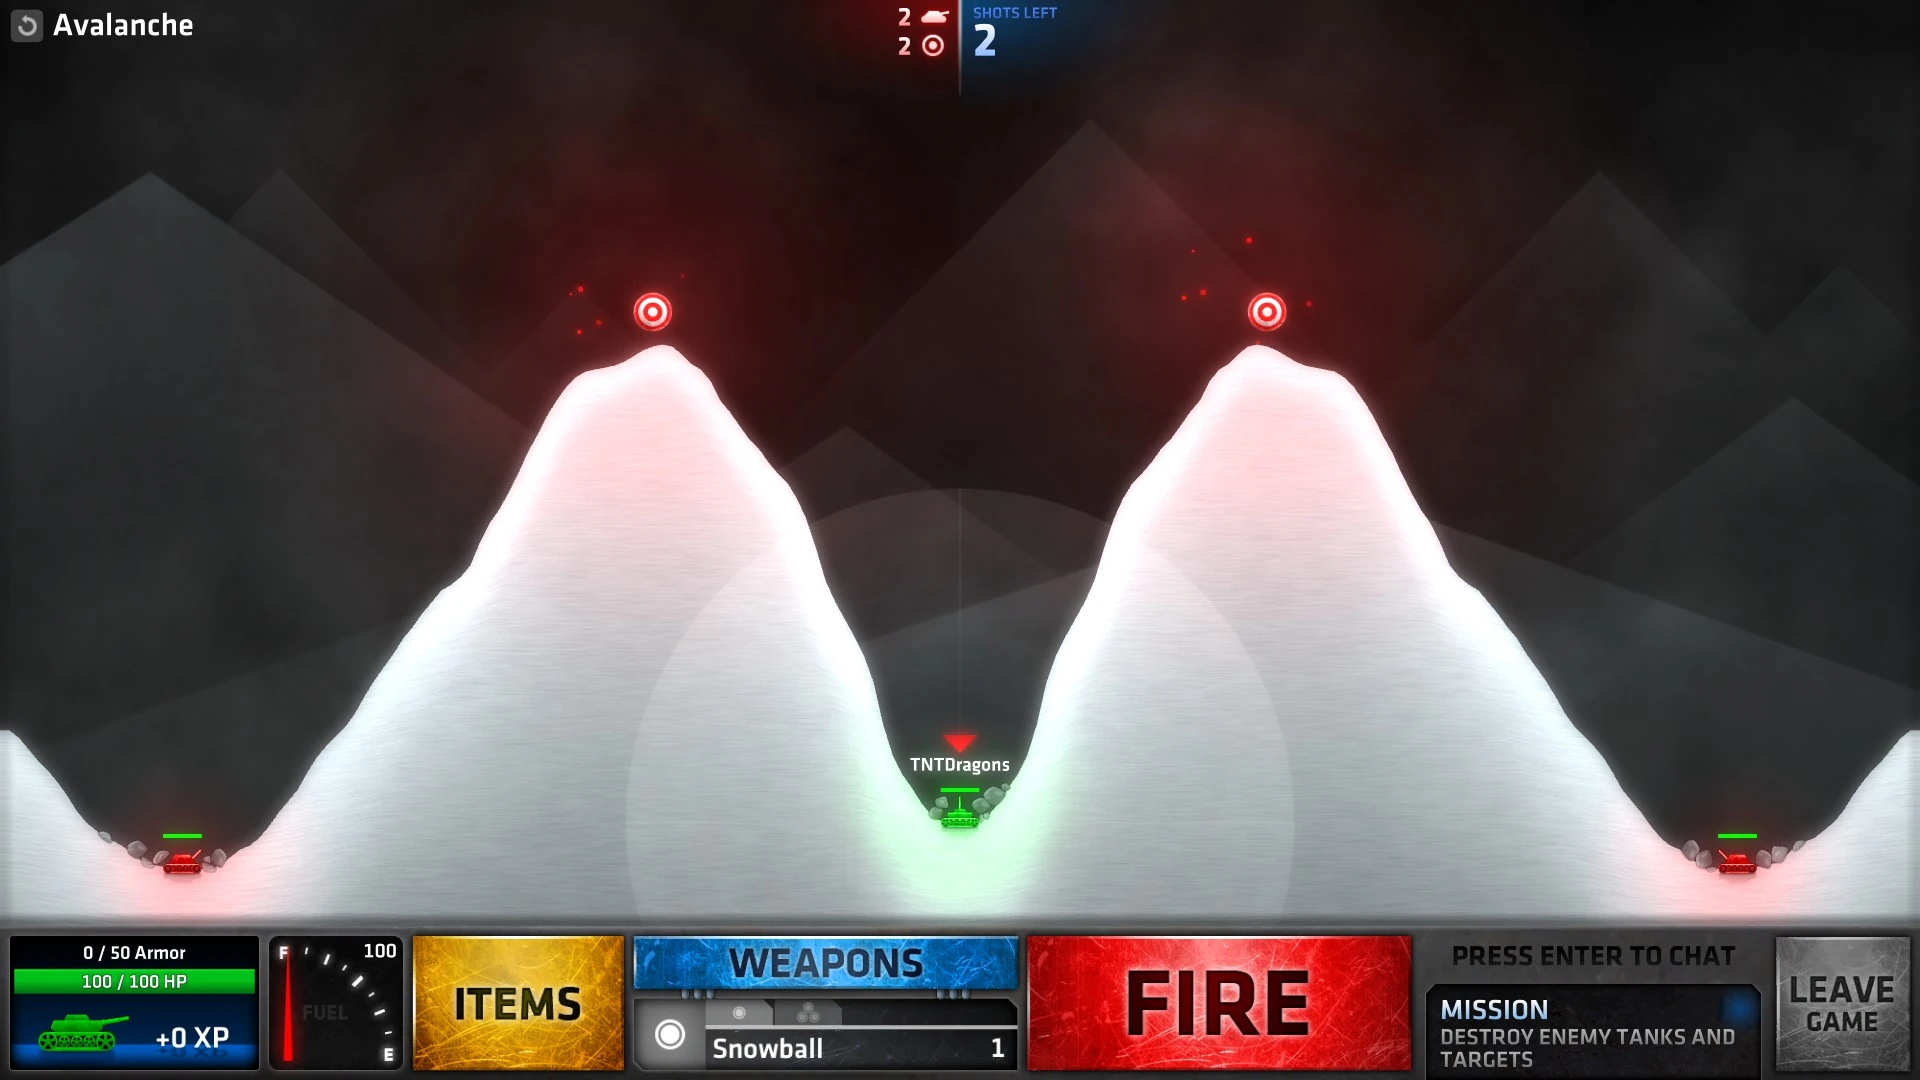
| + | Avalanche.jpg|[[Battle Royale#Avalanche|Avalanche]] |
||
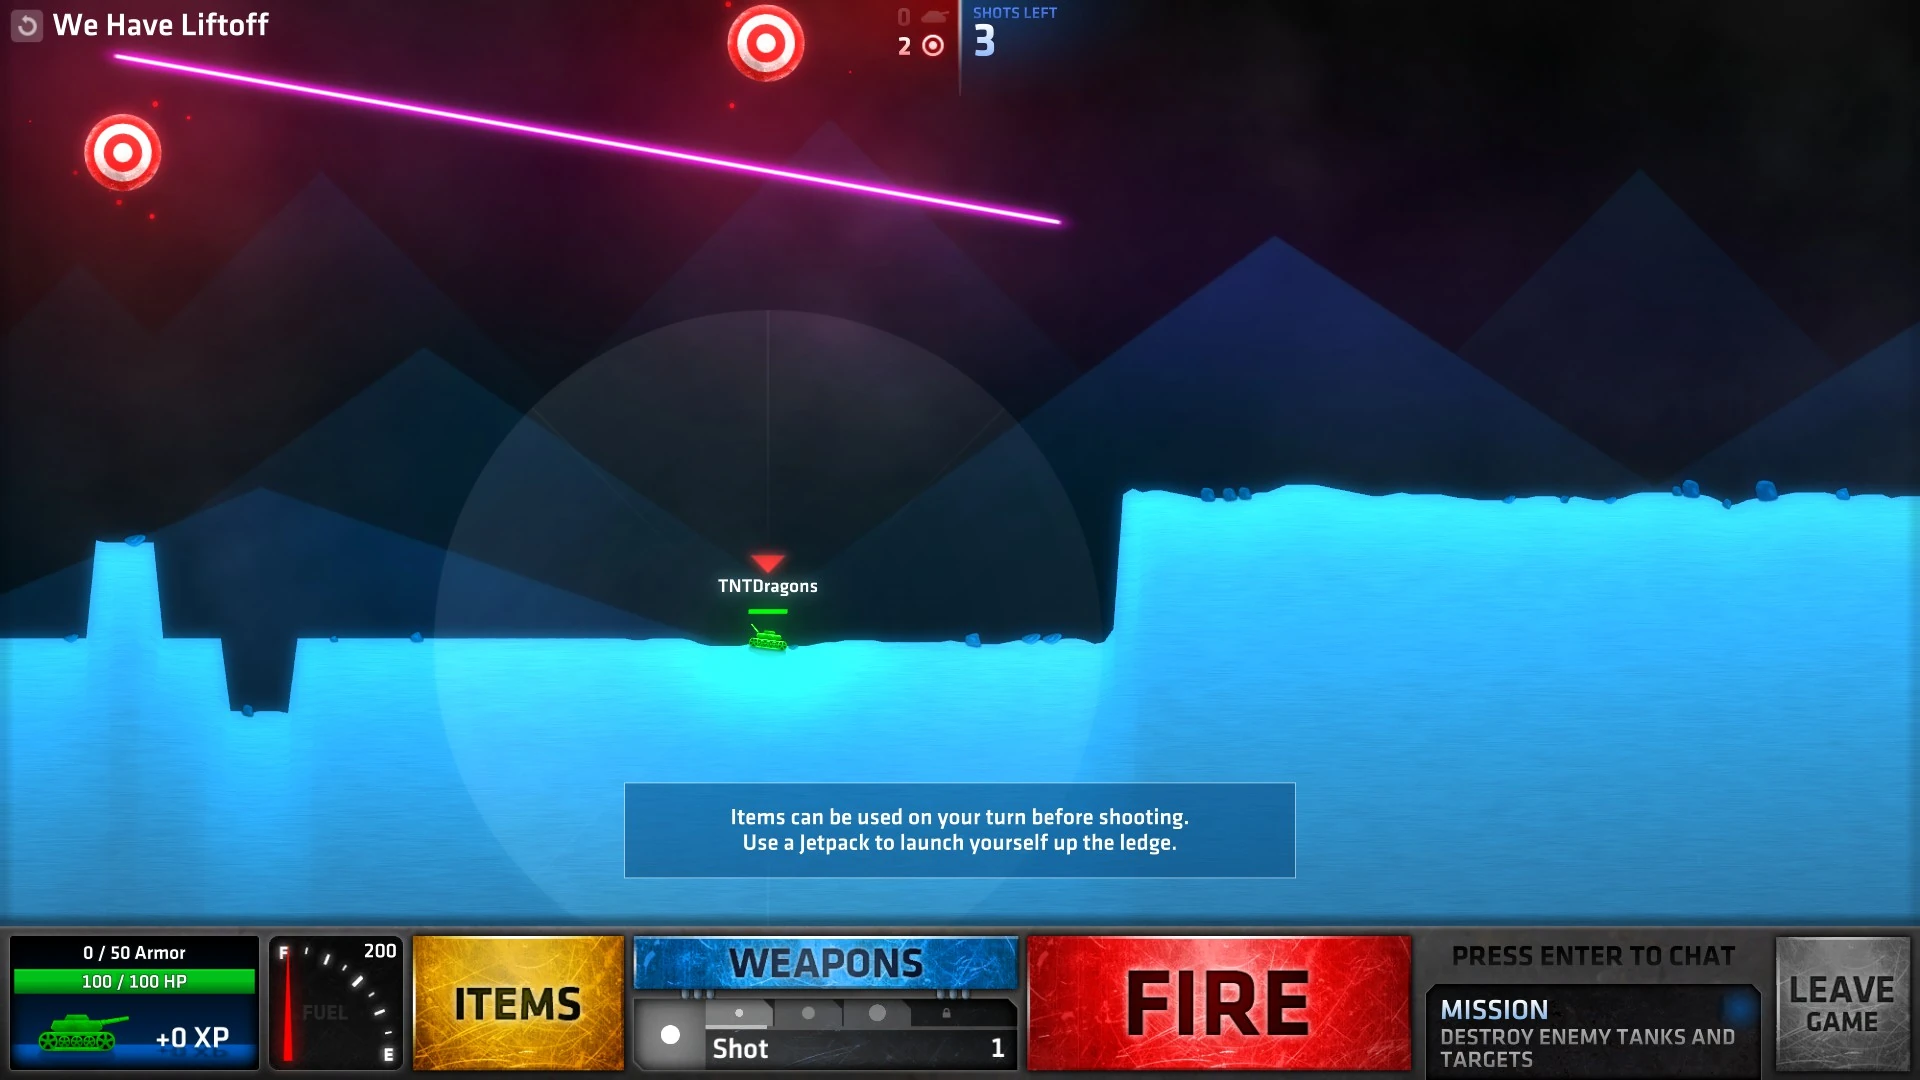
| + | We Have Liftoff.jpg|[[Battle Royale#We Have Liftoff|We Have Liftoff]] |
||
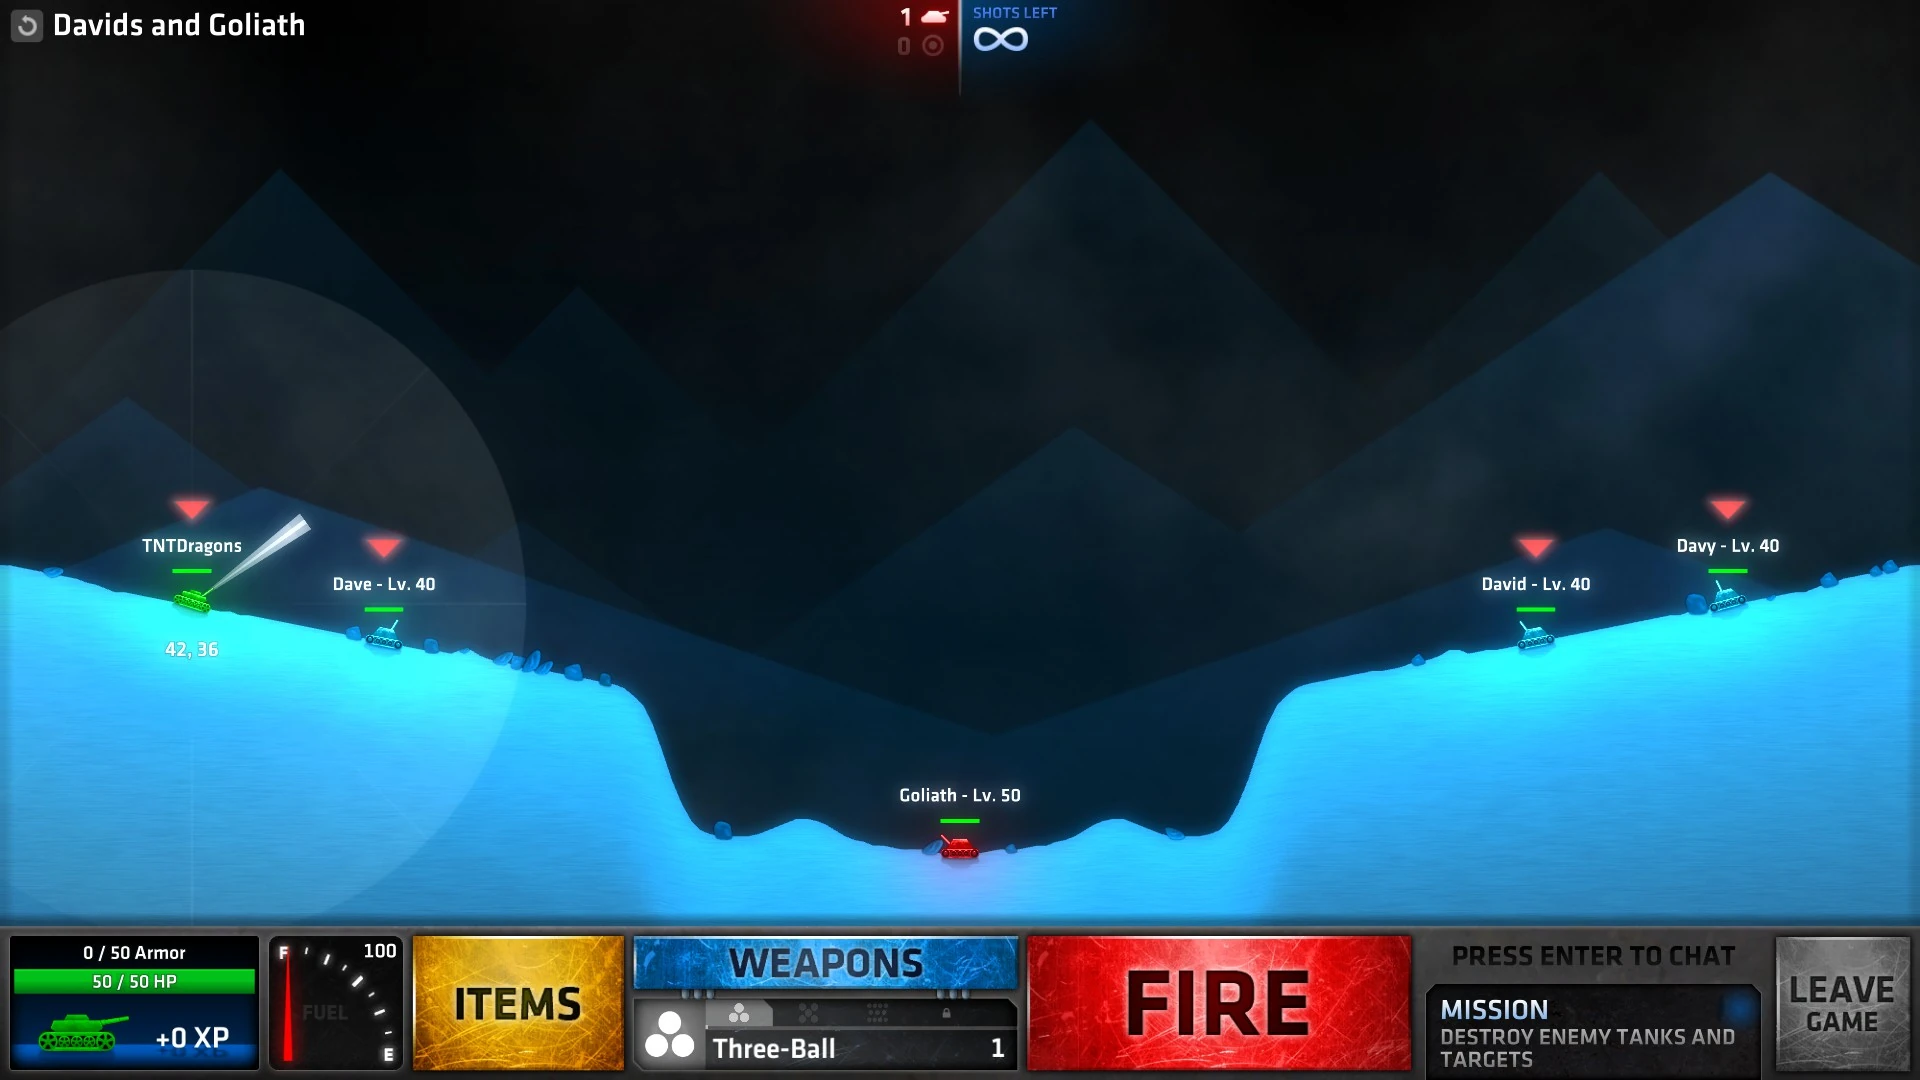
| + | Davids and Goliath.jpg|[[Battle Royale#Davids and Goliath|Davids and Goliath]] |
||
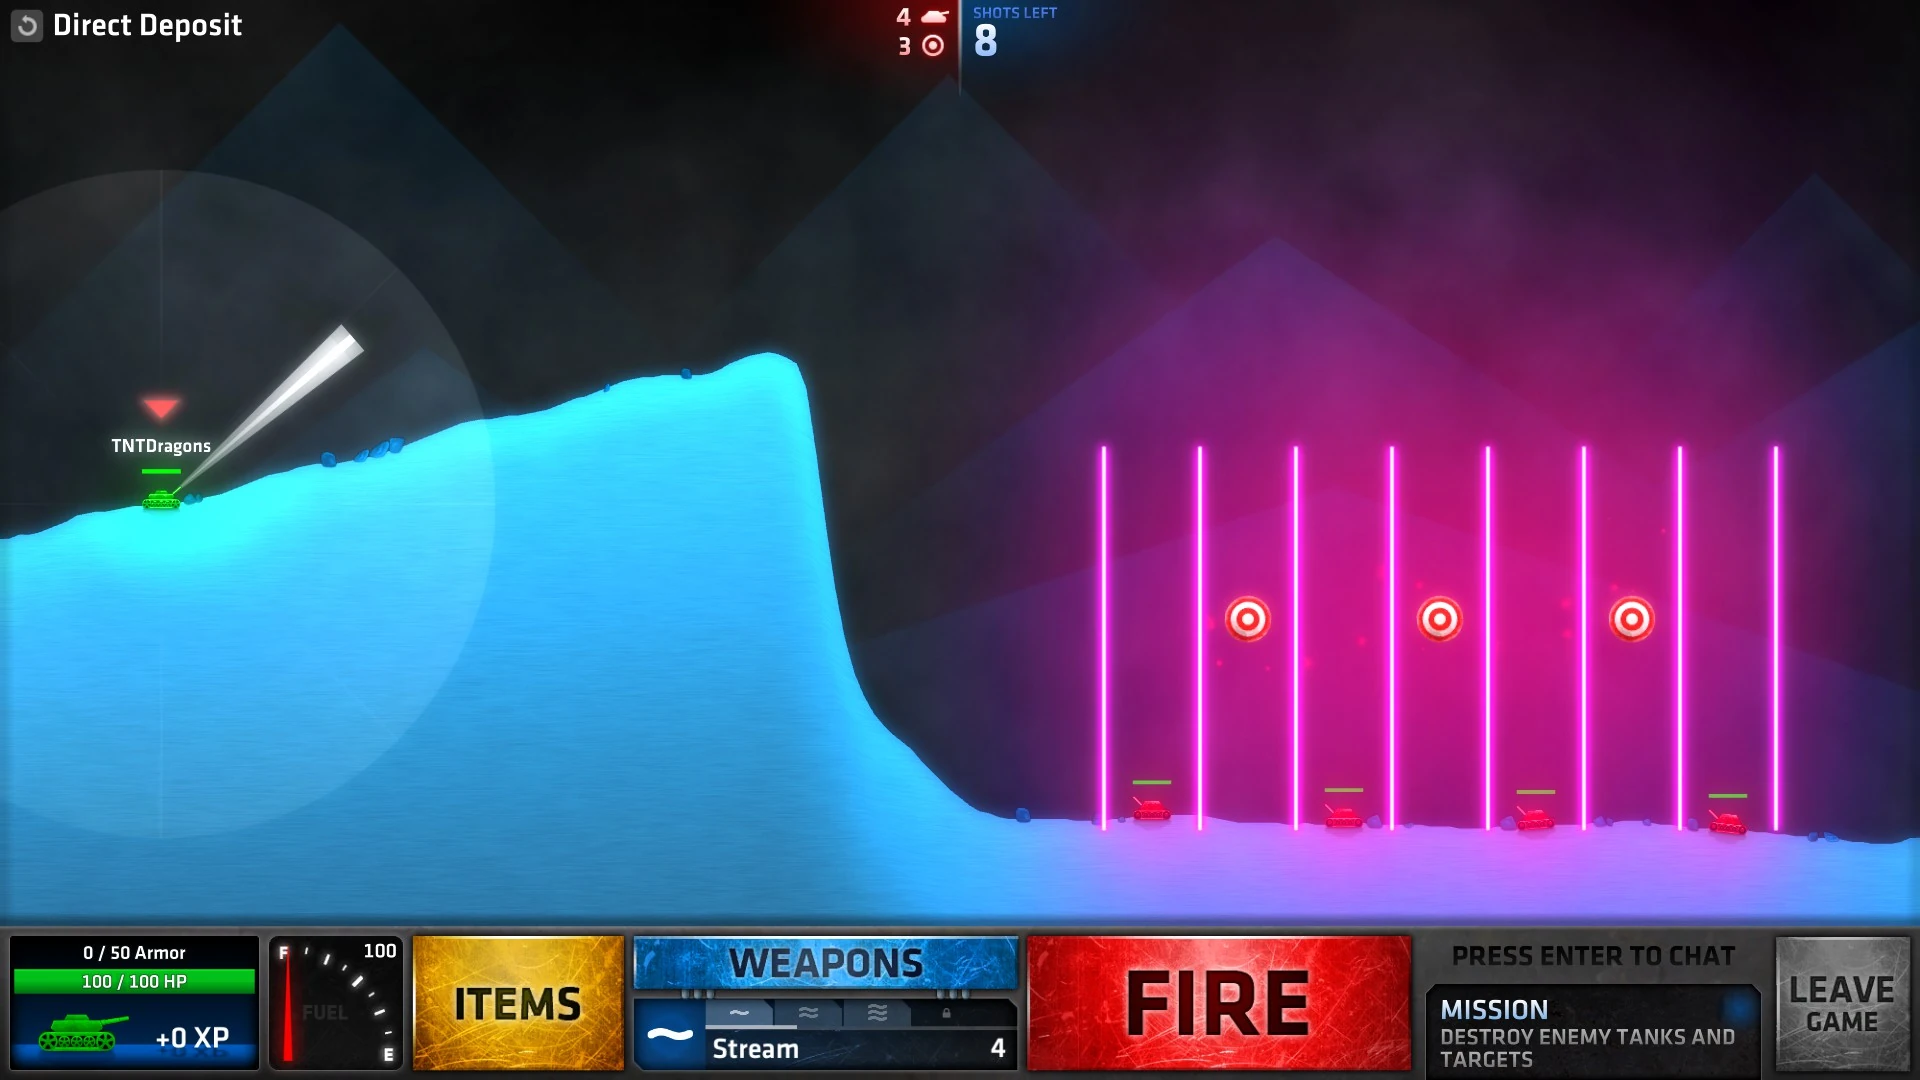
| + | Direct Deposit.jpg|[[Battle Royale#Direct Deposit|Direct Deposit]] |
||
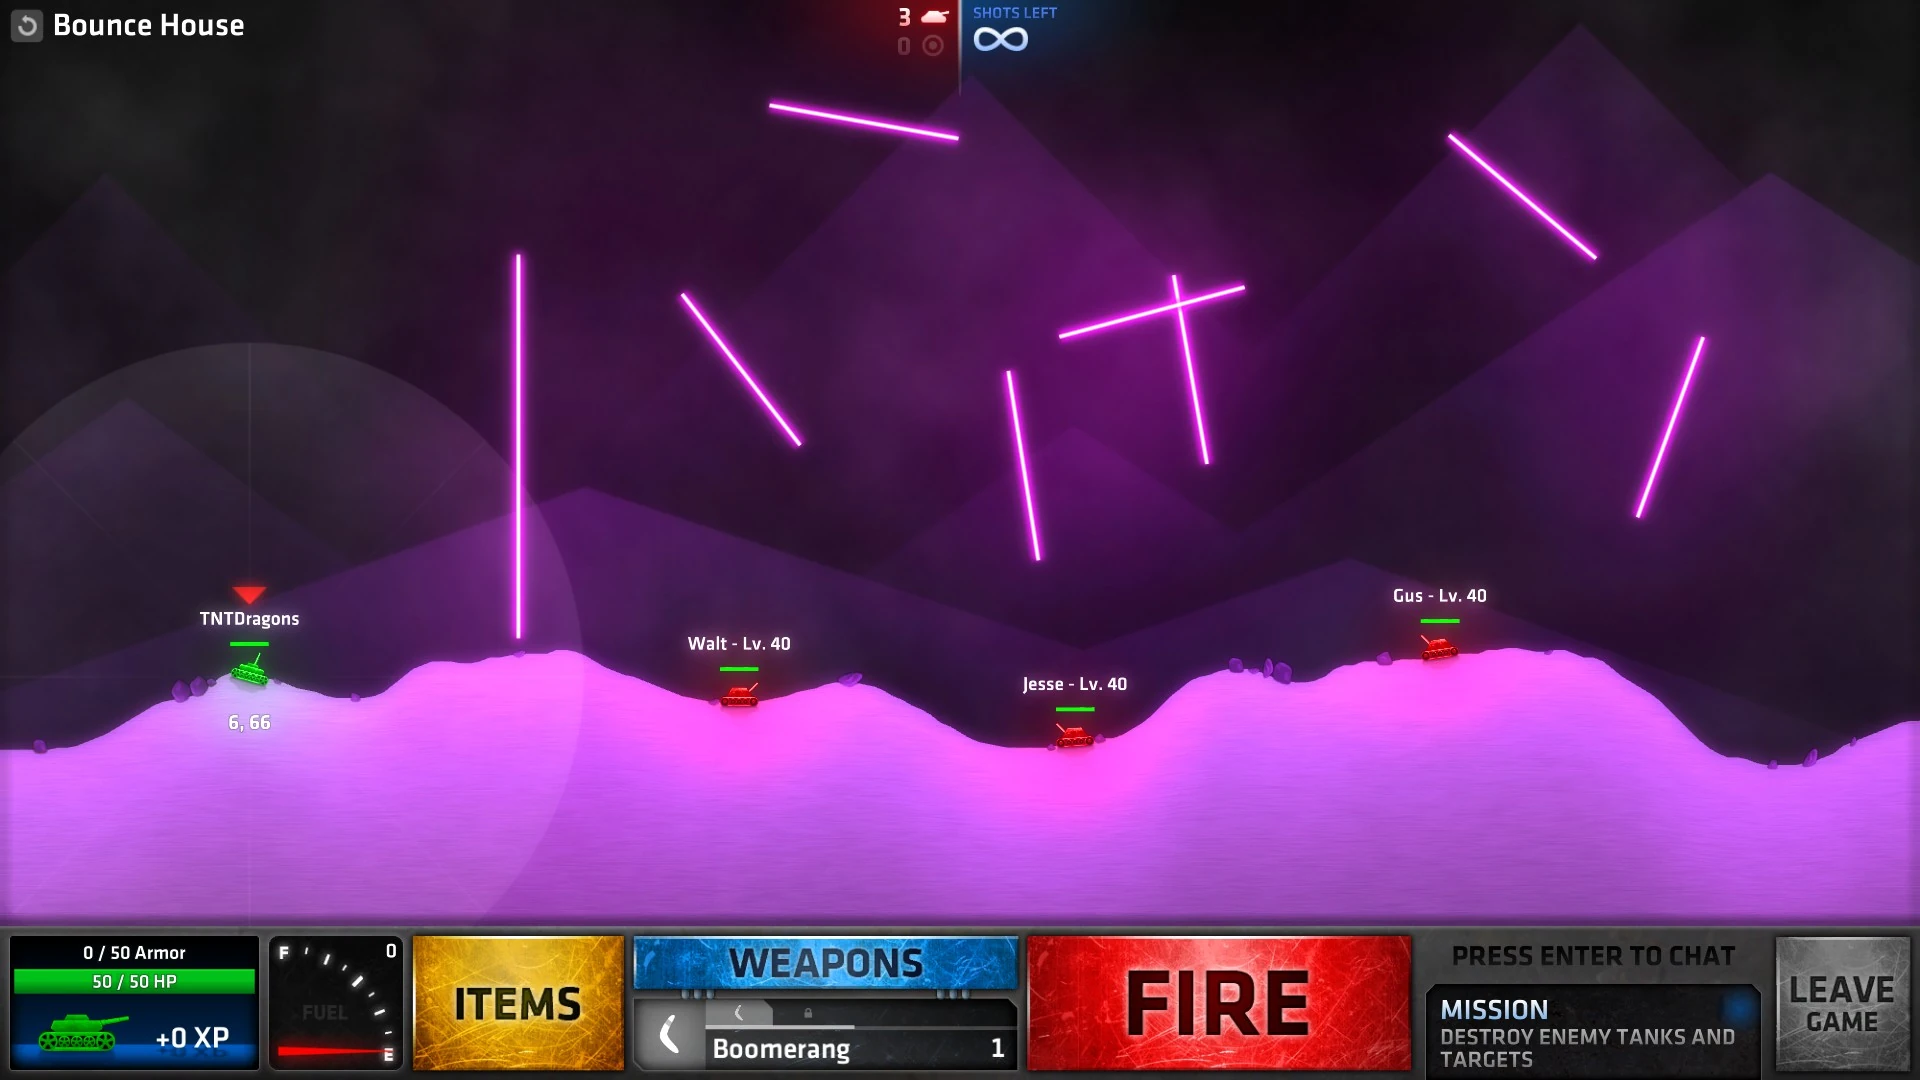
| + | Bounce House.jpg|[[Battle Royale#Bounce House|Bounce House]] |
||
| + | Tear Down This Wall.jpg|[[Battle Royale#Tear Down This Wall|Tear Down This Wall]] |
||
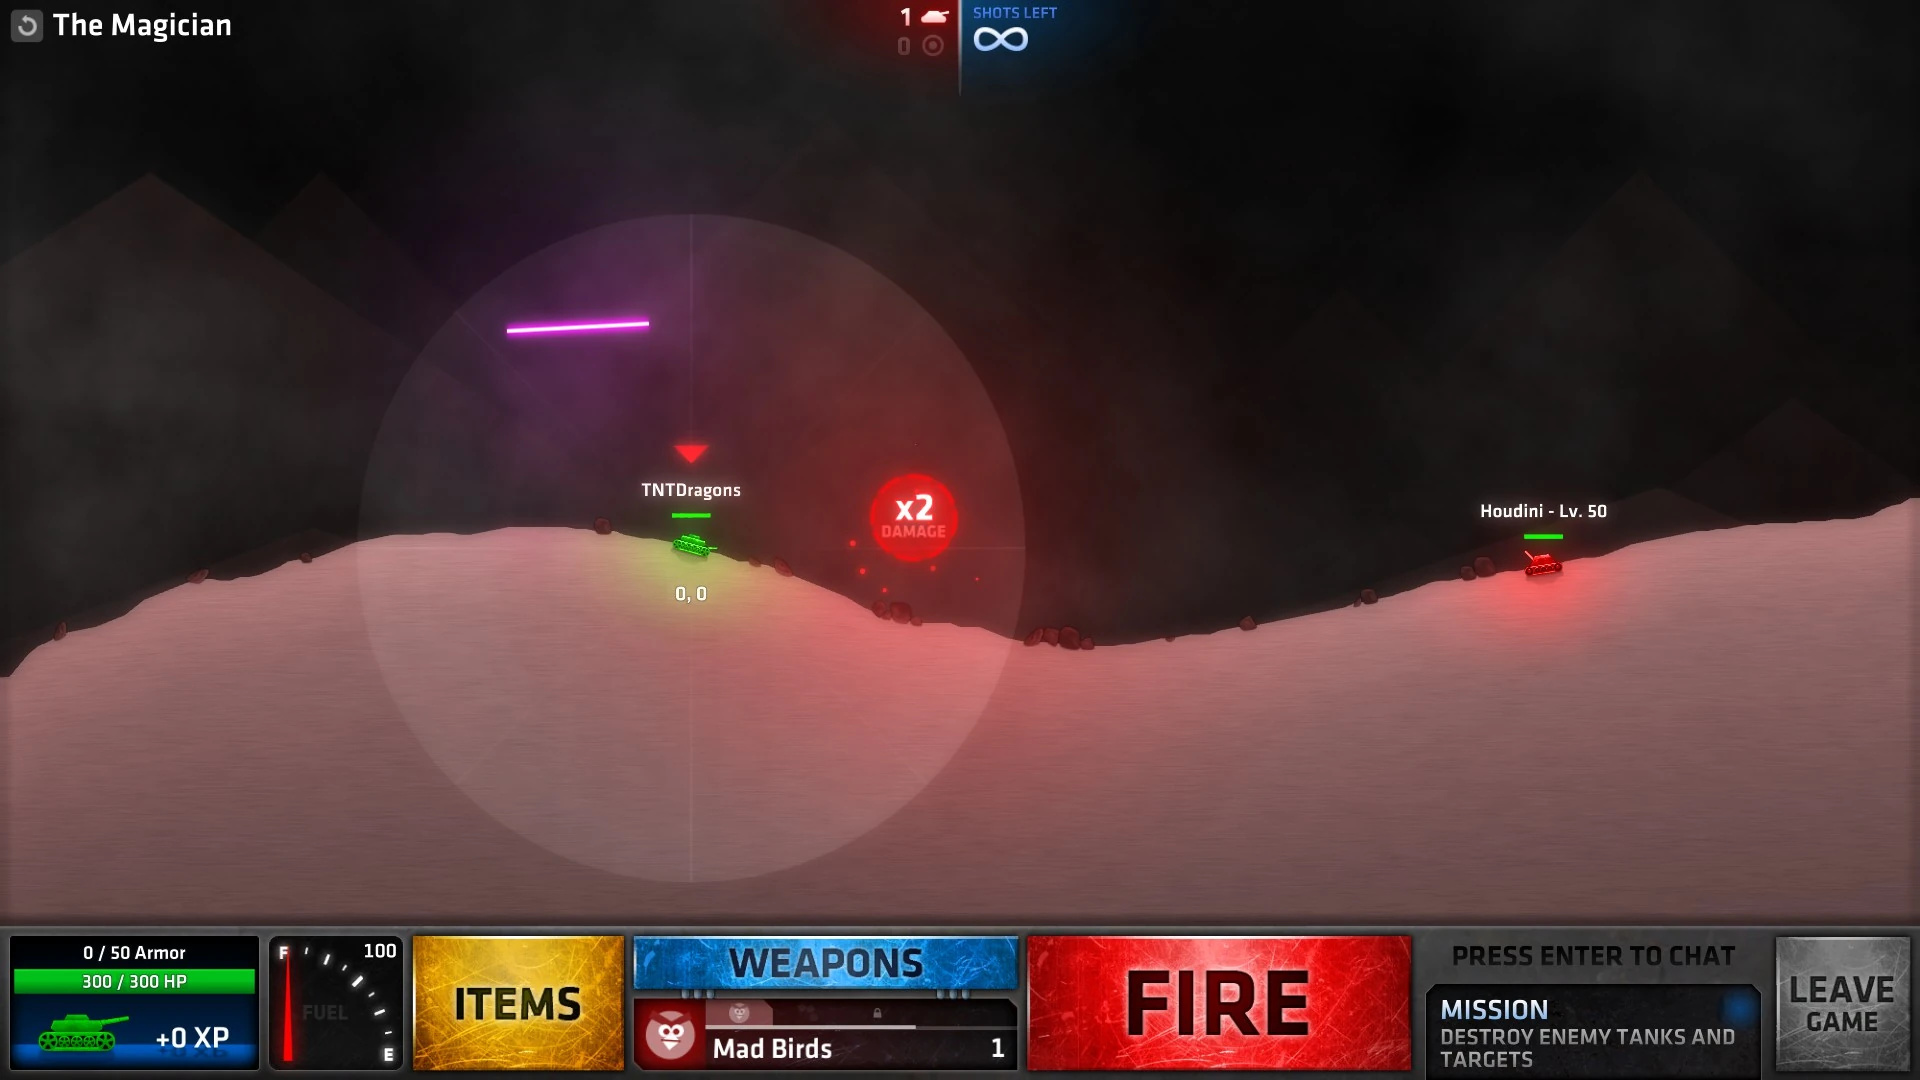
| + | The Magician.jpg|[[Battle Royale#The Magician|The Magician]] |
||
| + | </gallery> |
||
| + | |||
| + | == [[Armored Fury]] == |
||
| + | <gallery> |
||
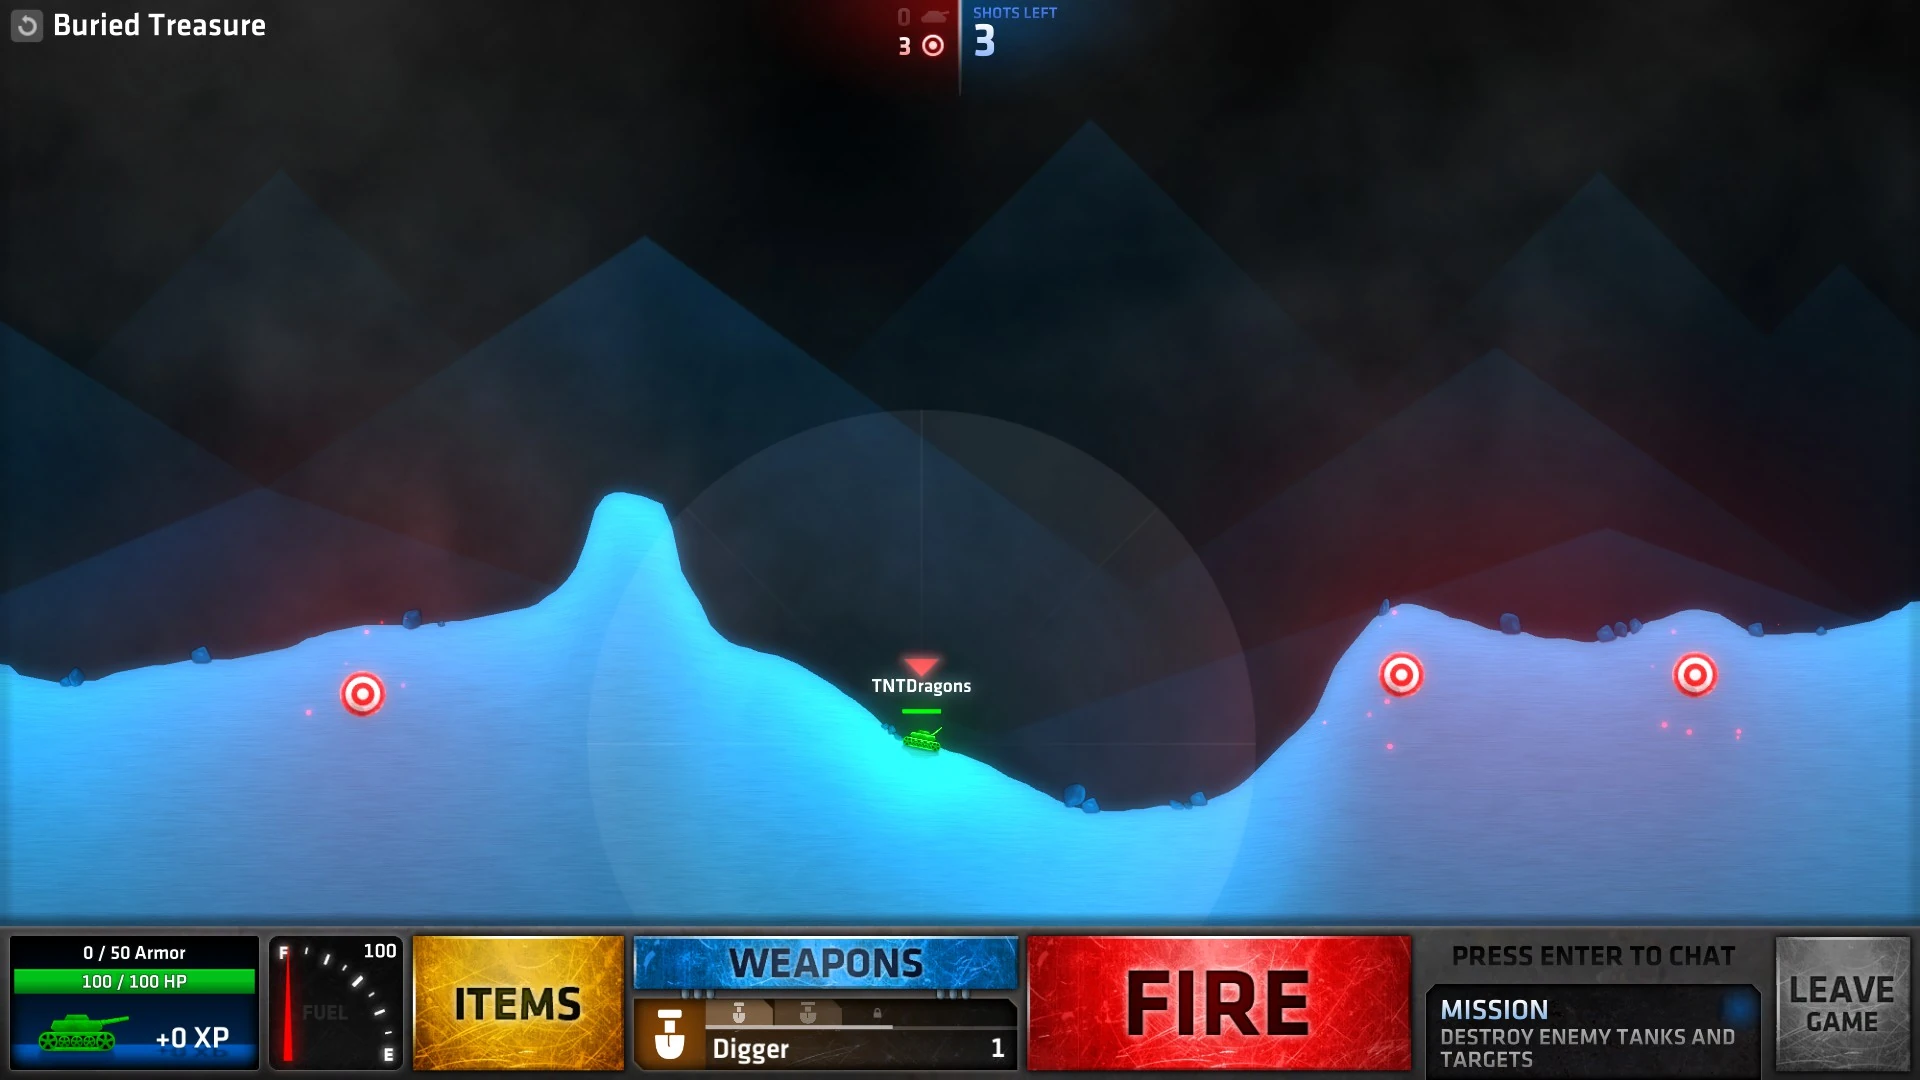
| + | Buried Treasure.jpg|[[Armored Fury#Buried Treasure|Buried Treasure]] |
||
| + | Porthole.jpg|[[Armored Fury#Porthole|Porthole]] |
||
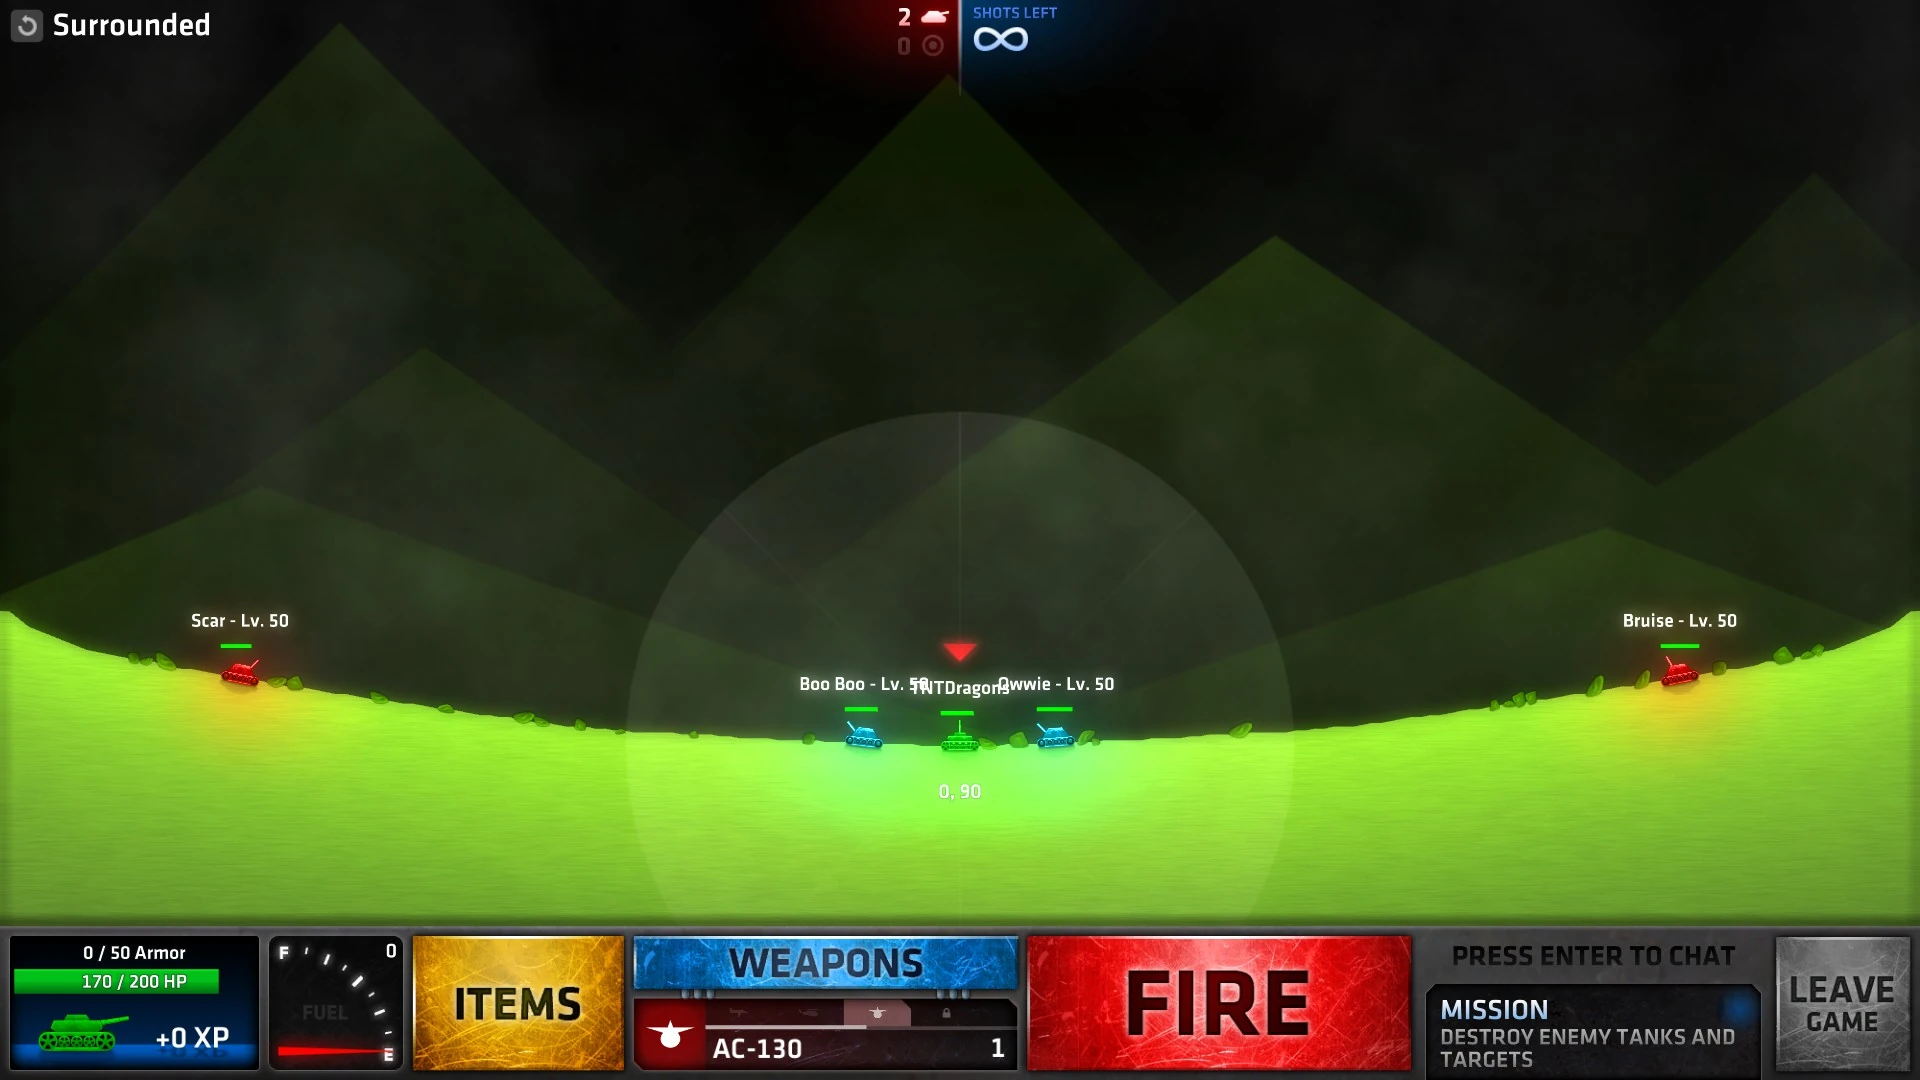
| + | Surrounded.jpg|[[Armored Fury#Surrounded|Surrounded]] |
||
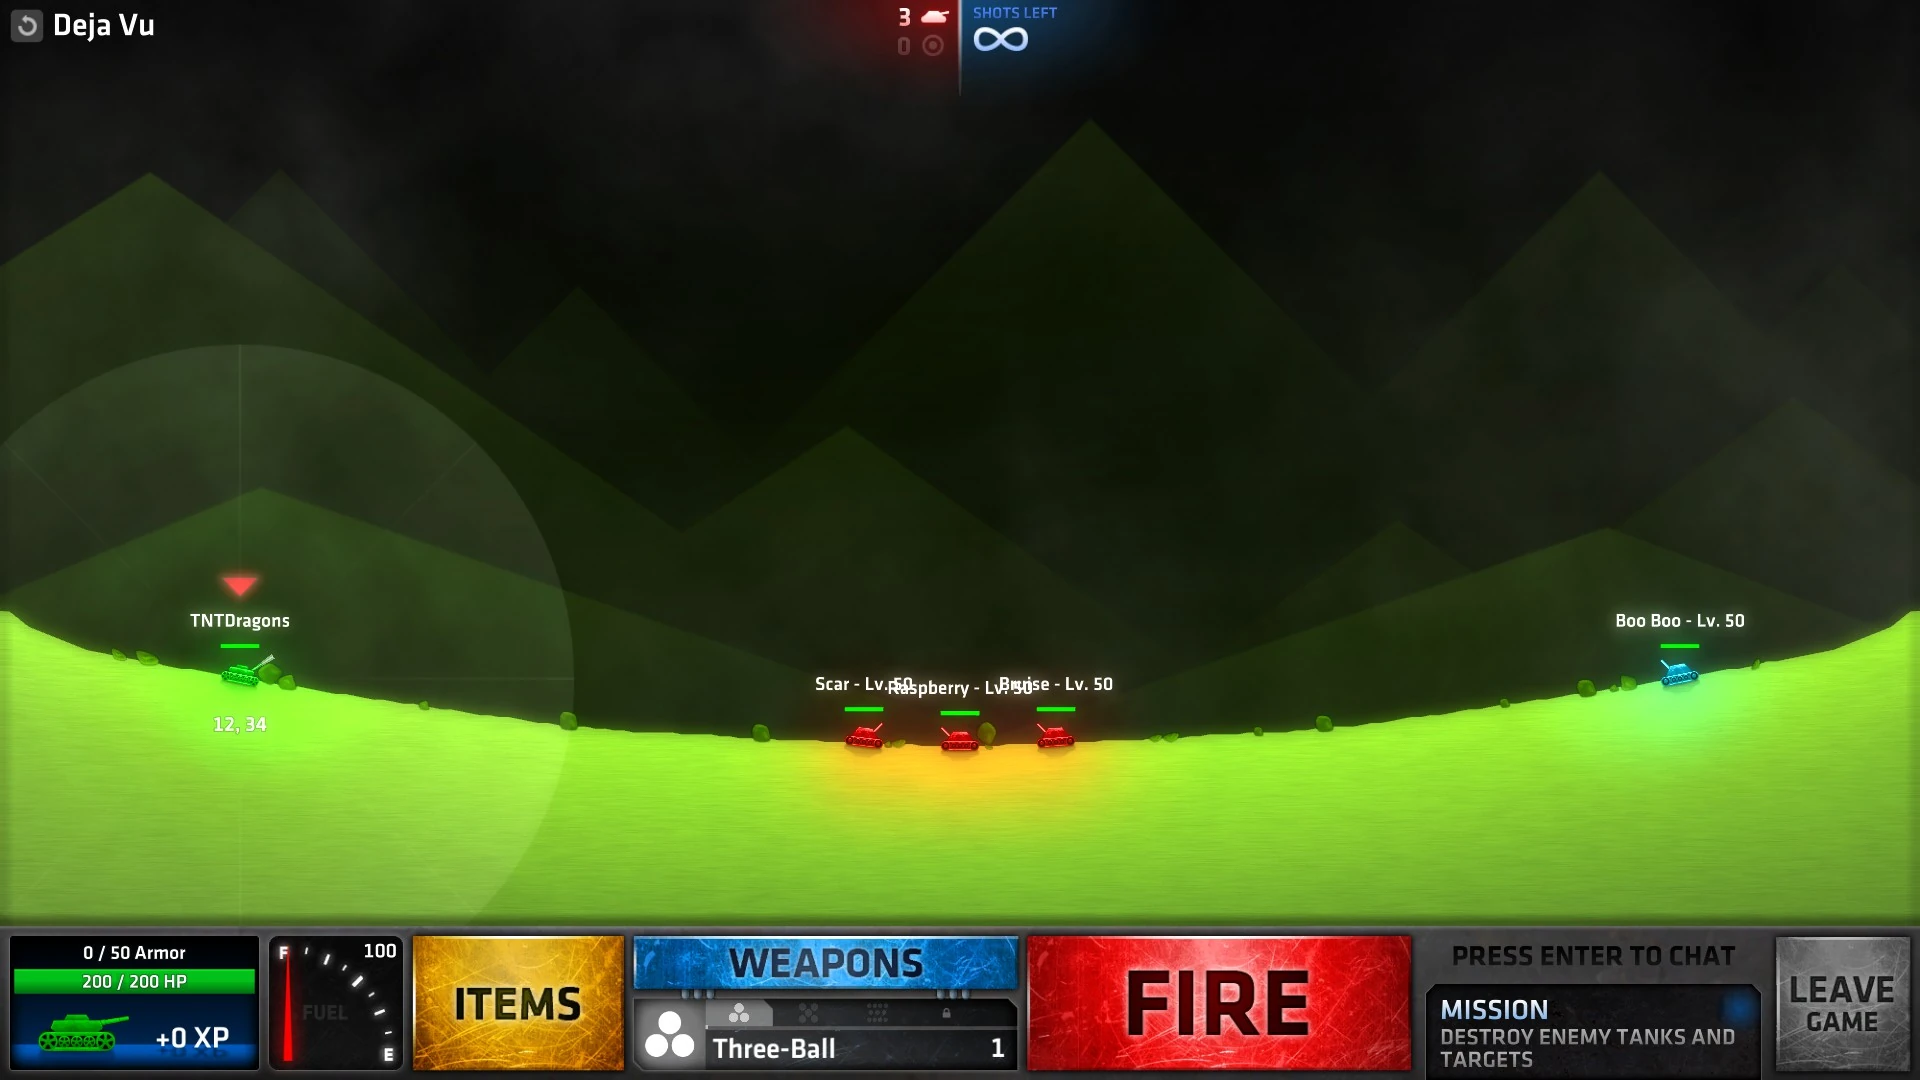
| + | Deja vu.jpg|[[Armored Fury#Deja vu|Deja vu]] |
||
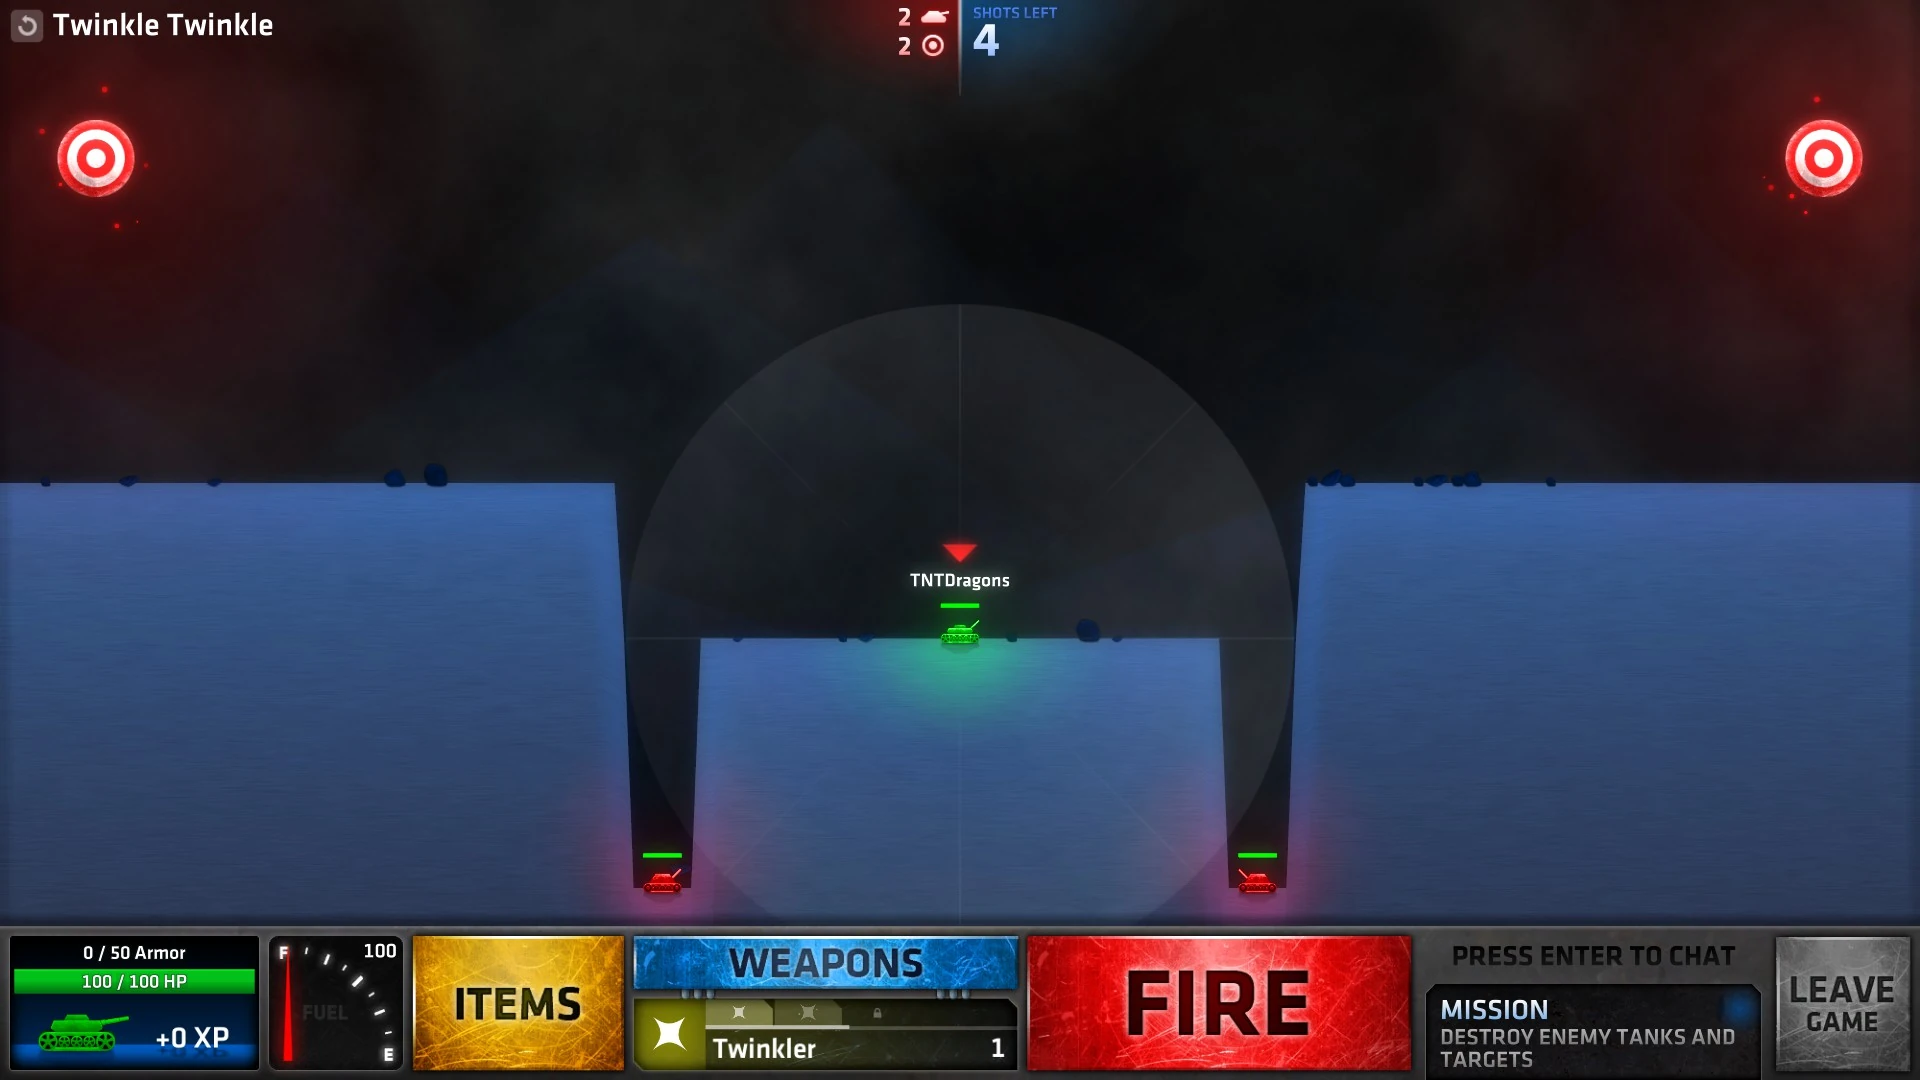
| + | Twinkle Twinkle.jpg|[[Armored Fury#Twinkle Twinkle|Twinkle Twinkle]] |
||
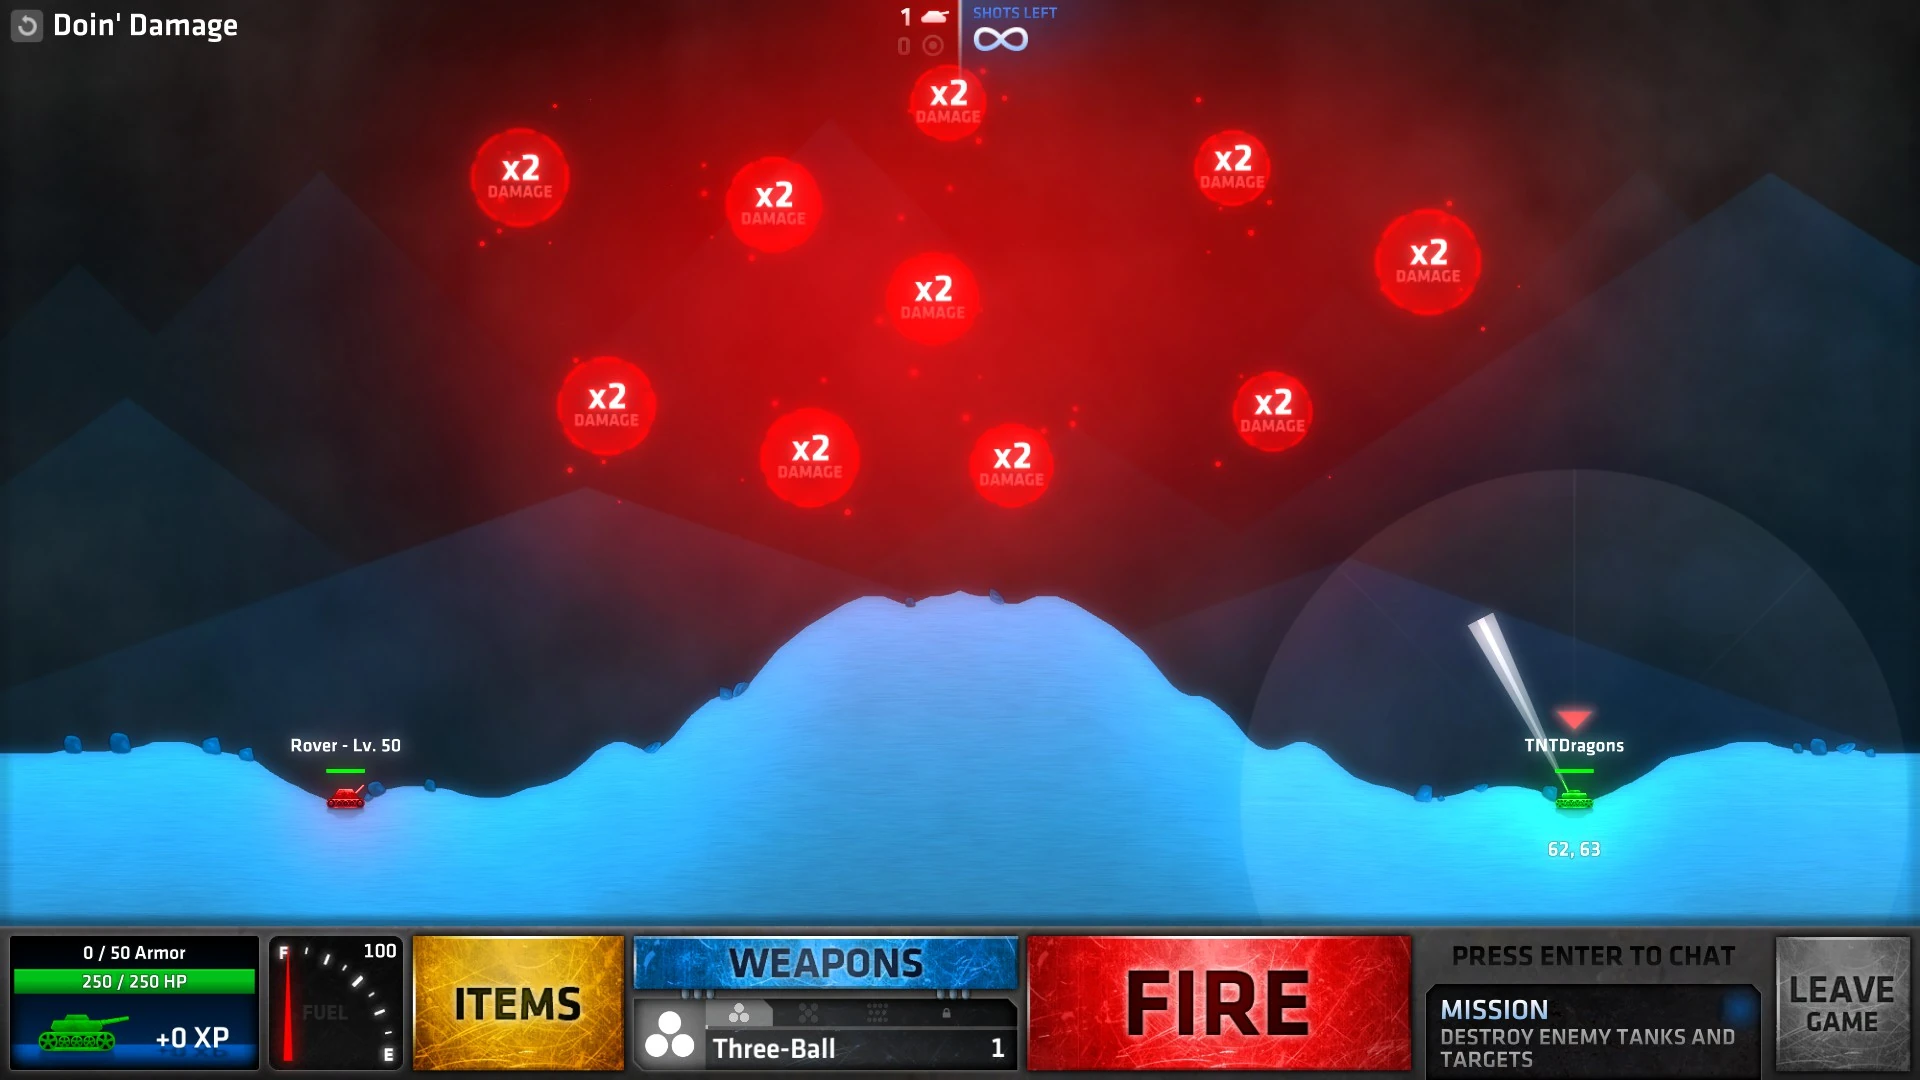
| + | Doin' Damage.jpg|[[Armored Fury#Doin' Damage|Doin' Damage]] |
||
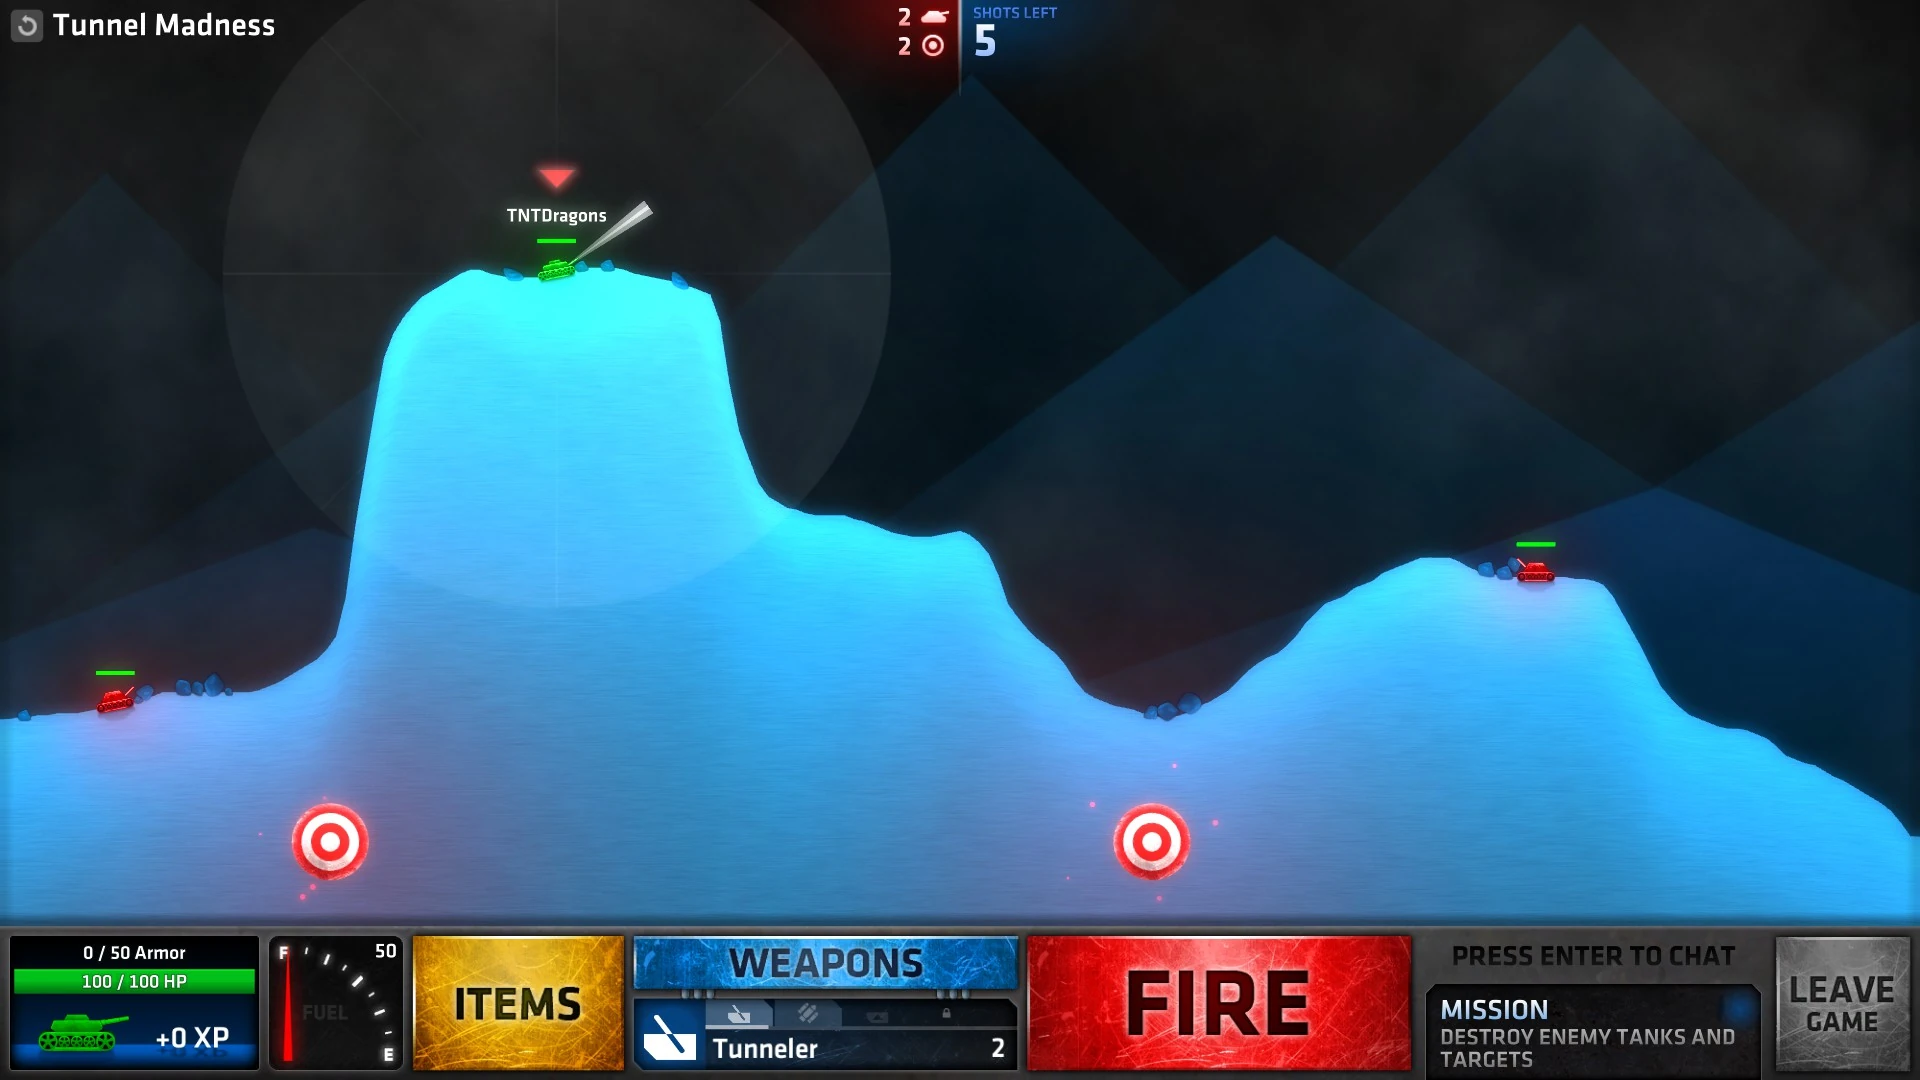
| + | Tunnel Madness.jpg|[[Armored Fury#Tunnel Madness|Tunnel Madness]] |
||
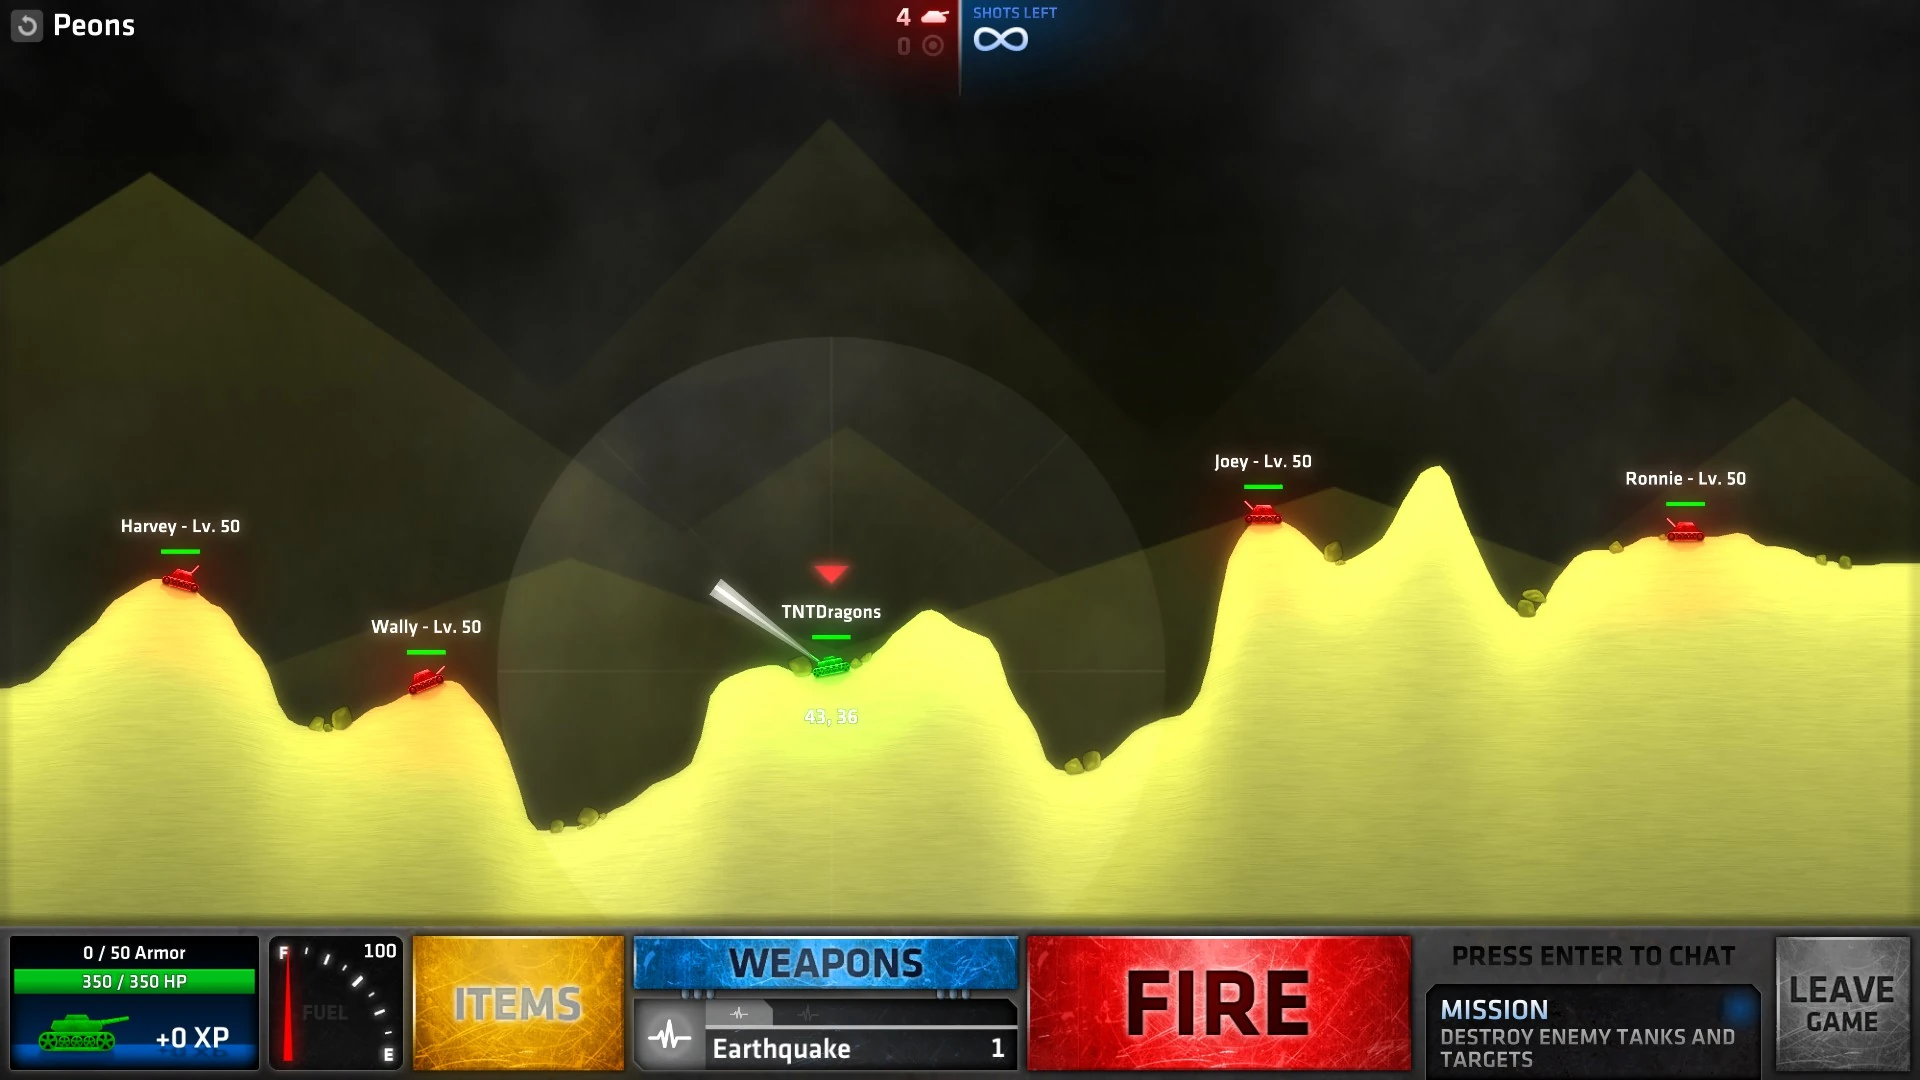
| + | Peons.jpg|[[Armored Fury#Peons|Peons]] |
||
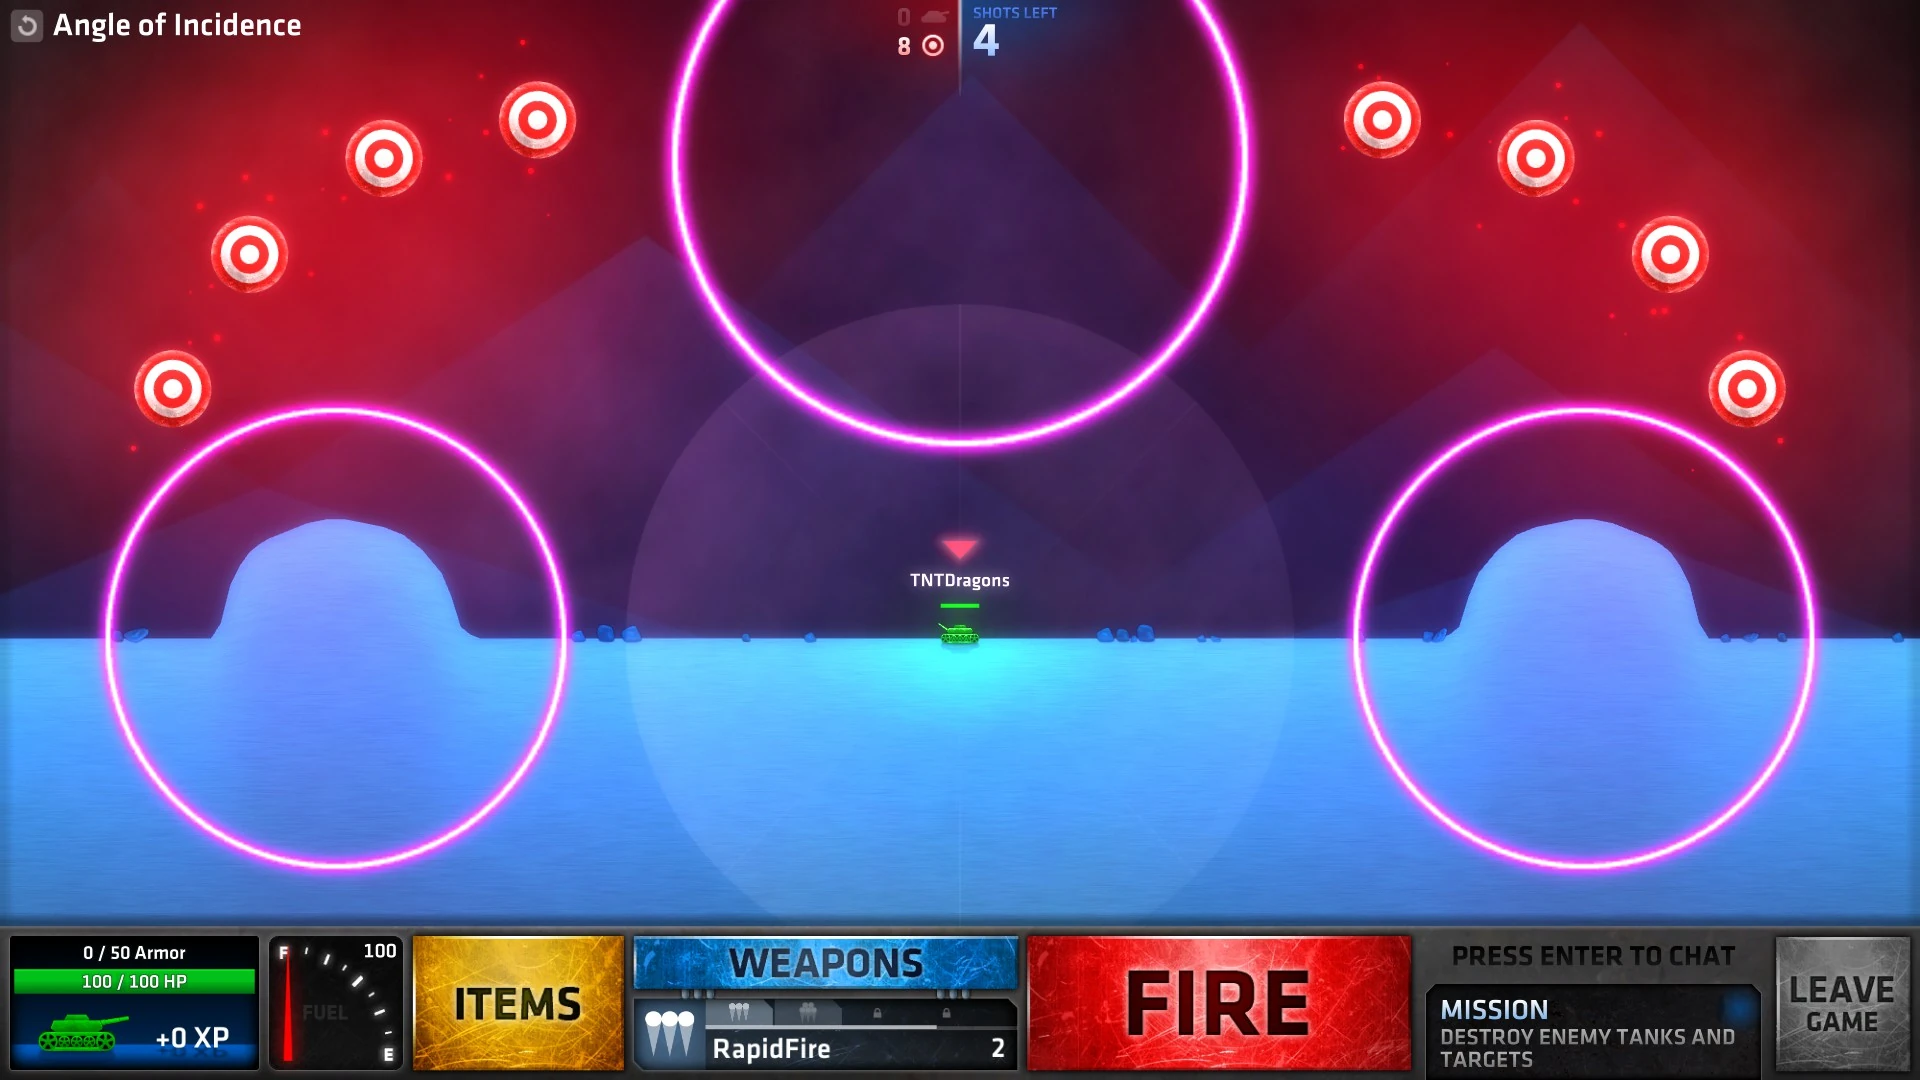
| + | Angle of Incidence.jpg|[[Armored Fury#Angle of Incidence|Angle of Incidence]] |
||
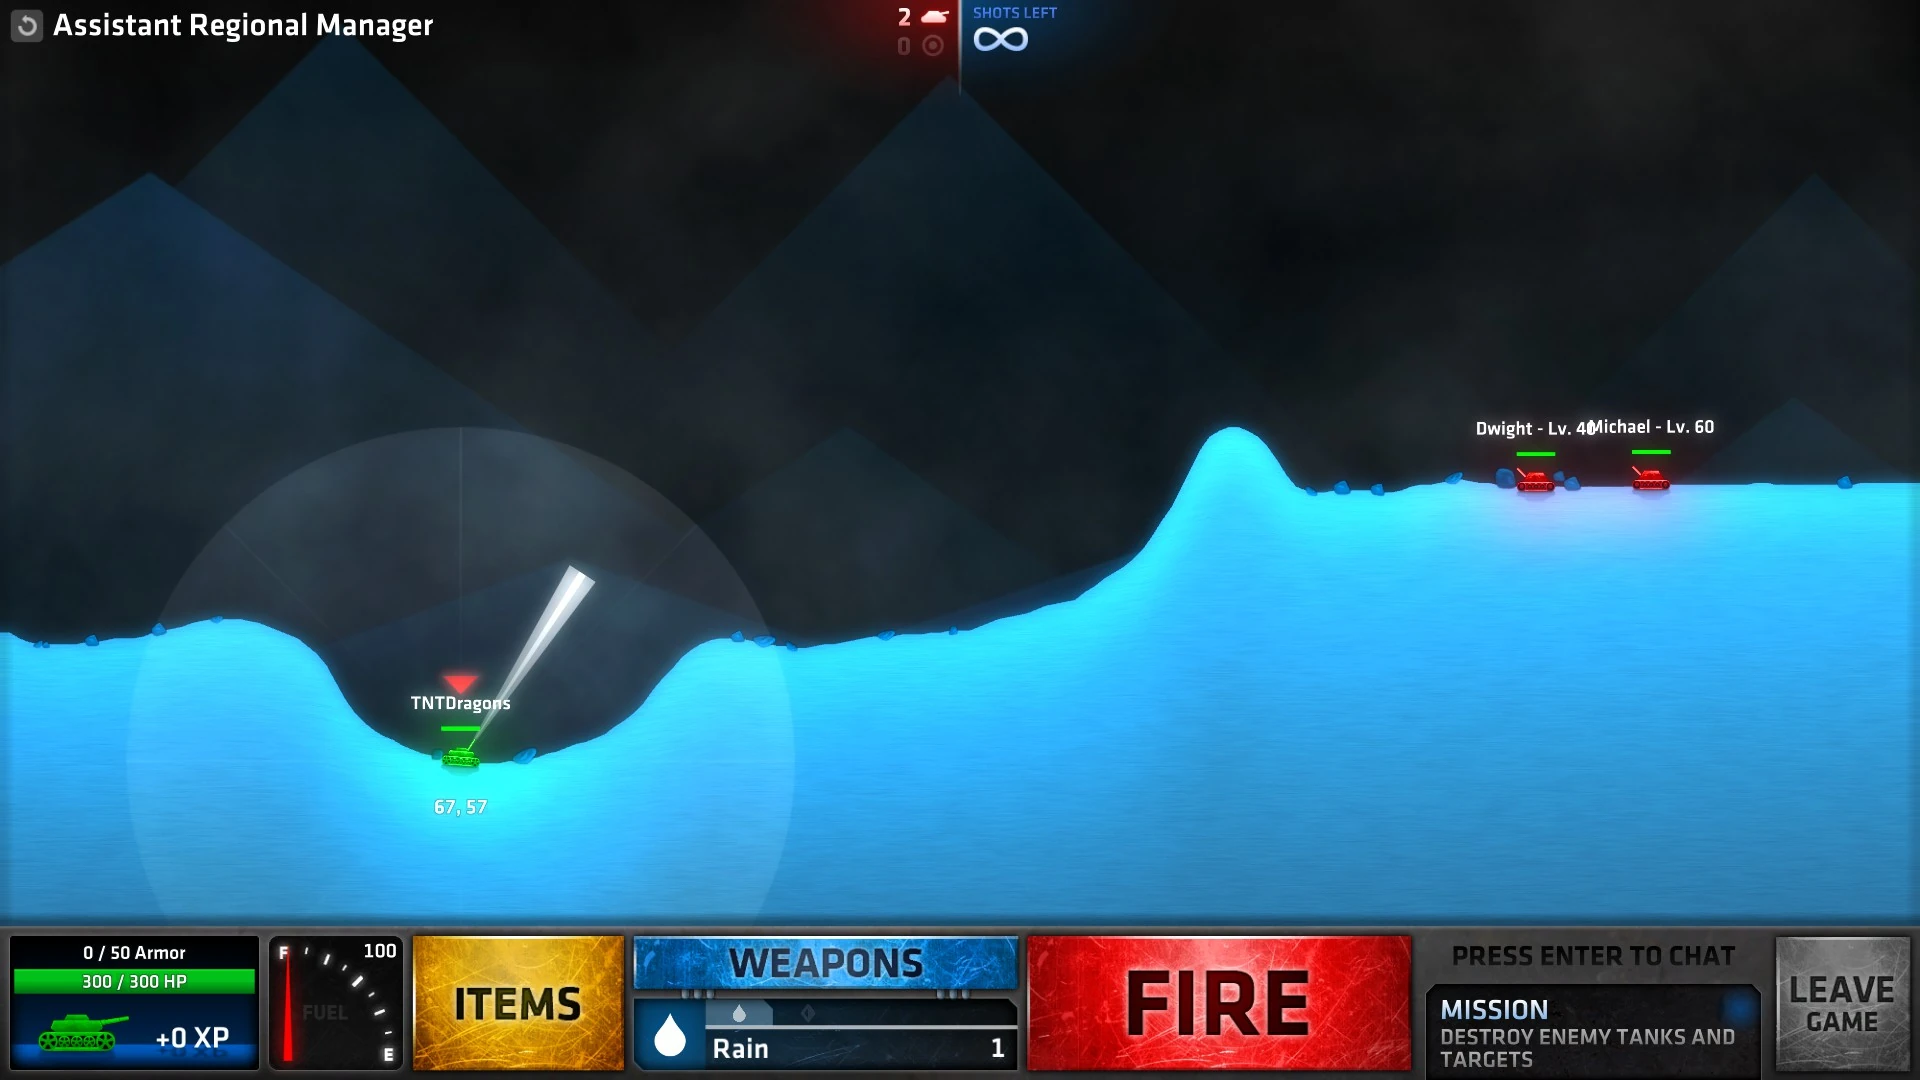
| + | Assistant Regional Manager.jpg|[[Armored Fury#Assistant Regional Manager|Assistant Regional Manager]] |
||
| + | </gallery> |
||
| + | |||
| + | == [[Lone Wolf]] == |
||
| + | <gallery> |
||
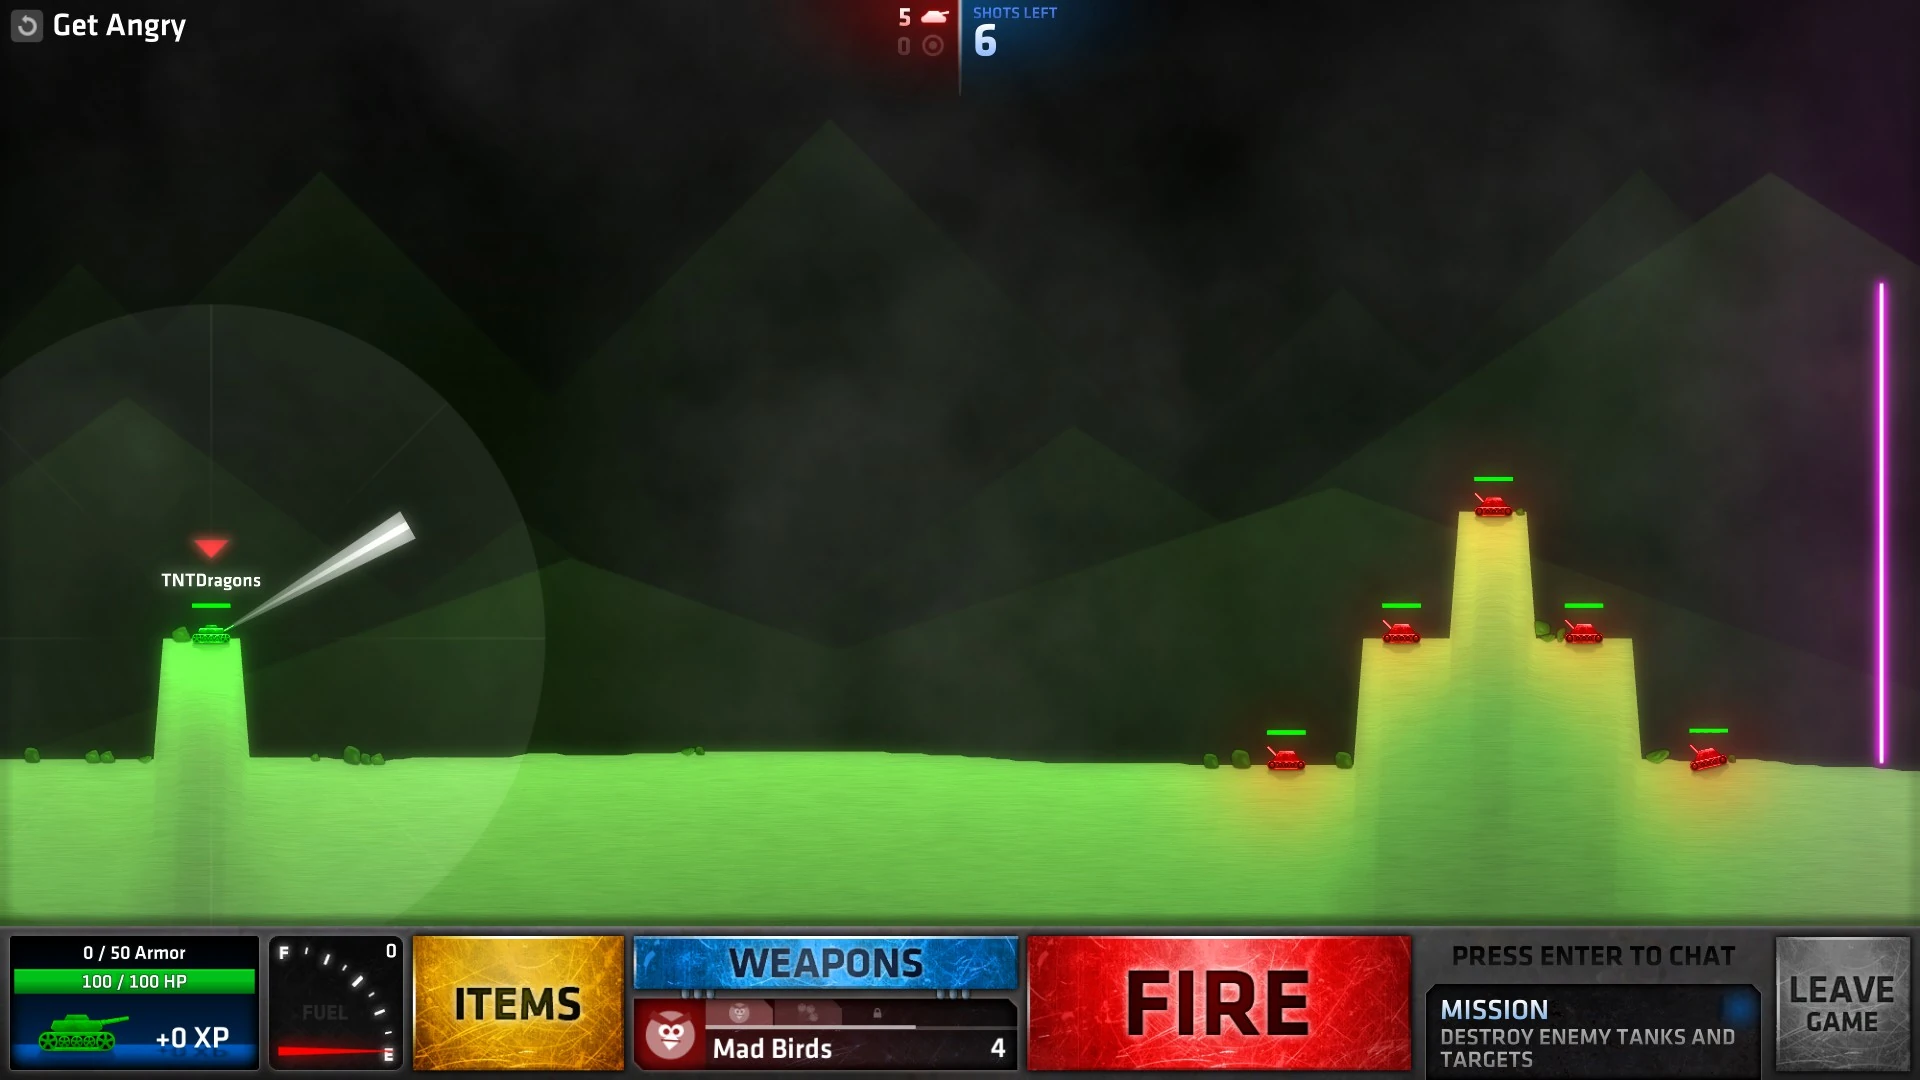
| + | Get Angry.jpg|[[Lone Wolf#Get Angry|Get Angry]] |
||
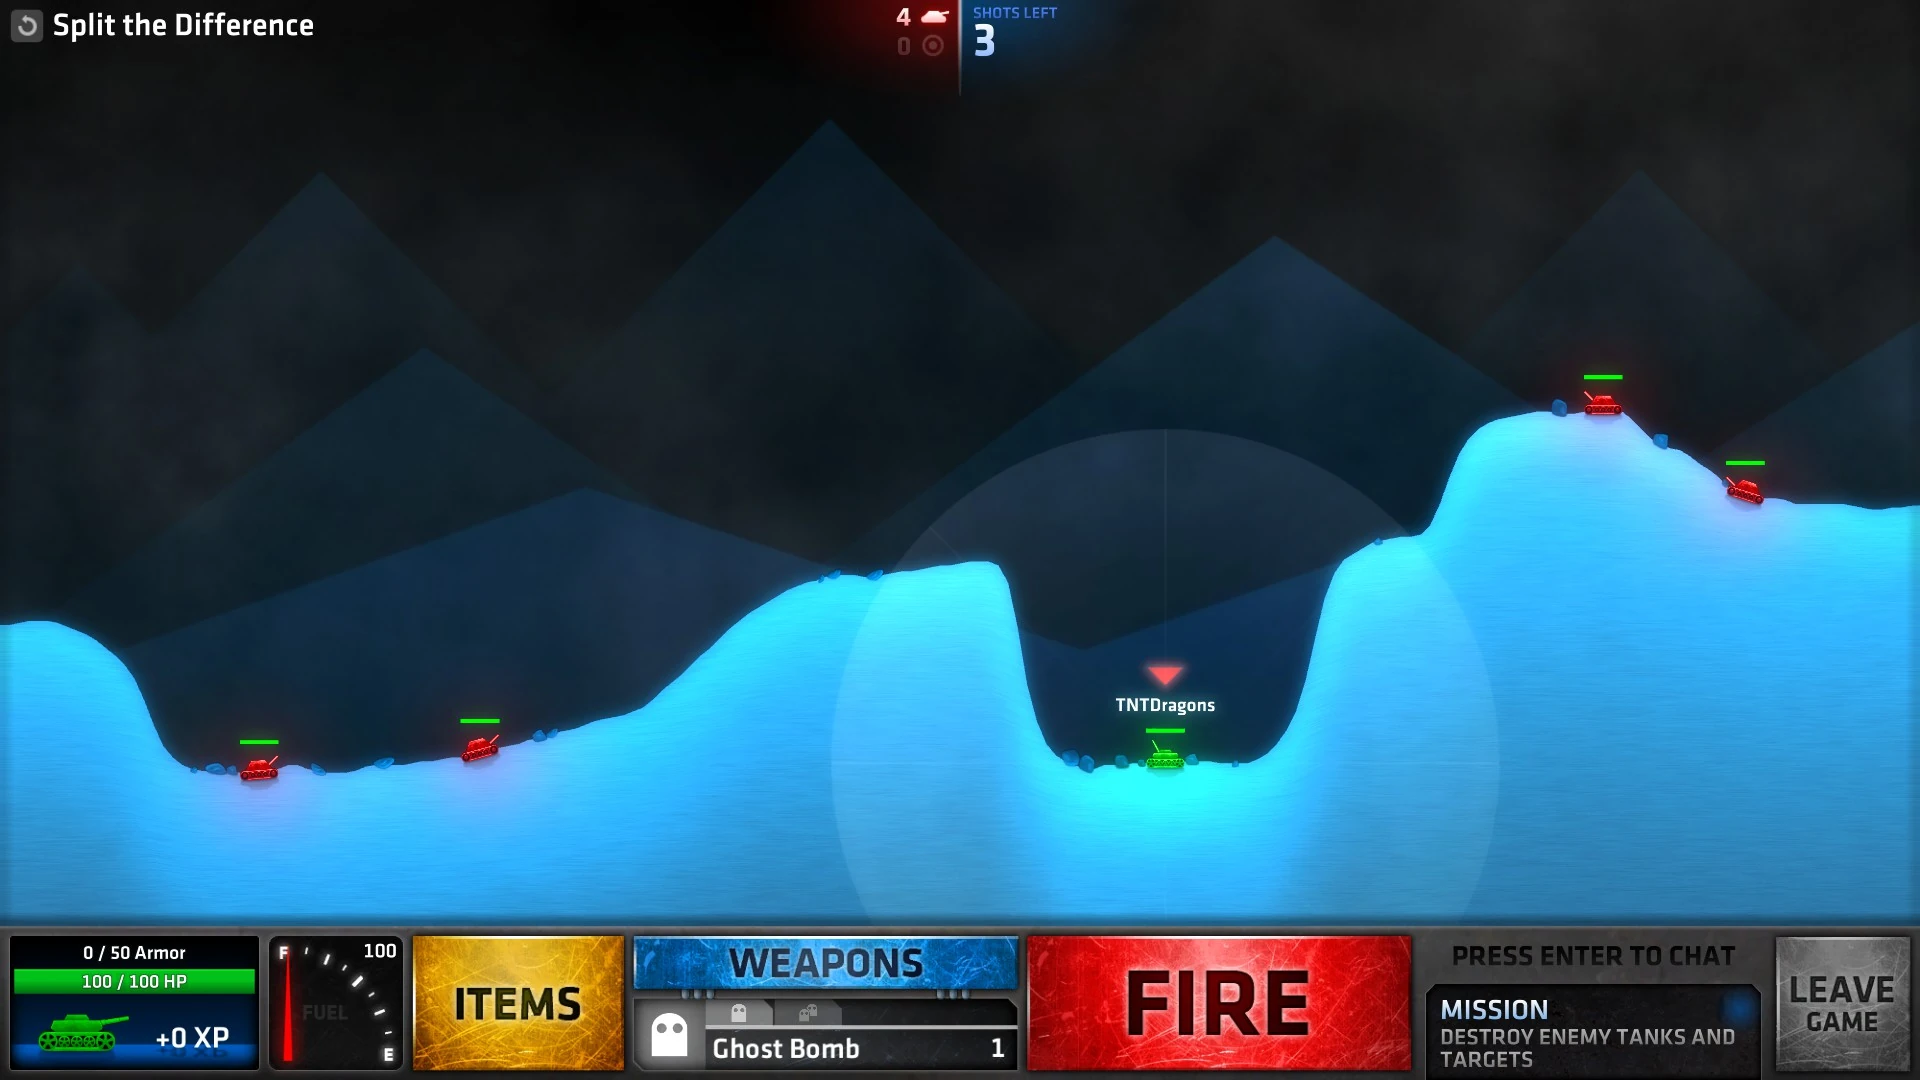
| + | Split The Difference.jpg|[[Lone Wolf#Split The Difference|Split The Difference]] |
||
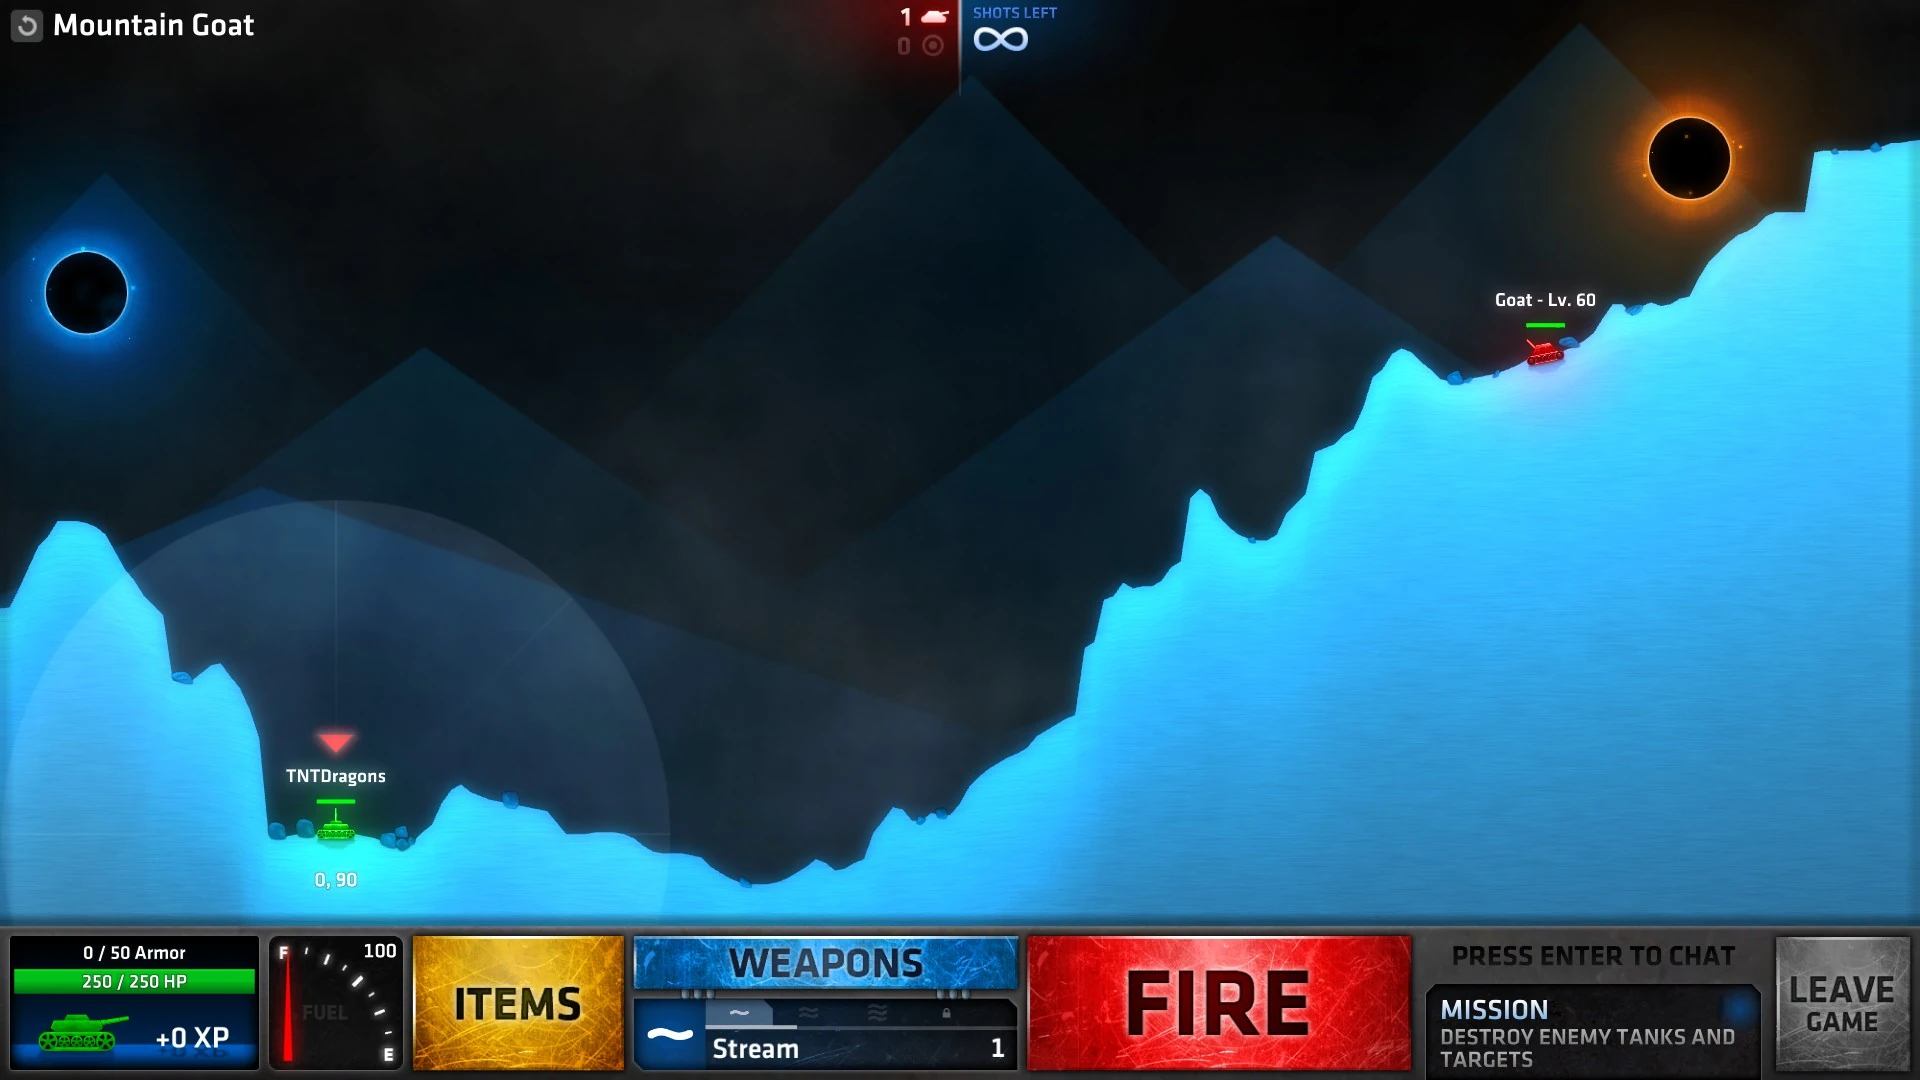
| + | Mountain Goat.jpg|[[Lone Wolf#Mountain Goat|Mountain Goat]] |
||
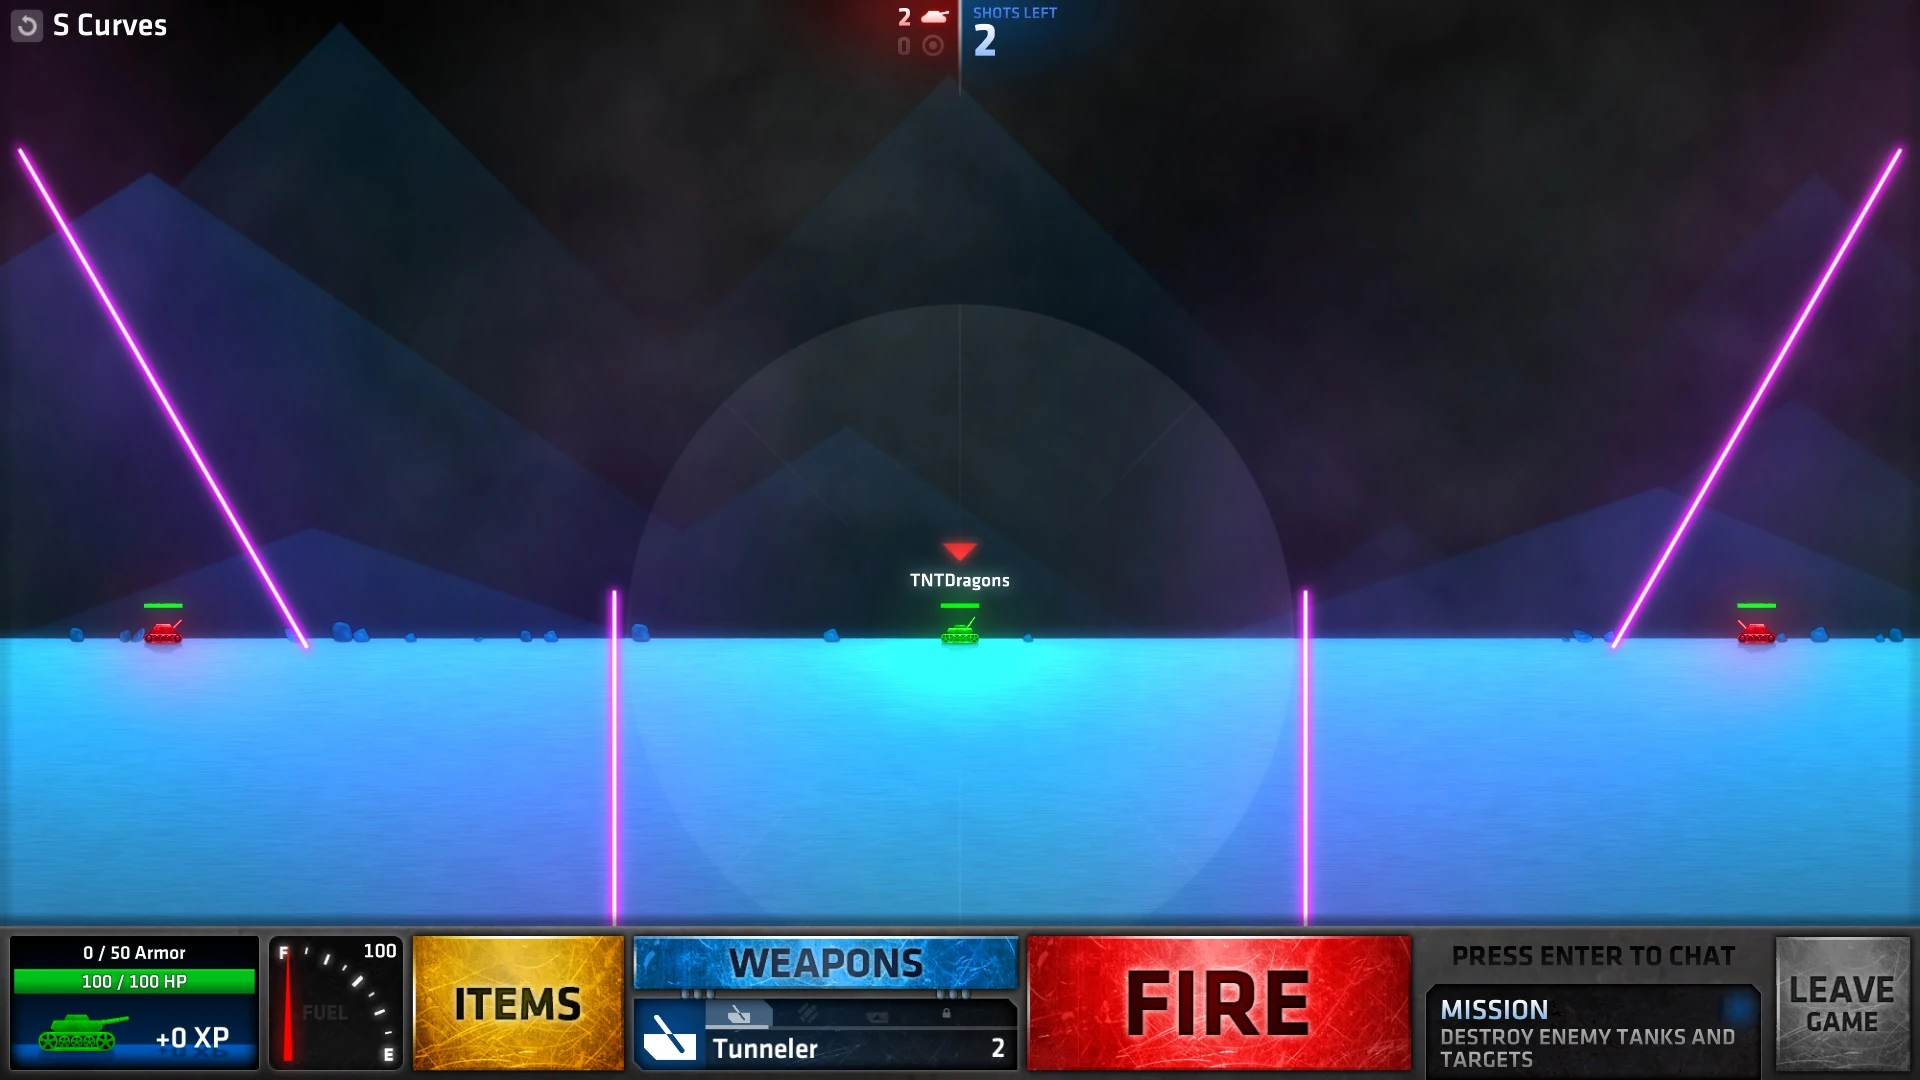
| + | S Curves.jpg|[[Lone Wolf#S Curves|S Curves]] |
||
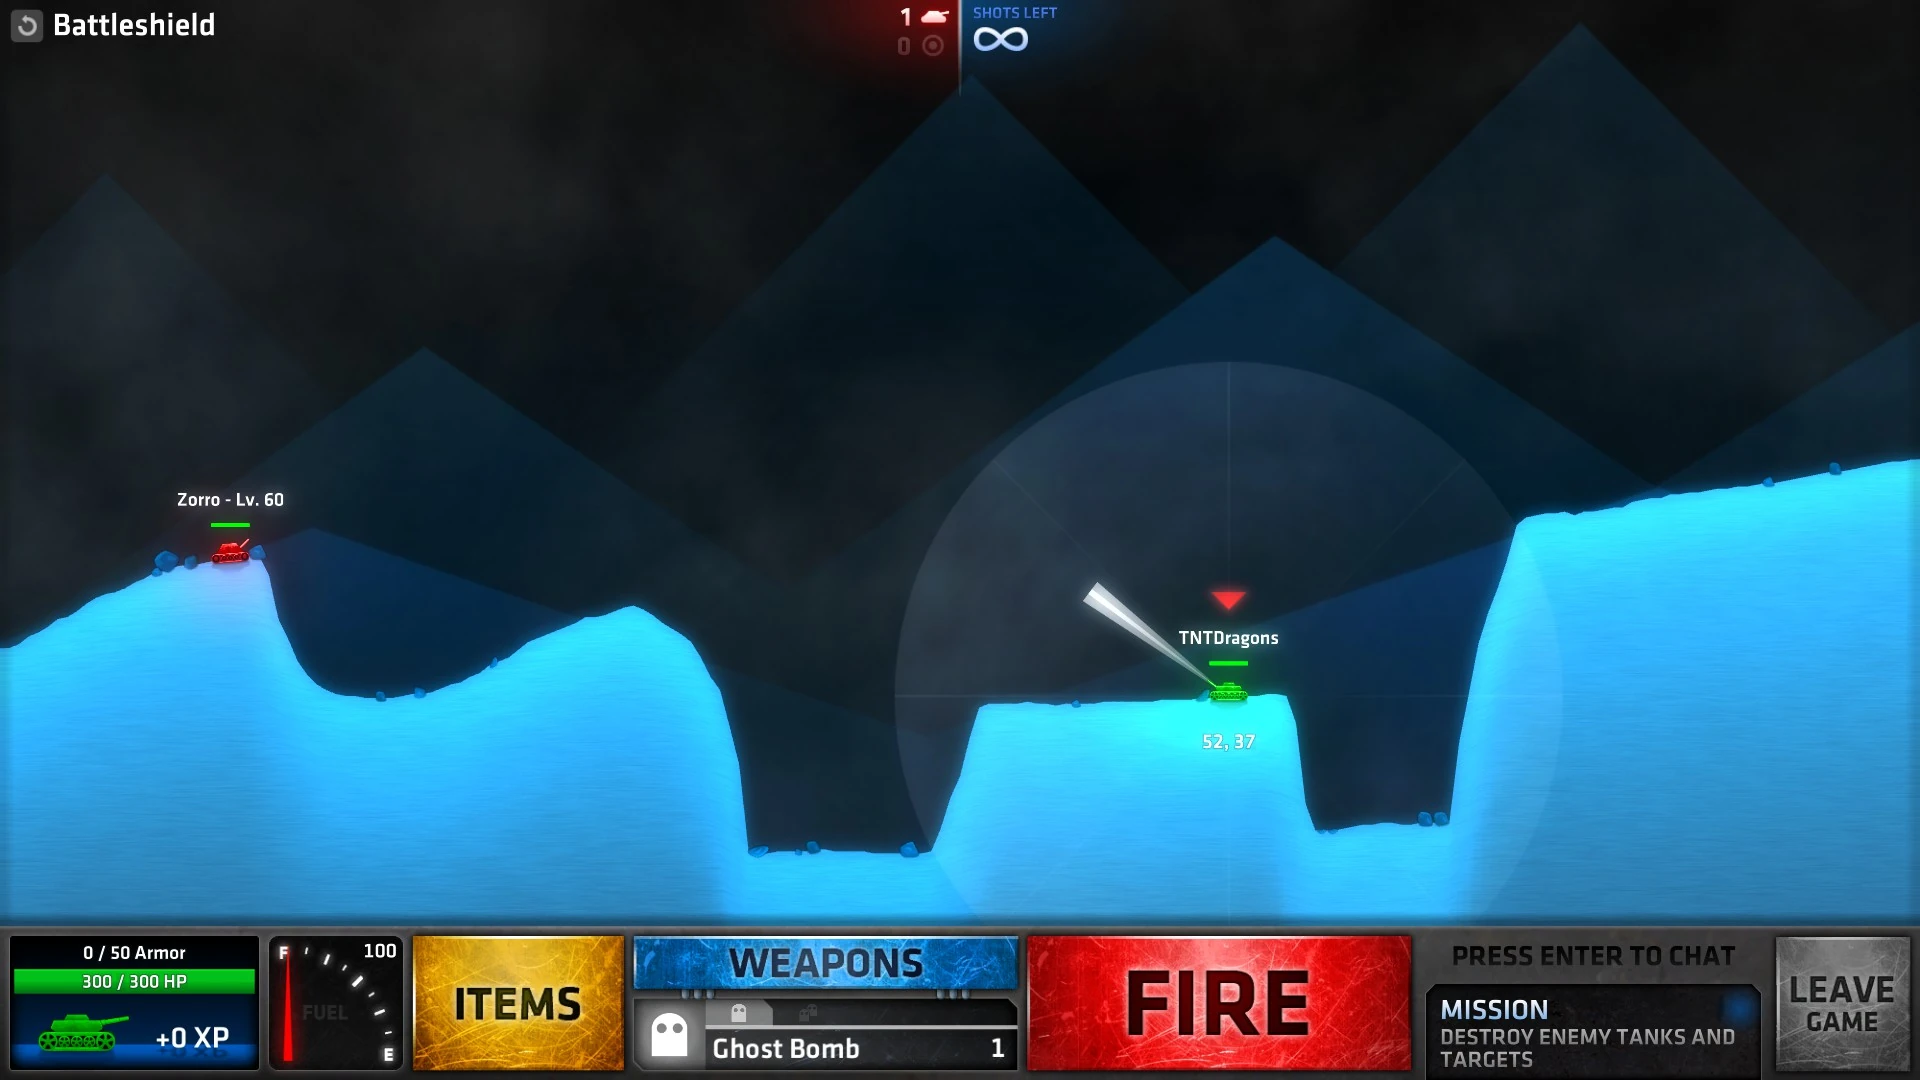
| + | Battleshield.jpg|[[Lone Wolf#Battleshield|Battleshield]] |
||
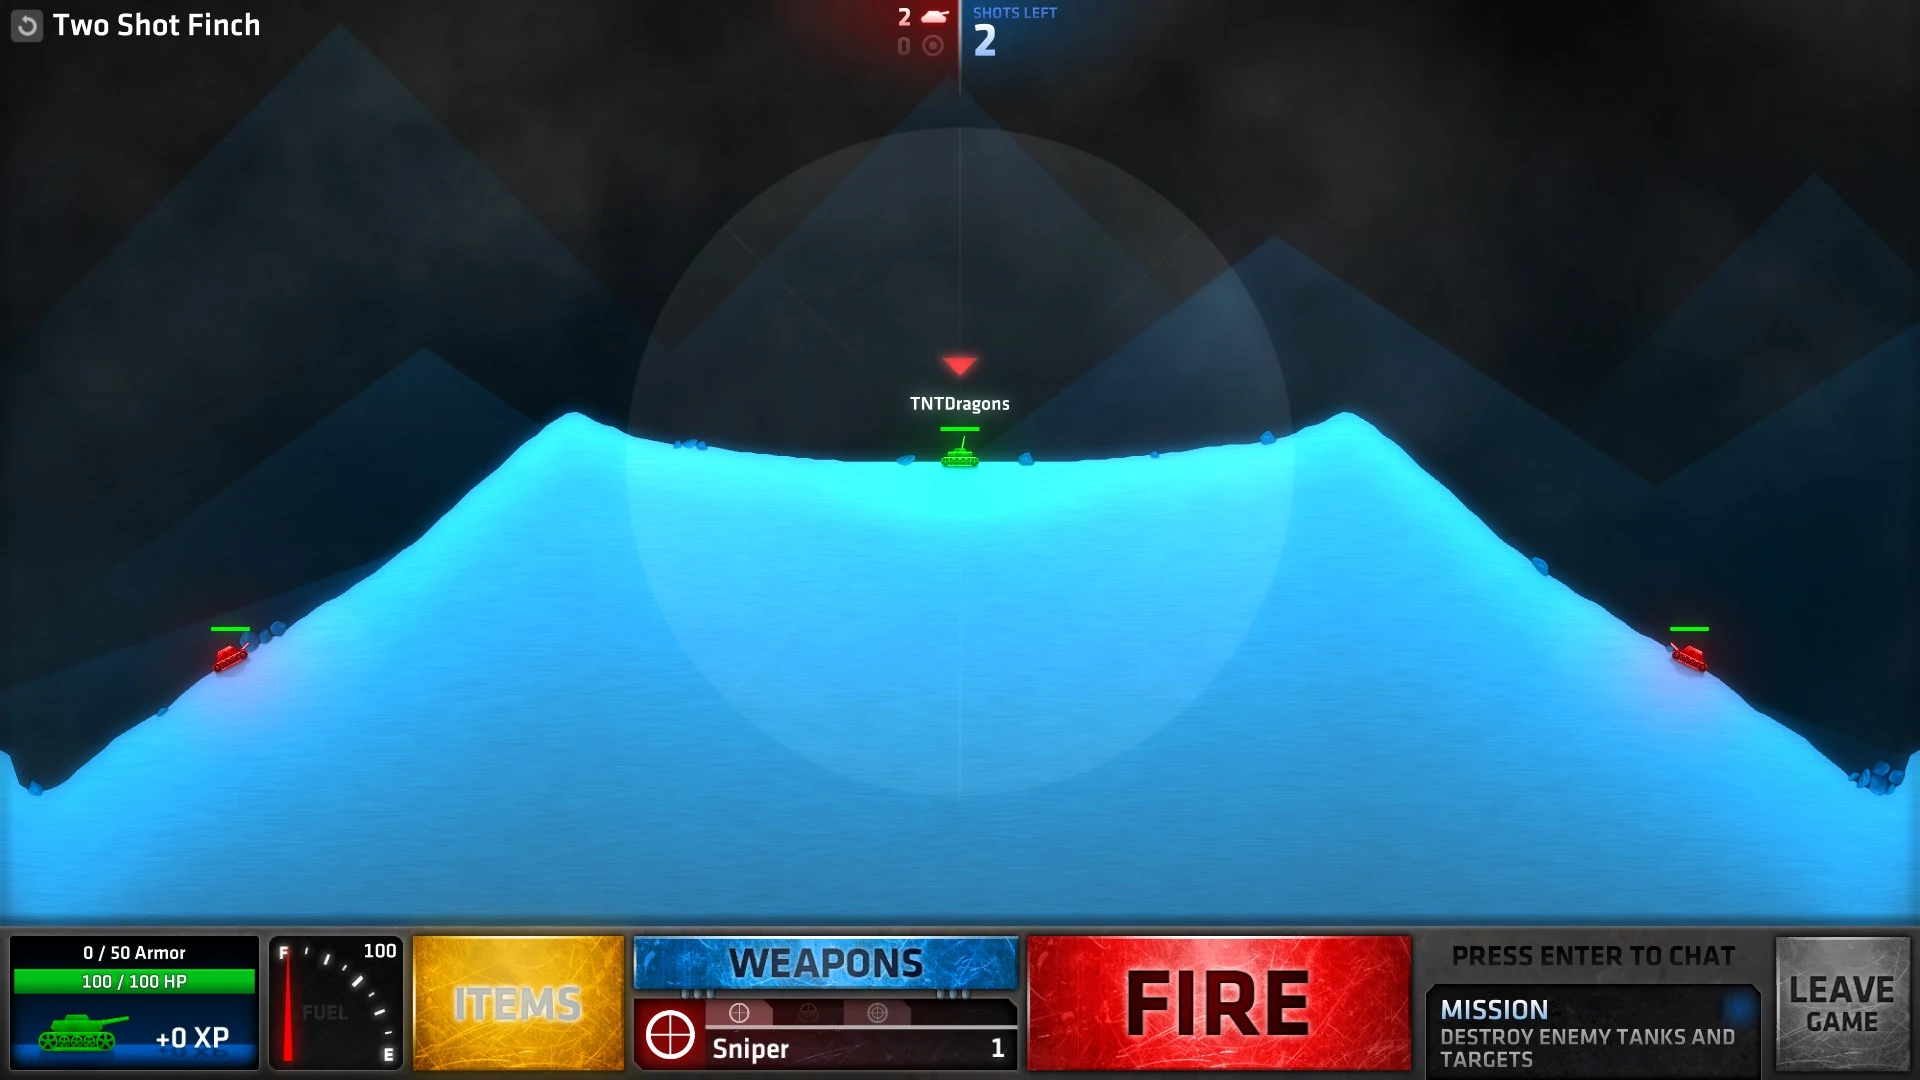
| + | Two Shot Finch.jpg|[[Lone Wolf#Two Shot Finch|Two Shot Finch]] |
||
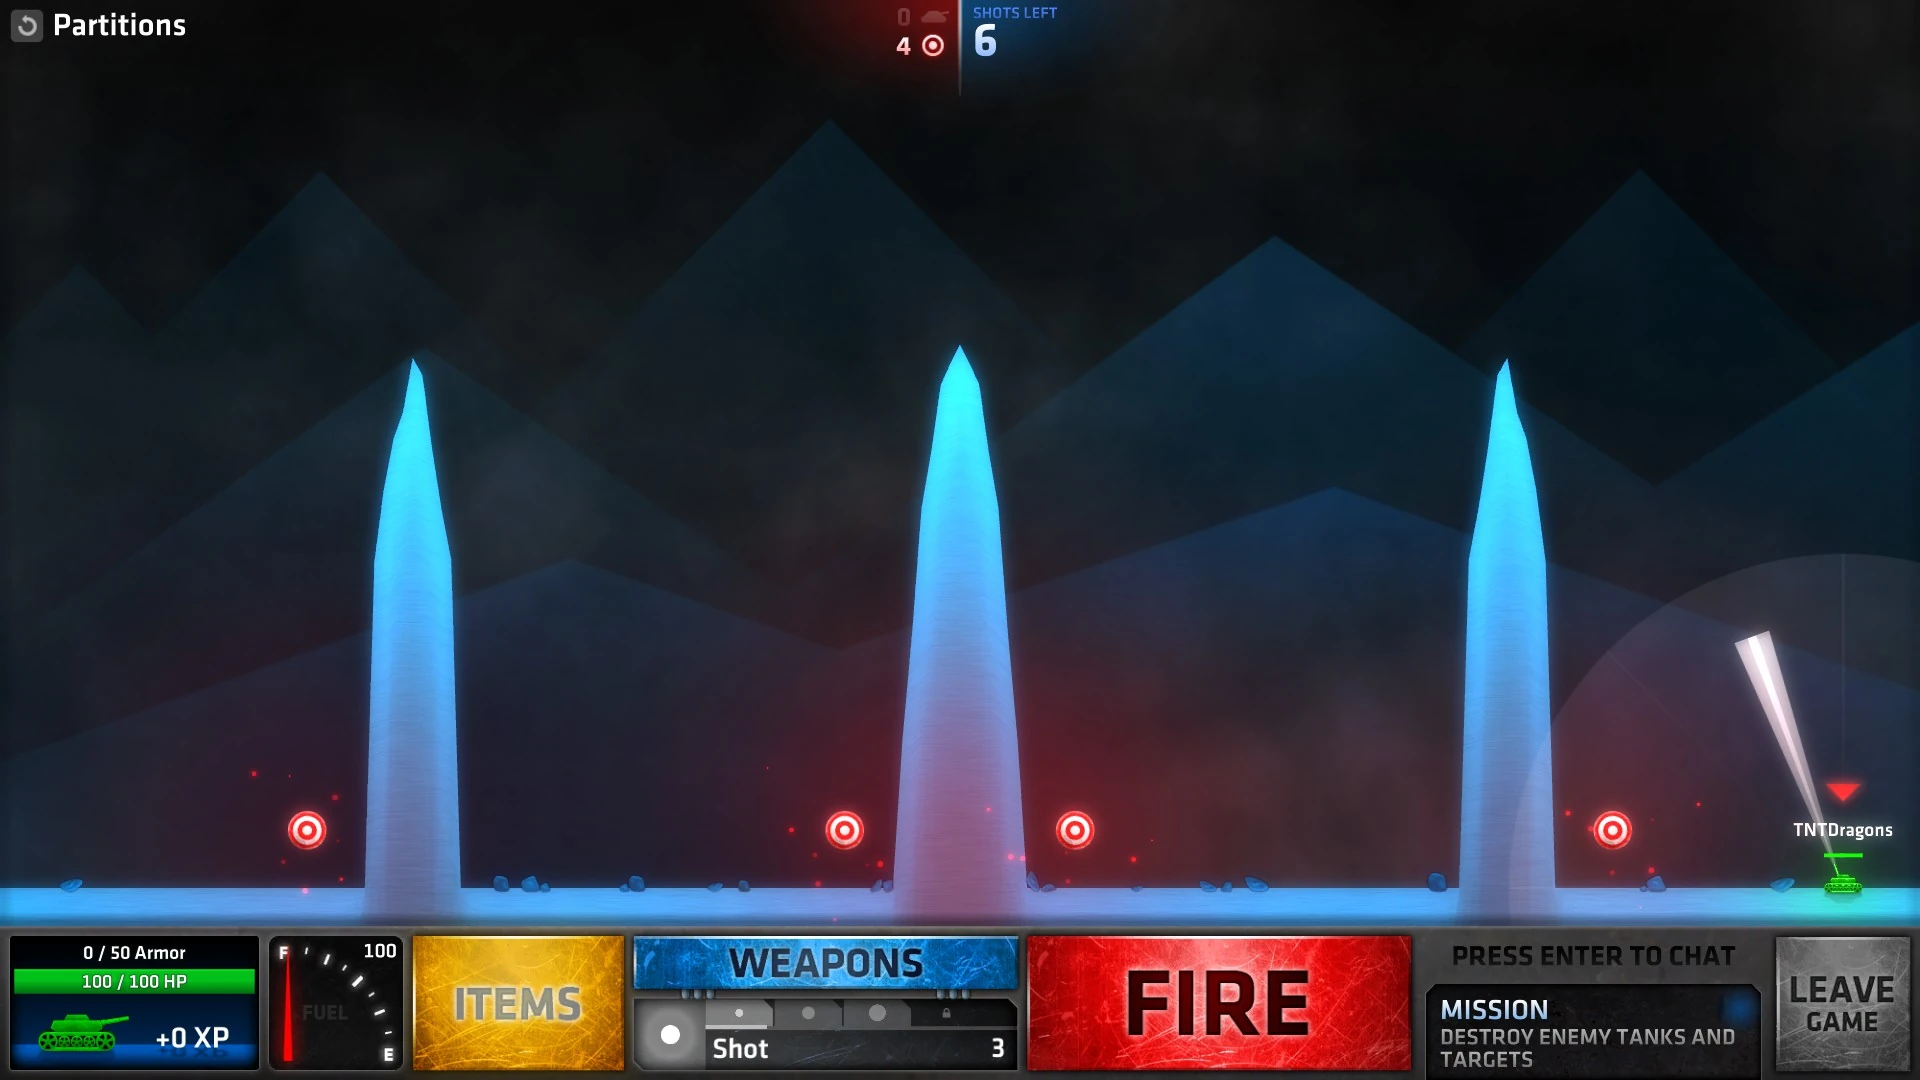
| + | Partitions.jpg|[[Lone Wolf#Partitions|Partitions]] |
||
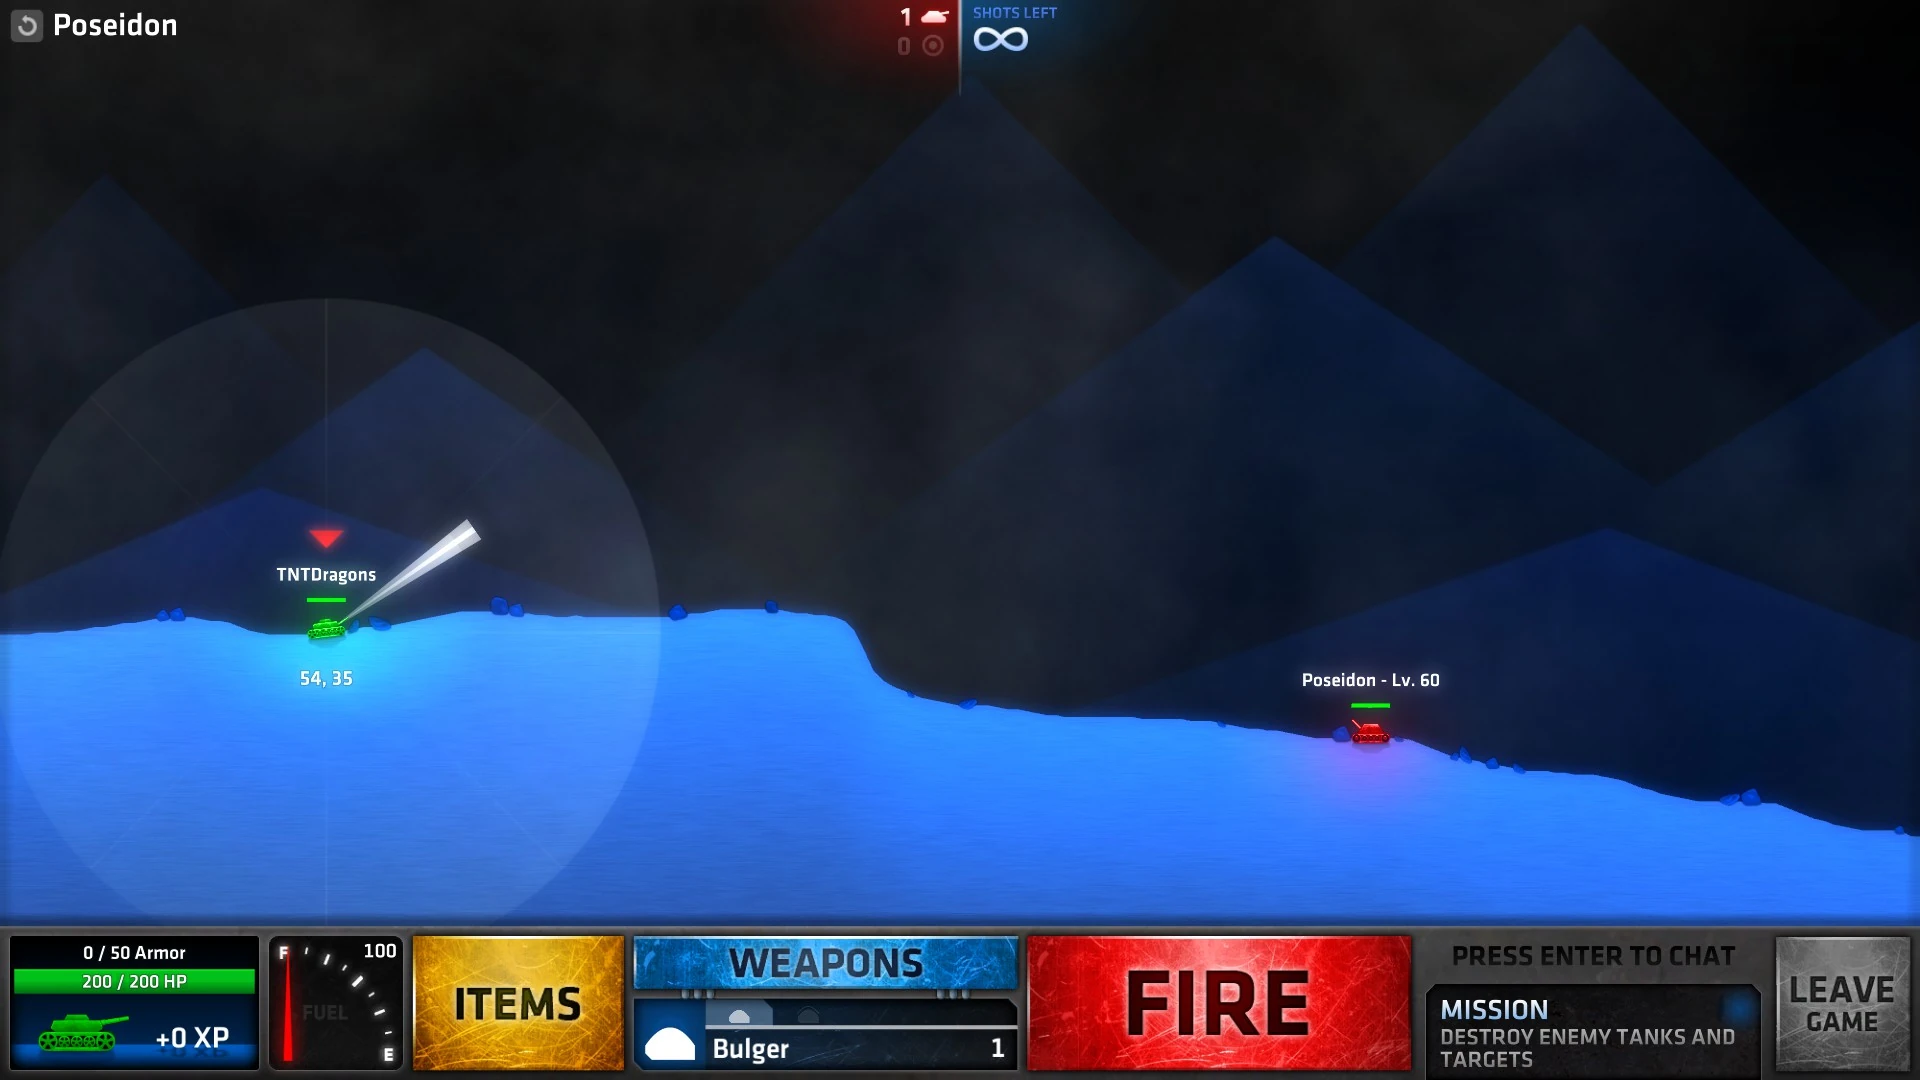
| + | Poseidon.jpg|[[Lone Wolf#Poseidon|Poseidon]] |
||
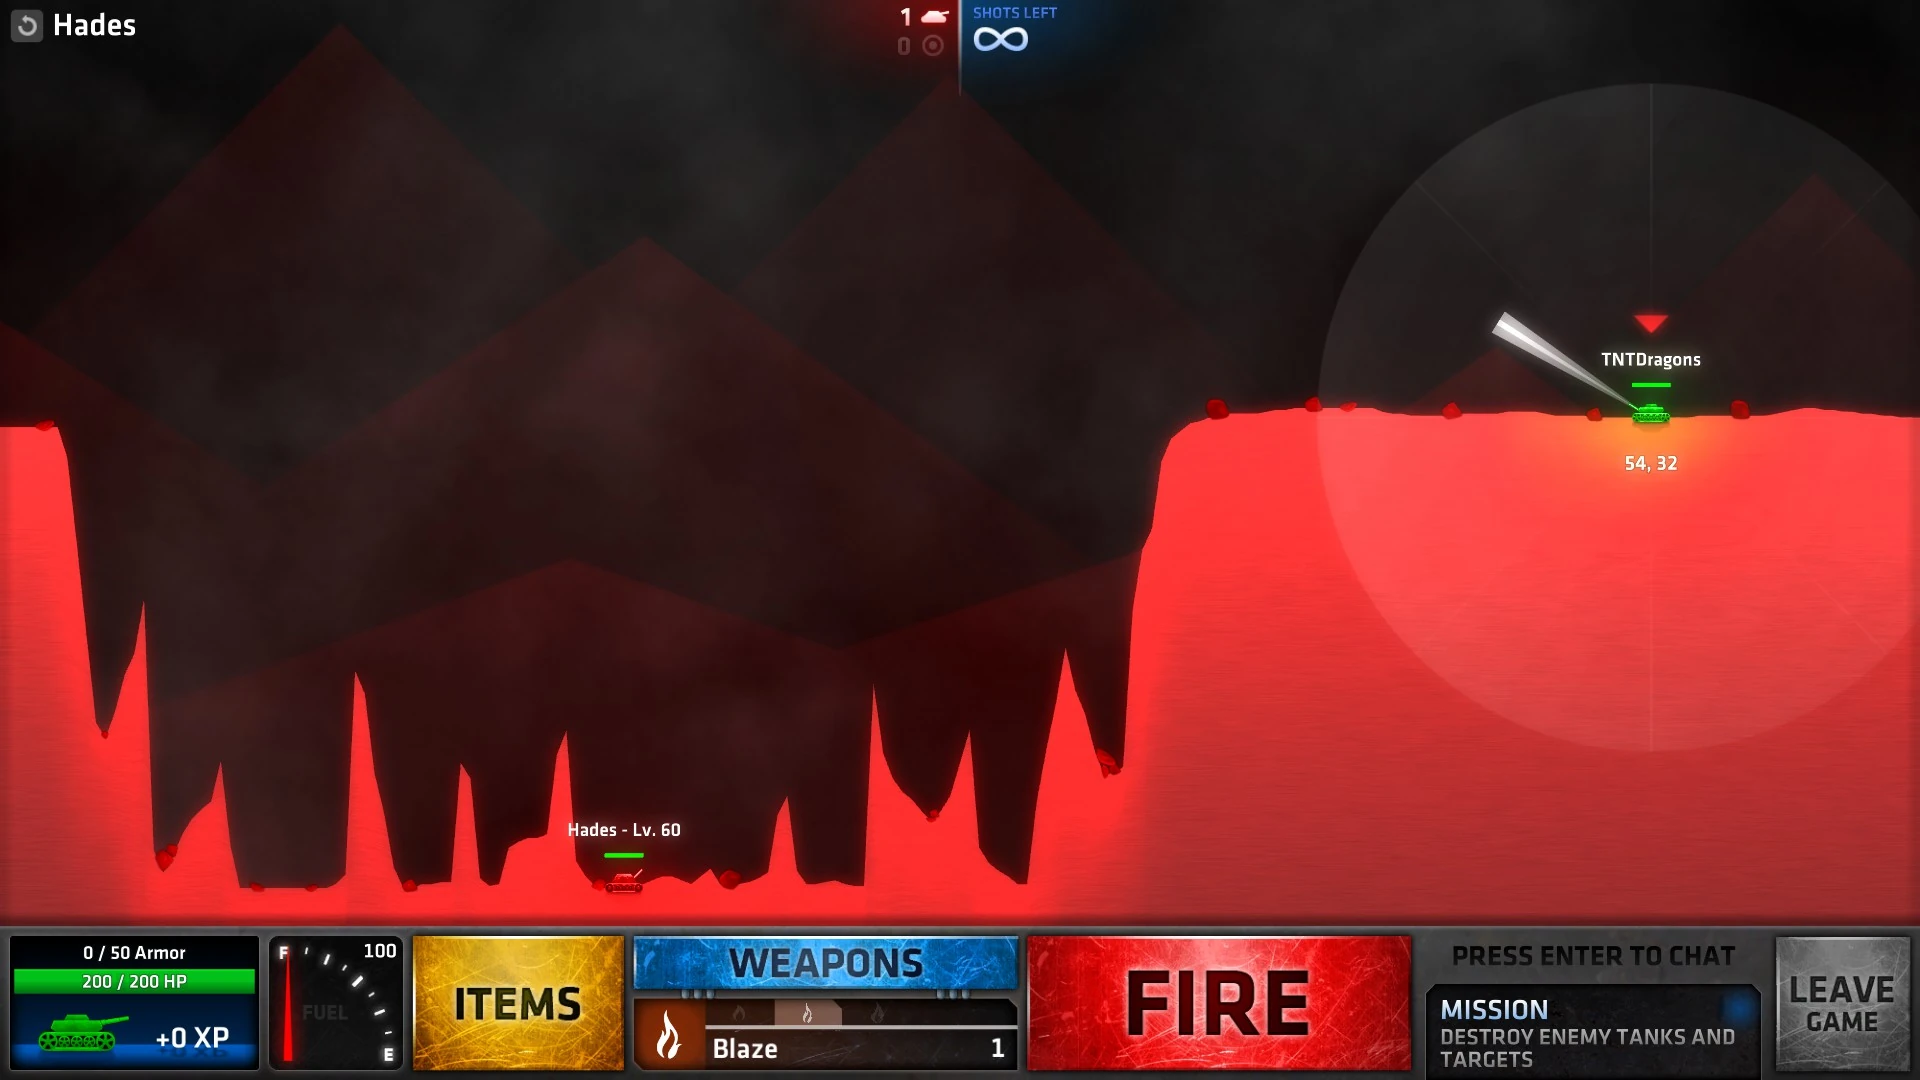
| + | Hades.jpg|[[Lone Wolf#Hades|Hades]] |
||
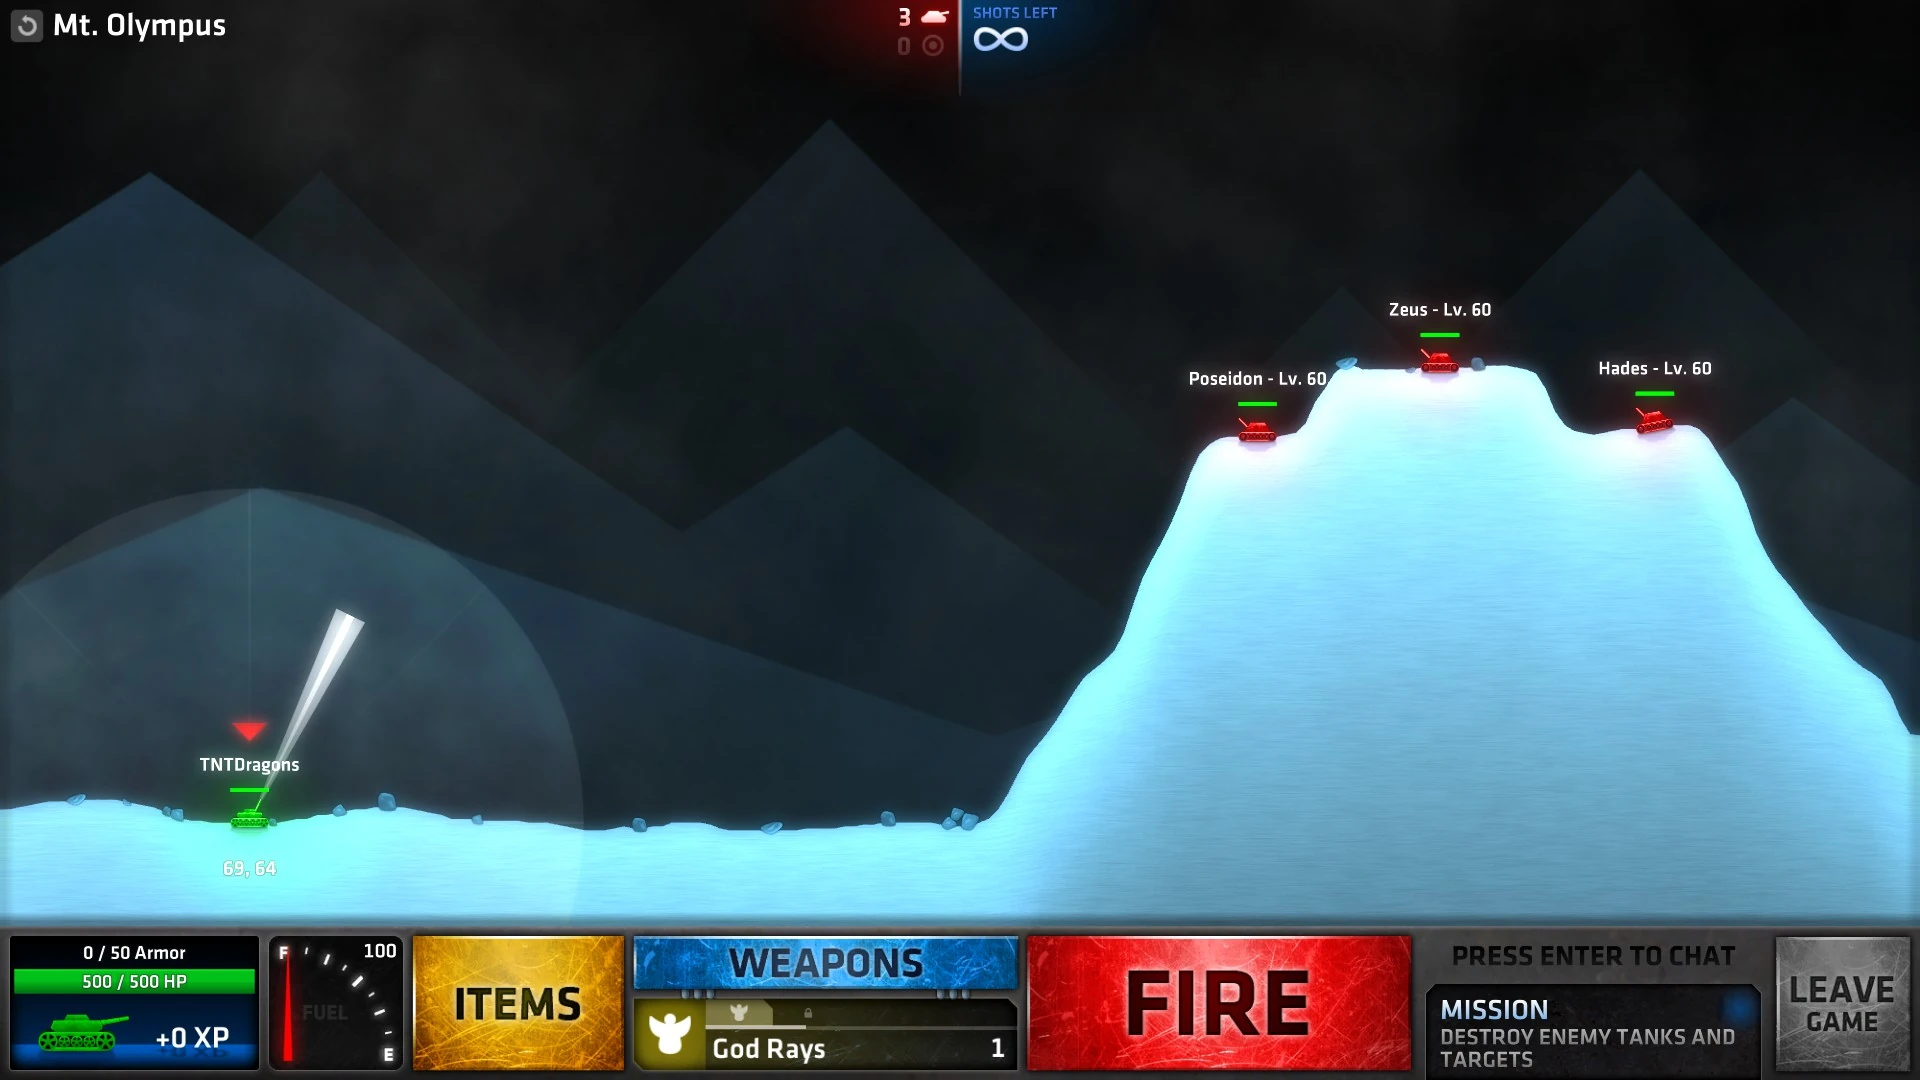
| + | Mt. Olympus.jpg|[[Lone Wolf#Mt. Olympus|Mt. Olympus]] |
||
| + | </gallery> |
||
| + | |||
| + | == [[Penultimate]] == |
||
| + | <gallery> |
||
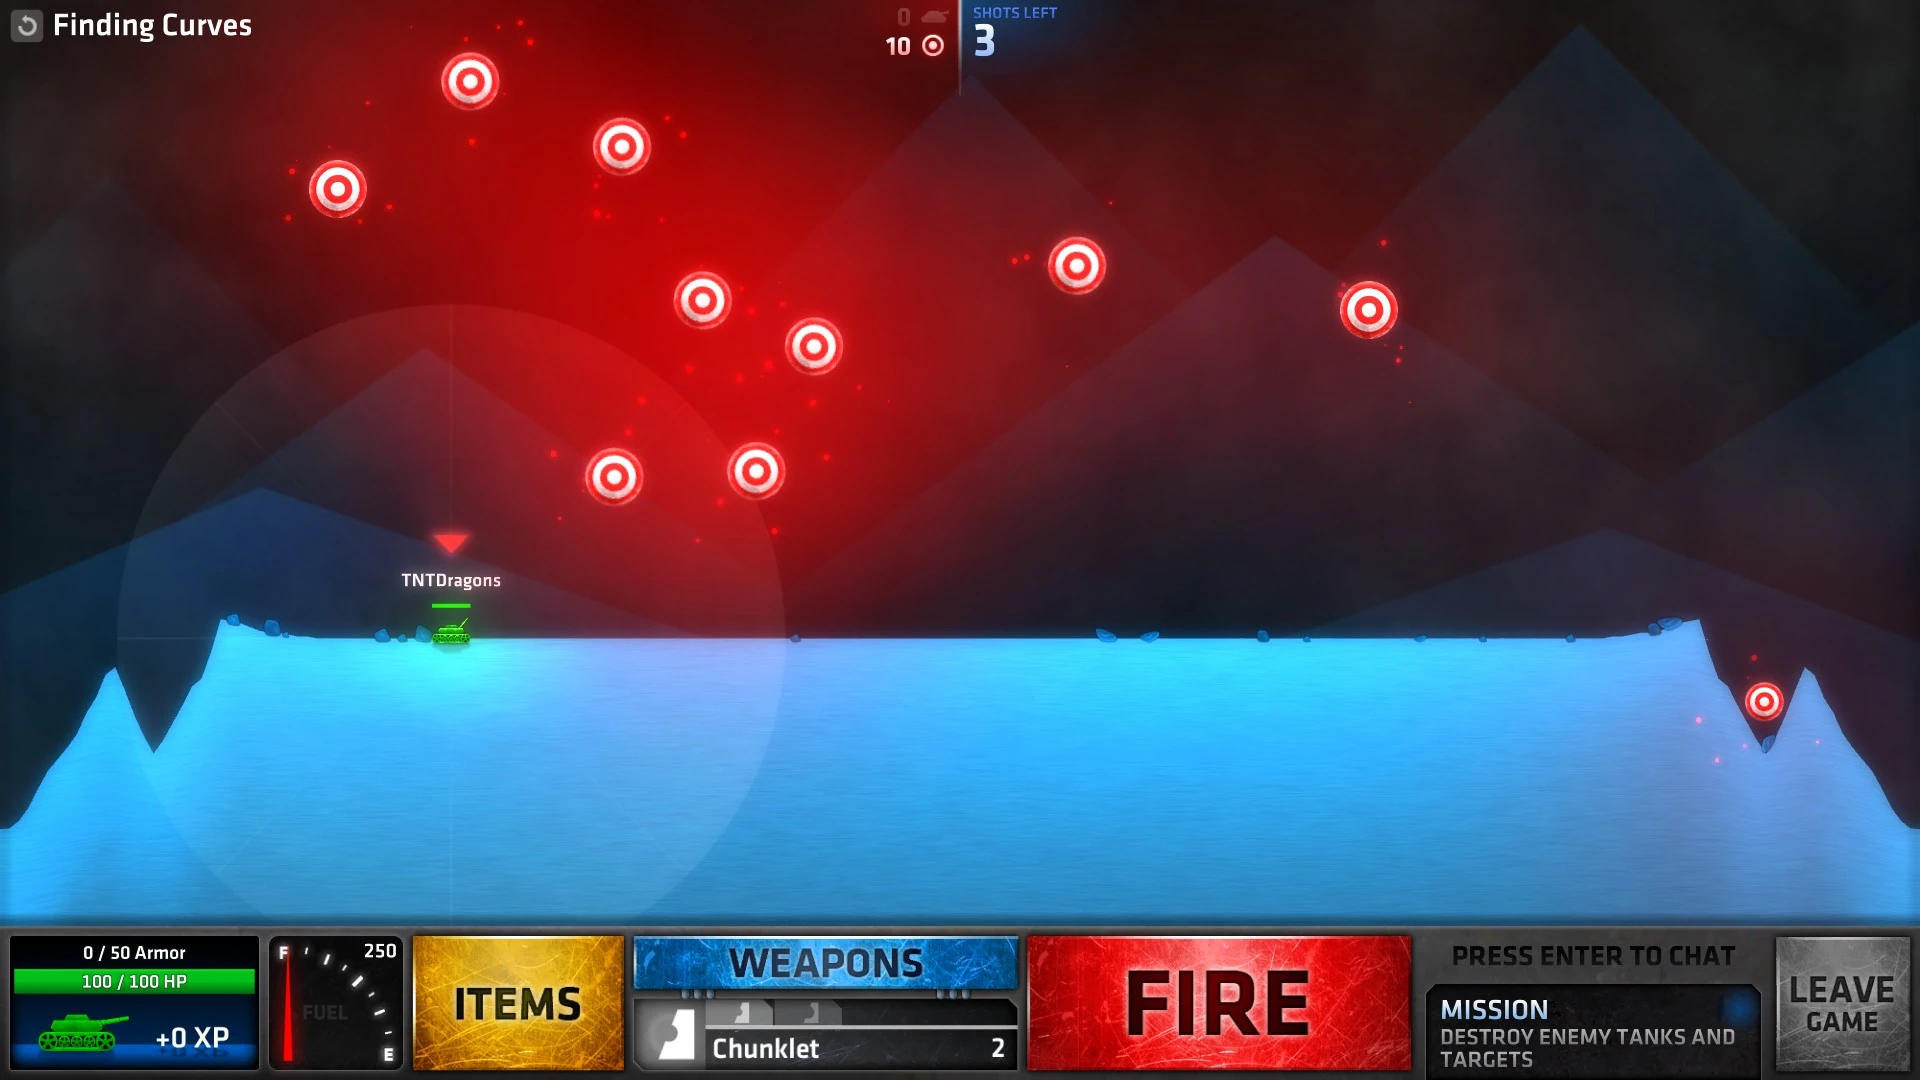
| + | Finding Curves.jpg|[[Penultimate#Finding Curves|Finding Curves]] |
||
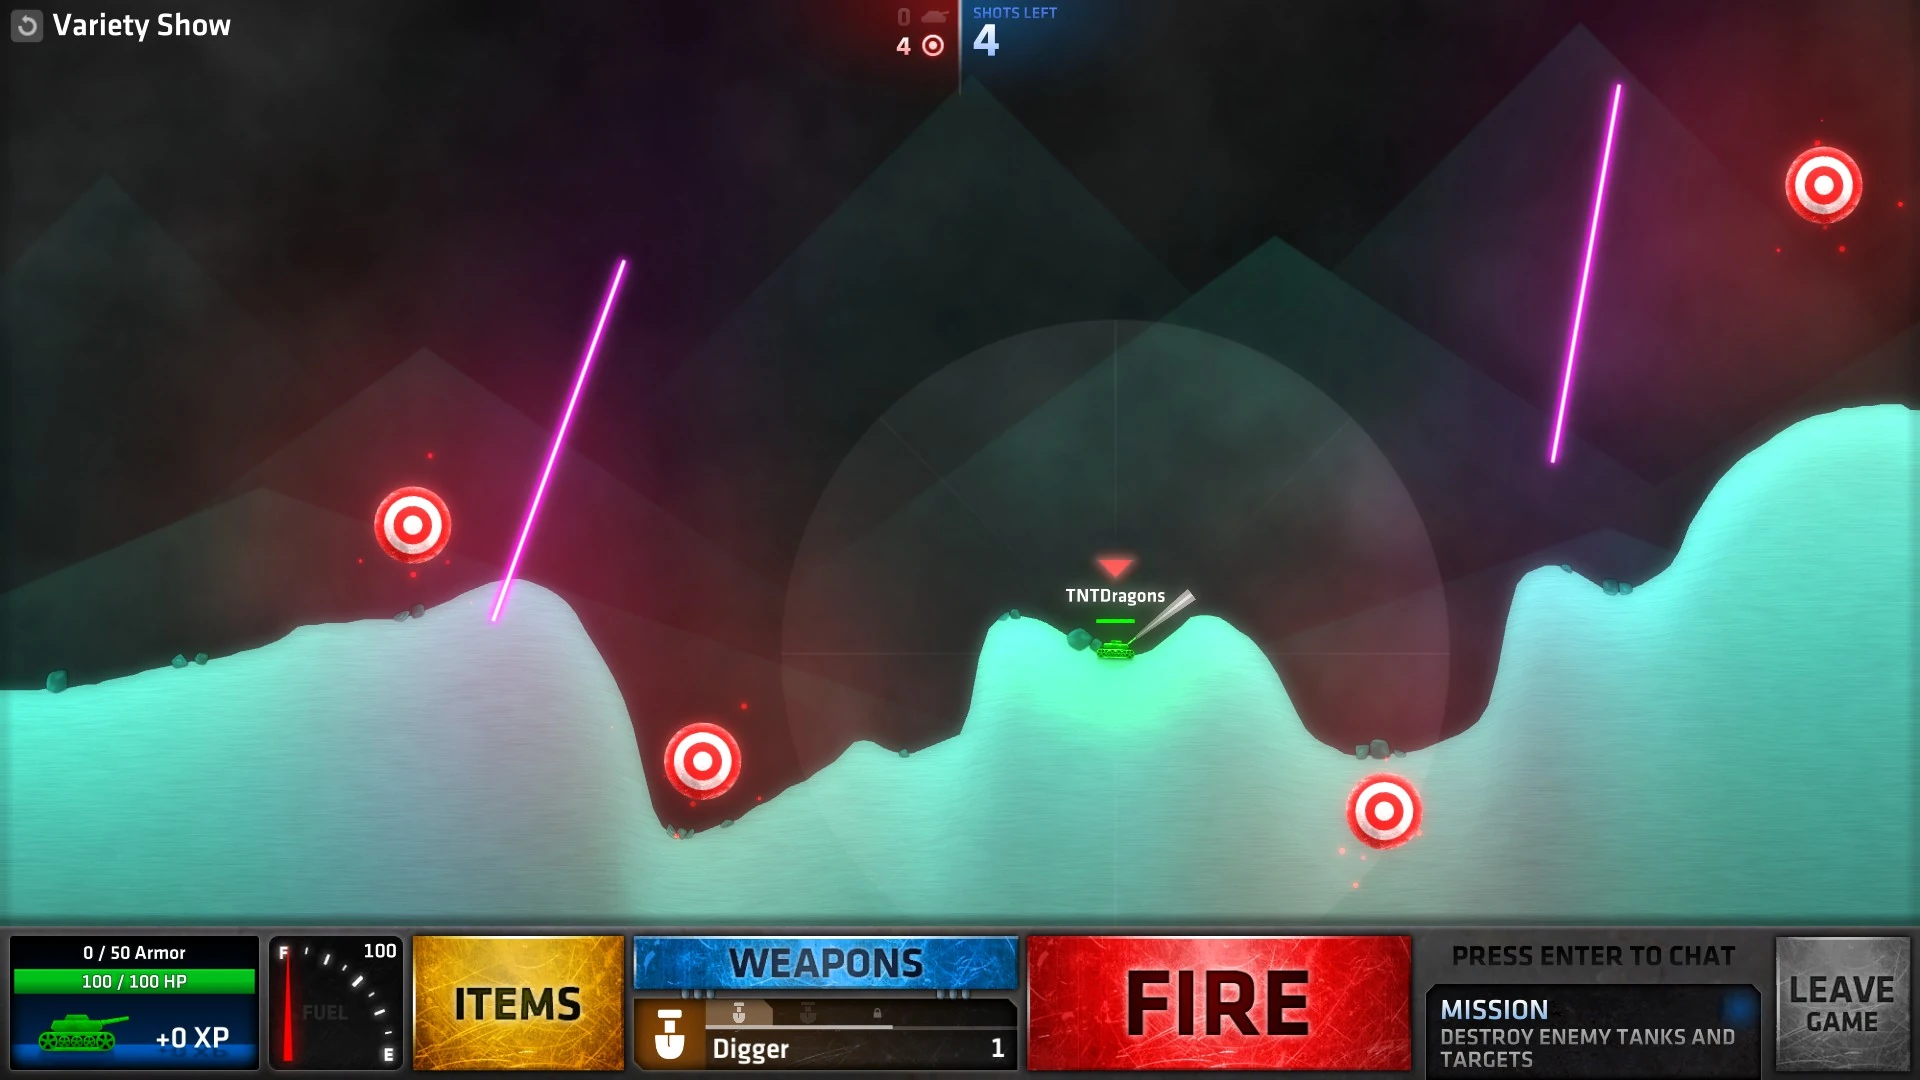
| + | Variety Show.jpg|[[Penultimate#Variety Show|Variety Show]] |
||
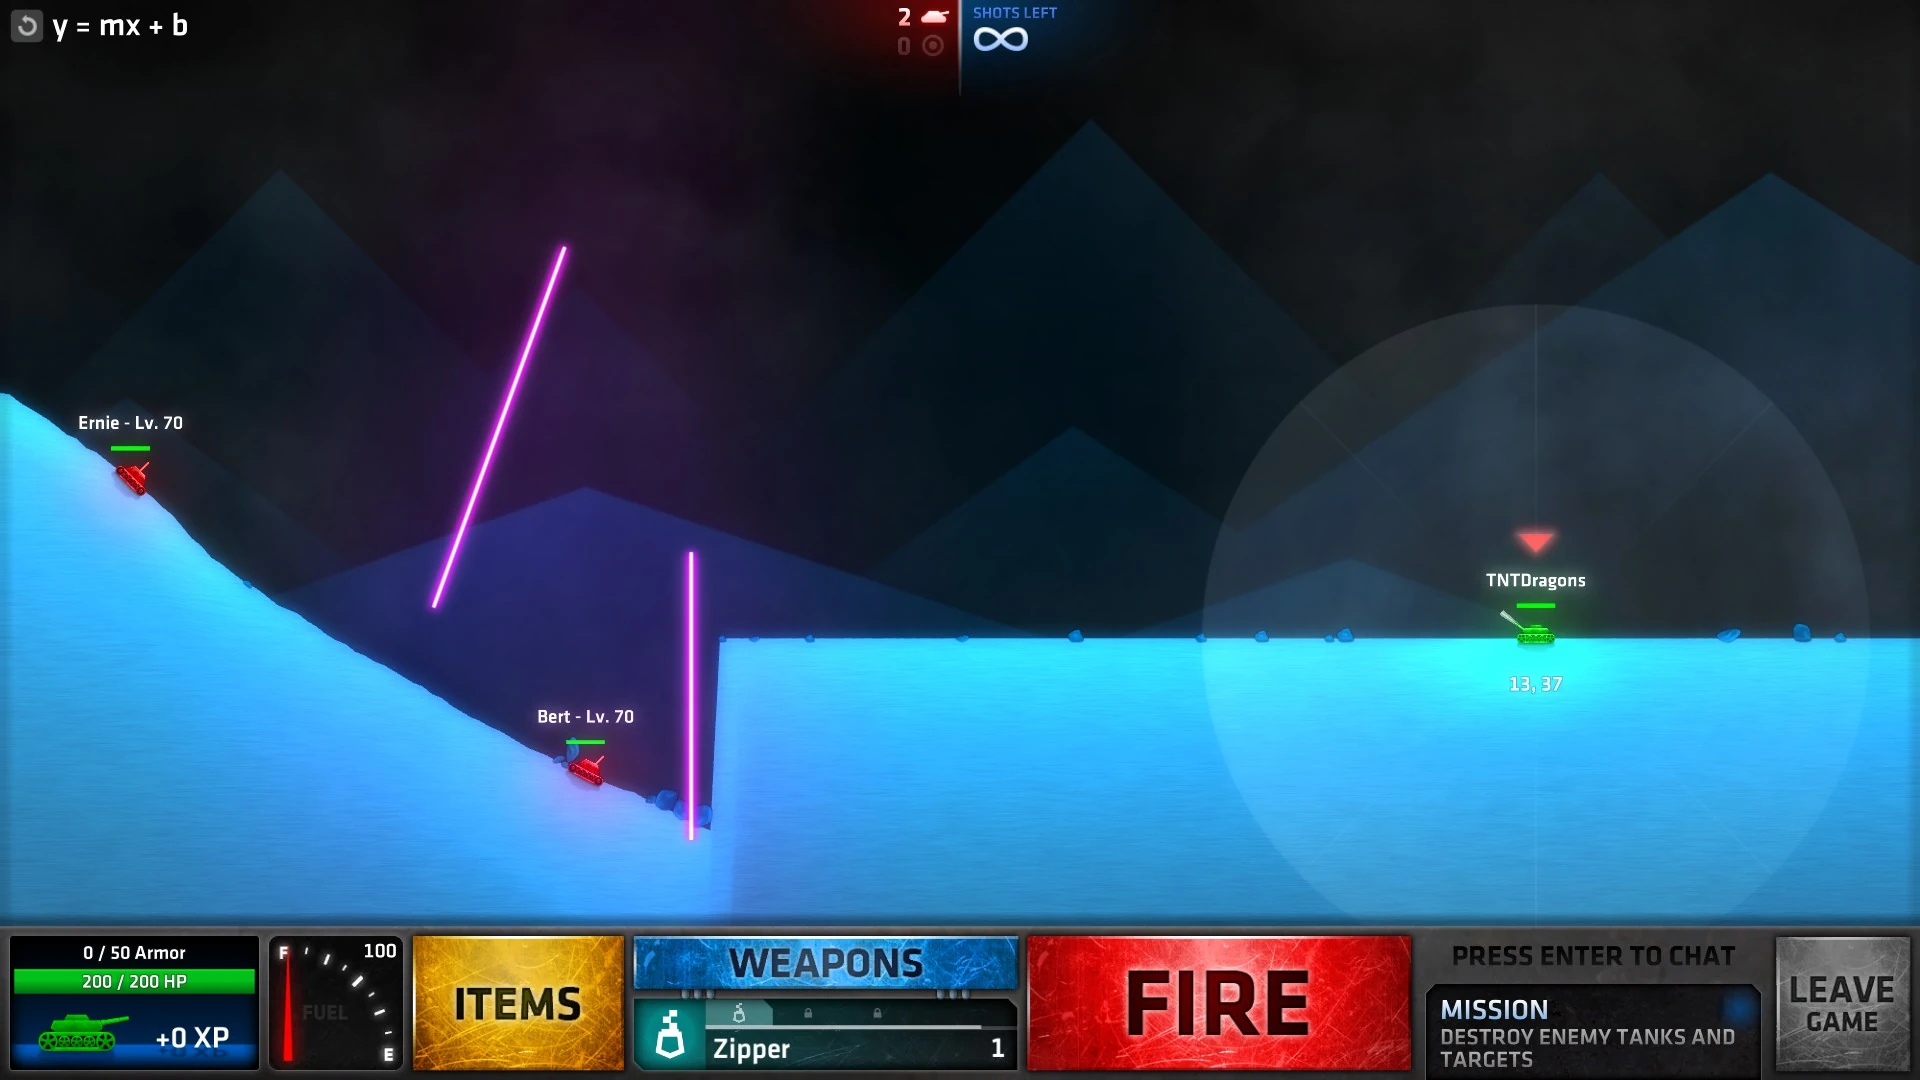
| + | functionMission.jpg|[[Penultimate#y = mx + b|y = mx + b]] |
||
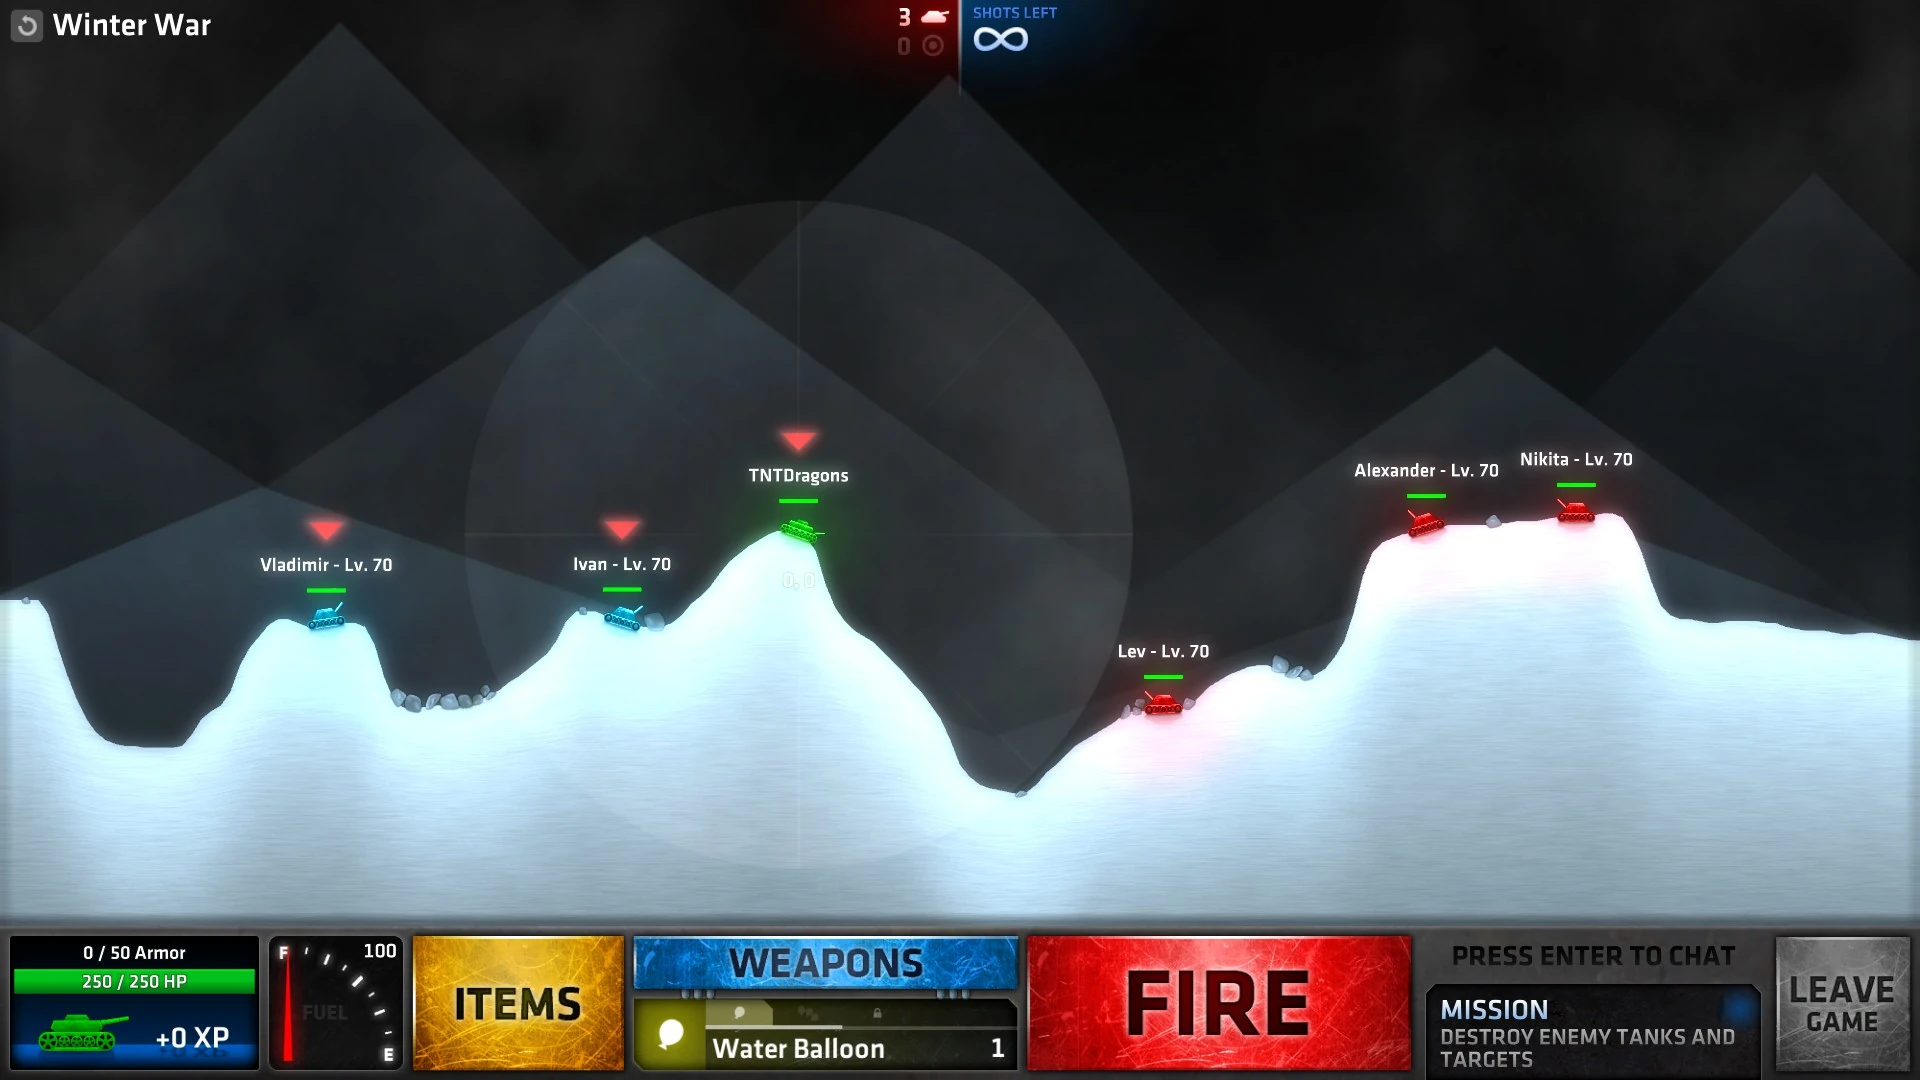
| + | Winter War.jpg|[[Penultimate#Winter War|Winter War]] |
||
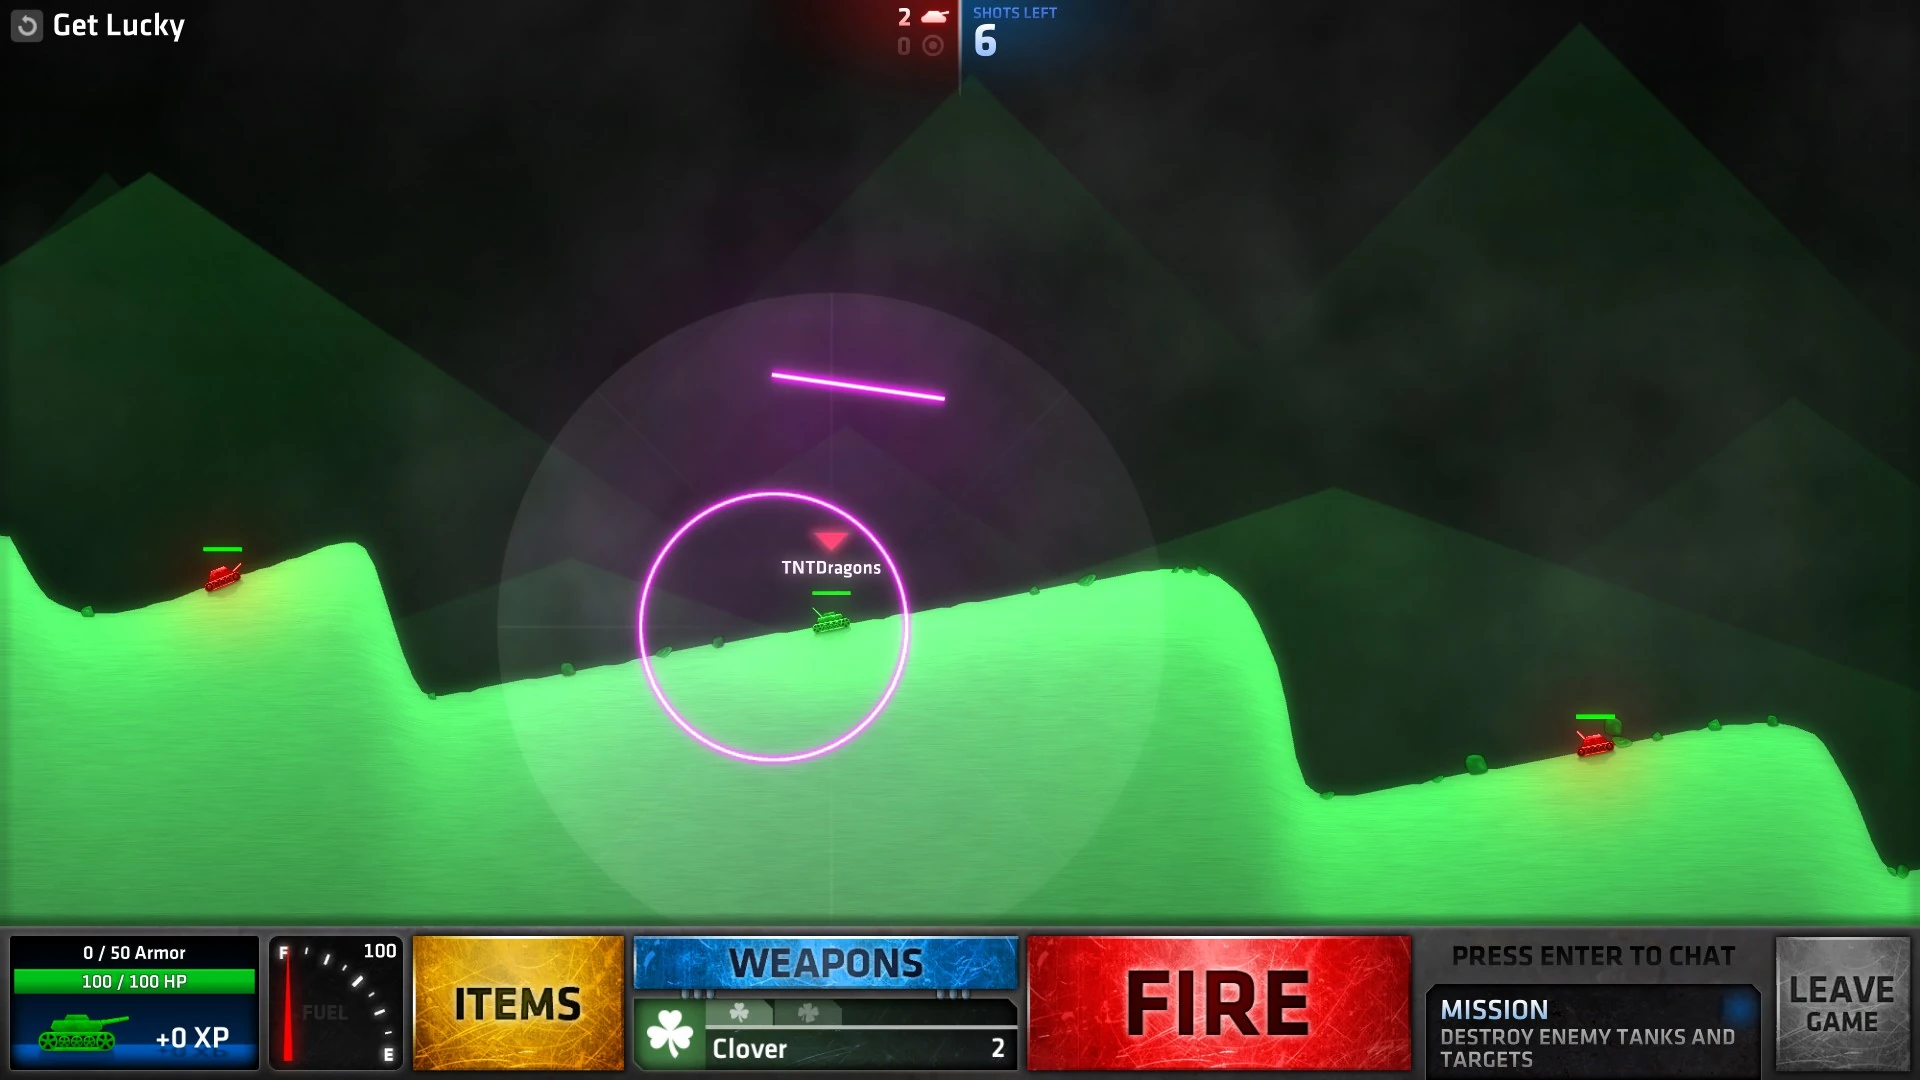
| + | Get Lucky.jpg|[[Penultimate#Get Lucky|Get Lucky]] |
||
| + | Over and Back.jpg|[[Penultimate#Over and Back|Over and Back]] |
||
| + | Crowded.jpg|[[Penultimate#Crowded|Crowded]] |
||
| + | Lobsided.jpg|[[Penultimate#Lobsided|Lobsided]] |
||
| + | Hover Hour.jpg|[[Penultimate#Hover Hour|Hover Hour]] |
||
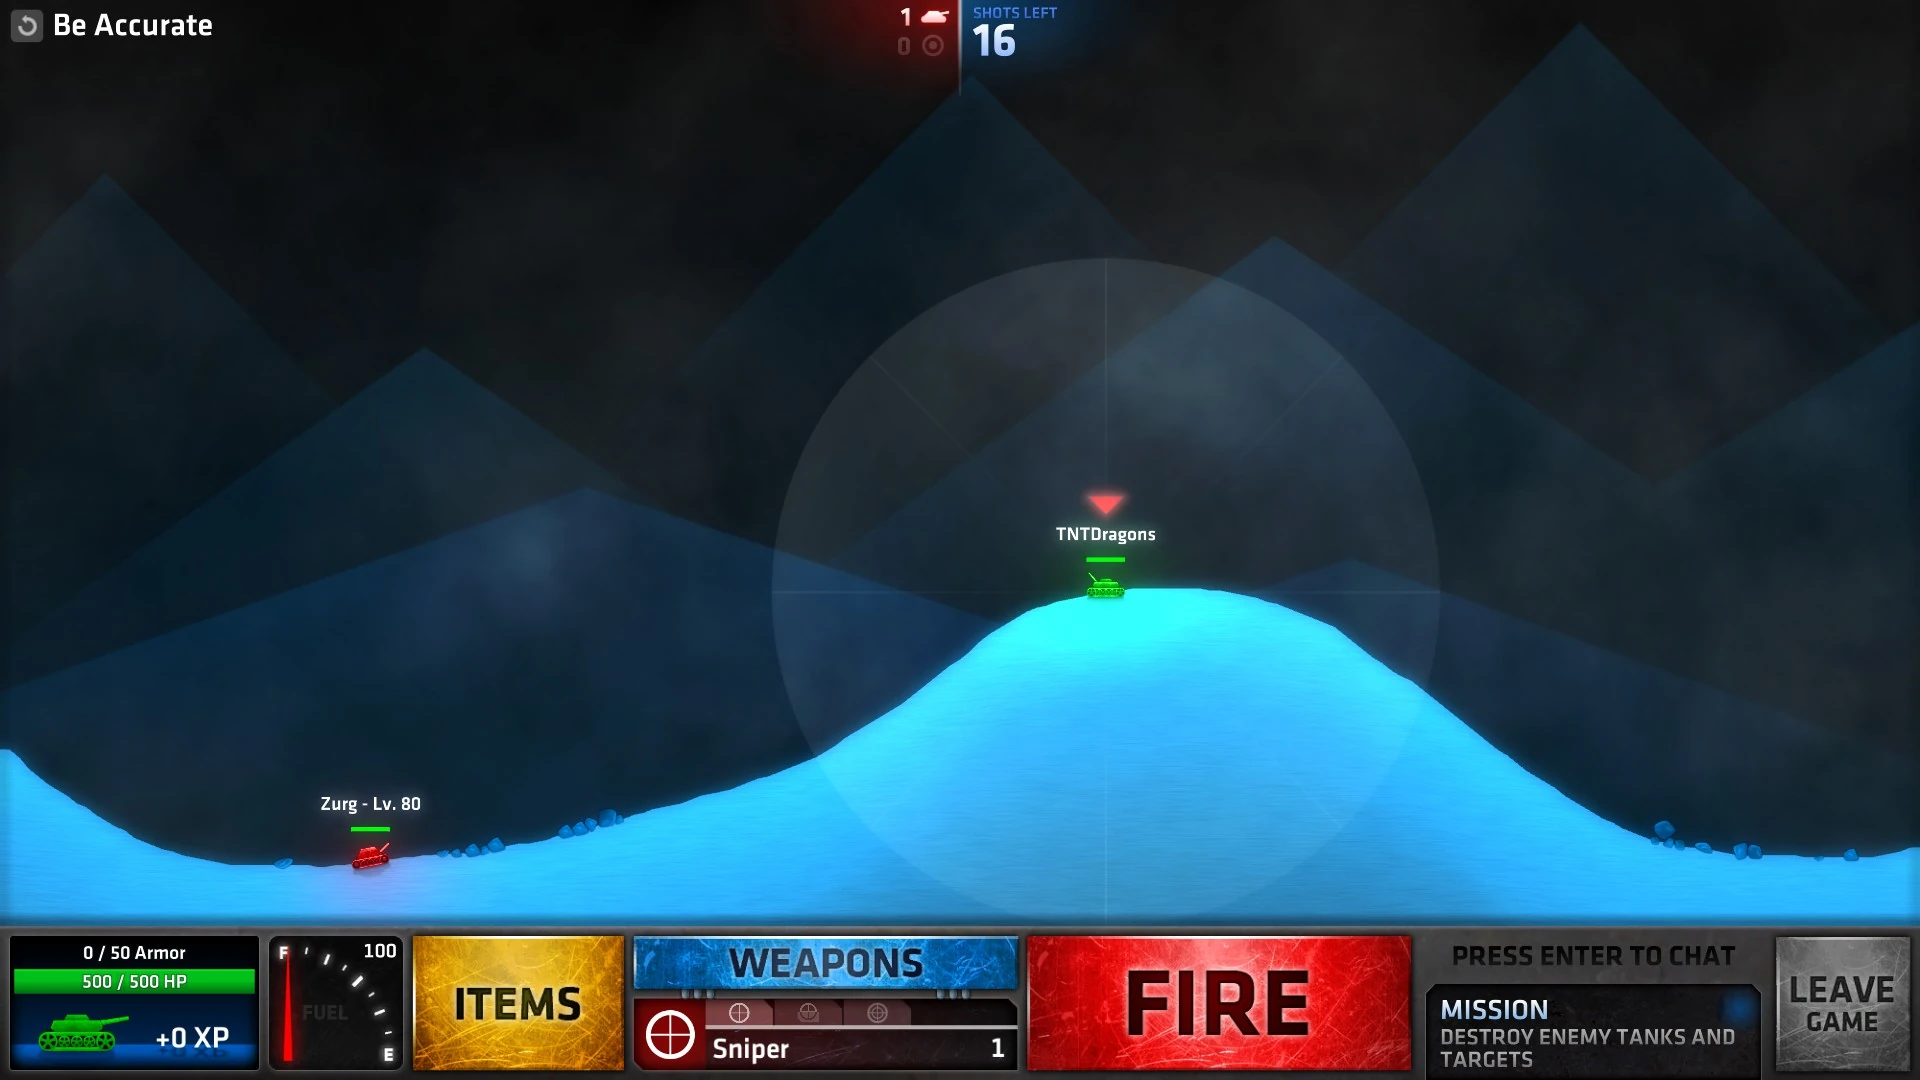
| + | Be Accurate.jpg|[[Penultimate#Be Accurate|Be Accurate]] |
||
| + | </gallery> |
||
| + | |||
| + | == [[Showdown]] == |
||
| + | <gallery> |
||
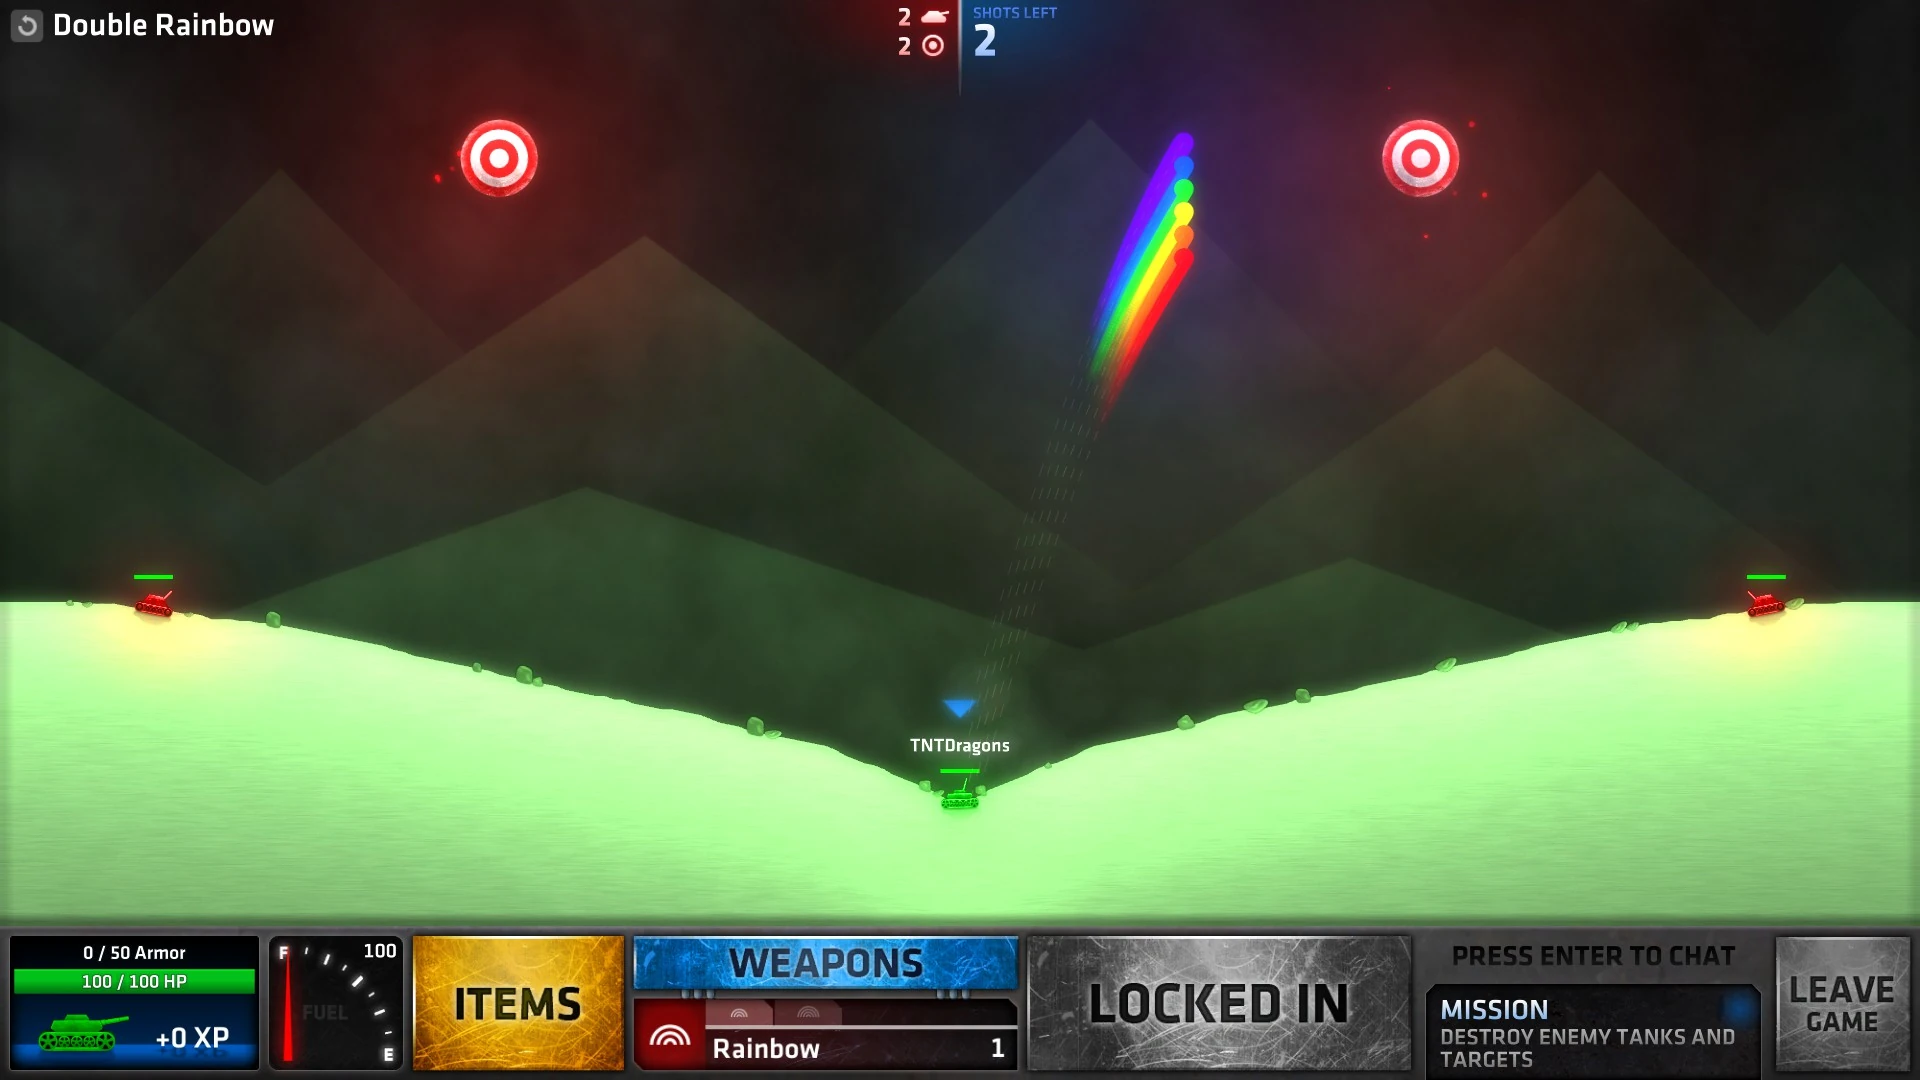
| + | Double Rainbow.jpg|[[Showdown#Double Rainbow|Double Rainbow]] |
||
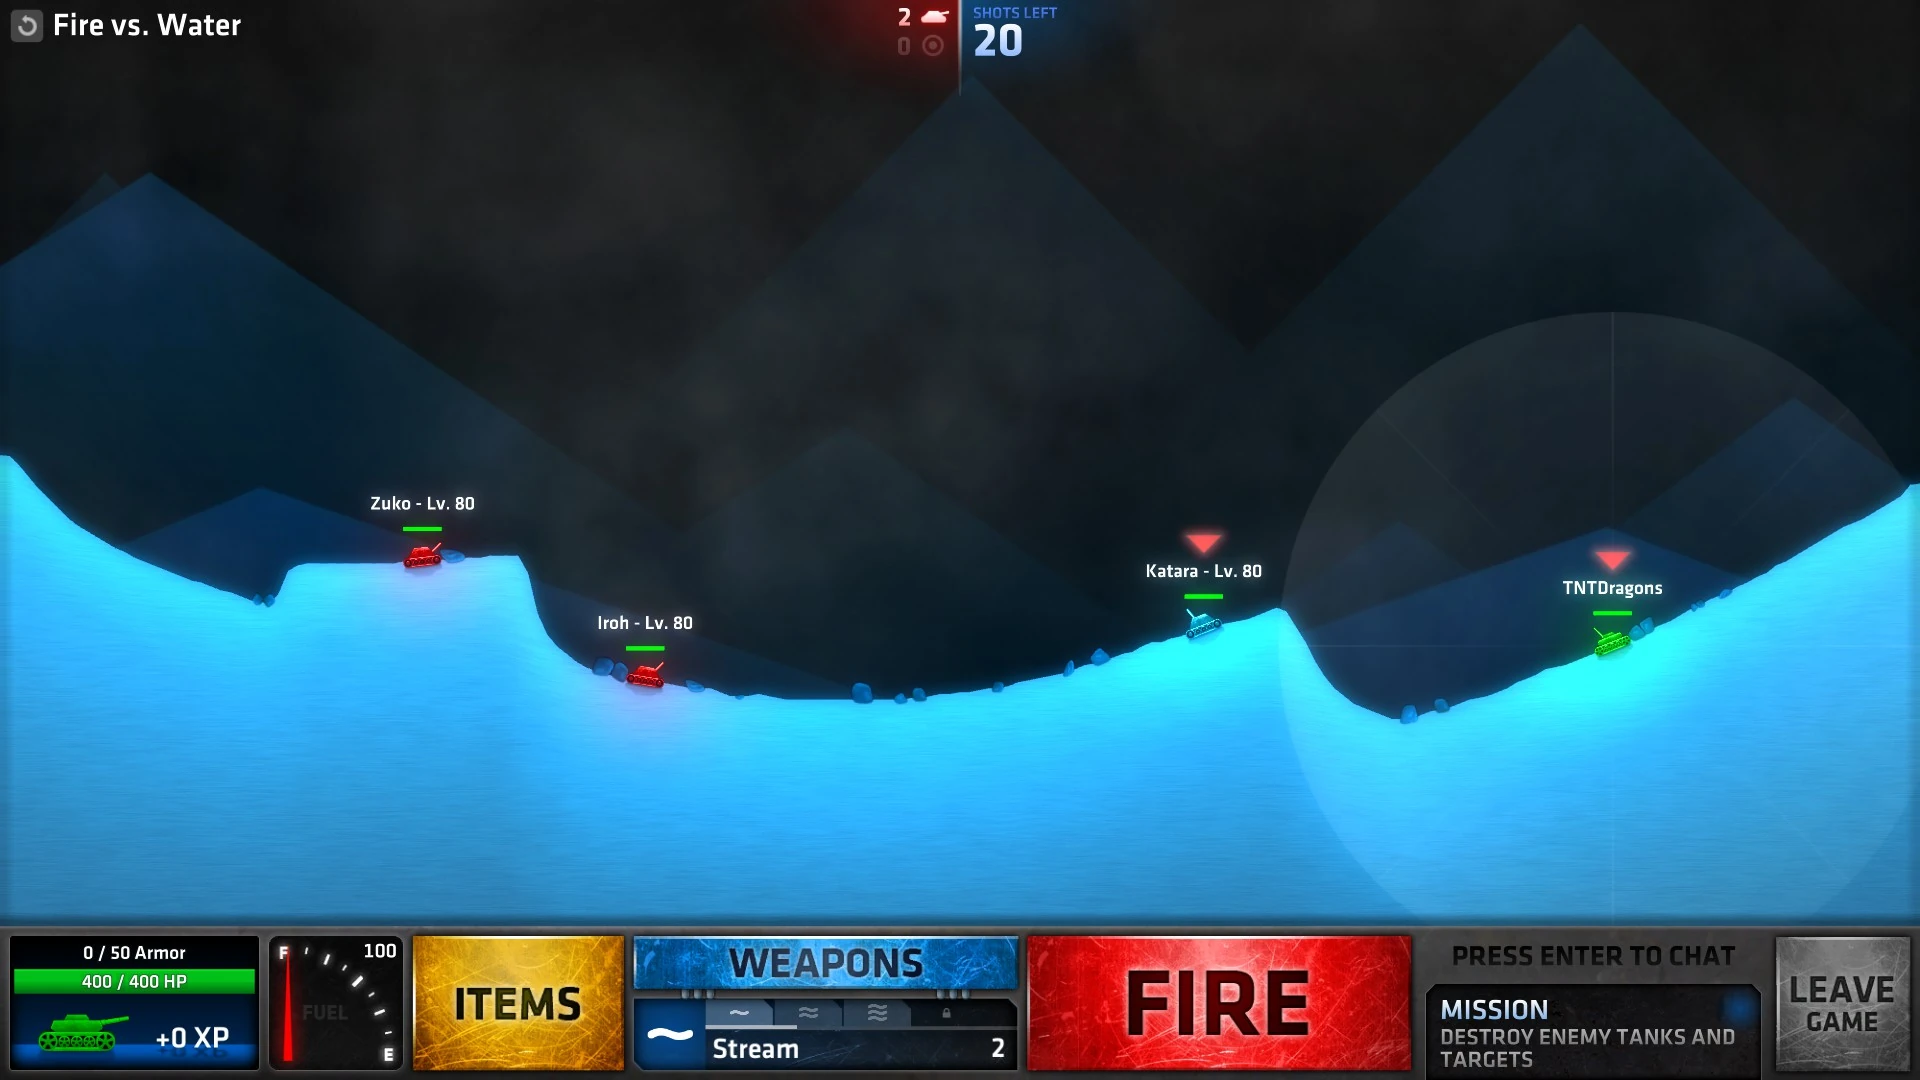
| + | Fire vs. Water.jpg|[[Showdown#Fire vs. Water|Fire vs. Water]] |
||
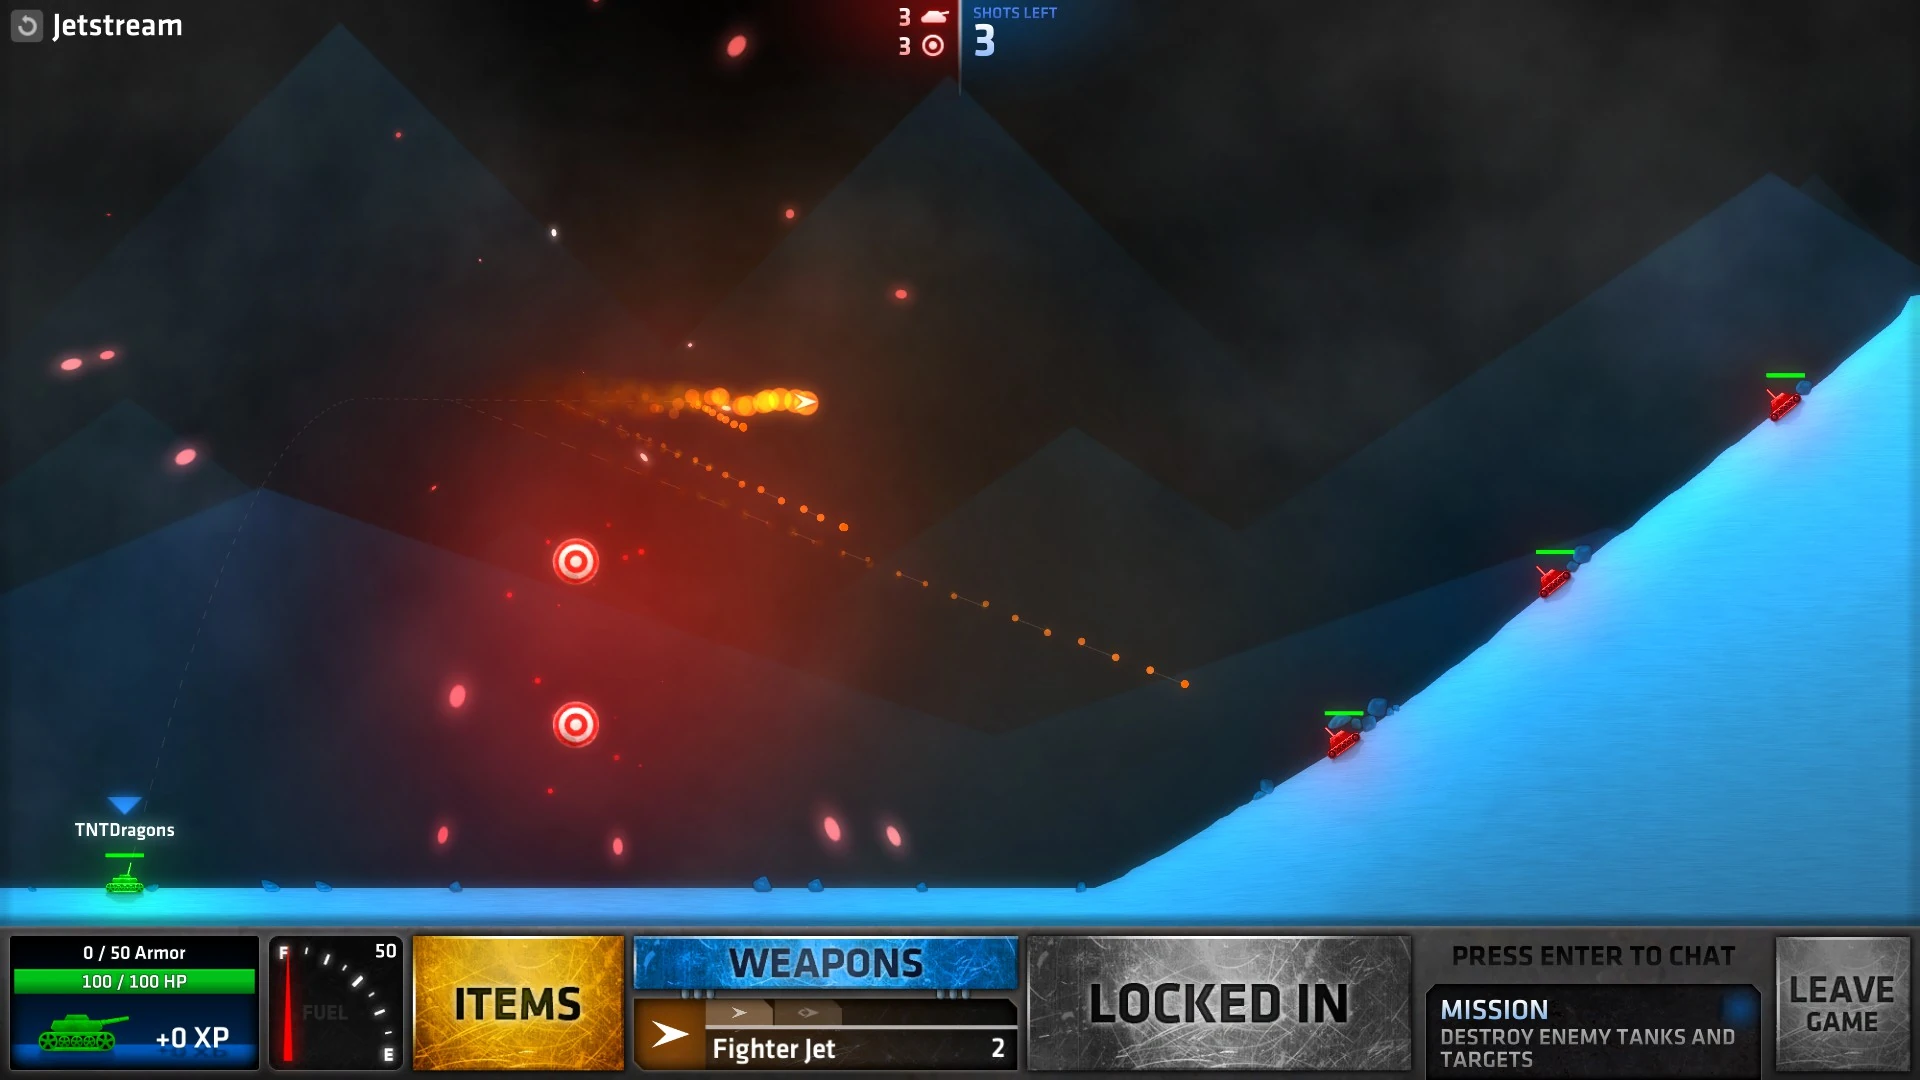
| + | Jetstream.jpg|[[Showdown#Jetstream|Jetstream]] |
||
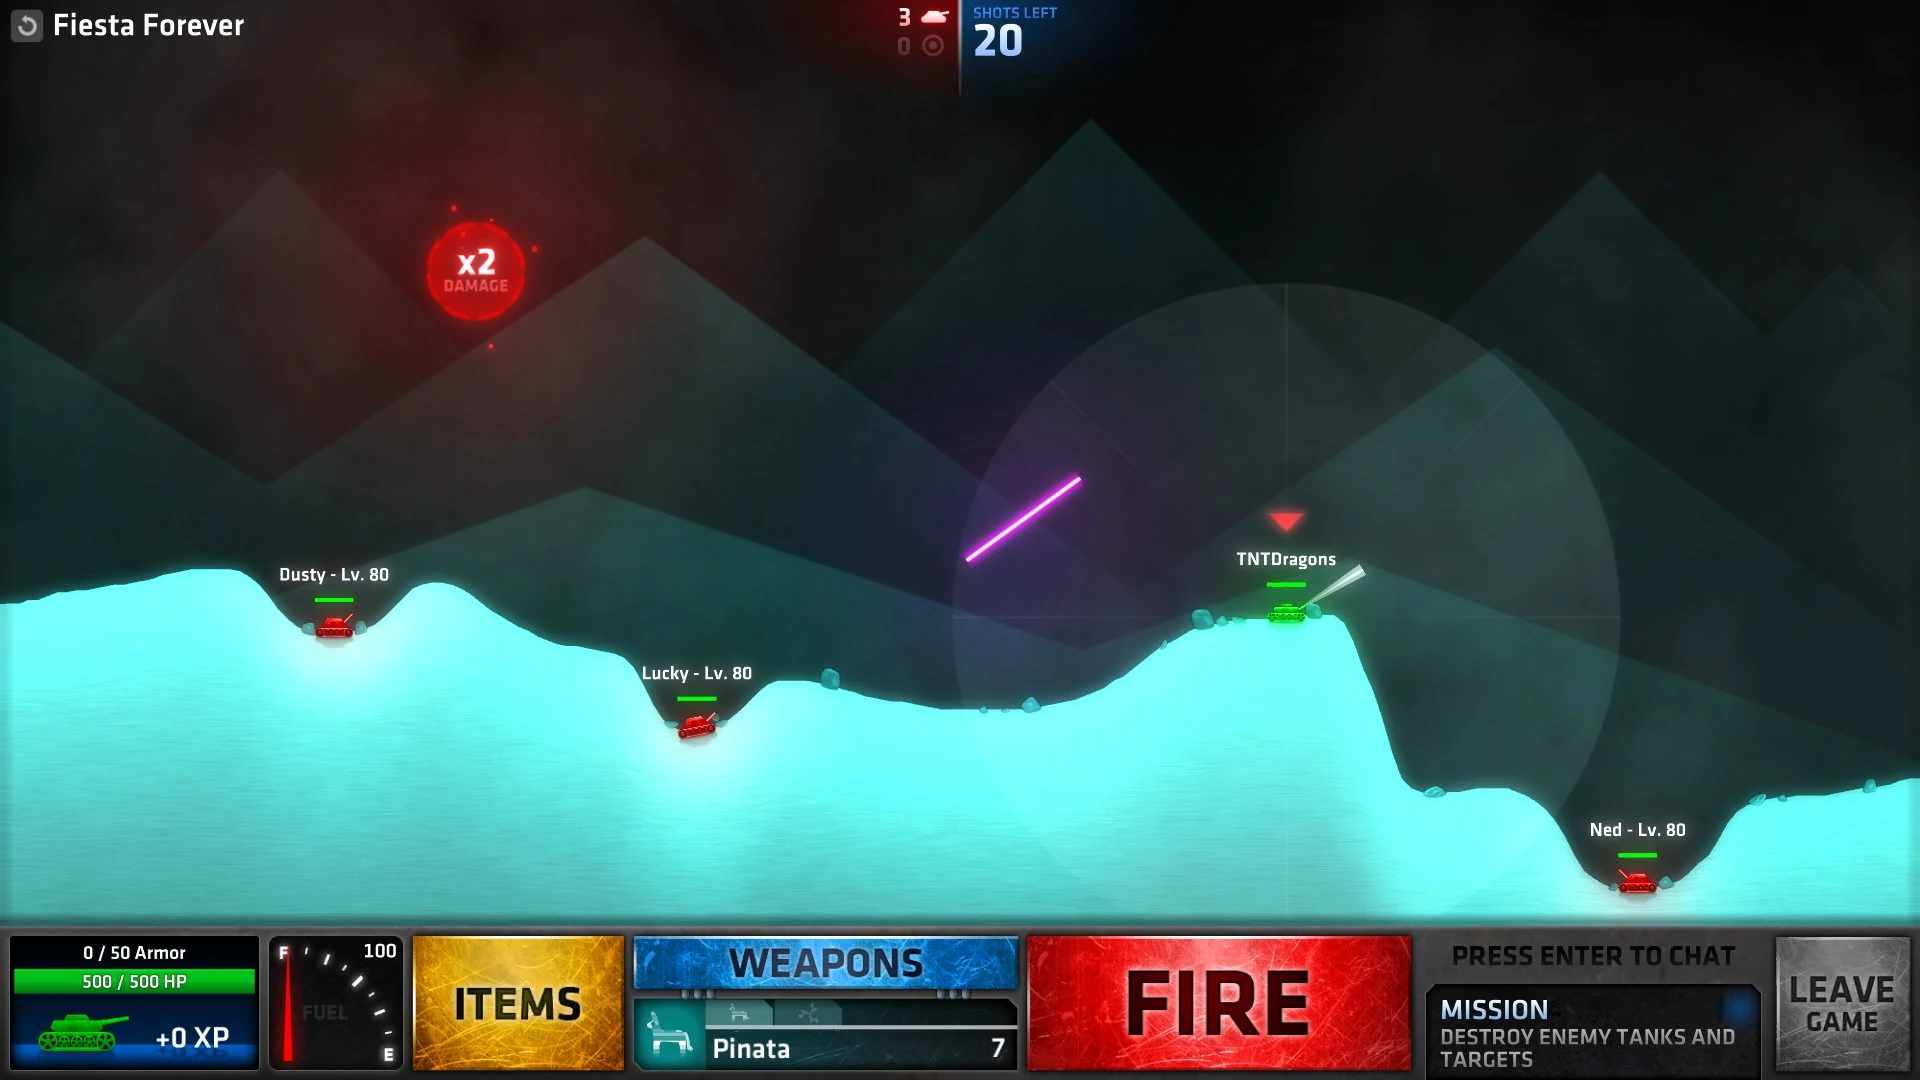
| + | Fiesta Forever.jpg|[[Showdown#Fiesta Forever|Fiesta Forever]] |
||
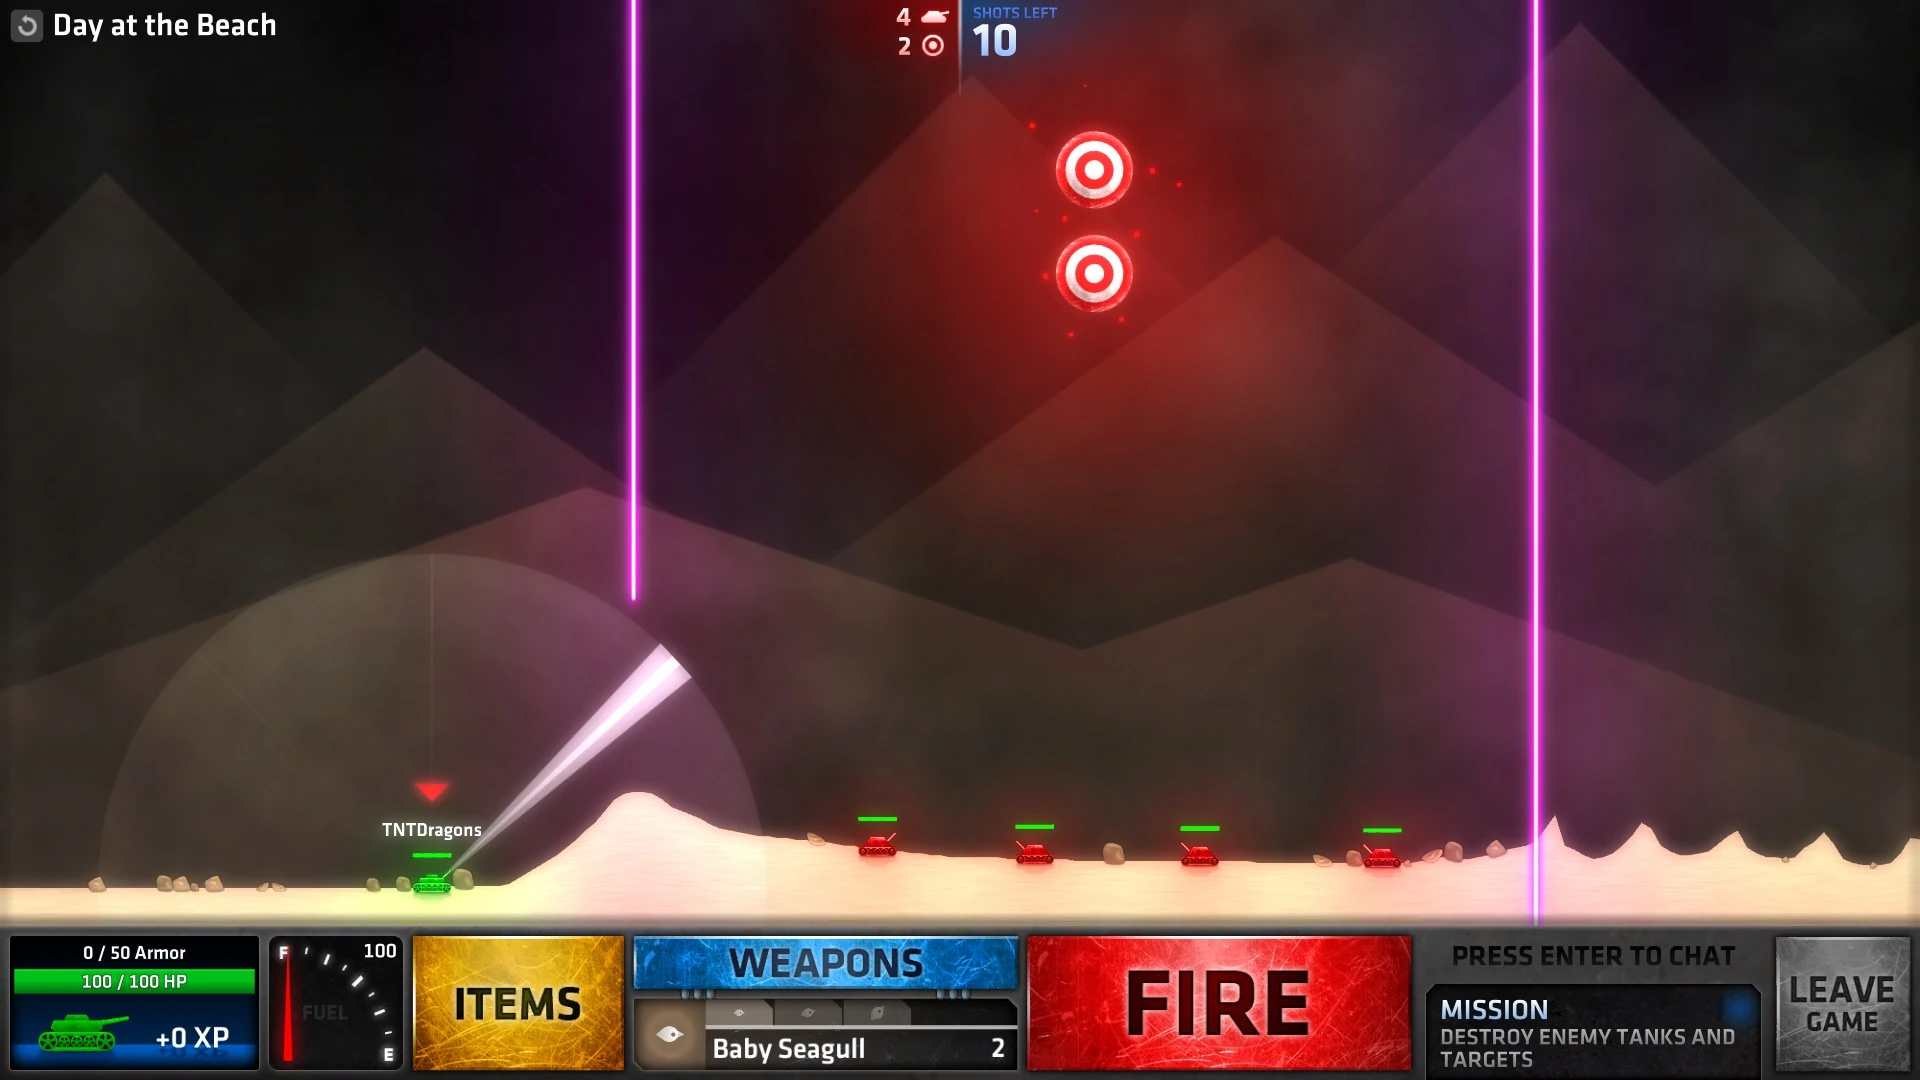
| + | Day at the Beach.jpg|[[Showdown#Day at the Beach|Day at the Beach]] |
||
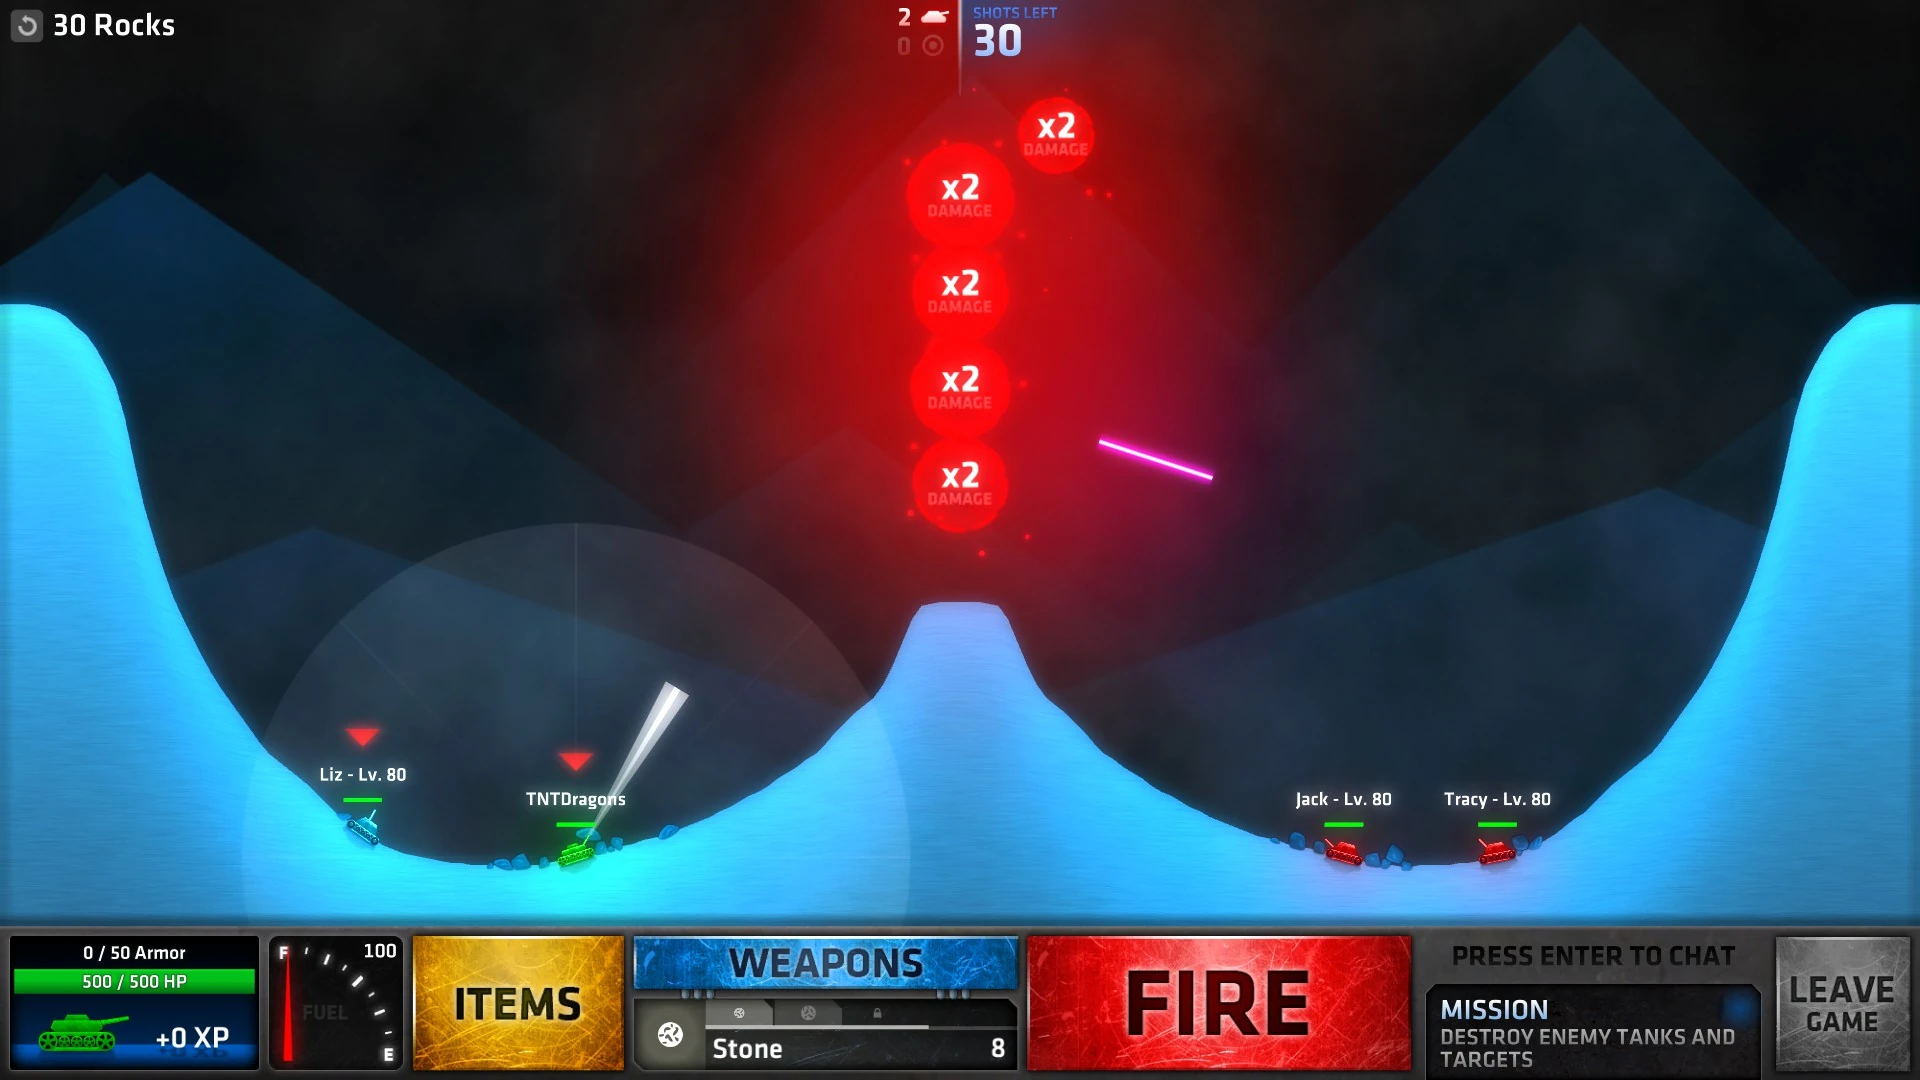
| + | 30 Rocks.jpg|[[Showdown#30 Rocks|30 Rocks]] |
||
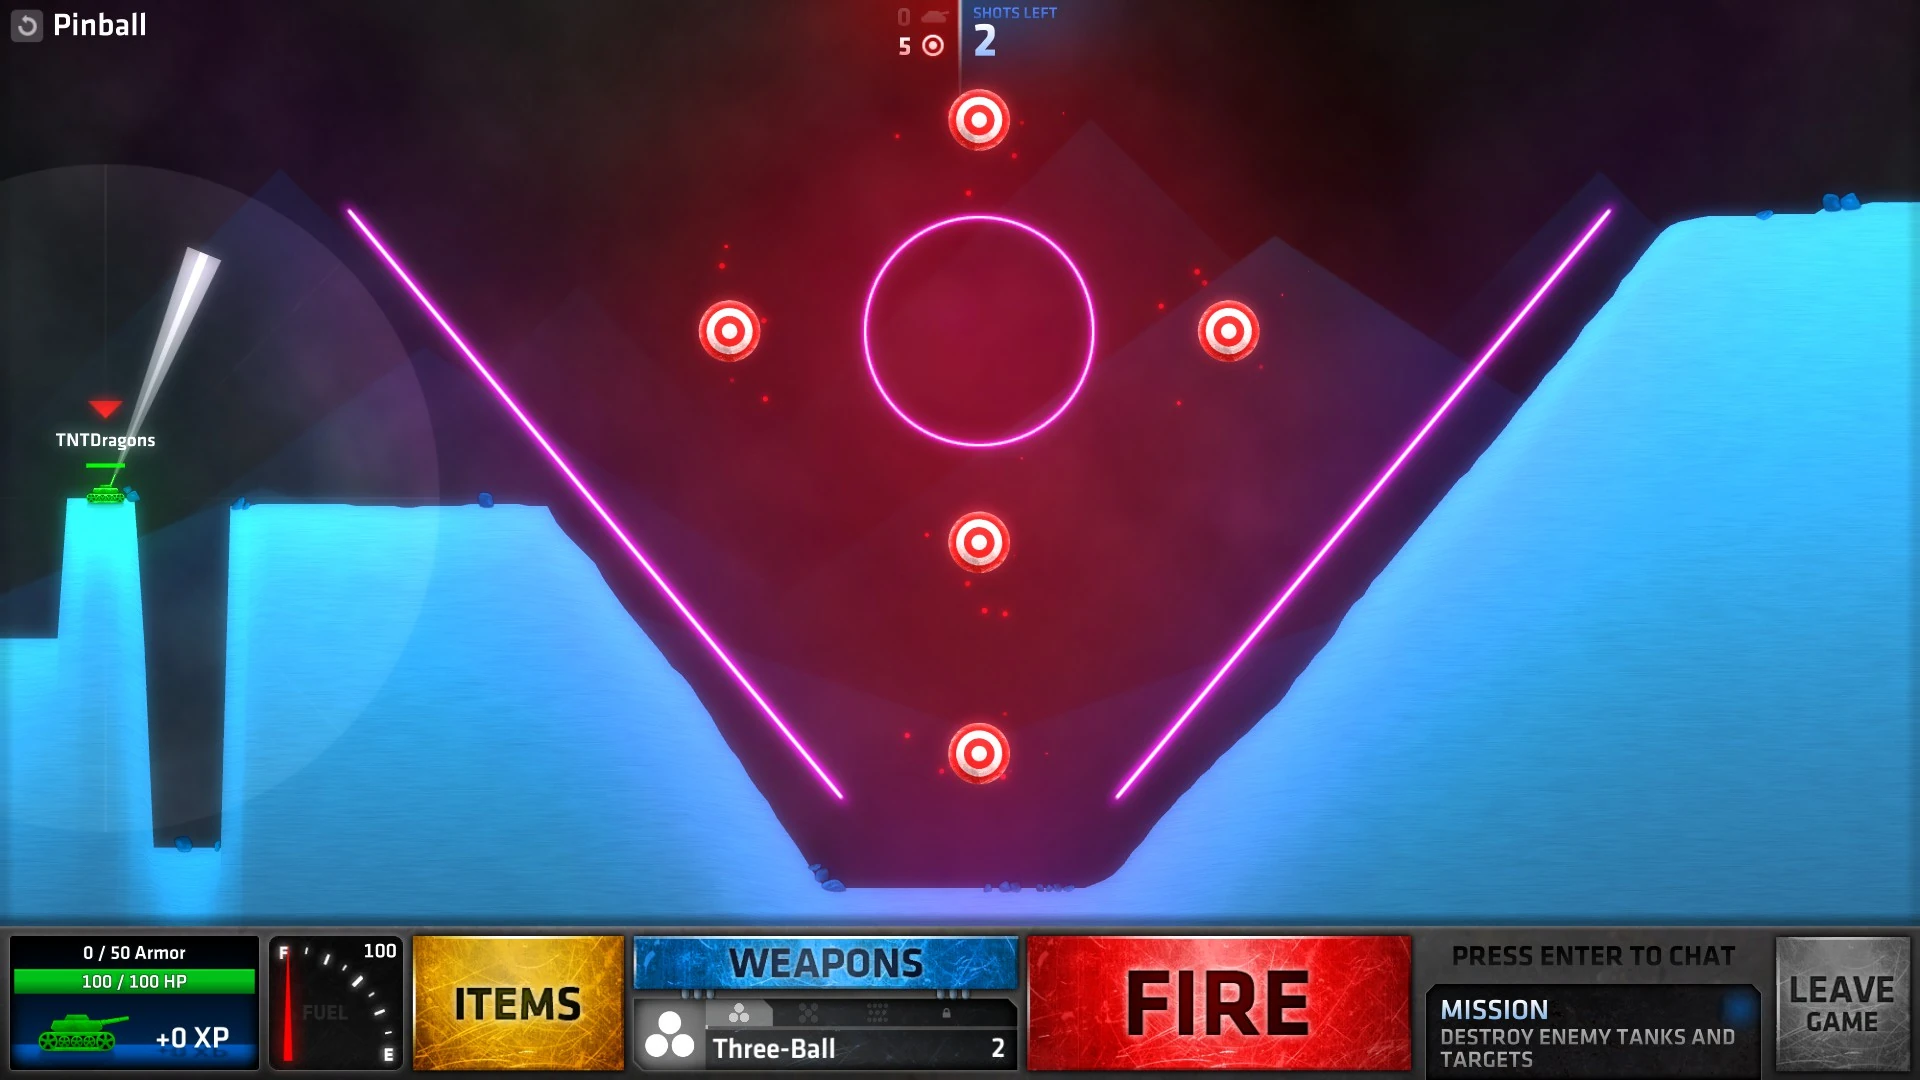
| + | Pinball.jpg|[[Showdown#Pinball|Pinball]] |
||
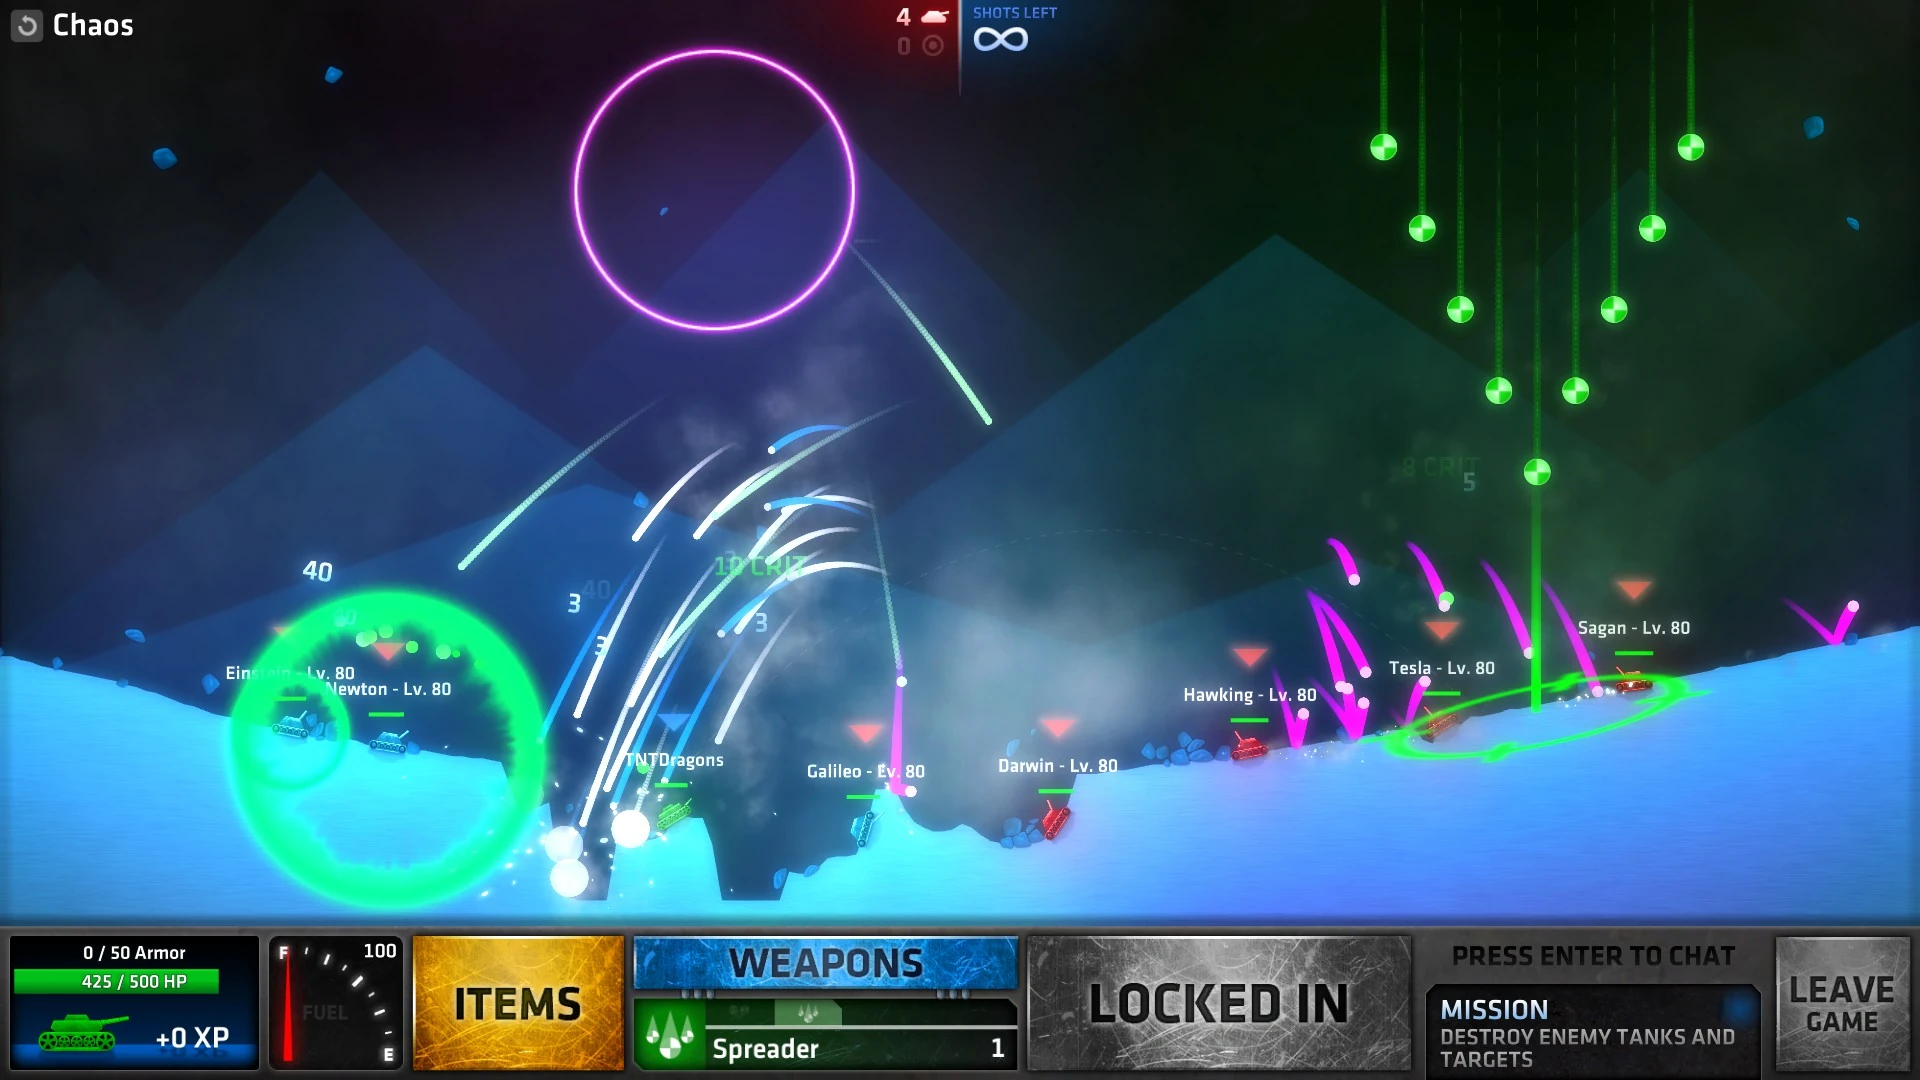
| + | Chaos.jpg|[[Showdown#Chaos|Chaos]] |
||
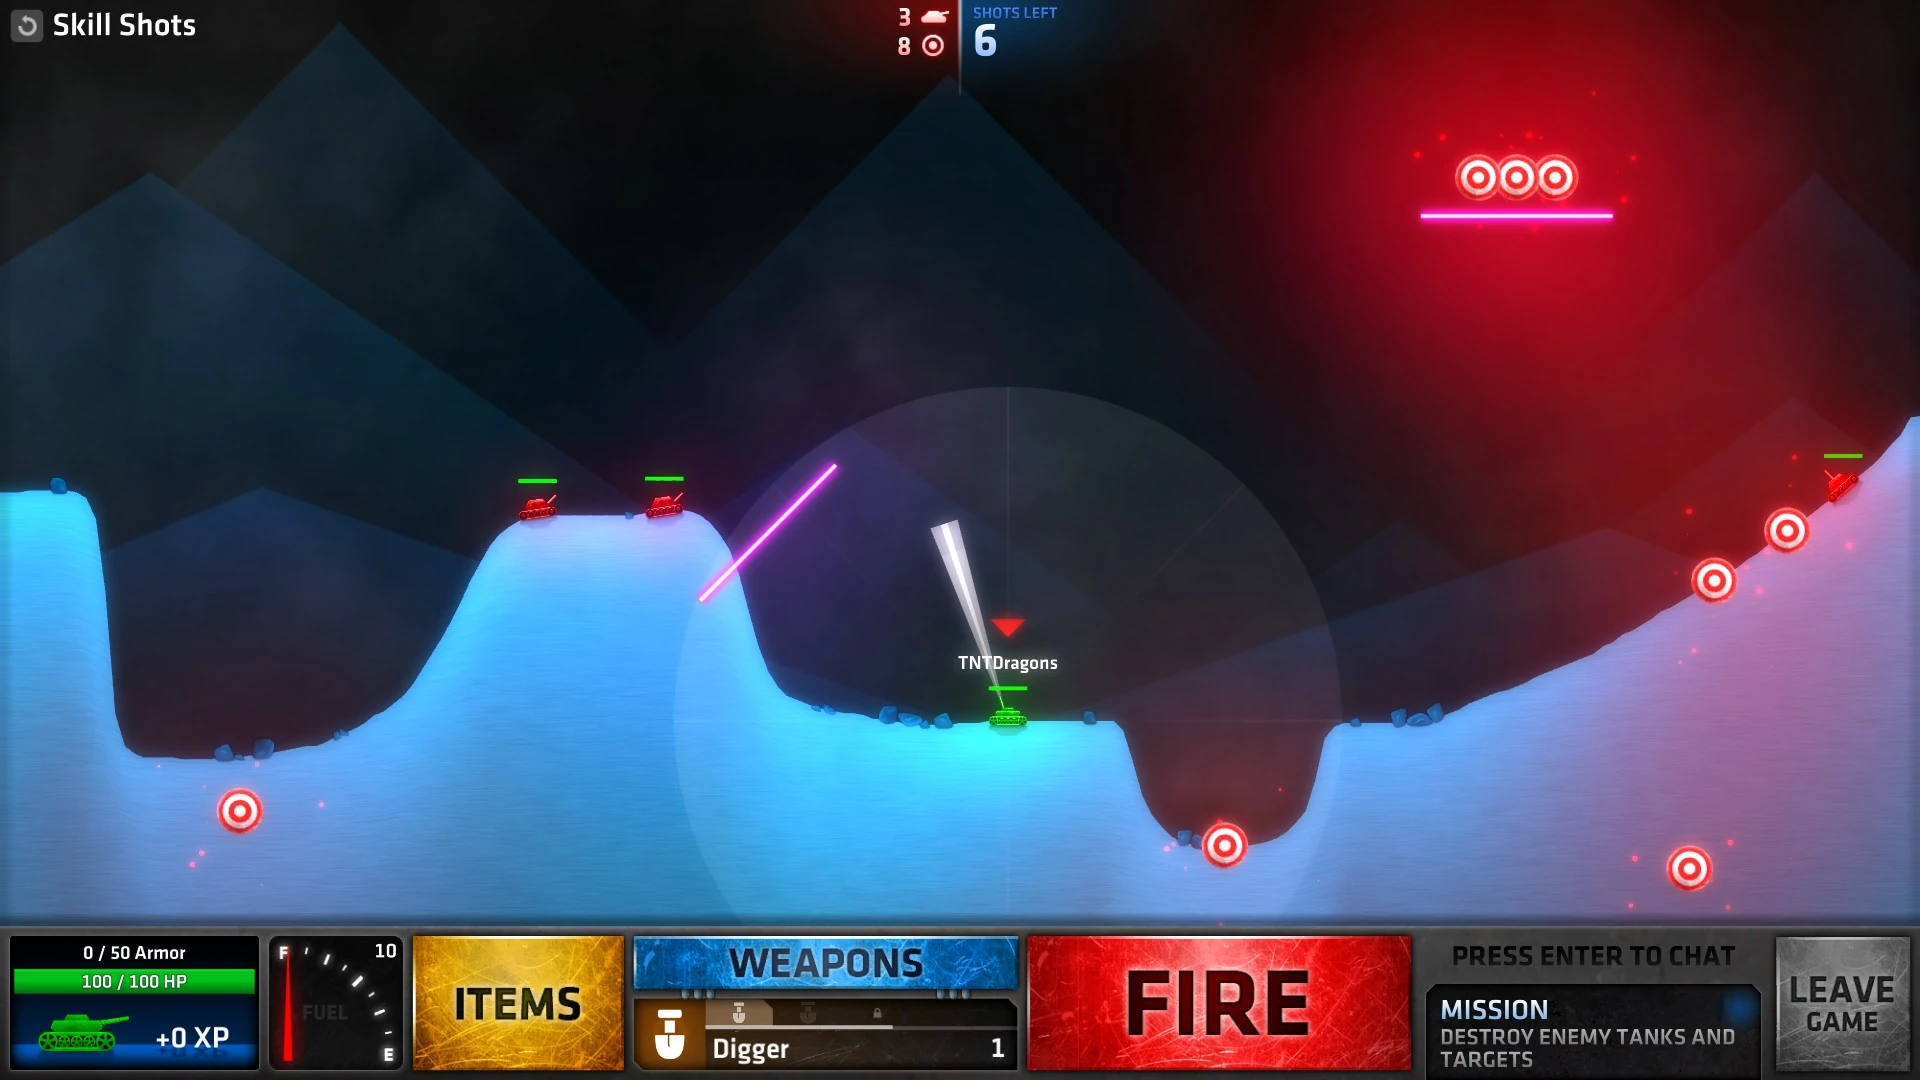
| + | Skill Shots.jpg|[[Showdown#Skill Shots|Skill Shots]] |
||
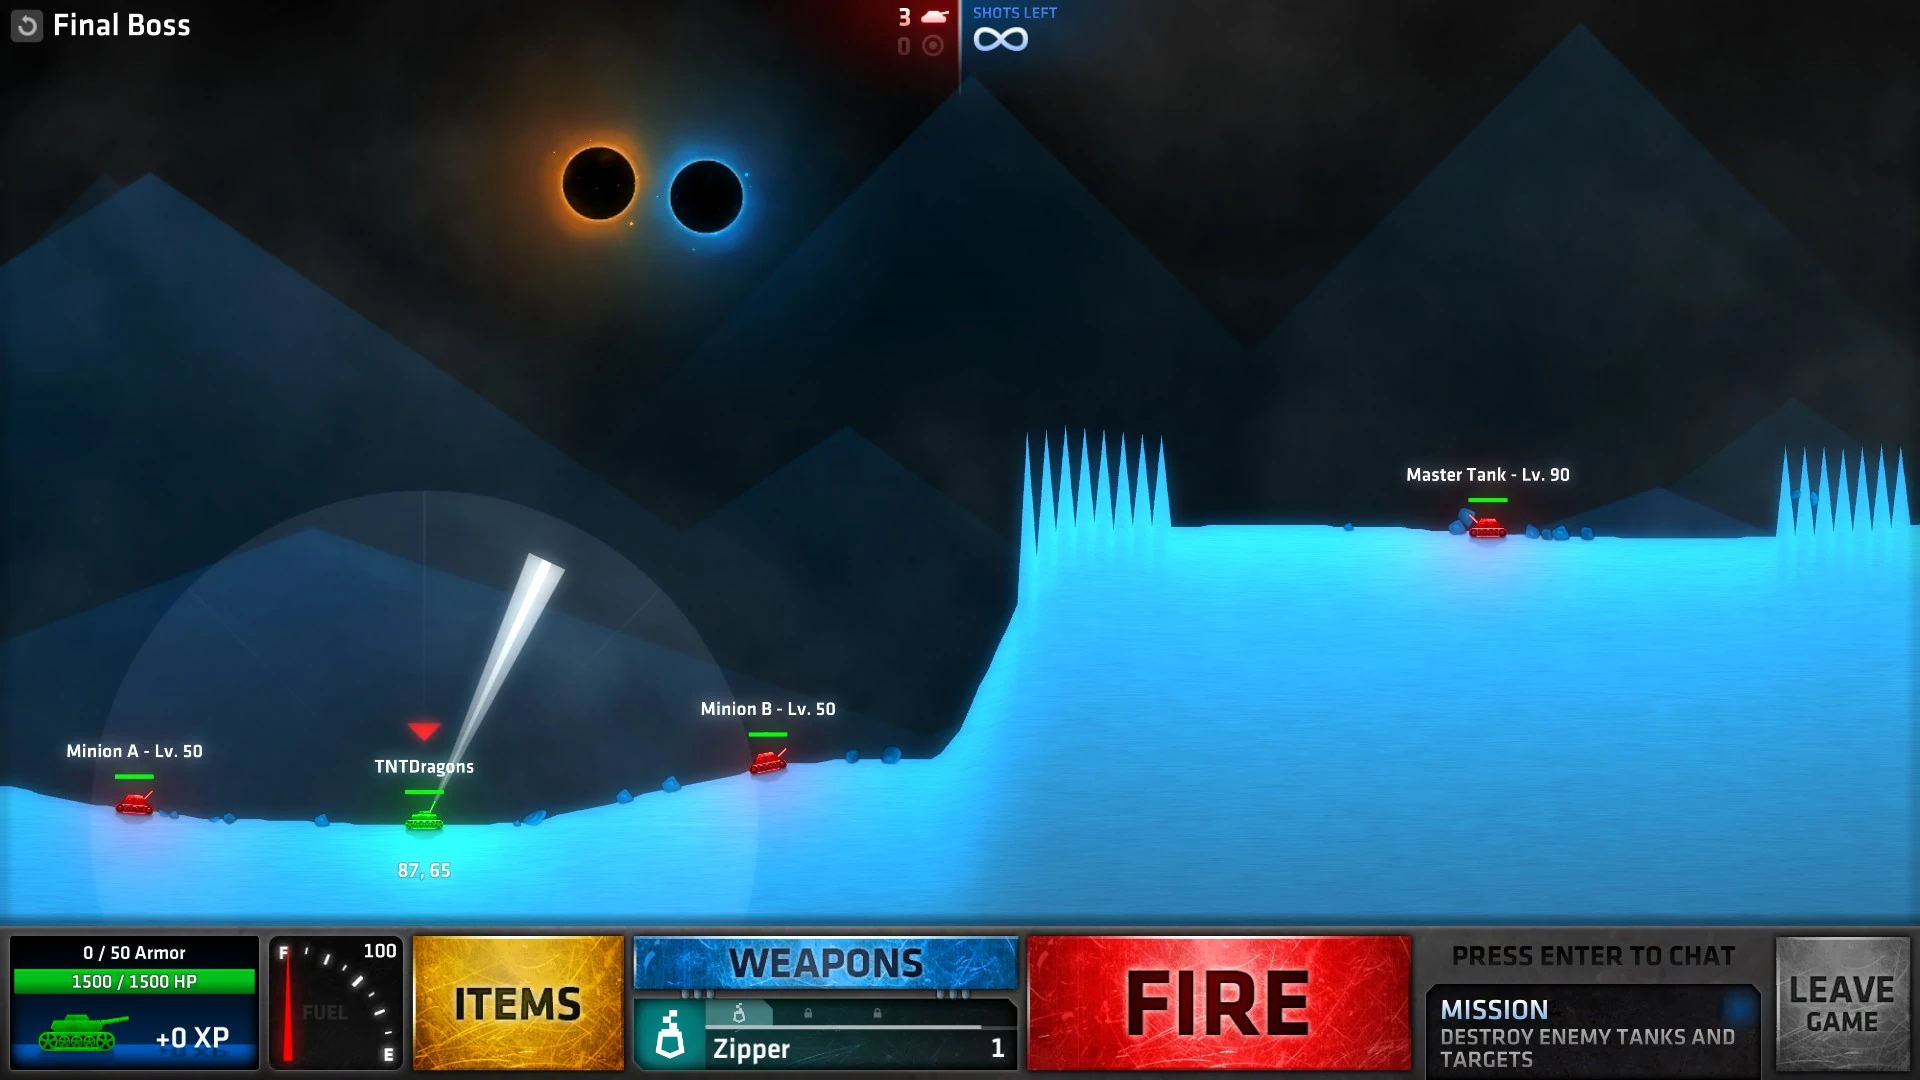
| + | Final Boss.jpg|[[Showdown#Final Boss|Final Boss]] |
||
| + | </gallery> |
||
| + | |||
| + | == [[Bonus]] == |
||
| + | <gallery> |
||
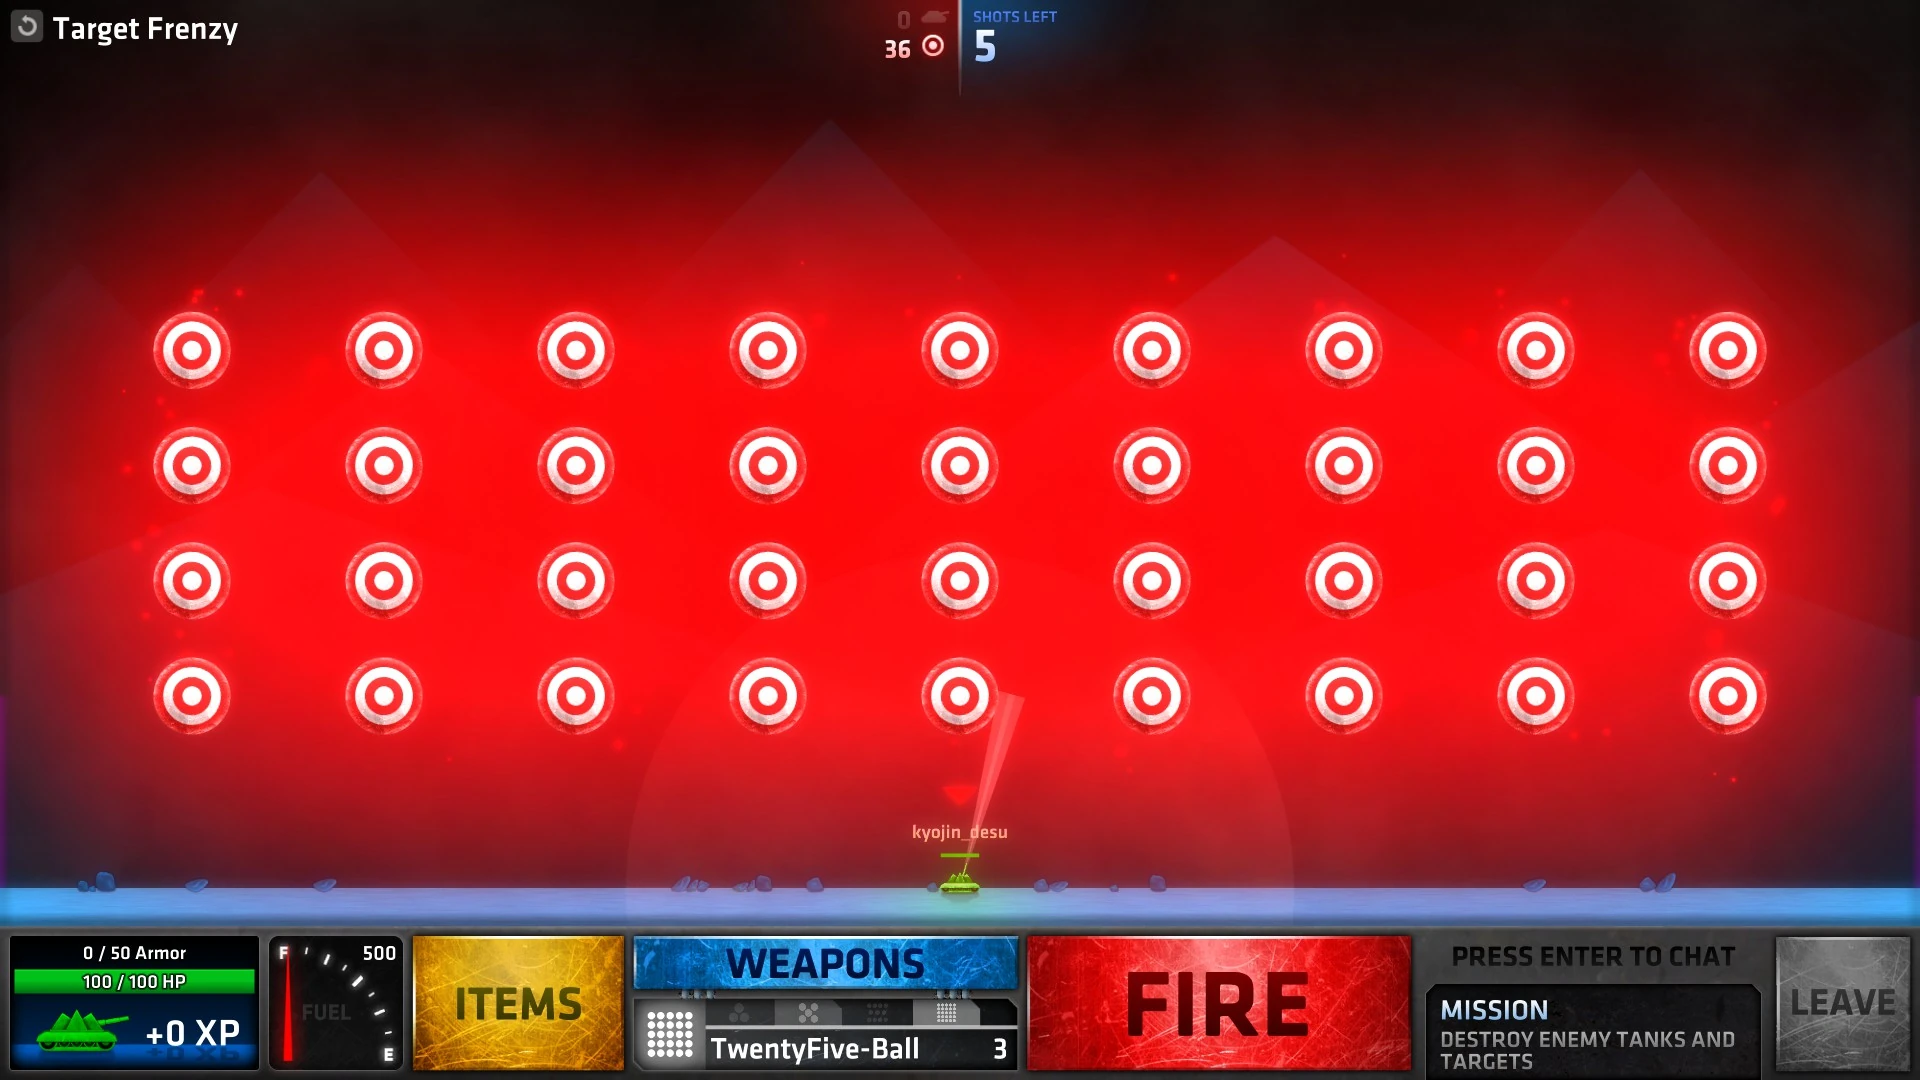
| + | Target Frenzy.jpg|[[Bonus#Target Frenzy|Target Frenzy]] |
||
| + | Banana Boat.jpg|[[Bonus#Banana Boat|Banana Boat]] |
||
| + | Shootout.jpg|[[Bonus#Shootout|Shootout]] |
||
| + | Bounce House2.jpg|[[Bonus#Bounce House|Bounce House]] |
||
| + | Bankerang.jpg|[[Bonus#Bankerang|Bankerang]] |
||
| + | Anonymous Autonomy.jpg|[[Bonus#Anonymous Autonomy|Anonymous Autonomy]] |
||
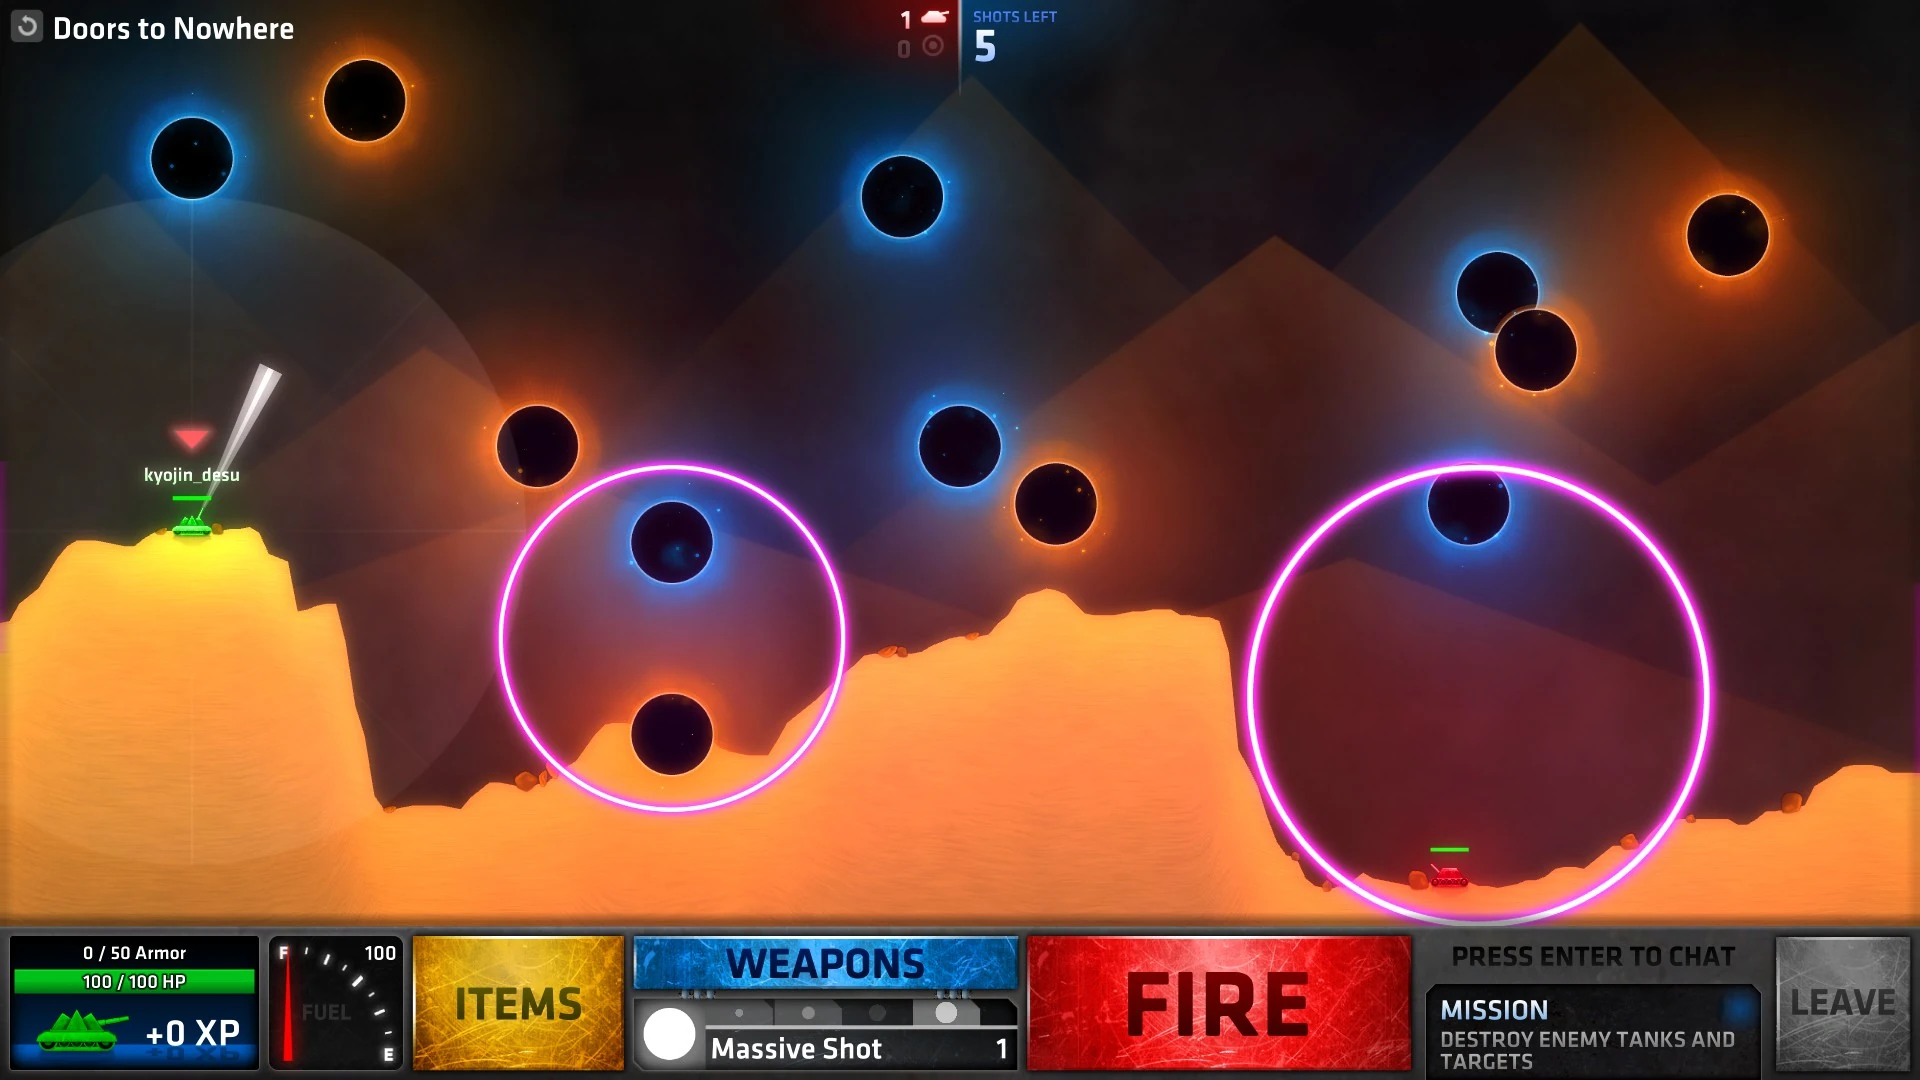
| + | Doors to Nowhere.jpg|[[Bonus#Doors to Nowhere|Doors to Nowhere]] |
||
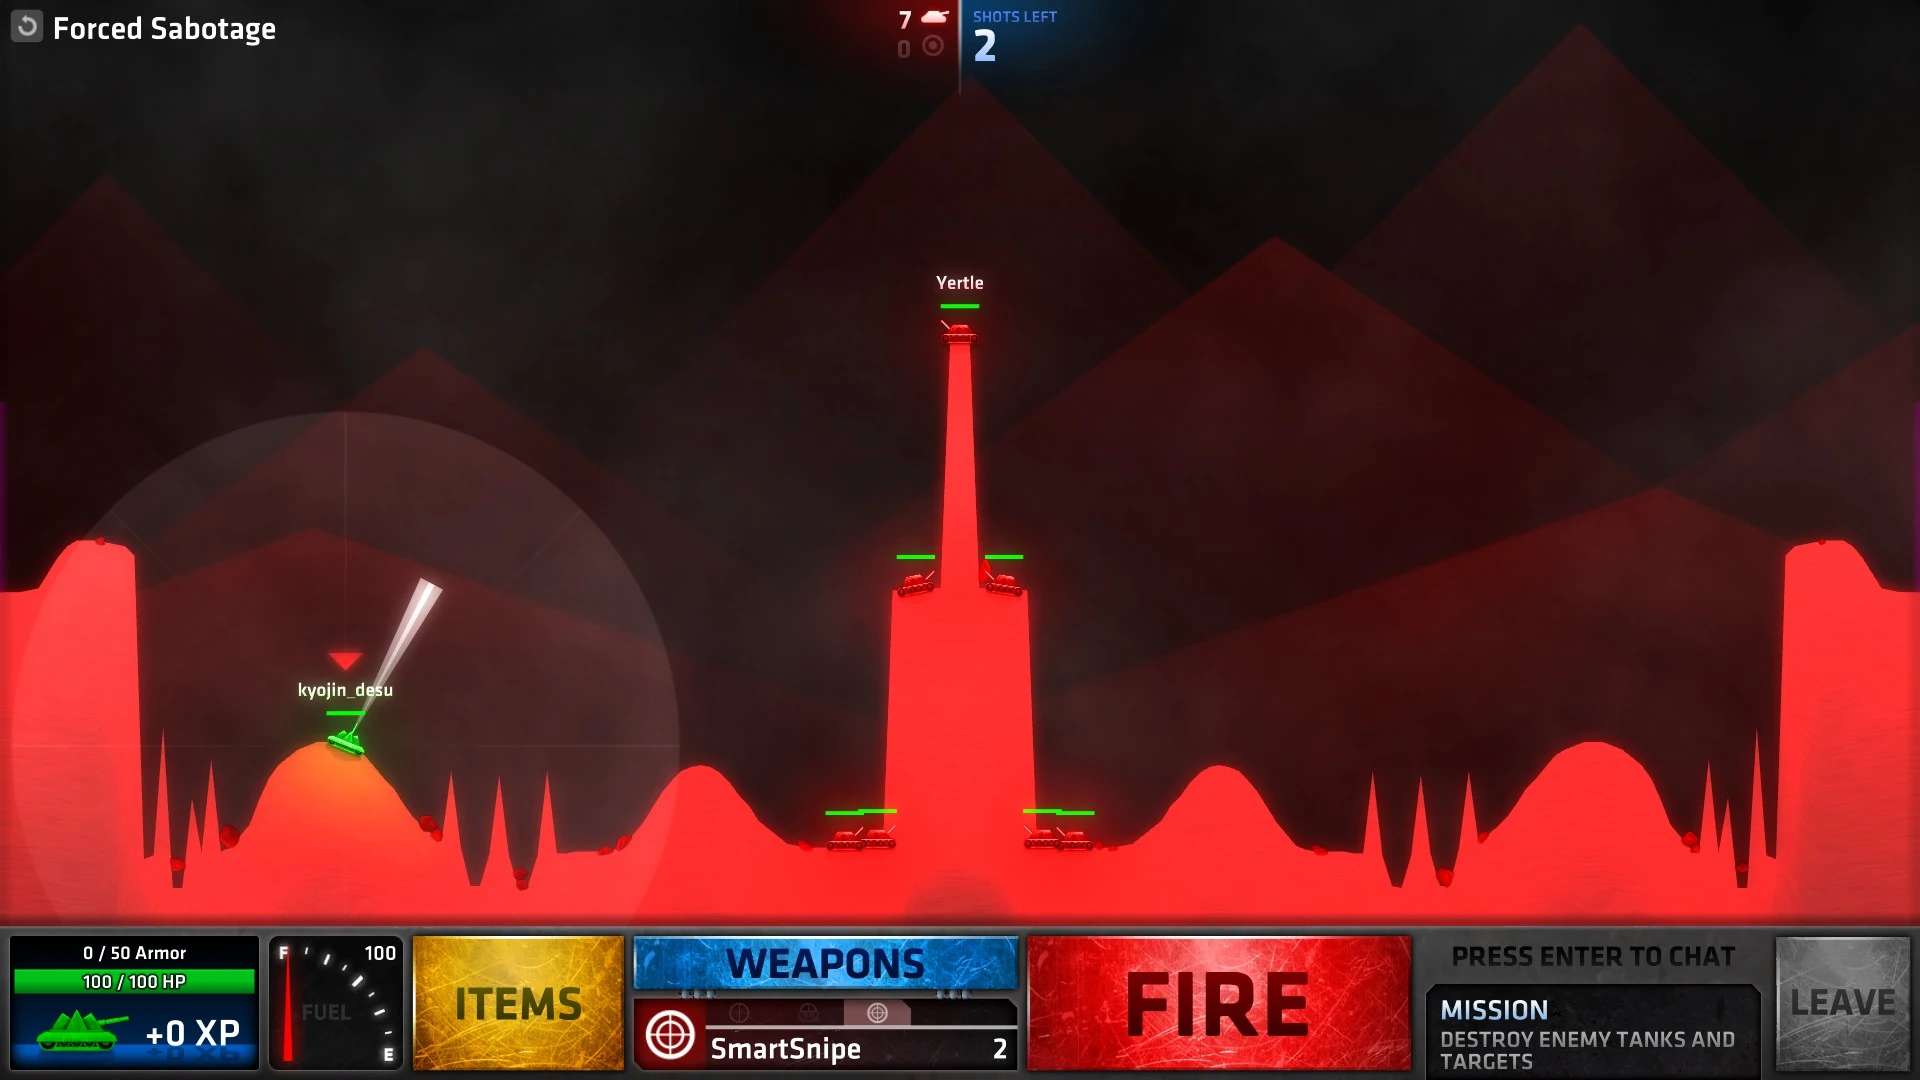
| + | Forced Sabotage.jpg|[[Bonus#Forced Sabotage|Forced Sabotage]] |
||
| + | Hole Vaulting.jpg|[[Bonus#Hole Vaulting|Hole Vaulting]] |
||
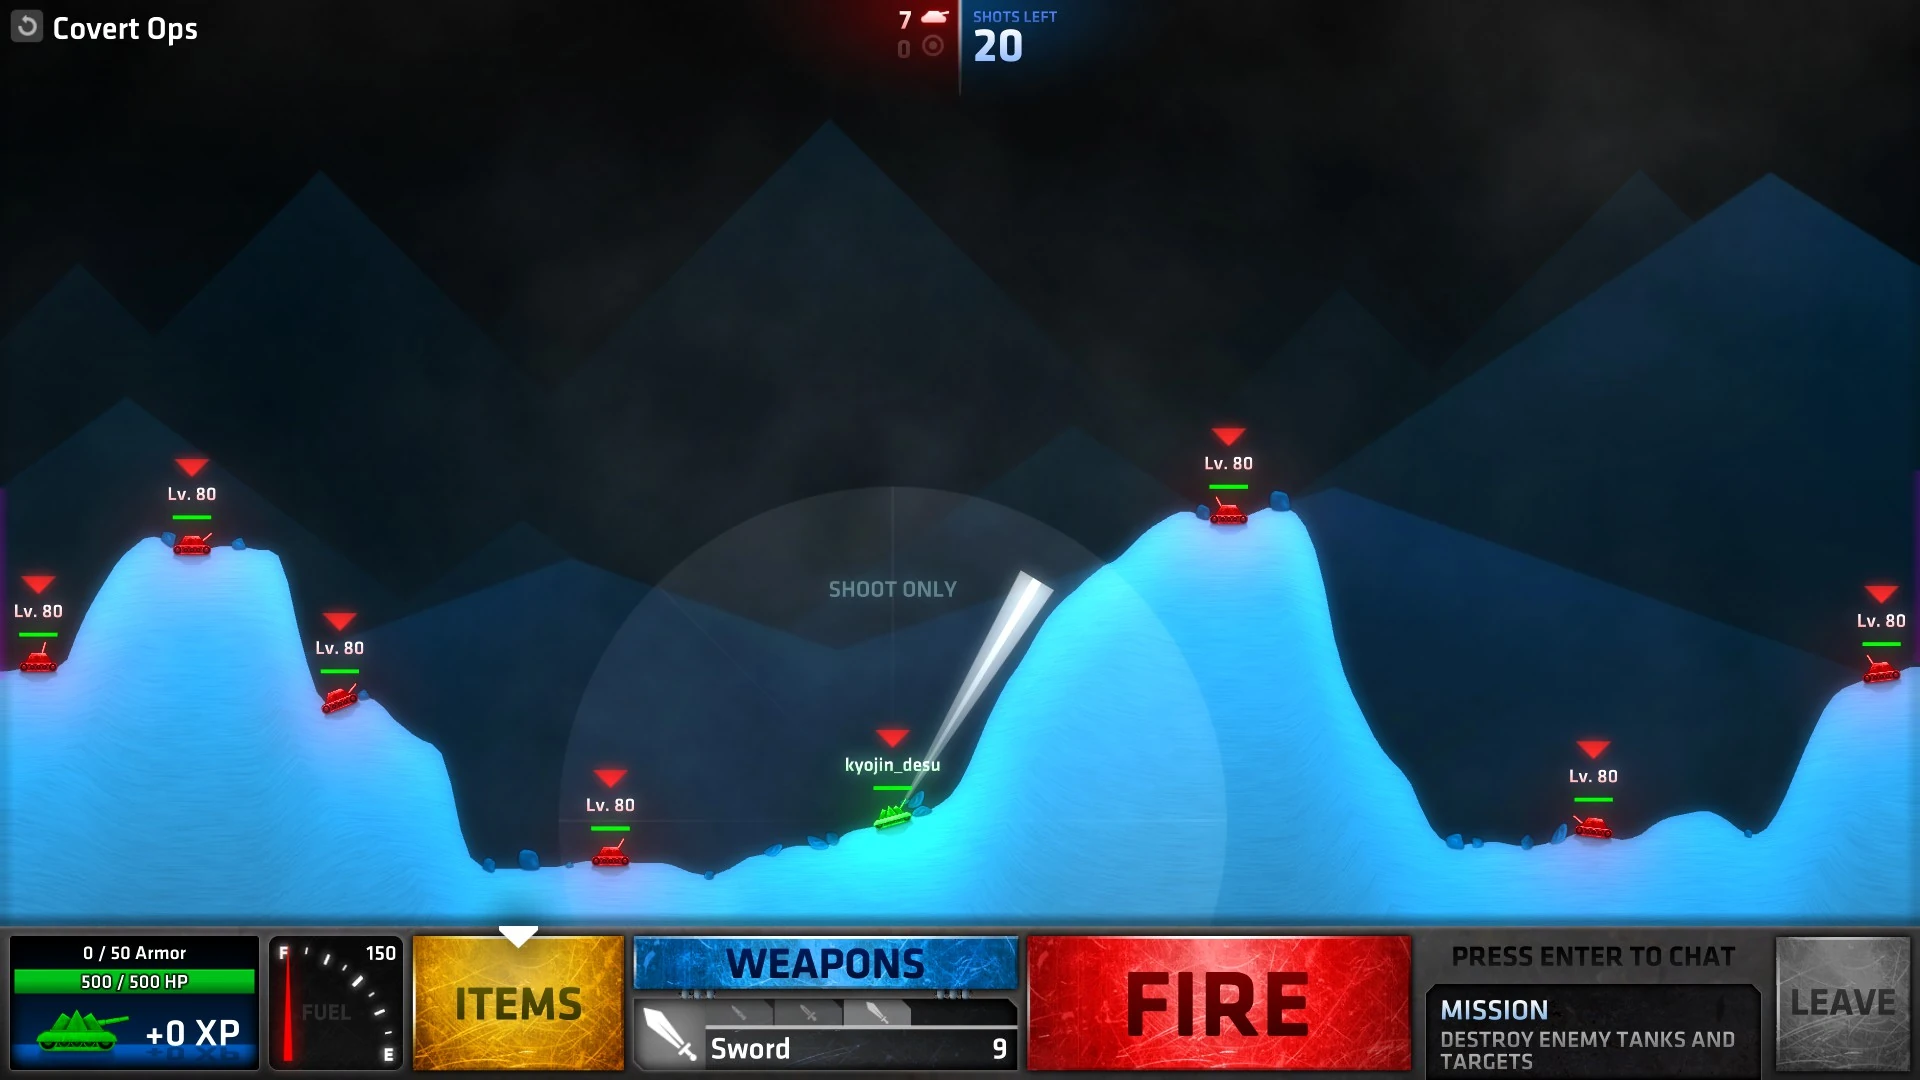
| + | Covert Ops.jpg|[[Bonus#Covert Ops|Covert Ops]] |
||
| + | </gallery> |
||
| + | |||
| ⚫ | |||
Latest revision as of 19:00, 31 May 2020
| This article is a stub. You can help ShellShock Live Wiki by expanding it. |
This page is the future home of the Campaign Missions and advice on beating said missions, until the page is updated, a comprehensive guide can be found here. Upgraded weapons can help in most missions, especially hot hot hot and fiesta forever. However, there are a few missions that become substantially harder with upgraded weapons. A few examples include finding curves, carnival toss, and tear down this wall.